5 Creative Ideas to Spice up your Food Videos
Food videos thrive on visual storytelling, combining motion, sound, and imagery to captivate audiences. In a digital landscape where attention spans are fleeting, static shots won’t cut it. This guide explores five creative ideas to inject energy into your content, transforming ordinary recipes into compelling narratives. Whether you’re a beginner or seasoned creator, these techniques leverage simple tools and editing tricks to make your videos stand out.
Idea 1: Incorporate Dynamic Motion for Engaging Action
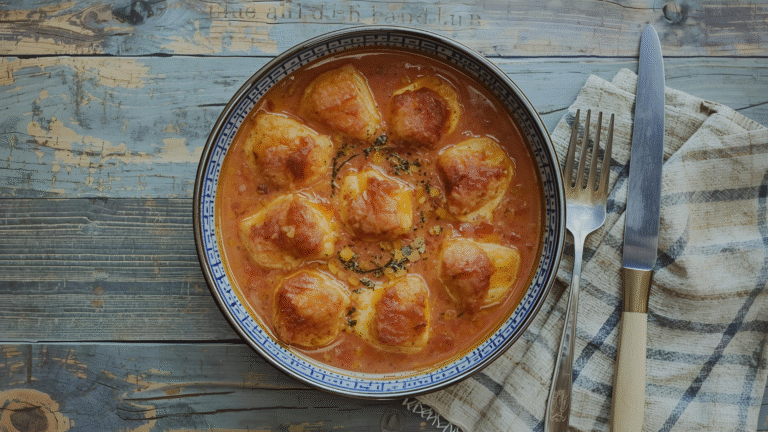
Motion is the heartbeat of video content, setting it apart from still photography. Food, especially static items like vegan dishes, doesn’t move on its own, but you can infuse life through intentional camera work and subject interaction. Start by emphasizing action over stillness. Instead of displaying ingredients laid out, capture the process: rinsing greens under running water, chopping vegetables with rhythmic knife strokes, or pouring liquids in a steady stream. This not only reveals the ingredients but also builds a narrative flow, keeping viewers hooked.
One effective technique is the “orbit” method, where you circle the subject while keeping it centered in the frame. For a finished dish like a layered salad, position your camera at eye level and slowly pan around it. This creates a sense of exploration, highlighting textures and colors from multiple perspectives without requiring the food to move. Use a tripod with a fluid head for smooth rotation, or go handheld for a more organic feel. In practice, orbiting adds depth—viewers feel like they’re examining the dish in person.
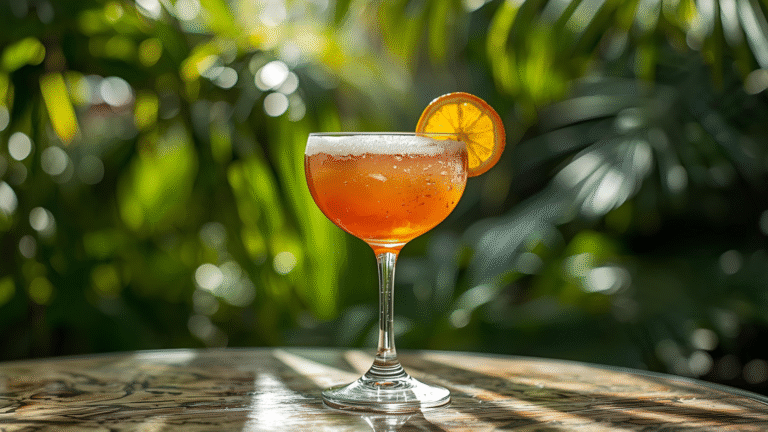
When action is present, follow it closely. For instance, in a mojito recipe, track the pour of rum from bottle to glass: start with hands grabbing the bottle, uncap it, and tilt it downward, with the camera mirroring the motion. This chain-reaction style shot immerses the audience, making them anticipate each step. For subtler movements, like stirring a batter, sync your camera to the spoon’s path, maintaining a constant distance as if tethered by an invisible rod. This ensures focus and fluidity, demanding steady hand skills but rewarding with immersive footage.
To visualize the process, consider this simple flowchart for planning dynamic motion shots:
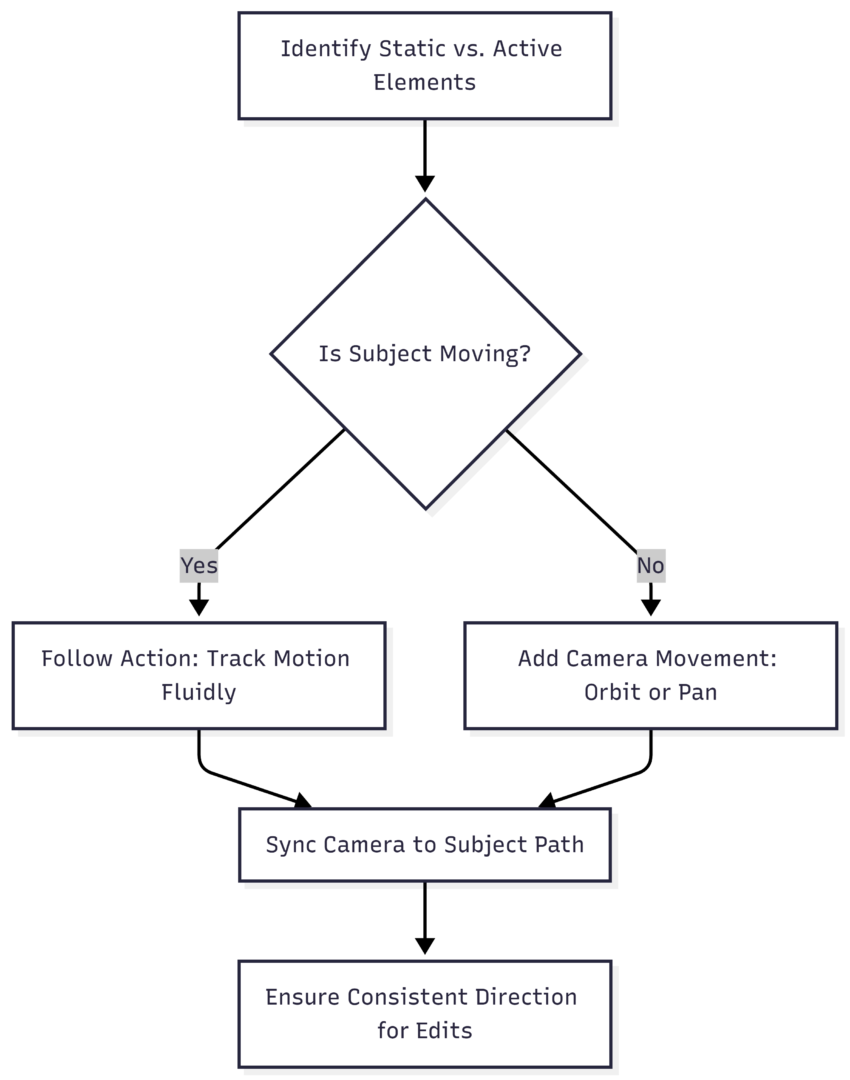
This chart outlines decision-making, ensuring every shot contributes to momentum. Aim for variety: mix quick follows with slower orbits to avoid monotony. In editing, sequence these for pacing—speed up repetitive actions like whisking (using ramping to 2x speed) and slow down highlights like cheese melting (to 0.5x). Tools like Adobe Premiere or free alternatives like DaVinci Resolve handle this seamlessly.
By prioritizing motion, your videos evolve from passive displays to active stories, boosting watch time and shares.
Idea 2: Utilize Creative Angles to Highlight Textures and Details
Angles transform familiar subjects into fresh visuals, crucial for food videos where novelty drives engagement. Standard front-on shots are predictable; instead, experiment with top-down, side, macro, and unconventional perspectives to emphasize textures and details.
Top-down views excel for assembly processes, like building a burger layer by layer. Position the camera overhead using a boom arm or even a DIY rig with a smartphone mount. This angle showcases color contrasts—vibrant tomatoes against creamy mayo—while revealing the dish’s architecture. Side angles work for height-dependent foods, such as stacked pancakes, capturing syrup drips cascading down edges for a tantalizing effect.
Macro shots zoom in on fine details, using 2x or 3x magnification to highlight crumbly textures in a cookie or bubbly fizz in a soda. Pair this with a macro lens attachment (affordable options like Moment lenses start at $100) for smartphones, or built-in modes on cameras like the Canon EOS R series. The “bite” shot takes this further: a close-up of someone taking a mouthful, showcasing crunch or melt. Time it post-assembly to demonstrate the final appeal, evoking sensory response.
For dramatic impact, try low-angle or “from below” shots. Use transparent Plexiglas as a base for pouring ingredients directly onto the “camera view,” simulating the dish’s perspective. This is ideal for messy actions like sprinkling herbs or drizzling sauce, adding surprise without disorienting the viewer if used sparingly.
A table of recommended angles and their applications:
| Angle Type | Best For | Equipment Tips | Example Use Case |
|---|---|---|---|
| Top-Down | Assembly & Layering | Overhead rig or tripod extension | Pizza topping arrangement |
| Side View | Height & Flow | Standard tripod at subject level | Pouring batter into a pan |
| Macro (2x/3x Zoom) | Textures & Details | Macro lens or phone attachment ($50-150) | Close-up of sizzling garlic |
| Low-Angle (From Below) | Dramatic Reveals | Plexiglas sheet ($20-50) | Ingredients falling onto dish |
| Orbit (Circular Pan) | Static Finals | Fluid head tripod ($100+) | Finished plated meal |
These angles prevent repetition, making even common foods like pizza appear innovative. Balance them within your narrative—start wide to establish the scene, then zoom to details. This progression guides the viewer’s eye, enhancing comprehension and retention.
Idea 3: Master Transitions and Editing for Seamless Flow
Transitions bridge shots, turning disjointed clips into cohesive stories. Poor edits feel jarring; masterful ones create illusionary continuity, amplifying excitement in food videos.
Begin with object transitions: pass a hand, utensil, or ingredient over the lens to wipe between scenes. For example, swipe a knife across the frame after chopping onions, cutting to the next ingredient seamlessly. Action match cuts build on this—edit on motion, like a downward knife slice matching a pouring stream. This technique, inspired by film editing, maintains energy.
Speed ramping adds rhythm: accelerate mundane tasks (stirring at 4x) to compress time, then decelerate satisfying moments (honey drizzling at 0.25x) for emphasis. In software like Final Cut Pro ($299 lifetime), keyframe velocity changes for precision.
Directionality is key for flow. If one shot moves left-to-right (e.g., sliding a pan), the next should follow suit to avoid visual discord. Shoot bidirectional versions of clips for flexibility. For high-energy sequences, incorporate whip pans—quick blurs between shots—to inject urgency, like transitioning from prep to cooking.
Here’s a diagram for editing workflow:
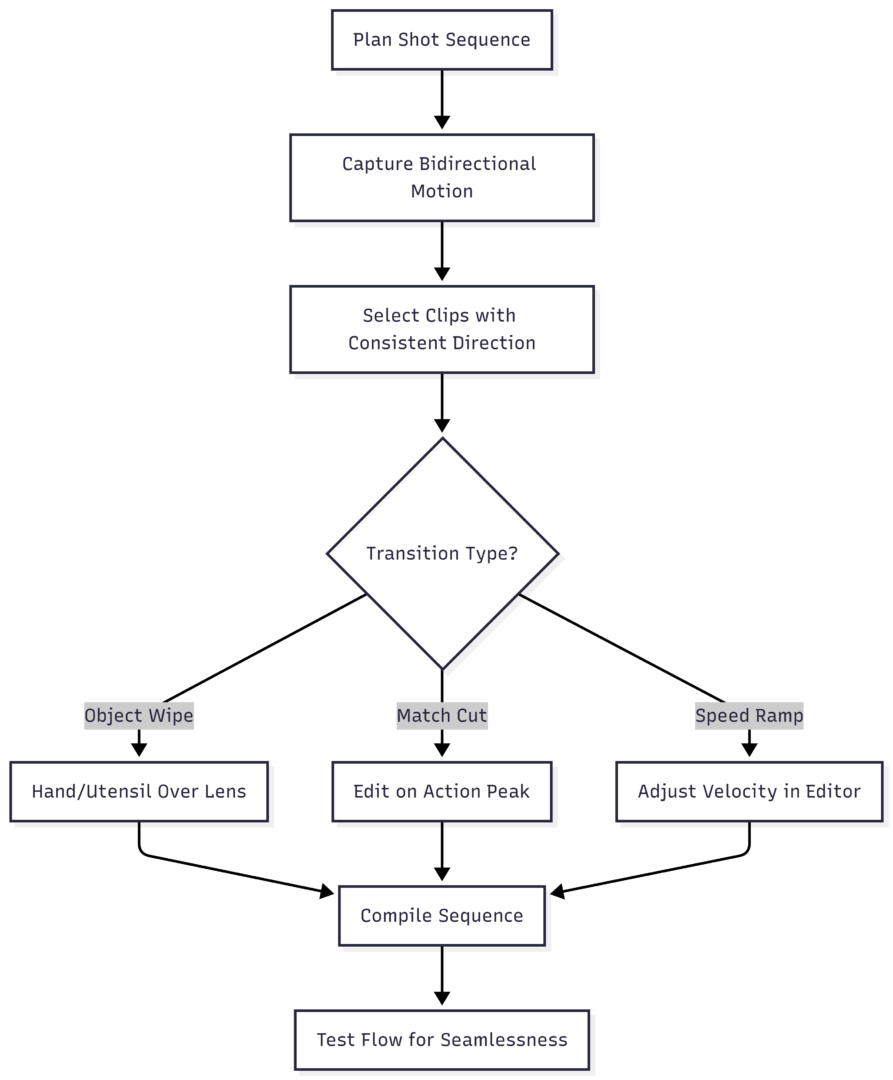
This ensures polished results. Advanced creators can layer effects, but keep it simple: aim for 3-5 second clips to match short attention spans. Effective editing elevates raw footage, making your videos binge-worthy.
Idea 4: Optimize Lighting and Setup for Appetizing Visuals
Lighting shapes perception—harsh front light flattens food, while side or backlighting enhances appeal. Setup complements this, creating a professional backdrop.
Avoid direct overhead or front lighting; it creates shadows that dull colors. Use sidelighting from a window or softbox (e.g., Neewer 700W kit at $60) to sculpt textures, making fruits glisten or breads appear crusty. Backlighting, positioned behind the subject, creates a halo effect for translucent items like salads, evoking freshness.
Backgrounds matter: opt for clean, neutral surfaces like marble slabs ($30-100) or rustic wood to pop colors. Dark backdrops intensify vibrant hues in vegan dishes, while light ones suit minimalist presentations. Clutter-free setups focus attention—use reflectors (foldable ones at $20) to bounce light evenly.
Structure your video: open with a wide establishing shot to contextualize the kitchen or table, then transition to close-ups. Add authenticity with brief behind-the-scenes (BTS) clips, like adjusting props, to humanize the process.
A comparison table of lighting setups:
| Lighting Type | Pros | Cons | Recommended Tools & Price |
|---|---|---|---|
| Sidelighting | Enhances texture, natural depth | Can cast long shadows | Window diffuser or softbox ($40-80) |
| Backlighting | Creates glow, appetizing sheen | Overexposes edges if too strong | LED ring light ($50) |
| Front Lighting | Even illumination | Washes out details | Avoid; use only with diffusers |
| Natural Window | Cost-free, soft | Inconsistent by time of day | Reflector boards ($15-30) |
Incorporate these for videos that look mouthwatering, encouraging shares and follows.
Idea 5: Leverage Sound and Creative Concepts for Sensory Immersion
Sound amplifies visuals, triggering appetite through ASMR-like elements. Integrate it early in planning to enhance concepts.
Focus on ingredient ASMR: capture sizzling pans, chopping echoes, or pouring gurgles with close mics (lavalier types at $20). Layer these over visuals for multisensory appeal—viewers “hear” the crispness of veggies.
Start with a “final product” reveal: open with the hero shot of the completed dish, steaming and irresistible, before rewinding to the process. This hooks viewers instantly.
Emphasize layering: build the dish step-by-step, highlighting color and texture contrasts, like adding greens to a base. For sound design, sync effects to actions—clinking ice in drinks or fizzing sodas.
Don’t overlook ambient audio: subtle kitchen noises add realism. Tools like Audacity (free) allow precise editing.
A chart for sound integration:
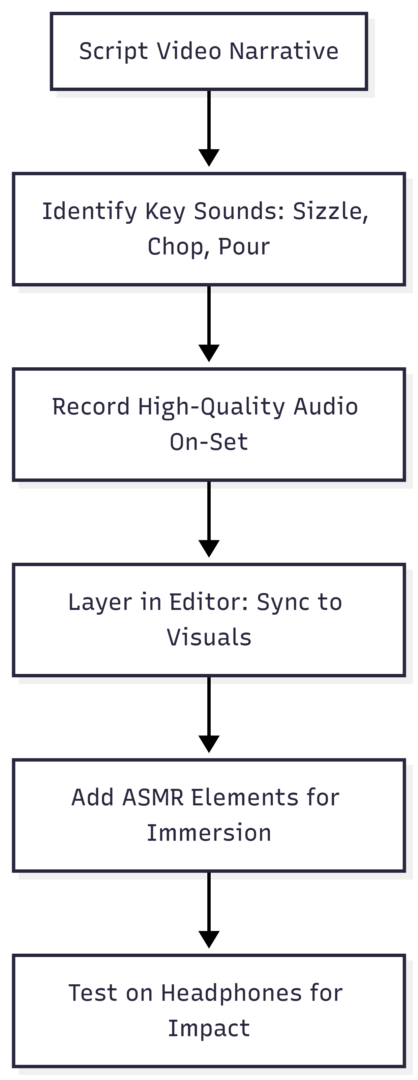
This approach makes videos memorable, blending sight and sound for full engagement.
In summary, these five ideas—dynamic motion, creative angles, seamless transitions, optimized lighting, and sensory sound—revamp your food videos into captivating content. Experiment, iterate, and watch your audience grow.
Please share this 5 Creative Ideas to Spice up your Food Videos with your friends and do a comment below about your feedback.
We will meet you on next article.
Until you can read, “Culinary Splash Effect” Energizes Food Photography