The Best Tools for Creating Food Videos
Discover the best tools for creating professional food videos, from cameras to editing software, perfect for beginners and pros alike.
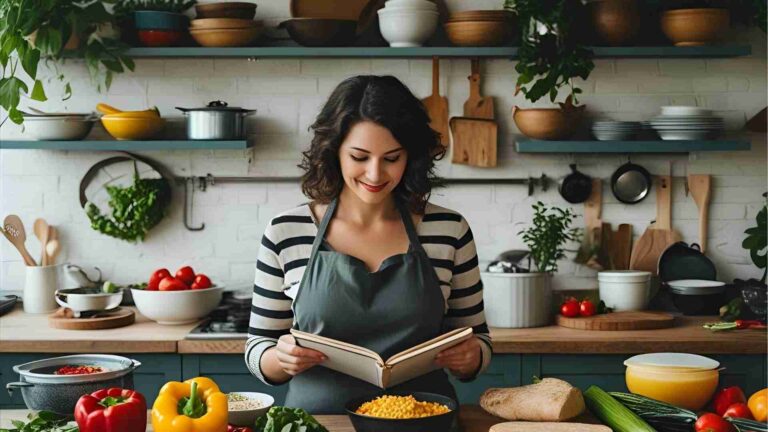
Food videos have become a powerful medium for sharing culinary creations, whether for a YouTube channel, social media, or a food blog. From vibrant recipe tutorials to ASMR-style cooking clips, high-quality food videos can captivate audiences and elevate your brand. However, creating professional-grade food videos requires the right tools and a strategic approach. This comprehensive guide explores the best tools for planning, filming, lighting, audio, editing, and sharing food videos, tailored for beginners and seasoned creators alike. Drawing from expert advice and community insights, we’ll cover equipment specifications, practical tips, and budget-friendly options to help you produce stunning food videos.
1. Planning and Scripting: Laying the Foundation
Effective food videos start with meticulous planning. Organizing your content calendar, scripting your shots, and tracking progress ensure a smooth production process. Here are the top tools for planning and scripting:
Notebook
A simple notebook is a cost-effective way to jot down ideas, sketch shot lists, and manage your content calendar. It’s ideal for beginners who prefer a tactile approach to brainstorming. Keep a dedicated notebook for video ideas, recipe steps, and shooting schedules to stay organized.
- Price: $5–$20
- Best for: Beginners, budget-conscious creators
Trello or Asana
For digital organization, project management tools like Trello or Asana are excellent choices. These platforms allow you to create boards or tasks to track your video production pipeline, assign deadlines, and store notes. Trello’s visual boards are great for mapping out a content calendar, while Asana’s task-based system suits detailed project tracking.
- Price: Free (basic versions); paid plans start at $10/month
- Best for: Content creators managing multiple videos
- Key Features: Task assignments, due dates, file attachments
Shot Lister
Shot Lister is a specialized app for planning every shot, angle, and scene. It’s particularly useful for creators who want to pre-visualize their videos, ensuring no critical shot is missed during filming. The app allows you to create detailed shot lists, schedule scenes, and export plans for your crew or personal reference.
- Price: $14.99 (one-time purchase)
- Best for: Detail-oriented creators, professional shoots
- Key Features: Shot categorization, scheduling, exportable lists
Tip: Create a shot list for each recipe step to streamline filming. For example, list “close-up of chopping vegetables” or “top-down shot of mixing dough” to ensure you capture all necessary angles.
2. Cameras: Capturing the Culinary Action
The camera is the heart of your food video setup. Whether you’re using a smartphone or a professional camera, the right choice depends on your budget and desired video quality.
Smartphone Cameras
Smartphones like the iPhone 13 Pro or Google Pixel 6a are powerful tools for beginners. Modern smartphones offer high-resolution video (4K in many cases), built-in stabilization, and compact portability. The iPhone 13 Pro, for instance, features a triple-camera system with cinematic mode, ideal for dynamic food shots. The Pixel 6a, while more budget-friendly, delivers excellent color accuracy and low-light performance.
- Price: $600–$1,000 (varies by model)
- Best for: Beginners, social media content creators
- Key Specs:
- iPhone 13 Pro: 12MP triple-camera system, 4K video at 60fps, cinematic mode
- Pixel 6a: 12.2MP dual-camera system, 4K video at 30fps
- Community Insight: Many beginners, like Reddit user MiBabyOnly, start with smartphones due to their accessibility and quality, though they may struggle with angles without proper mounts.
DSLR or Mirrorless Cameras
For professional-quality videos, DSLR or mirrorless cameras like the Canon 5D Mark II or Canon EOS 80D are excellent choices. These cameras offer interchangeable lenses, superior image quality, and greater control over depth of field, making food look vibrant and appetizing. The Canon 80D’s autofocus and flip-out screen are particularly useful for solo creators.
- Price: $500–$1,500 (body only)
- Best for: Professional-grade videos, food bloggers
- Key Specs:
- Canon 5D Mark II: 21.1MP full-frame sensor, 1080p video at 30fps
- Canon EOS 80D: 24.2MP APS-C sensor, 1080p video at 60fps, autofocus
- Community Insight: KevFernan, a seasoned food blogger, recommends the Canon 80D for its lightweight design and autofocus, ideal for overhead shots.
Lens Recommendations:
- Canon 50mm f/1.8: A prime lens for sharp, shallow-depth shots ($125)
- Canon 24-70mm f/2.8: Versatile zoom lens for dynamic framing ($1,900)
- Canon Extension Tube EF12 II: Enhances close-up capabilities ($85)
Tip: If using a smartphone, experiment with macro modes for close-up shots of textures like cake frosting or sizzling pans.
3. Tripods and Mounts: Achieving Stable Shots
Stable footage is critical for professional-looking food videos. Tripods and mounts help you achieve steady top-down or angled shots, keeping the focus on the food.
Octobuddy
The Octobuddy is a flexible mount that sticks to your phone case, allowing you to attach it to surfaces like windows or cabinets. It’s ideal for creative angles in small kitchens.
- Price: $20–$40
- Best for: Smartphone users, small spaces
Overhead Mounts
Overhead mounts, like the Arkon Overhead Phone Mount or Glide Gear OH 100, are perfect for top-down shots, a staple in food videos. These mounts secure your phone or camera above the cooking surface, ensuring consistent framing.
- Price: $50–$150
- Best for: Top-down recipe videos
- Key Specs: Adjustable arms, secure phone/camera clamps
DSLR Tripods
For DSLR or mirrorless cameras, a sturdy tripod like the Vanguard ALTA PRO 263AGH is essential. Its articulating arm supports overhead shots, and its robust build handles heavier cameras.
- Price: $150–$300
- Best for: Professional setups
- Key Specs: Articulating arm, 13.2lb weight capacity
Community Insight: MiBabyOnly struggled with poor angles using a budget tripod from Temu. Upgrading to an overhead mount or a quality tripod can solve this issue, as suggested by KevFernan.
Tip: Use sandbags ($10–$30) to stabilize overhead tripods, preventing tipping during shoots.
4. Lighting: Illuminating Your Culinary Creations
Lighting can transform a food video, highlighting textures and colors to make dishes look irresistible. Here are the best lighting options:
Natural Lighting
Natural light from a window is a free, effective way to achieve soft, flattering illumination. Position your setup near a north-facing window for diffuse light, avoiding harsh shadows.
- Price: Free
- Best for: Beginners, budget setups
Ring Light Kit
Ring lights, like the Neewer 18-inch Ring Light, provide even illumination for small setups. They’re budget-friendly and ideal for filming in low-light conditions.
- Price: $50–$100
- Best for: Smartphone users, small kitchens
- Key Specs: Adjustable brightness, color temperature (3200K–5600K)
Studio Lighting Kits
For professional results, studio lighting kits like the Neewer LED Video Light or Godox SL60W offer versatility. Softboxes and diffusers soften harsh light, creating a natural glow.
- Price: $100–$300
- Best for: Professional setups
- Key Specs:
- Neewer LED: 480 LED beads, 3200K–5600K, CRI 96+
- Godox SL60W: 60W, Bowens mount, 5600K
Community Insight: Reddit user Kilofilm recommends lightweight LED wands for small kitchens, especially for creators with accessibility needs, as they can be tucked away safely.
Tip: Use a diffuser ($20–$60) to soften harsh light, especially when filming in direct sunlight.
5. Microphones: Capturing Culinary Sounds
Audio enhances the sensory experience of food videos, from the sizzle of a pan to the crunch of fresh vegetables. Here are the top microphone options:
Smartphone Microphones
Wireless lavalier microphones, like the Rode Wireless Go, are compact and plug directly into smartphones, capturing clear cooking sounds with minimal background noise.
- Price: $100–$200
- Best for: Smartphone users, ASMR-style videos
- Key Specs: 2.4GHz wireless, 70m range
DSLR Microphones
For DSLR setups, the Rode VideoMic attaches to your camera, offering directional audio to focus on cooking sounds. It’s ideal for professional shoots.
- Price: $130–$250
- Best for: DSLR/mirrorless setups
- Key Specs: Supercardioid polar pattern, 20Hz–20kHz frequency range
External Recorders
The Zoom H1N Handy Recorder is a budget-friendly option for recording high-quality audio separately, which can be synced in post-production. It supports lavalier mics and is versatile for voice-overs.
- Price: $100–$150
- Best for: Voice-overs, separate audio recording
- Key Specs: 24-bit/96kHz recording, X/Y stereo mic
Community Insight: Newbilizer suggests a shotgun mic for ASMR-style videos like Nino’s Home, while testees12 plans to use a Blue Snowball for voice-overs, highlighting budget constraints.
Tip: For cooking sounds, position the mic close to the action but out of the frame. A lightning-to-USB adapter ($10–$30) can connect a Blue Snowball to an iPhone, though it may be cumbersome.
6. Editing Software: Polishing Your Videos
Editing brings your footage to life, adding transitions, music, and effects to create a cohesive story. Here are the best editing tools:
CapCut or InShot
CapCut and InShot are intuitive apps for smartphone editing, offering free and paid versions. They support basic cuts, transitions, and text overlays, with CapCut also available as a free desktop app.
- Price: Free (basic); premium features $5–$10/month
- Best for: Beginners, mobile editing
- Key Features: Multi-layer editing, filters, music libraries
Adobe Premiere Pro
Adobe Premiere Pro is a professional-grade editor with advanced features like color grading, audio mixing, and multi-camera syncing. It’s ideal for creators seeking full control.
- Price: $20.99/month (Creative Cloud subscription)
- Best for: Professional editors
- Key Features: 4K editing, motion graphics, VR support
Final Cut Pro X
Exclusive to Mac, Final Cut Pro X offers a user-friendly interface with powerful tools for color correction, transitions, and effects. It’s a favorite among food bloggers.
- Price: $299.99 (one-time purchase)
- Best for: Mac users, professional-grade editing
- Key Features: Magnetic timeline, 360° video support
Community Insight: Official_Captions_AI highlights AI-powered editing tools like Captions, which streamline editing with one-tap features, saving time for beginners.
Tip: Use royalty-free music from Epidemic Sound ($15/month) or Premium Beat ($13–$50/track) to enhance your videos without copyright issues.
7. Social Media Scheduling: Sharing Your Videos
Once your video is ready, scheduling tools help you publish at optimal times, maximizing reach and engagement.
In-App Schedulers
Platforms like Instagram, YouTube, and Pinterest offer built-in scheduling tools for free. These are straightforward and ideal for single-platform posting.
- Price: Free
- Best for: Single-platform creators
Canva, Tailwind, CoSchedule
For multi-platform scheduling, Canva, Tailwind, and CoSchedule offer robust features. Canva integrates design and scheduling, Tailwind specializes in Pinterest and Instagram, and CoSchedule provides comprehensive analytics.
- Price:
- Canva: Free (basic); Pro $12.99/month
- Tailwind: $19.99/month
- CoSchedule: $29/month
- Best for: Multi-platform creators
- Key Features: Analytics, post previews, hashtag suggestions
Tip: Schedule posts during peak audience hours (e.g., 7–9 PM) to boost engagement, using analytics from scheduling tools to refine timing.
Equipment Comparison Table
| Tool | Type | Price | Best for | Key Features |
|---|---|---|---|---|
| Notebook | Planning | $5–$20 | Beginners | Portable, budget-friendly |
| Trello/Asana | Planning | Free–$10/month | Multi-video projects | Task management, content calendar |
| Shot Lister | Planning | $14.99 | Detailed shot planning | Shot lists, scheduling |
| iPhone 13 Pro | Camera | $999 | Beginners, social media | 4K video, cinematic mode |
| Canon EOS 80D | Camera | $1,000 | Professional videos | Autofocus, flip-out screen |
| Octobuddy | Tripod/Mount | $20–$40 | Smartphone users | Flexible mounting |
| Arkon Overhead Mount | Tripod/Mount | $50–$100 | Top-down shots | Adjustable arm |
| Vanguard ALTA PRO | Tripod | $150–$300 | DSLR setups | Articulating arm, sturdy build |
| Natural Lighting | Lighting | Free | Budget setups | Soft, natural glow |
| Neewer Ring Light | Lighting | $50–$100 | Small setups | Adjustable brightness, color temperature |
| Godox SL60W | Lighting | $100–$200 | Professional setups | Bowens mount, high CRI |
| Rode Wireless Go | Microphone | $100–$200 | Smartphone users, ASMR | Wireless, compact |
| Rode VideoMic | Microphone | $130–$250 | DSLR setups | Directional audio |
| Zoom H1N | Microphone | $100–$150 | Voice-overs, separate recording | High-quality audio, lav mic support |
| CapCut/InShot | Editing Software | Free–$10/month | Mobile editing | Multi-layer editing, filters |
| Adobe Premiere Pro | Editing Software | $20.99/month | Professional editing | 4K editing, advanced features |
| Final Cut Pro X | Editing Software | $299.99 | Mac users | Magnetic timeline, 360° support |
| Canva/Tailwind | Scheduling | Free–$19.99/month | Multi-platform posting | Analytics, scheduling |
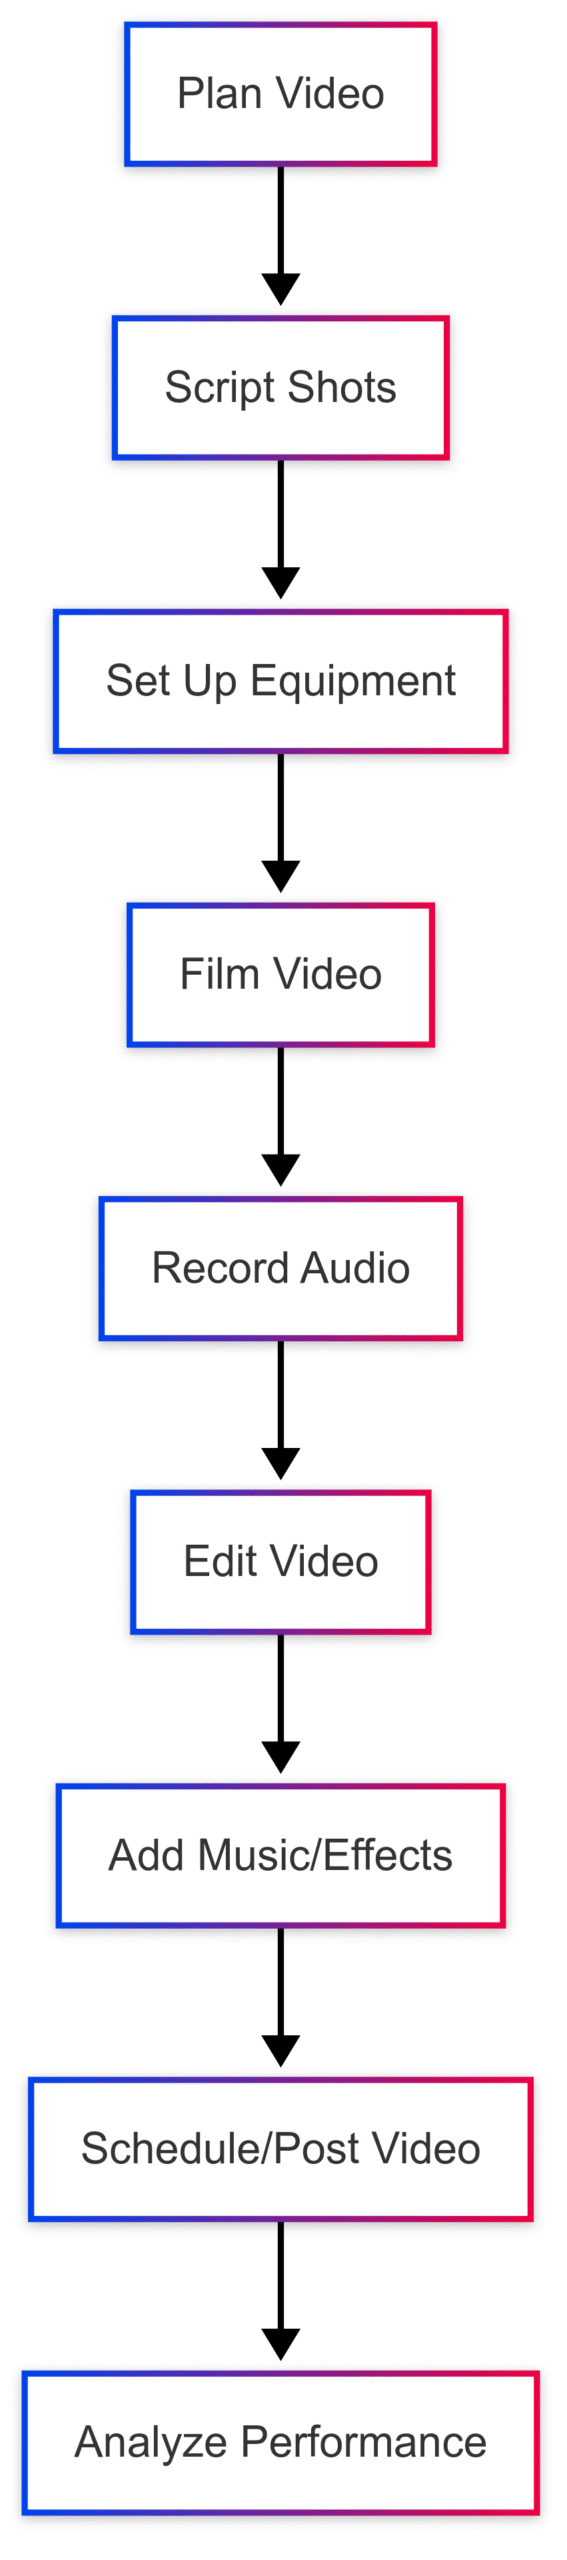
Workflow Diagram
To visualize the food video creation process, here’s a flowchart outlining the key steps:
Practical Tips for Beginners
- Start Simple: As Newbilizer advises, focus on sound quality first, then lighting, then video. A smartphone setup with a good microphone and ring light can produce high-quality results.
- Practice Framing: Study channels like Cooking Tree or Nino’s Home to understand shot composition. Practice top-down and 45° angles using an overhead mount.
- Batch Film: Film multiple recipes in one session to save time, using a shot list to stay organized.
- Invest Gradually: Begin with budget tools (e.g., Pixel 6a, ring light) and upgrade as your skills and revenue grow, as KevFernan suggests.
- Engage Your Audience: Consider live narration during cooking, as ChunkyDay recommends, to make videos feel natural and inviting.
Conclusion
Creating professional food videos doesn’t require a Hollywood budget. With tools like smartphones, overhead mounts, ring lights, and intuitive editing apps, beginners can produce stunning content. For those aiming for professional results, DSLR cameras, studio lights, and advanced editing software offer unmatched quality. By planning meticulously, investing in key equipment, and refining your skills, you can create food videos that captivate and inspire. Whether you’re starting a bakery YouTube channel or sharing recipes on Instagram, these tools will help you bring your culinary vision to life.
Please share these The Best Tools for Creating Food Videos with your friends and do a comment below about your feedback.
We will meet you on next article.
Until you can read, How to Exclude Bot Traffic From Google Analytics and GA4