2 Techniques to Improve Your Food Photography Flatlays
Flat lay food photography has become one of the most powerful visual styles in modern food media. From recipe blogs and cookbooks to Instagram, Pinterest, menus, and advertising, overhead food photography delivers clarity, structure, and space for storytelling. Editors and brands favor flatlays because they are versatile, easy to crop, and ideal for adding text overlays without distracting from the food.
Yet despite how common flatlays look online, creating a professional one is not easy. Many photographers struggle with scenes that feel flat, cluttered, poorly balanced, or awkwardly angled. Food may look like it is sliding off the table, shadows may feel harsh, or the image may lack visual flow.
This article focuses on two core techniques that dramatically improve food photography flatlays: C-shaped compositions and diagonal compositions. These techniques form the backbone of strong overhead food photography and work across styles—from bright and airy breakfasts to dark, moody editorial scenes.
Along the way, we will cover essential equipment, lighting control, depth, color harmony, props, background selection, and post-processing. The goal is not fluff, trends, or theory—but practical guidance that helps you consistently produce clean, commercial-ready flatlays.
Why Flat Lay Food Photography Matters
Flat lays are more than a trend. They solve real visual problems:
- They show multiple elements clearly in a single frame
- They reduce perspective distortion
- They work well for storytelling and step-by-step narratives
- They are ideal for branding and text placement
- They scale easily across platforms (web, print, social)
Because of this, flatlays are a core skill for food photographers, bloggers, content creators, and brands.
Equipment That Makes Flatlays Work
Before discussing composition, it’s essential to understand why flatlays often fail: camera alignment and lighting control.
Camera Positioning: Perfect 90 Degrees
Flat lay photography requires the camera sensor to be perfectly parallel to the surface. Even a slight tilt creates distortion and uneven focus.
Essential tools:
- Tripod with overhead or horizontal arm
- Hot-shoe spirit level (double bubble level)
- Tethered shooting (optional but highly recommended)
A tripod prevents fatigue and keeps framing consistent. A spirit level ensures true alignment, eliminating the “sliding food” effect common in handheld shots.
Lens Choice
The goal is minimal distortion and full-scene clarity.
| Camera Type | Recommended Lens | Reason |
|---|---|---|
| Full-frame | 50mm prime | Natural perspective, low distortion |
| Crop sensor | 35mm prime | Equivalent field of view to 50mm |
| Smartphone | Built-in wide (with grid enabled) | Use leveling aids or apps |
Avoid ultra-wide lenses unless intentionally stylized, as they stretch edges and distort plates.
Lighting for Flat Lay Food Photography
Natural Light (Preferred for Most Scenes)
- Use indirect window light
- Position light at a slight angle (30–45°)
- Diffuse harsh sunlight with curtains or diffusers
Artificial Light (For Control and Consistency)
Continuous lights are ideal for flatlays because they allow real-time shadow control.
Common setup:
- Single continuous light (200W+ equivalent)
- Large diffuser placed close to scene
- White bounce card opposite light
- Black card if dramatic shadows are needed
Light Control Tools
| Tool | Purpose |
|---|---|
| White card | Fill shadows, brighten scene |
| Black card | Add contrast and depth |
| Diffuser | Soften harsh light |
| Reflector | Extend light coverage |
Soft light is key. Flatlays rarely benefit from harsh directional lighting unless deliberately stylized.
Depth: Avoiding the Flat, Lifeless Look
Despite the name, flatlays should never feel two-dimensional.
Ways to add depth:
- Layer textiles under plates
- Stack plates, trays, and boards
- Overlap food items slightly
- Scatter raw ingredients naturally
- Use height variation sparingly
Depth gives shadows something to work with and helps guide the eye.
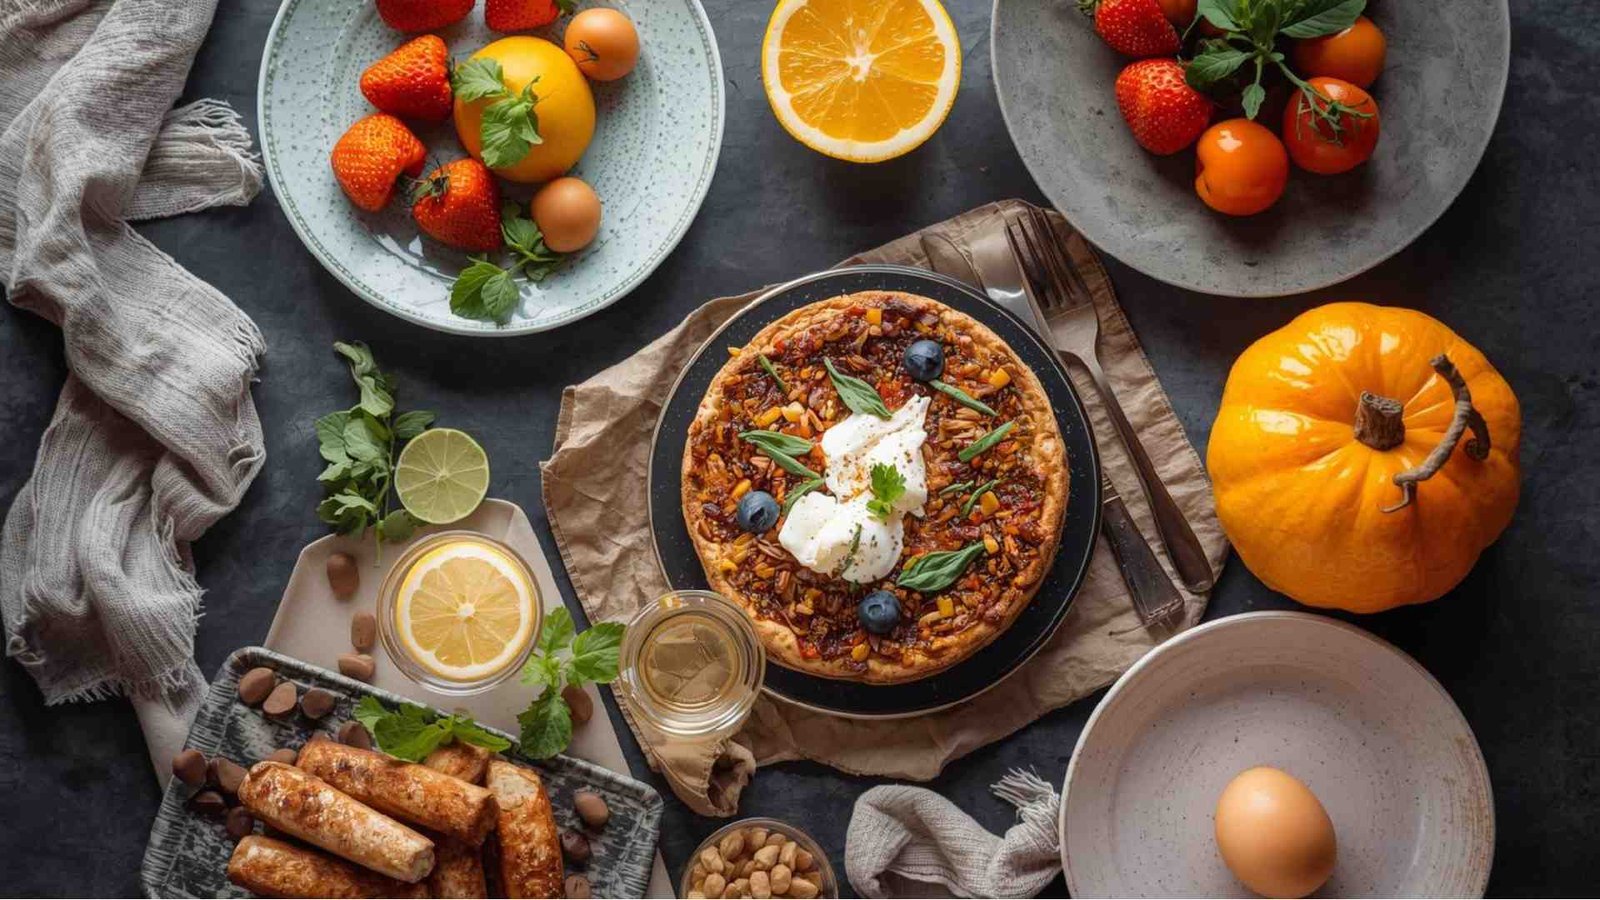
Technique 1: The C-Shape Composition
What Is the C-Shape?
The C-shape is a curved compositional flow that guides the viewer’s eye through the frame in a soft, natural arc. It is especially effective for editorial food photography and client work where negative space is required.
Why the C-Shape Works
- Creates movement without chaos
- Naturally includes negative space
- Feels organic and inviting
- Ideal for text placement
- Excellent for calm, feminine, or lifestyle scenes
How to Build a C-Shape Flatlay
- Place the main dish first (hero item)
- Arrange secondary dishes along a curved path
- Use props (cutlery, linens, herbs) to reinforce the curve
- Leave the inside or outside of the “C” open for breathing room
When to Use the C-Shape
- Breakfast scenes
- Editorial spreads
- Calm, bright, airy compositions
- Brand photography requiring text overlays
Common Mistakes
- Overfilling the curve
- Forcing symmetry
- Ignoring negative space
Technique 2: Diagonal Composition
Why Diagonals Matter
Straight, grid-like compositions often feel static. Diagonals introduce energy, direction, and tension—making flatlays feel dynamic and lived-in.
How Diagonals Improve Flatlays
- Add movement
- Create visual tension
- Break rigid symmetry
- Lead the viewer across the frame
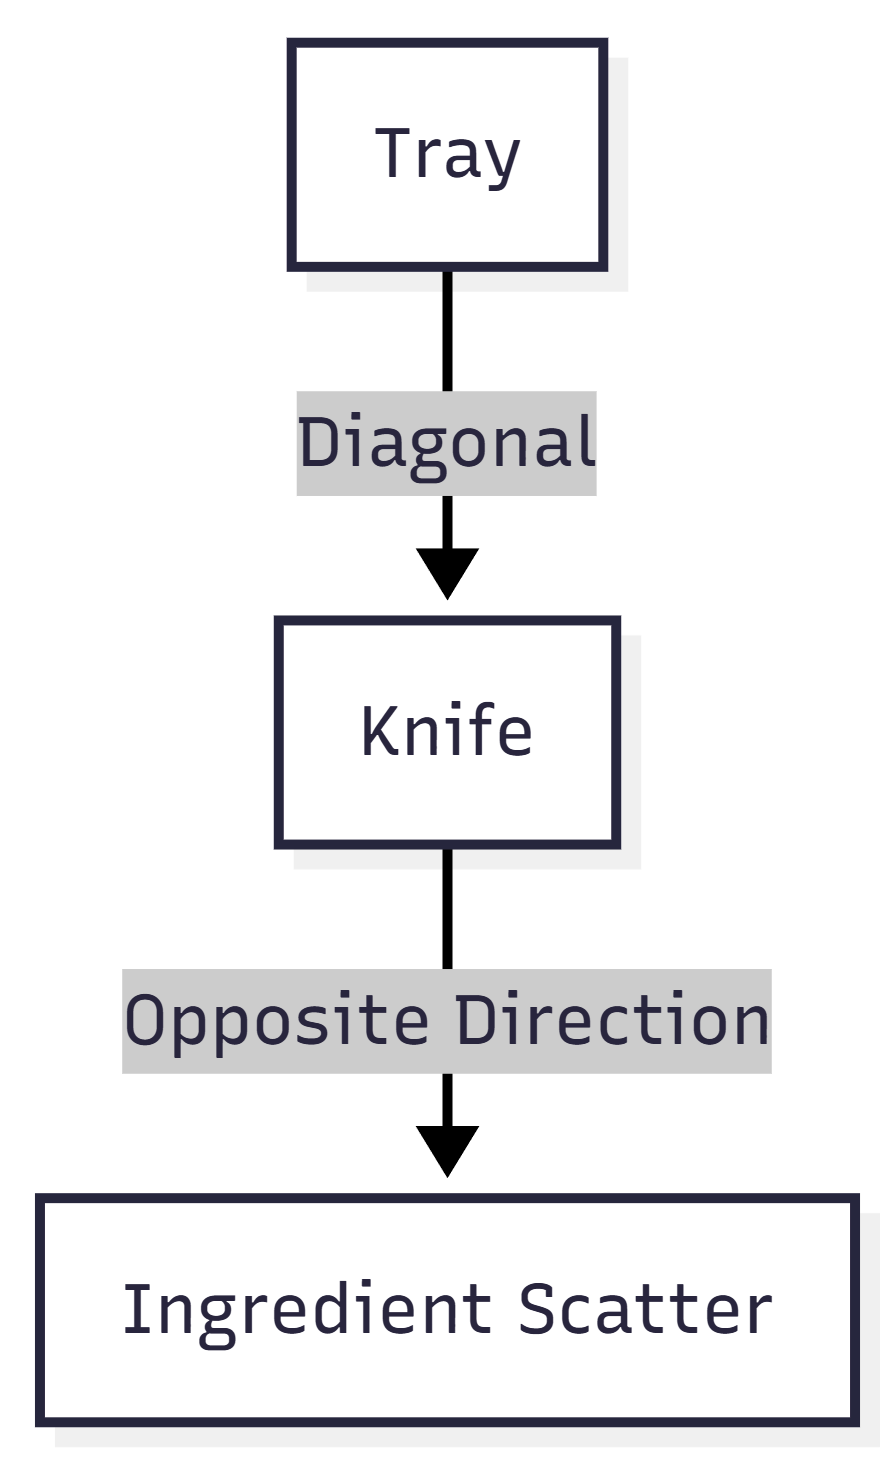
How to Apply Diagonal Composition
- Rotate trays or boards slightly
- Angle utensils across corners
- Scatter ingredients along diagonal paths
- Avoid parallel alignment with frame edges
Example Structure
Best Use Cases
- Baked goods
- Desserts
- Minimal scenes
- Dark or moody photography
Combining Both Techniques
Strong flatlays often combine:
- C-shapes for structure
- Diagonals for tension
- Leading lines for flow
- Rule of odds for balance
This layered approach creates professional-grade images.
Composition Guidelines That Support Flatlays
| Rule | Application |
|---|---|
| Rule of odds | Group items in 3s or 5s |
| Leading lines | Guide viewer attention |
| Visual balance | Distribute visual weight |
| Negative space | Improve clarity and usability |
Color Harmony in Flat Lay Photography
Analogous Color Schemes
Analogous colors sit next to each other on the color wheel and create harmony.
Examples:
- Yellow, orange, red
- Purple, magenta, red
- Green, yellow-green
These schemes are ideal for:
- Calm scenes
- Lifestyle storytelling
- Bright and airy food photography
Accent Colors
Introduce a single contrasting accent (e.g., yellow tea in a purple scene) to add energy without overwhelming the frame.
Props and Background Selection
Props should support—not compete with—the food.
Best Backgrounds
- Wood (rustic, warm)
- Stone (modern, neutral)
- Linen (soft, lifestyle)
- Matte surfaces (avoid glare)
Prop Selection Guidelines
- Neutral colors
- Simple textures
- Consistent style
- Avoid branded or distracting elements
Camera Settings for Flatlays
| Setting | Recommendation |
|---|---|
| Aperture | f/8–f/11 |
| ISO | As low as possible |
| Shutter speed | Adjust to exposure |
| Mode | Manual or Aperture Priority |
| Format | RAW |
Manual control ensures consistent exposure and depth of field across scenes.
Editing and Retouching
Editing is not optional—it is part of professional flatlay photography.
Editing Workflow
- Adjust exposure and contrast
- Correct white balance
- Fine-tune colors
- Remove distractions
- Subtle sharpening
- Crop for balance
Retouching Focus Areas
- Crumbs and spills
- Plate edges
- Fruit blemishes
- Uneven shadows
Practice and Skill Development
Improvement comes from repetition and experimentation:
- Shoot daily ingredients
- Practice with limited props
- Rebuild the same scene multiple ways
- Analyze professional flatlays critically
Even smartphone flatlays improve dramatically when composition and lighting principles are applied.
Final Thoughts
Flat lay food photography is a discipline built on precision, intention, and visual storytelling. While equipment and lighting matter, composition is what transforms an overhead shot into a professional image.
The two techniques covered in this article—the C-shape and diagonal composition—are foundational tools that work across styles, cuisines, and platforms. When paired with proper lighting, depth, color harmony, and restraint, they consistently produce clean, engaging, and commercial-ready flatlays.
Master these techniques, and flatlay photography becomes less about guessing—and more about deliberate, confident creation.
Please share this 2 Techniques to Improve Your Food Photography Flatlays with your friends and do a comment below about your feedback.
We will meet you on next article.
Until you can read, Braised Chinese Cabbage in Oyster Sauce