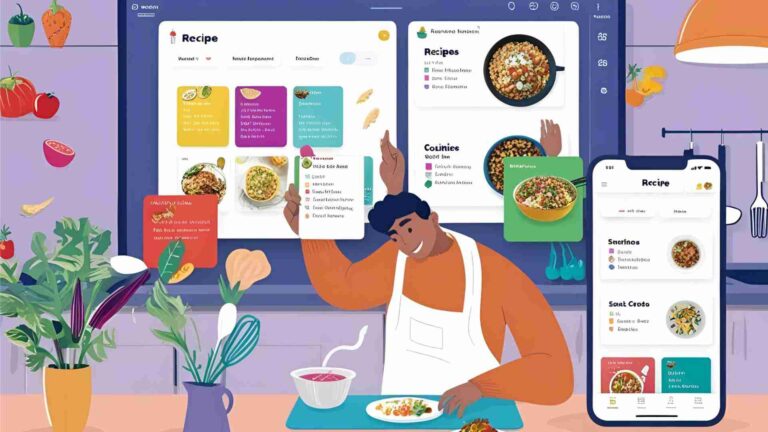
Craft Your Food Blog Media Kit Like a Pro
Learn how to craft a professional food blog media kit to attract sponsors with tips, templates, and examples for success.
In the vibrant world of food blogging, standing out among thousands of creators is no small feat. A well-crafted media kit is your ticket to transforming your passion for food into a thriving business by attracting sponsorships, brand deals, and partnerships. This comprehensive guide will walk you through creating a professional food blog media kit that showcases your unique brand, engages potential sponsors, and opens doors to lucrative opportunities. Whether you’re a seasoned blogger or just starting, this article provides actionable steps, design tips, and real-world examples to help you succeed.
Why a Media Kit is Essential for Food Bloggers
A media kit is your blog’s resume—a concise, visually appealing document that sums up your brand, audience, and value proposition. It’s often the first impression a potential sponsor has of your blog, making it a critical tool for securing partnerships. Unlike a website, which offers a broad view of your content, a media kit distills the essentials into a digestible format, typically one to five pages, that brands can quickly review.
For food bloggers, a media kit is particularly important because it highlights your culinary niche, visual expertise, and audience engagement—key factors that brands in the food and lifestyle industries prioritize. By presenting metrics, services, and your unique story, a media kit demonstrates why a brand should invest in you over countless other food blogs.
Key Elements of a Food Blog Media Kit
To create a media kit that resonates with brands, include these essential components. Each section should be clear, concise, and tailored to showcase your blog’s strengths.
1. Highlight Your Culinary Niche and Brand Story
Your media kit should immediately convey what makes your food blog unique. Are you a vegan recipe creator, a gluten-free baking expert, or a master of global cuisines? Define your niche clearly to set yourself apart from the competition.
Brand Story: Share your journey as a food blogger. What inspired you to start? Perhaps it was a lifelong love of Italian cooking or a personal health journey that led to creating plant-based recipes. Keep it brief but personal—stories humanize your brand and make it relatable. For example, a sentence like, “Inspired by my grandmother’s Sicilian recipes, I create modern takes on classic Italian dishes,” instantly conveys your passion and niche.
Mission and Goals: Outline your blog’s mission and future vision. For instance, “My mission is to make healthy eating accessible through quick, budget-friendly recipes.” This shows brands your long-term commitment and direction, instilling confidence in your professionalism.
2. Showcase Your Services
Clearly define the services you offer to potential partners. This helps brands understand the value you bring and the types of collaborations you’re open to. Common services for food bloggers include:
- Sponsored Content: Offer recipe development, product reviews, or branded blog posts. Specify what you provide, such as a 500-word post with three high-quality images.
- Affiliate Marketing: Highlight your ability to integrate affiliate links seamlessly into your content, driving sales for brands.
- Social Media Promotions: Detail your presence on platforms like Instagram, TikTok, or YouTube. Include follower counts and engagement rates (e.g., 5% engagement on Instagram).
- Video Content: If you produce cooking videos, showcase their quality and engagement. Link to examples or include thumbnails.
- Event Participation: Mention any experience hosting or attending cooking demos, workshops, or food festivals, and how brands can benefit.
Example Table: Services Offered
| Service | Description | Deliverables |
|---|---|---|
| Sponsored Post | Custom recipe featuring the brand’s product with high-quality images. | 500-word post, 3 photos, 2 social shares |
| Social Media Campaign | Promotional posts across Instagram and TikTok with branded hashtags. | 2 Instagram posts, 1 TikTok video |
| Video Content | Recipe video showcasing the brand’s product. | 1-minute video, 10K+ views expected |
| Affiliate Marketing | Integration of affiliate links in blog posts and newsletters. | Trackable links, 5% conversion rate |
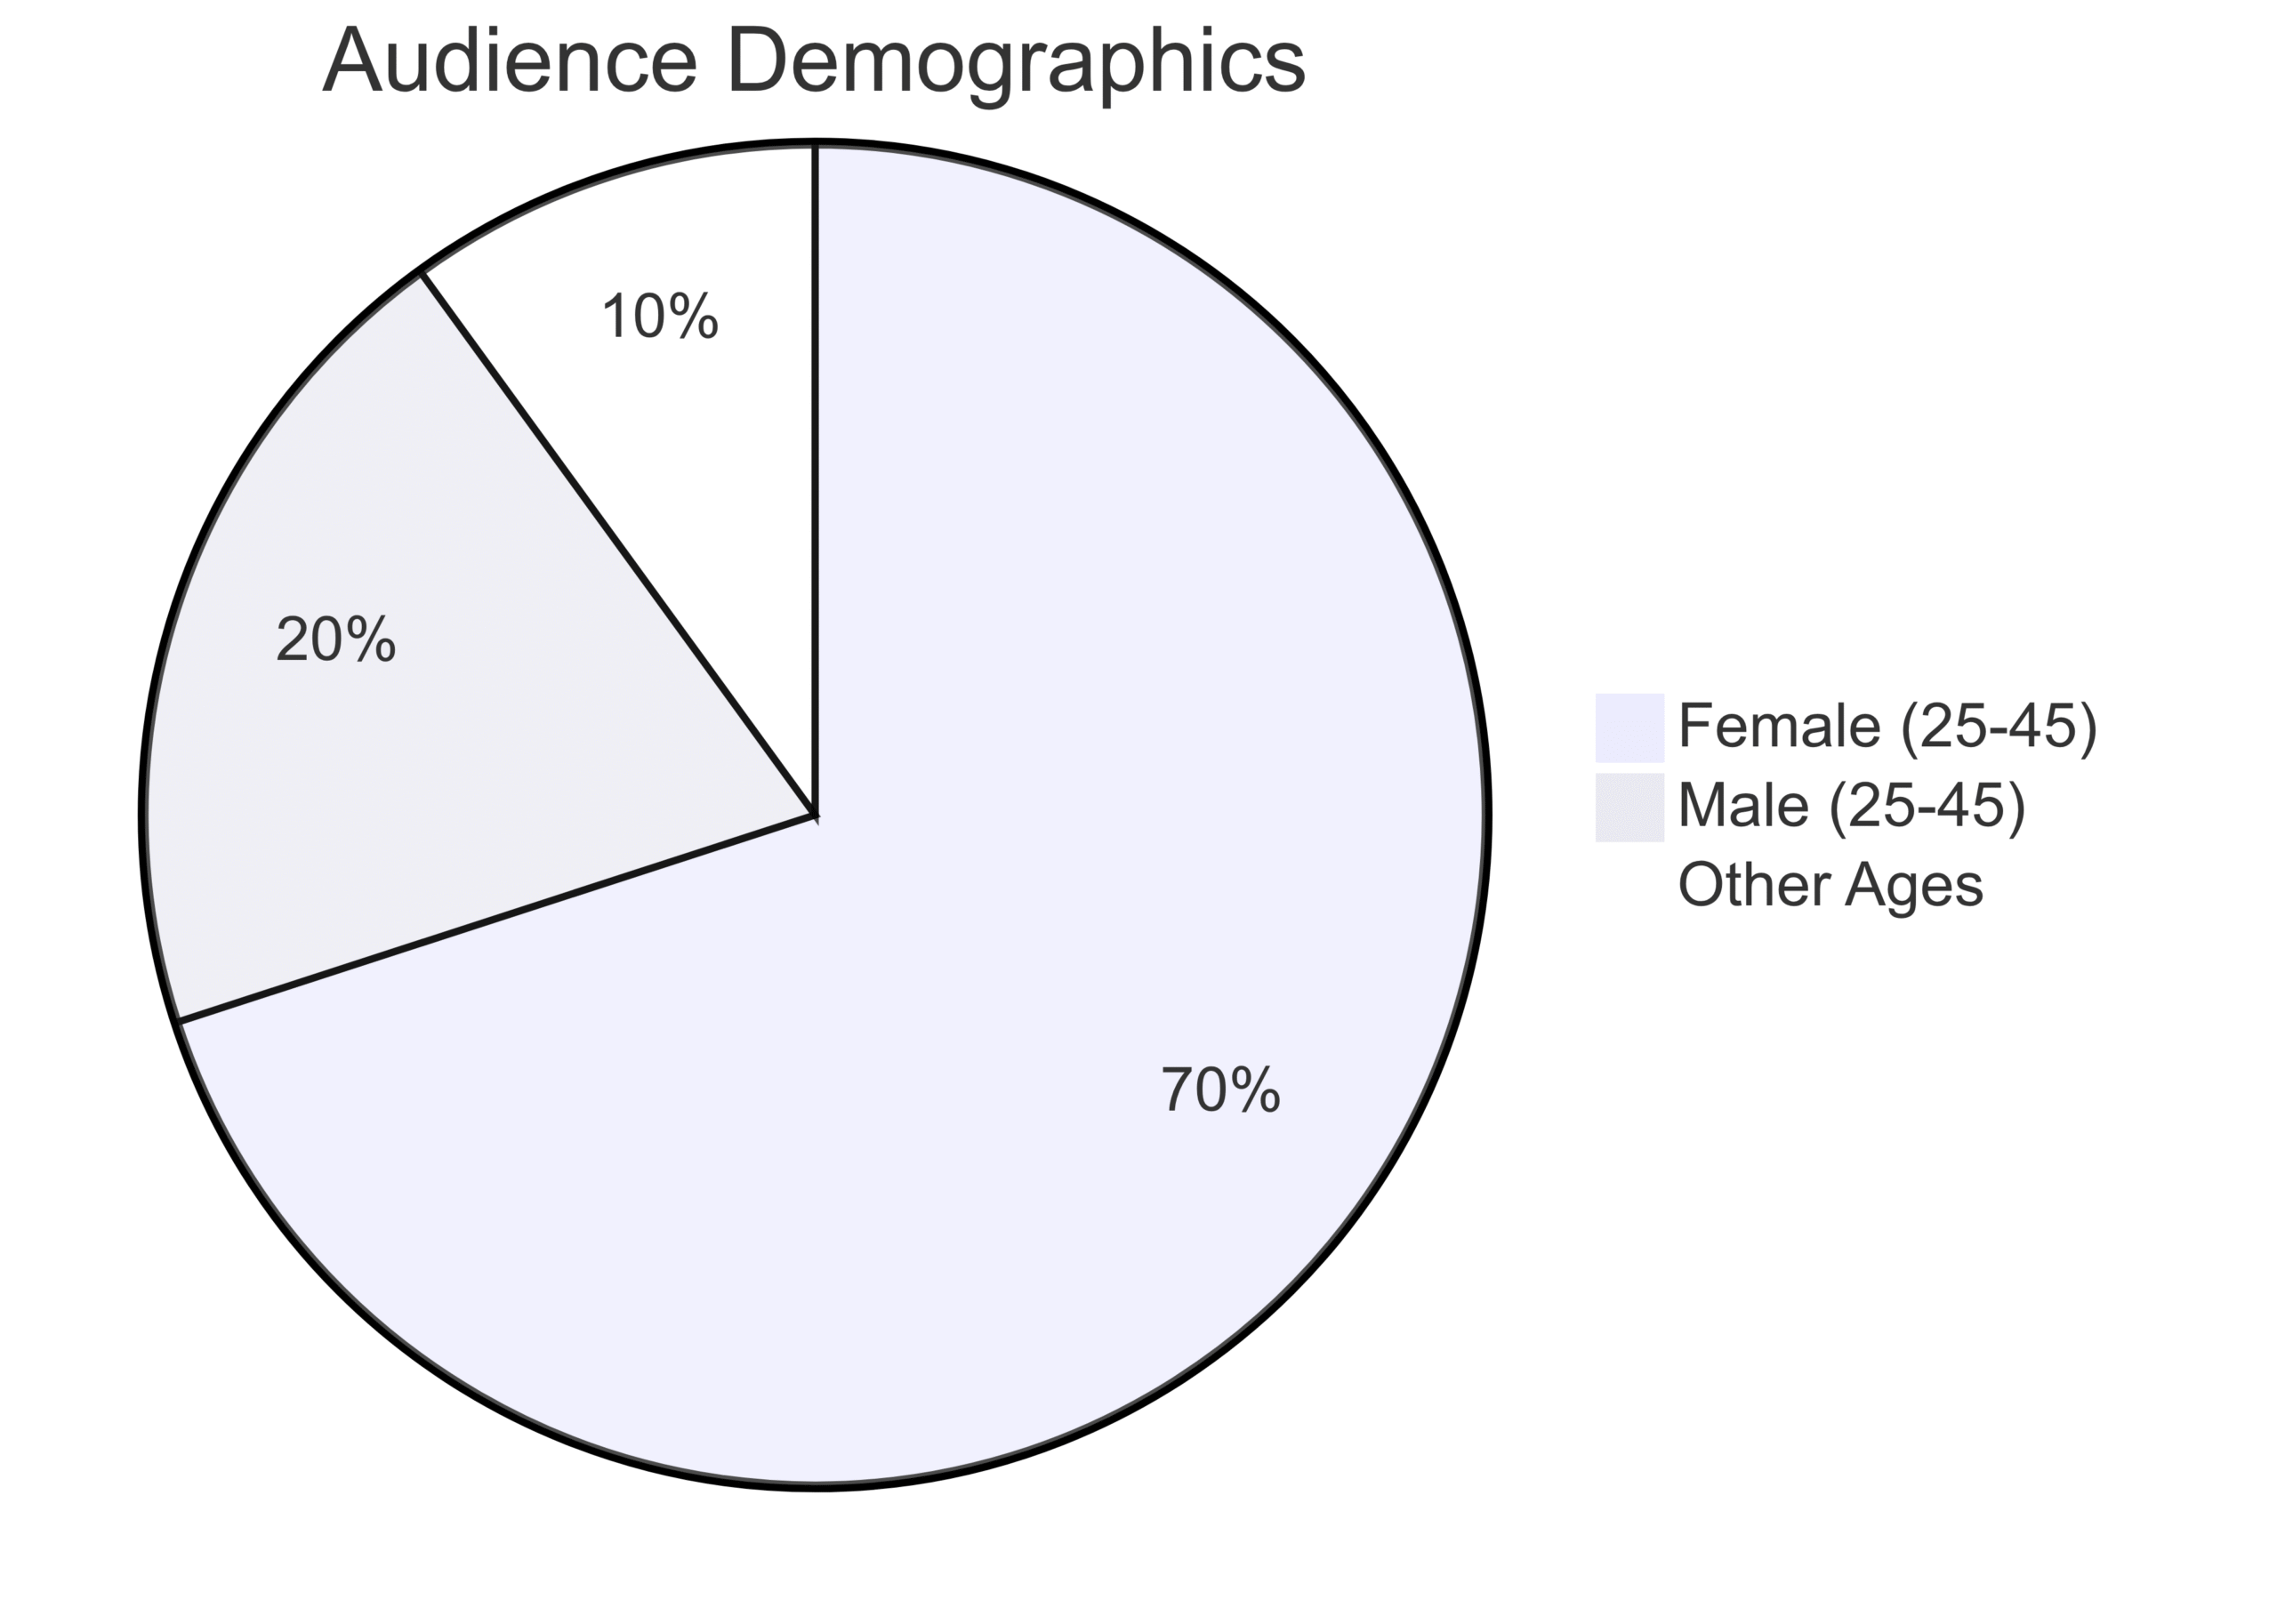
3. Define Your Audience and Demographics
Brands want to know who they’ll reach by partnering with you. Provide detailed audience insights to demonstrate your blog’s alignment with their target market.
- Demographics: Include age, gender, location, and interests. For example, “70% female, aged 25-45, primarily in the U.S., interested in healthy eating and sustainable cooking.”
- Preferences: Highlight what your readers love, such as quick weeknight dinners or seasonal baking recipes. Use data from Google Analytics or social media insights to identify top-performing content.
- Engagement Metrics: Share metrics like average session duration (e.g., 2.5 minutes), bounce rate (e.g., 40%), and social shares to show how actively your audience interacts with your content.
Chart: Audience Demographics
4. Showcase Your Portfolio
High-quality visuals are the heart of food blogging. Your media kit should include a portfolio section that highlights your best work.
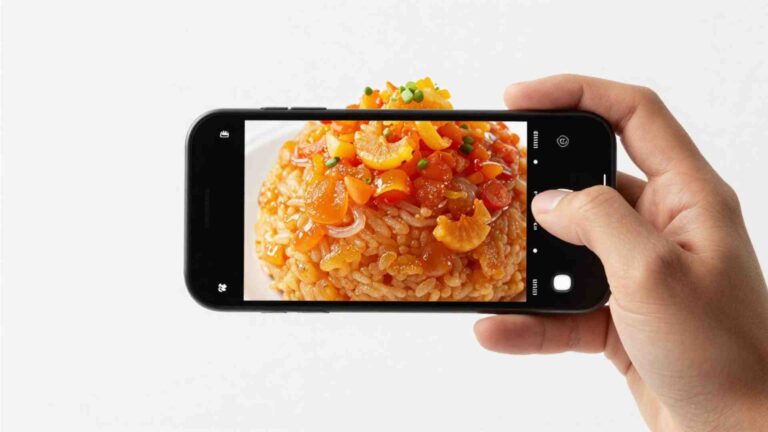
- Professional Photography: Feature high-resolution images of your dishes, showcasing your styling and photography skills. Ensure images are well-lit and aligned with your brand’s aesthetic.
- Behind-the-Scenes Shots: Include a few candid images of your process (e.g., prepping ingredients) to add personality.
- Video Thumbnails: If you create videos, include thumbnails of your top-performing content to highlight your multimedia skills.
- Consistency: Maintain a cohesive visual style across all images, using consistent colors, fonts, and themes.
Tip: Use a grid layout in your media kit to display four to six images, ensuring they’re high-resolution but optimized for quick loading in a PDF.
5. Demonstrate Your Blog’s Reach with Metrics
Metrics validate your blog’s influence and reach. Use data to paint a compelling picture of your blog’s performance.
- Blog Metrics: Share monthly page views (e.g., 50,000), unique visitors (e.g., 30,000), and average time on site (e.g., 3 minutes) from Google Analytics.
- Social Media Metrics: Include follower counts and engagement rates for platforms like Instagram (e.g., 10,000 followers, 6% engagement) or TikTok (e.g., 5,000 followers, 8% engagement).
- Email Marketing: If applicable, note your email list size (e.g., 5,000 subscribers) and metrics like open rates (e.g., 25%) and click-through rates (e.g., 5%).
Chart: Blog Traffic Growth

6. Include Testimonials and Collaborations
Build credibility by showcasing testimonials, past collaborations, and endorsements.
- Testimonials: Include quotes from brands you’ve worked with, highlighting your professionalism and results. Example: “Working with [Your Blog Name] drove a 20% increase in our product sales.” – Brand X
- Notable Collaborations: List high-profile brands you’ve partnered with, displaying their logos for visual impact.
- Endorsements: Mention endorsements from food industry experts or media features in publications like Food & Wine or Bon Appétit.
- Media Coverage: Highlight appearances in print, online, or TV to demonstrate your blog’s influence.
Example Table: Past Collaborations
| Brand | Project Type | Outcome |
|---|---|---|
| KitchenAid | Sponsored Recipe Post | 15K post views, 1K social shares |
| Whole Foods | Social Media Campaign | 10% engagement rate, 500 clicks |
| Local Farm Co. | Product Review | 25% increase in website traffic |
7. Provide Clear Contact Information
Make it easy for brands to reach you. Include:
- Email Address: A professional email (e.g., [email protected]).
- Phone Number: Optional, but useful for direct communication.
- Social Media Links: Link to active profiles to showcase your online presence.
- Contact Form: If your media kit is hosted on your website, include a contact form for convenience.
8. Craft a Unique Value Proposition (UVP)
Your UVP is a concise statement that sums up what makes your blog special. For example, “Delivering vibrant vegan recipes with stunning visuals to inspire healthy living.” Include this in a dedicated “About My Blog” section to reinforce your brand’s strengths.
Designing Your Media Kit
A visually appealing media kit enhances your professionalism and grabs attention. Here are two primary methods to create one:
Method 1: Use Design Software
- Adobe InDesign: Ideal for advanced customization, InDesign allows you to create polished, professional layouts. While it has a learning curve, online tutorials can help beginners get started. Pricing: $20.99/month (Adobe Creative Cloud subscription).
- Canva: A user-friendly, drag-and-drop platform with free and premium templates. Canva’s intuitive interface is perfect for bloggers without design experience. Pricing: Free plan available; Pro plan at $12.99/month.
Method 2: Purchase a Pre-Made Template
Platforms like Etsy and Creative Market offer customizable media kit templates designed by professionals. These templates save time and ensure a polished look. Prices typically range from $10 to $50, depending on complexity and design quality.
Example Table: Design Tools Comparison
| Tool | Pros | Cons | Pricing |
|---|---|---|---|
| Adobe InDesign | Highly customizable, professional | Steep learning curve | $20.99/month |
| Canva | User-friendly, affordable | Limited advanced features | Free; Pro at $12.99/month |
| Etsy Templates | Quick, professional designs | Limited customization | $10-$50 (one-time) |
Best Practices for Styling Your Media Kit
- Be Clear and Concise: Use headings, bullet points, and short paragraphs to make your media kit easy to scan. Aim for one to five pages, with a one-pager ideal for quick pitches.
- Update Regularly: Refresh your media kit quarterly with the latest metrics, collaborations, and achievements to keep it relevant.
- Formatting Guidelines: Ensure adequate spacing, consistent fonts, and a cohesive color scheme. Save your media kit as a PDF for easy sharing.
- Include a Call to Action (CTA): End with a friendly CTA, such as, “Ready to collaborate? Contact me at [email protected] to discuss opportunities!”
Customizing Pitches for Brands
To maximize your media kit’s impact, tailor your pitches to each brand:
- Research the Brand: Understand their values, products, and target audience. Align your media kit’s content with their goals.
- Personalize Your Pitch: Address the brand by name and explain why you’re excited to work with them. For example, “I love [Brand Name]’s commitment to sustainable ingredients, which aligns with my blog’s focus on eco-friendly cooking.”
- Propose Specific Ideas: Suggest a sponsored post, recipe collaboration, or social media campaign that fits the brand’s objectives.
- Keep It Brief: Brands receive numerous pitches, so keep your email concise while highlighting your UVP and relevant metrics.
Inspiring Example: Bites by Bianca
Bites by Bianca’s media kit is a stellar example of how to balance professionalism and personality. Key features include:
- Visual Appeal: A cohesive color scheme and high-quality images reflect the blog’s aesthetic.
- Audience Insights: Detailed demographics and engagement metrics show the blog’s reach.
- Collaborations: Logos and testimonials from past partners build credibility.
- Personal Touch: Anecdotes about Bianca’s passion for confections make the brand relatable.
By integrating these elements, Bianca’s media kit attracts brands looking for authentic, engaging content creators.
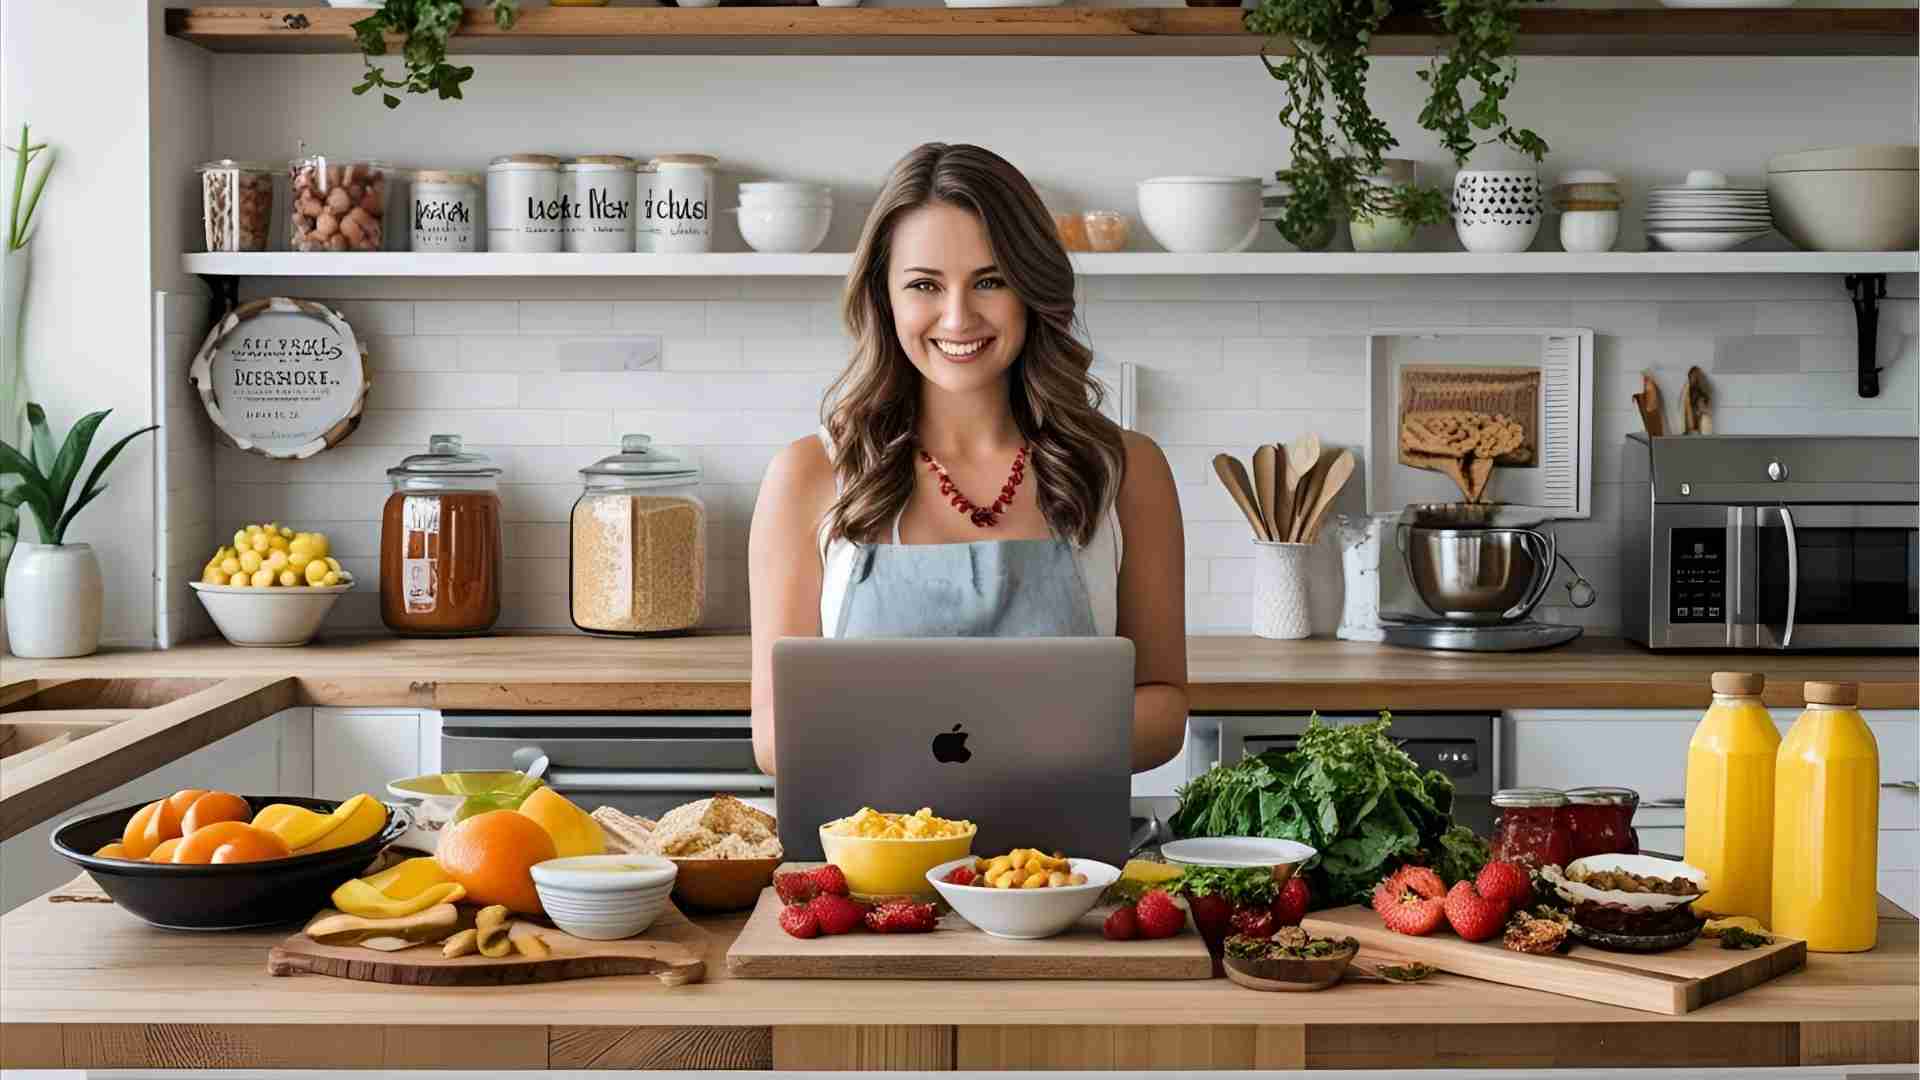
Enhancing Your Blog to Support Your Media Kit
A professional media kit is only as strong as the blog it represents. Ensure your blog reflects the same level of quality and consistency. Tools like WP Recipe Maker can elevate your blog’s appeal:
- Customizable Recipe Cards: Create visually appealing, brand-aligned recipe cards that enhance user engagement.
- SEO Features: Metadata and rich snippets improve search engine rankings, increasing your blog’s visibility.
- Affiliate Link Management: Streamline affiliate links for better tracking and monetization.
Pricing for WP Recipe Maker: Free plan available; Premium plan starts at $49/year.
Finding Brands to Partner With
Proactively seeking brand partnerships is more effective than waiting for opportunities. Here’s how to start:
- Identify Potential Partners: Research brands that align with your niche and audience, such as kitchenware companies, food producers, or lifestyle brands.
- Craft a Targeted Pitch: Use your media kit as the foundation for your pitch, highlighting relevant metrics and collaboration ideas.
- Follow Up: If you don’t hear back within a week, send a polite follow-up email to keep the conversation alive.
For more insights, explore resources like Food Blogger Pro’s “6 Strategies for Negotiating Sponsored Content Contracts” to refine your approach.
Taking Your Media Kit to the Next Level
To elevate your media kit beyond the basics, consider:
- Testimonials: Include reader or brand testimonials to add social proof.
- Media Appearances: Highlight features in magazines, TV, or online platforms.
- Top Posts: Link to your five most popular posts to showcase your best work.
- Ad Space: If you offer ad space, specify sizes (e.g., 300×250 pixels) and pricing (e.g., $100/month).
Chart: Media Kit Enhancement Workflow

Conclusion
A professional food blog media kit is your gateway to turning your passion into profit. By highlighting your niche, showcasing your services, and presenting compelling metrics, you can attract brands that align with your vision. Use design tools like Canva or InDesign, or invest in a pre-made template to create a polished, visually appealing document. Regularly update your media kit, tailor your pitches, and maintain a professional blog to maximize your success. With these strategies, you’ll be well on your way to securing sponsorships and building a thriving food blogging business.
Ready to get started? Download a free media kit planner from platforms like Food Blogger Pro to organize your data and create a standout media kit today!
Please share this Craft Your Food Blog Media Kit Like a Pro with your friends and do a comment below about your feedback.
We will meet you on next article.
Until you can read, Zesty Air Fryer Asparagus with Garlic Butter