Custom White Balance Setup for Accurate Colors
White balance is one of the most important technical settings in photography, yet it’s one of the most overlooked. Get it wrong and your images carry ugly color casts — skin tones look sickly, food looks unappetizing, white walls look yellow or blue. Get it right and your photos look natural, consistent, and professional straight out of the camera.
Most photographers set white balance to Auto and move on. That works sometimes. But Auto White Balance (AWB) fails regularly, especially in food photography, product photography, and mixed lighting conditions. Custom white balance is faster to set than most people think — under a minute — and it eliminates guesswork entirely.
This guide walks through exactly how to set a custom white balance, why it matters technically, and how to use it across different photography types.
What White Balance Actually Does
Your camera captures light, but different light sources produce different color temperatures. A candle flame burns warm orange. Overcast daylight reads cool blue. Your camera needs to know which is “neutral” in order to render colors accurately.
White balance is the camera’s way of defining neutral. When you set it correctly, a white sheet of paper looks white regardless of whether you’re shooting under warm tungsten bulbs or cool overcast skies. When it’s wrong, that same paper looks orange, yellow, or blue.
Color temperature is measured in Kelvin. Lower Kelvin values are warmer (more orange), higher values are cooler (more blue).
| Light Source | Approximate Color Temperature |
|---|---|
| Candle / Fire | 1,800K |
| Incandescent / Tungsten Bulb | 2,700–3,200K |
| Warm White LED | 3,000K |
| Noon Daylight | 5,500–6,000K |
| Overcast Sky | 6,500–7,500K |
| Clear Blue Sky / Shade | 9,000–10,000K |
Your camera’s built-in presets (Daylight, Cloudy, Tungsten, etc.) are rough approximations of these values. They’re better than nothing, but they’re averages — not measurements of your actual light. Custom white balance measures your specific light and sets exactly the right compensation.
Why Auto White Balance Fails
AWB has improved dramatically in modern cameras. In simple, consistent lighting — outdoor portrait, cloudy day, clean background — it usually performs well. But it breaks down in predictable situations.
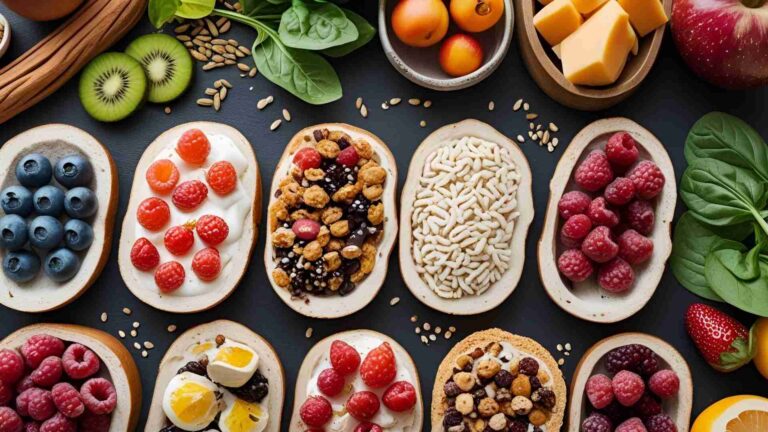
The yellow food problem. In food photography, most dishes are warm-toned: golden chicken, orange curry, yellow pasta. AWB sees the warm tones dominating the frame and overcorrects, pulling the image too cool to compensate. The food ends up looking flat and less appealing.
Mixed lighting. A dining room with a window plus overhead fluorescent lights contains two conflicting color temperatures. AWB picks one or averages between them. Either way, some part of the image will have a color cast.
Colored props and backgrounds. A blue tablecloth, a dark green backdrop, or heavily saturated styling elements skew AWB toward warmer compensation — the opposite of what you usually want.
Consistency across a shoot. AWB recalculates every frame. Shoot a sequence of 50 product images and AWB may shift slightly between shots. In post-production, matching those images back up wastes time.
Custom white balance solves all of these. You measure once, lock it in, and shoot consistently.
Equipment You Need
Setting custom white balance requires a neutral reference target. You have a few options:
| Tool | Cost | Accuracy | Notes |
|---|---|---|---|
| 18% Gray Card | $10–$25 | Excellent | Industry standard; reflects 18% of all light evenly |
| White Balance Card (WhiBal) | $30–$60 | Excellent | Spectrally neutral; lasts for years |
| ExpoDisc 2.0 | $70–$90 | Excellent | Dome diffuser; mounts over lens |
| Datacolor SpyderCHECKR | $90–$130 | Professional | Full color checker; used for color profiling |
| Clean White Paper | Free | Adequate | Works in a pinch; not spectrally neutral |
For most photographers, a quality 18% gray card is the right tool. They cost under $25, fit in a camera bag, and provide consistent results across years of use. The ExpoDisc is excellent for event photographers who change locations constantly — it points toward the light source rather than requiring placement in the scene.
How to Set Custom White Balance: Step-by-Step
The process takes under 60 seconds once you know it. The steps vary slightly by camera brand, but the core method is the same across all systems.
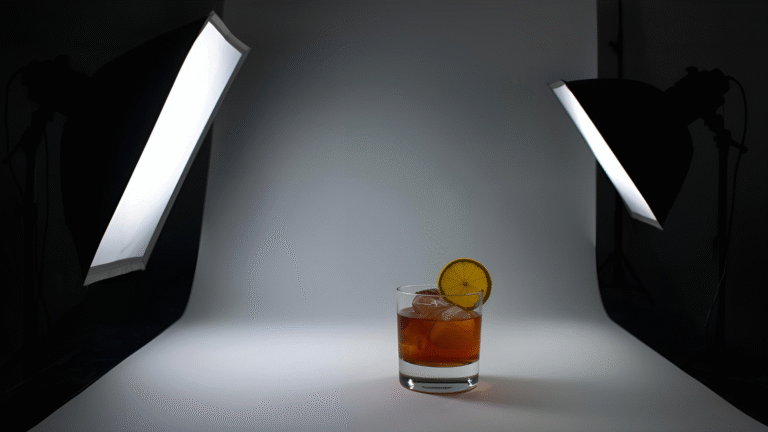
Step 1 — Place your reference target. Put the gray card where your subject will be, under the same light. This is the most important step. If your card is in a different position or at a different angle to the light source, it will read different color values than your subject receives.
Step 2 — Take a reference photo. Fill the center of your frame with the gray card. Your exposure meter should read zero — correctly exposed, not too bright or too dark. A blown-out or underexposed reference gives inaccurate readings.
Step 3 — Enter the custom white balance menu. On Canon cameras, this is found under the shooting menu as “Custom WB.” On Nikon, look for the WB menu and select the PRE (preset) option. Sony and Fujifilm cameras vary by model — refer to your manual for the exact path.
Step 4 — Select the reference photo. Your camera will ask which image to use as the white balance reference. Select the gray card photo you just took.
Step 5 — Switch your white balance mode to Custom. After setting the reference, you still need to change the white balance mode from Auto (or whatever it was) to Custom. Without this step, the camera ignores the reference you just set.
Step 6 — Verify and shoot. Your camera now treats the values from your gray card shot as neutral. Everything gets color-corrected relative to that reference, producing accurate colors.
Camera-Specific Instructions
Canon (Most Models)
- Take photo of gray card
- Menu → Shooting Settings → Custom WB
- Select the gray card image → OK
- Menu or top dial → Set WB mode to Custom (the two triangles icon)
Nikon (Most Models)
- Press WB button (or Menu → Shooting Menu → White Balance)
- Select PRE (Preset Manual)
- Hold the WB button until PRE blinks
- Photograph the gray card while it blinks → “Good” confirms measurement
Sony (Alpha Series)
- Take photo of gray card
- Menu → Camera Settings 1 → White Balance → Custom 1/2/3
- Press the Set button → Select your reference image
Fujifilm (X Series)
- Take photo of gray card
- Menu → Image Quality → White Balance → Custom WB
- Select the gray card image → OK
- Set WB mode dial or menu to Custom
White Balance Settings Compared
Understanding how preset modes compare helps you choose when custom white balance is worth the setup, and when a preset gets you close enough.
| WB Setting | Color Temp Equivalent | Best For | Common Issues |
|---|---|---|---|
| Auto (AWB) | Varies | Quick, casual shooting | Inconsistent; fails with dominant colors |
| Daylight / Sunny | ~5,500K | Outdoor midday sun | Too warm in shade |
| Shade | ~7,500K | Open shade | Oversaturates skies |
| Cloudy | ~6,500K | Overcast outdoor | Close to Daylight indoors |
| Tungsten | ~3,200K | Incandescent bulbs | Too cool for modern LEDs |
| Fluorescent | ~4,000K | Fluorescent tubes | Inaccurate for LED panels |
| Flash | ~5,500K | On-camera/off-camera flash | Varies by flash manufacturer |
| Custom WB | Exact measurement | Any controlled lighting | Requires gray card setup |
| Manual (Kelvin) | User-set value | Studio; consistent known sources | Requires knowing your light’s temp |
For controlled environments — home studio, food photography setup, product table — custom white balance is always the right choice. For run-and-gun event or street photography where you’re moving quickly, Daylight or Auto gets you close enough, especially if you shoot RAW.
Shooting RAW vs. JPEG and White Balance
RAW files store all sensor data before in-camera processing. This means white balance is not “baked in” to a RAW file — it can be adjusted losslessly in post-production software like Lightroom, Capture One, or Camera Raw.
JPEG files compress image data and apply camera settings during capture, including white balance. Changing white balance in post on a JPEG degrades image quality — you’ll see banding, color shifts, and loss of detail in extreme adjustments.
| Format | WB Adjustability in Post | Quality Impact | Notes |
|---|---|---|---|
| RAW | Full range, lossless | None | Best flexibility |
| JPEG | Limited | Moderate to significant | Better to get it right in camera |
| RAW + JPEG | Full on RAW | None on RAW | Best of both; larger file sizes |
Even when shooting RAW, getting white balance right in camera matters for two reasons. First, your LCD preview uses the embedded JPEG thumbnail — if your white balance is wrong, your preview looks wrong, making it harder to judge exposure, composition, and styling decisions while shooting. Second, accurate in-camera white balance speeds up post-processing. Batch-applying correct color is faster than hunting down and fixing frames individually.
When to Reset Custom White Balance
Custom white balance locks to a specific light source reading. When the light changes, the reading becomes inaccurate.
Re-set when:
- You move to a new shooting location
- The sun shifts position significantly (every 30–60 minutes in natural light)
- You change or add light sources
- You move from indoors to outdoors or vice versa
- Studio lights warm up after an extended session (they drift slightly over the first 20–30 minutes)
For long sessions with consistent studio lighting, re-verify with a gray card shot every hour. For natural light shooting, re-set whenever you notice a visible color shift in your LCD.
Keep a reference frame. Start each shooting setup with a gray card visible in the first frame. This gives you a reference point during editing, making it easy to batch-correct any frames that need adjustment and to match multiple sessions shot in similar but not identical conditions.
Using the ExpoDisc Method
The ExpoDisc and similar dome diffusers offer an alternative to gray card placement. Instead of photographing a card in your scene, you attach the dome over your lens and photograph the light source directly.
How it works:
- Attach the ExpoDisc over your lens
- Point the camera at your primary light source
- Take a photo — the dome diffuses and averages the incoming light
- Use that image as your custom white balance reference
This method is fast and useful for event photographers who can’t pause to place a card in the scene. It averages all light entering the lens rather than measuring light at the subject position, which is slightly less accurate in multi-light setups but more practical in fast-moving environments.
ExpoDisc 2.0 (the current version) is spectrally neutral and durable. It fits camera lenses from 52mm to 82mm diameter and costs approximately $75–$90 depending on size.
Creative Use of White Balance
Technically accurate white balance is the goal for product photography, food photography, and most commercial work. But white balance is also a creative tool.
Warming intentionally. Bumping white balance 500–1,000K warmer than neutral creates golden, inviting tones. This works well for portrait photography, lifestyle imagery, and any scene where a cozy, warm feeling serves the narrative. Food photographers sometimes use a slightly warm white balance to make dishes look more appetizing.
Cooling intentionally. Dropping below neutral creates clean, crisp, modern aesthetics popular in commercial and architectural photography. Cooler tones read as precise and clinical — appropriate for tech products, medical imagery, and modern interior design photography.
Time-of-day matching. Setting white balance to match golden hour (around 4,000–4,500K) preserves the warm magic of sunrise and sunset instead of neutralizing it. AWB often kills this quality by correcting the warmth away.
The key to intentional white balance is knowing your neutral first. Once you know what accurate looks like, deliberate shifts read as creative choices rather than errors.
Common Mistakes and How to Fix Them
Taking the reference shot in different light than the subject. The gray card must receive the same light as your subject — same position, same angle, same modifiers. A card sitting beside your setup in ambient room light while your subject is lit by a window gives inaccurate readings.
Forgetting to switch WB mode to Custom after setting the reference. Setting the reference in the menu doesn’t automatically change your white balance mode. You must manually switch from Auto or your previous mode to Custom. This is the most common reason custom white balance “doesn’t work.”
Over-exposed or under-exposed reference shots. The camera reads color values from the gray card frame. Blown highlights read as pure white with no color information. Dark underexposure loses shadow color detail. Expose at 0 compensation for an accurate reading.
Not resetting after lighting changes. A perfect morning reading becomes wrong by afternoon as sunlight shifts angle and color temperature. Build a habit of checking your gray card reference whenever you notice colors look off.
Using a dirty or faded gray card. Cards collect fingerprints and dust. Even subtle contamination adds color casts to your reference measurement. Keep cards in a clean sleeve and replace them when they show visible staining.
Summary: Custom White Balance Quick Reference
Setting a custom white balance takes under a minute. The accuracy it provides relative to Auto or preset modes is immediately visible, especially in controlled shooting environments. Whether you shoot food, products, portraits, or architecture, this one habit improves every image before you press the shutter.
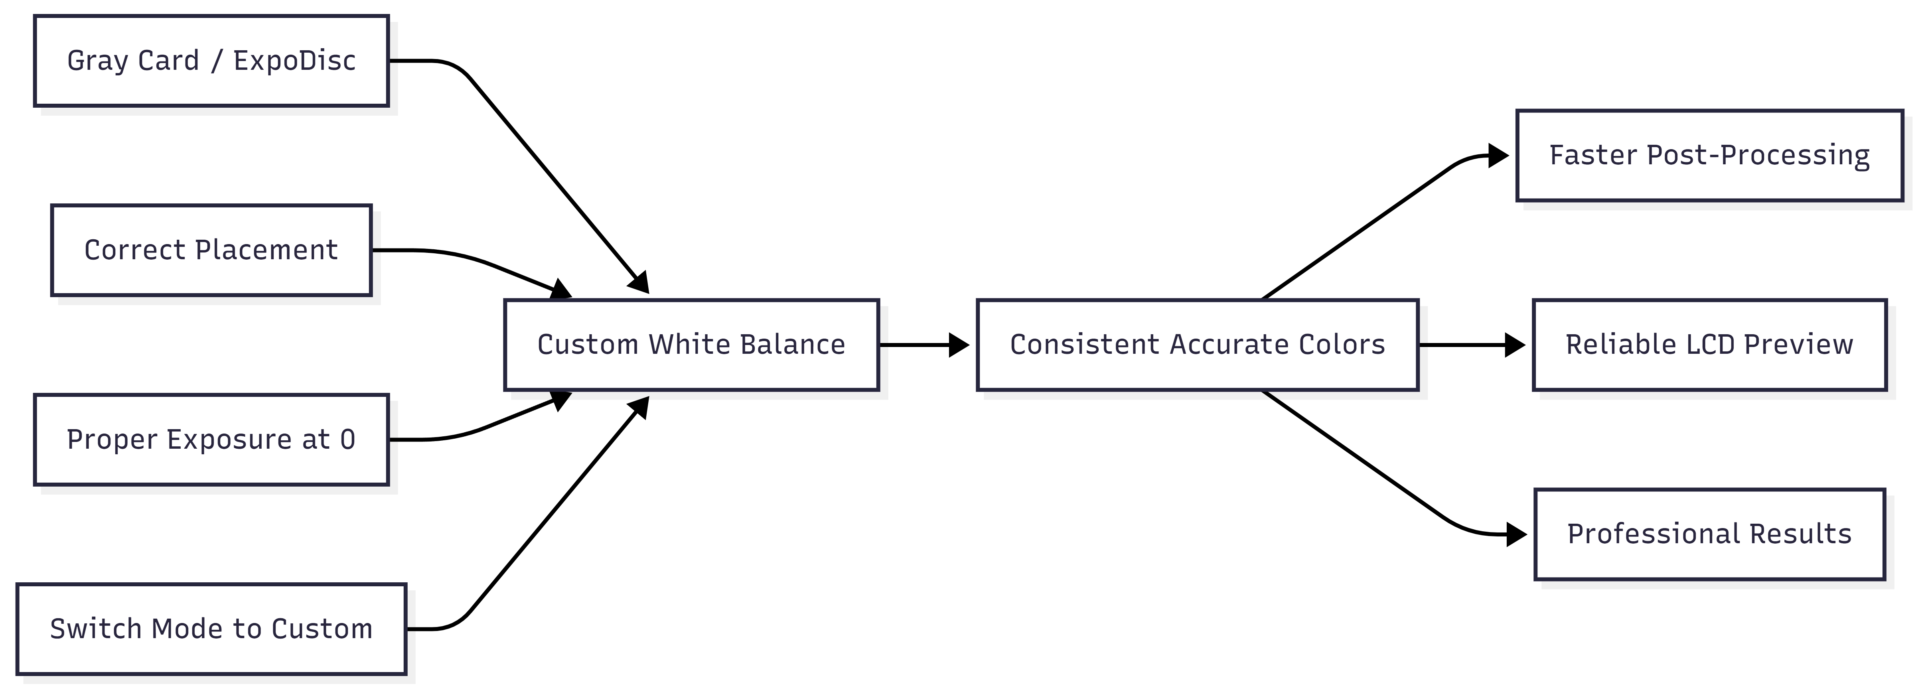
The process comes down to five things: a neutral reference target, correct placement in your scene, a properly exposed reference shot, selecting that shot in your camera’s custom WB menu, and switching your WB mode to Custom. Once you build this into your setup routine, accurate color becomes a given rather than a post-processing problem.
Please share this Custom White Balance Setup for Accurate Colors with your friends and do a comment below about your feedback.
We will meet you on next article.
Until you can read, The Most Common Food Photography Mistakes