Dark Food Photography Tips To Improve Your Food Images
Dark food photography, with its moody and dramatic aesthetic, transforms dishes into captivating visual stories. This style, rooted in the chiaroscuro technique of contrasting light and shadow, creates images that evoke emotion and highlight textures, making food appear irresistible. Whether you’re a beginner or a seasoned photographer, mastering dark food photography can elevate your portfolio, attract clients, and boost your social media presence. This guide provides actionable tips to achieve stunning dark and moody food images using affordable tools, strategic lighting, and thoughtful editing. From choosing the right props to controlling light, these techniques will help you create jaw-dropping photos that stand out.
What Is Dark Food Photography?
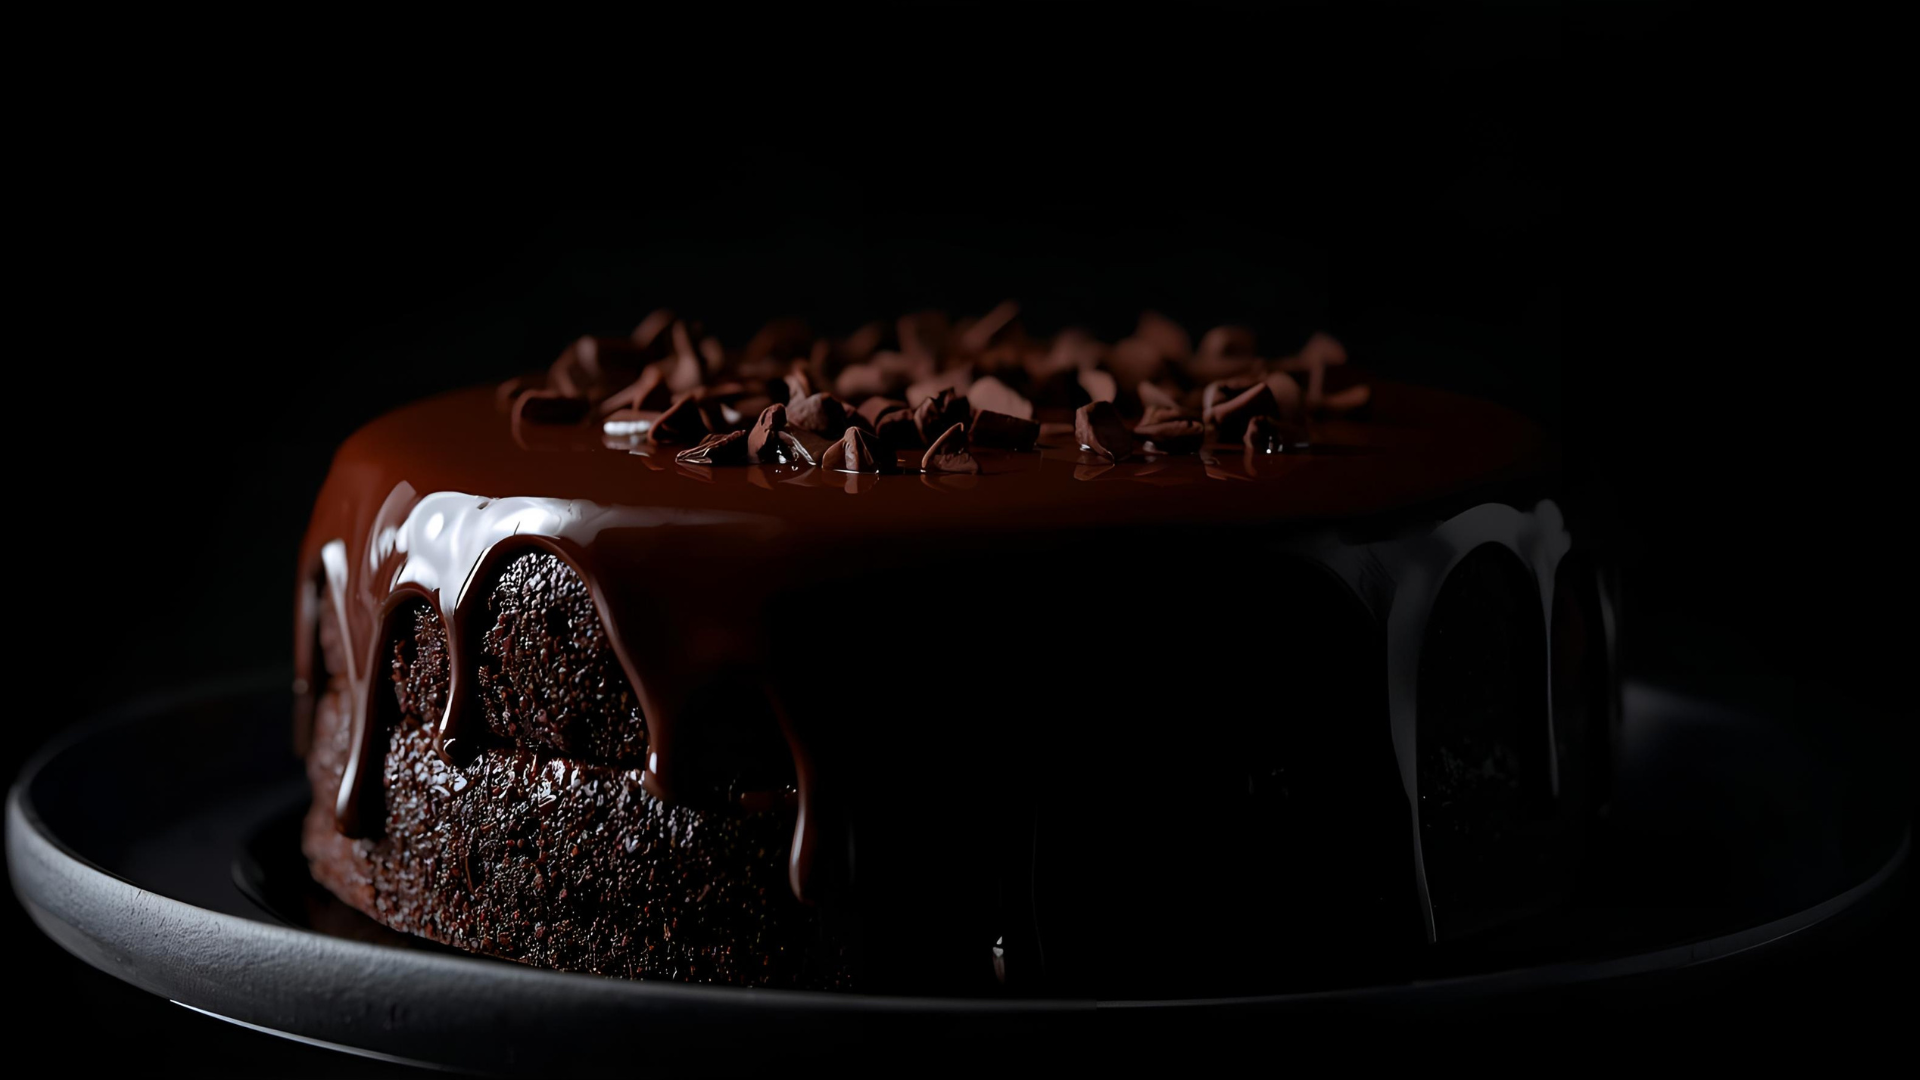
Dark food photography emphasizes contrast between light and shadow to create a dramatic, painterly effect. Unlike bright and airy photography, which uses soft, even lighting to showcase every detail, dark food photography employs controlled lighting to highlight specific elements, leaving others in shadow. This style, inspired by artists like Caravaggio, adds depth and emotion, making it ideal for rustic dishes, desserts, or vibrant ingredients that pop against muted backgrounds.
The key is not to eliminate light but to manipulate it strategically. By using dark surfaces, props, and precise lighting, you can draw attention to the food’s texture and colors, creating a sense of mystery and allure. This guide covers essential techniques to achieve this look without expensive gear, making it accessible for photographers at any level.
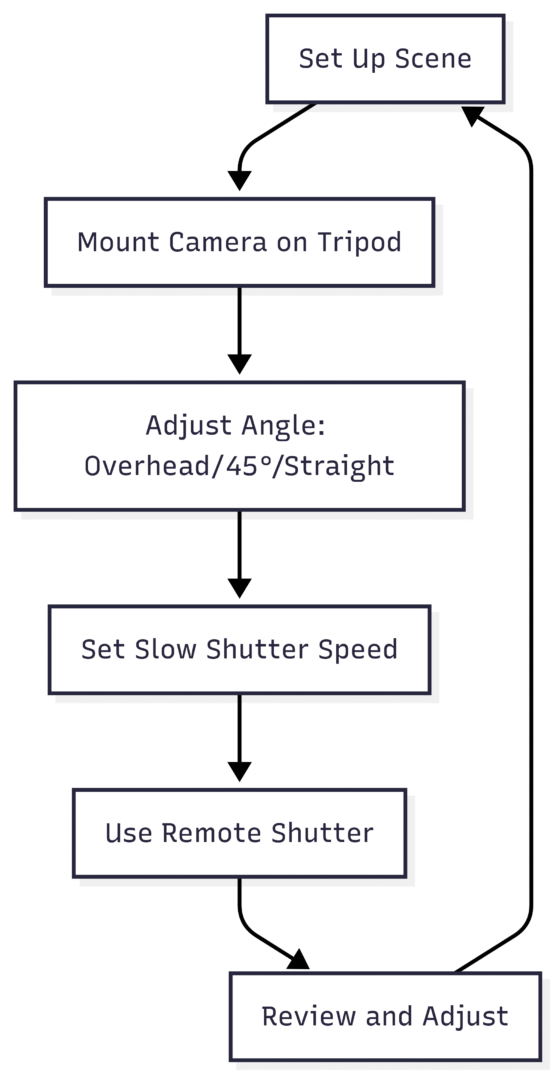
How To Shoot Dark Food Photography
Creating dark and moody food images requires a combination of equipment, settings, and styling choices. Below are eight key tips to help you master this style, complete with practical tools, specifications, and cost-effective solutions.
Tip 1: Use Dark Surfaces and Backdrops
Dark surfaces and backdrops are foundational to achieving a moody aesthetic. They absorb light, creating a stark contrast that makes the food the focal point.
- Surfaces: Place dark boards (e.g., slate, wood, or foam core painted black) beneath the food. For example, a black slate board ($15-$30 on Amazon) adds a sleek, modern look.
- Backdrops: Use dark-colored materials like navy fabric or black poster board ($5-$10 at craft stores) behind the food. Textured options, such as weathered wood or matte vinyl, enhance the rustic feel.
- Example: A bowl of eggs shot on a black slate versus a white board demonstrates how surface color shifts the mood dramatically. The dark surface absorbs light, creating a cozy, intimate vibe.
| Surface/Backdrop | Price Range | Where to Buy | Best For |
|---|---|---|---|
| Black Slate Board | $15-$30 | Amazon, Home Depot | Modern, sleek look |
| Black Foam Core | $5-$10 | Michaels, Walmart | Budget-friendly, customizable |
| Weathered Wood | $20-$50 | Etsy, Local Hardware | Rustic, textured aesthetic |
| Vinyl Backdrop | $25-$60 | Bessie Bakes, Kate Backdrop | Portable, professional |
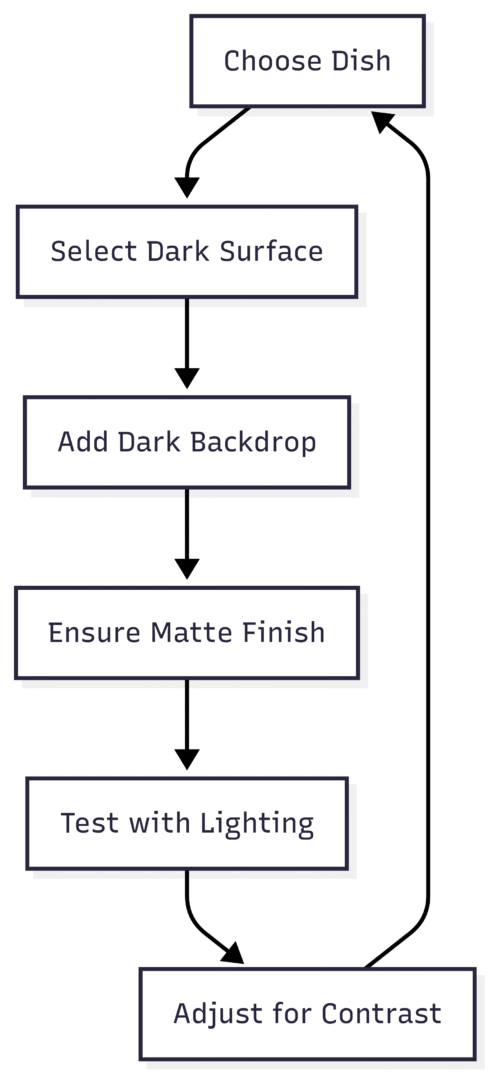
Chart: Surface Selection Process
Tip 2: Select Dark, Non-Reflective Props
Props play a critical role in maintaining the moody aesthetic. Bright or shiny props (e.g., glossy ceramic plates) reflect light, disrupting the dark vibe. Opt for matte, vintage, or textured props to complement the food.
- Props to Use: Dark plates, rustic wooden spoons, or matte black cutlery. Look for vintage items at thrift stores ($1-$10) or handmade ceramics from local artisans ($20-$50).
- Avoid: Polished silverware or white porcelain, which create unwanted reflections.
- Example: A salad on a black matte plate against a dark wood surface retains freshness while embracing a moody style, with vibrant greens popping against the dark tones.
| Prop Type | Price Range | Where to Buy | Key Feature |
|---|---|---|---|
| Matte Black Plate | $10-$25 | Target, Etsy | Non-reflective, modern |
| Vintage Wooden Spoon | $1-$5 | Thrift Stores | Rustic texture |
| Handmade Ceramic Bowl | $20-$50 | Local Artisans | Unique, matte finish |
| Linen Napkin | $5-$15 | Amazon, IKEA | Adds soft texture |
Tip 3: Adjust Camera Settings for Optimal Exposure
Camera settings are crucial for controlling exposure and achieving the desired dark and moody look. Whether using a DSLR or smartphone, manual adjustments ensure precision.
- DSLR Settings:
- Aperture: Use a wide aperture (f/1.8-f/3.2) for a shallow depth of field, blurring the background and emphasizing the subject.
- Shutter Speed: Opt for slower speeds (e.g., 1/3 to 1.3 seconds) in low light, paired with a tripod to avoid blur.
- ISO: Keep ISO low (100-200) to minimize noise, especially in dark areas.
- Manual Mode: Shoot in manual mode for full control. Resources like “How to Shoot in Manual Mode” blogs (free online) can guide beginners.
- Smartphone Settings:
- Download Lightroom Mobile (Free, $4.99/month for premium) to access manual controls like exposure and focus.
- Use apps like ProCamera ($7.99) for advanced settings on iPhones.
- Example: Underexposing by 1-2 stops in-camera preserves shadow details, which can be refined in post-processing.
| Camera Type | Tool/App | Price | Key Feature |
|---|---|---|---|
| DSLR | Manual Mode | Free (Camera Feature) | Full exposure control |
| Smartphone | Lightroom Mobile | Free/$4.99/month | Manual settings, editing |
| Smartphone | ProCamera | $7.99 | Advanced iPhone controls |
Tip 4: Use a Tripod for Stability
A tripod is essential for dark food photography, especially in low-light conditions where slow shutter speeds are common. It prevents camera shake and allows precise composition.
- DSLR Tripod: Manfrotto 055 with Ball Head ($200-$300) is sturdy and versatile, ideal for overhead and angled shots. Add an extension arm ($30-$50) for flexibility.
- Smartphone Tripod: Use the same Manfrotto with a Metal iPhone Tripod Mount ($10-$20). Budget options like Amazon Basics tripods ($20-$40) work well for beginners.
- Benefits: Enables long exposures (e.g., 1.3 seconds) and frees hands for styling adjustments.
| Tripod | Price Range | Where to Buy | Best For |
|---|---|---|---|
| Manfrotto 055 | $200-$300 | B&H, Amazon | DSLR, professional use |
| Amazon Basics | $20-$40 | Amazon | Beginners, smartphones |
| Metal iPhone Mount | $10-$20 | Amazon | Smartphone photography |
Chart: Tripod Setup Workflow
Tip 5: Experiment with Lighting for Mood
Lighting is the cornerstone of dark food photography. Controlling the direction and quality of light creates the desired chiaroscuro effect.
- Natural Light:
- Position the food further from the window to reduce light intensity, creating deeper shadows.
- Use backlighting (light behind the subject) or side lighting to emphasize texture. For example, backlighting a cake highlights its crusty surface.
- Block excess light with black foam core ($5-$10) or thick curtains ($15-$30).
- Artificial Light:
- Use a single light source, such as a Neewer LED Panel ($50-$100) or Godox SL-60W Monolight ($120-$150).
- Add a softbox ($20-$50) for diffused, soft light or a honeycomb grid ($15-$30) for sharper shadows.
- Place black fill cards ($5-$10) to absorb light and sculpt shadows.
- Example: A flatbread lit from the side spreads light evenly, while backlighting creates a gradient effect, darkening the foreground.
| Lighting Tool | Price Range | Where to Buy | Key Feature |
|---|---|---|---|
| Neewer LED Panel | $50-$100 | Amazon | Portable, adjustable |
| Godox SL-60W Monolight | $120-$150 | B&H, Amazon | Powerful, professional |
| Softbox | $20-$50 | Neewer, Amazon | Soft, diffused light |
| Black Foam Core | $5-$10 | Michaels | Shadow enhancement |
Tip 6: Incorporate Highlights and Contrast
To avoid flat, overly dark images, incorporate highlights and tonal contrast. The brightest area in the frame should be the food or a key element, drawing the viewer’s eye.
- Highlight Techniques:
- Choose foods with natural sheen, like syrupy desserts or glossy fruits, to capture specular highlights.
- Use a small reflector (e.g., silver side of a 5-in-1 reflector, $20-$40) to bounce light onto the subject.
- In post-processing, adjust highlights using Lightroom’s luminance sliders to enhance specific areas.
- Composition Tip: Apply the Rule of Odds, placing 3-5 elements (e.g., a plate, spoon, and ingredient) on the Rule of Thirds grid for balanced composition.
- Example: A stack of pancakes with syrup highlights stands out against a dark background, maintaining viewer interest without overwhelming the scene.
Tip 7: Edit Images for a Polished Look
Post-processing is where dark food photography comes to life. Editing enhances mood, refines shadows, and ensures the food remains the focal point.
- Software Options:
- Lightroom ($9.99/month with Adobe Photography Plan): Adjust exposure, contrast, shadows, and luminance. Use radial filters for targeted brightening.
- Capture One ($24/month): Offers precise color control for professional results.
- Photoshop ($9.99/month with Adobe Plan): Ideal for compositing or detailed retouching.
- Editing Tips:
- Increase contrast and deepen shadows to enhance the moody effect.
- Use luminance sliders to brighten specific colors (e.g., the red of berries) without affecting the entire image.
- Apply a subtle vignette to draw attention to the food.
- Adjust white balance creatively to balance warm and cool tones.
- Example: A flat, underexposed image of cherries can be transformed by boosting highlights and adding a vignette, creating a three-dimensional, dramatic effect.
| Editing Software | Price | Key Feature | Best For |
|---|---|---|---|
| Lightroom | $9.99/month | Radial filters, luminance sliders | Beginners, versatile editing |
| Capture One | $24/month | Precise color control | Professionals |
| Photoshop | $9.99/month | Compositing, retouching | Advanced edits |
Tip 8: Shoot Tethered for Real-Time Adjustments
Shooting tethered—connecting your camera to a computer—allows you to view images on a larger screen in real time, making it easier to adjust lighting, props, and composition.
- Equipment:
- Tether Cable (e.g., Tether Tools USB-C, $30-$50).
- Software like Capture One ($24/month) or Lightroom ($9.99/month) for live previews.
- Benefits: Immediate feedback saves editing time and ensures the dark and moody aesthetic is achieved on set.
- Example: Tethering while shooting a dessert allows you to adjust black fill cards to deepen shadows instantly.
| Tethering Tool | Price Range | Where to Buy | Key Feature |
|---|---|---|---|
| Tether Tools USB-C | $30-$50 | Amazon, B&H | Reliable connection |
| Capture One | $24/month | Capture One | Live preview, color control |
Food Styling Tips for Dark Food Photography
Food styling enhances the visual appeal of dark food photography. Here are key techniques to make your dishes stand out:
- Keep It Simple: Avoid clutter. Use 3-5 props (e.g., a plate, napkin, and ingredient) to maintain focus on the food.
- Add Texture: Incorporate ingredients like scattered crumbs, herbs, or powdered sugar to suggest a “work in progress” feel. For example, Alise, a food stylist, uses Poligrip ($5-$10) to stick berries on pancakes and Piping Gel ($5) mixed with syrup for controlled drips.
- Preserve Freshness: Spray food with Scotchgard ($8-$12) to prevent syrup absorption or store greens in a wet napkin in the fridge to maintain vibrancy.
- Use Contrasting Colors: Pair dark foods with lighter props (e.g., a yellow cake on a dark plate) or bright foods with dark props to create visual interest.
| Styling Tool | Price Range | Where to Buy | Purpose |
|---|---|---|---|
| Poligrip | $5-$10 | Amazon, Walmart | Sticking food elements |
| Piping Gel | $5 | Michaels | Controlled drips |
| Scotchgard | $8-$12 | Amazon | Prevents absorption |
Creative Mindset for Dark Food Photography
A creative mindset is essential for mastering dark food photography. Consider these tips:
- Tell a Story: Before shooting, define the mood, season, or setting (e.g., a cozy winter dessert). This guides prop selection and lighting.
- Experiment Freely: Don’t fear failure. Try different angles (overhead, 45-degree, straight-on) and lighting setups to discover what works.
- Practice Regularly: Set aside time weekly to shoot for fun, experimenting with new dishes or techniques to build confidence.
- Study and Adapt: Analyze professional dark food photos on platforms like Pinterest or Instagram, then recreate them with your resources.
Equipment Recommendations and Costs
To make dark food photography accessible, here’s a consolidated list of recommended tools with approximate costs:
| Equipment | Price Range | Where to Buy | Purpose |
|---|---|---|---|
| Manfrotto 055 Tripod | $200-$300 | B&H, Amazon | Stabilizes camera |
| Black Foam Core | $5-$10 | Michaels | Shadow enhancement |
| Neewer LED Panel | $50-$100 | Amazon | Artificial lighting |
| Softbox | $20-$50 | Neewer | Diffused light |
| Lightroom | $9.99/month | Adobe | Editing, radial filters |
| Black Slate Board | $15-$30 | Amazon | Dark surface |
| Matte Black Plate | $10-$25 | Target | Non-reflective prop |
Conclusion
Dark food photography is a powerful way to create visually striking images that captivate viewers. By using dark surfaces and props, controlling light with black fill cards, and mastering camera settings, you can achieve a moody, chiaroscuro-inspired aesthetic. A tripod ensures sharp images in low light, while post-processing in tools like Lightroom refines the mood. Incorporate simple food styling techniques and a creative mindset to tell compelling stories through your photos. With affordable tools and consistent practice, you can transform your food images into stunning works of art that stand out on Google, Instagram, or client portfolios.
Please share this Dark Food Photography Tips To Improve Your Food Images with your friends and do a comment below about your feedback.
We will meet you on next article.
Until you can read, How To Improve Your Photography Website