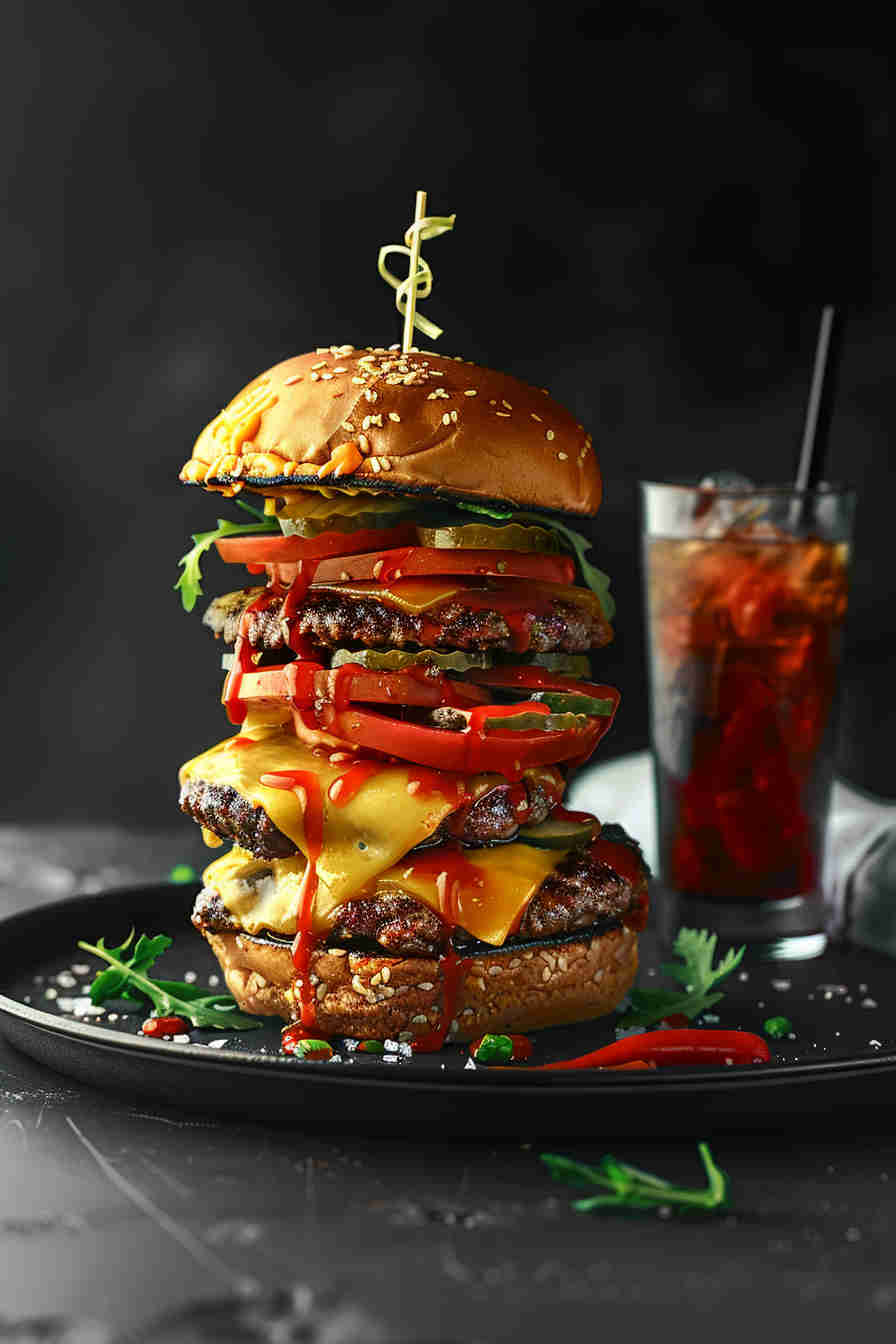
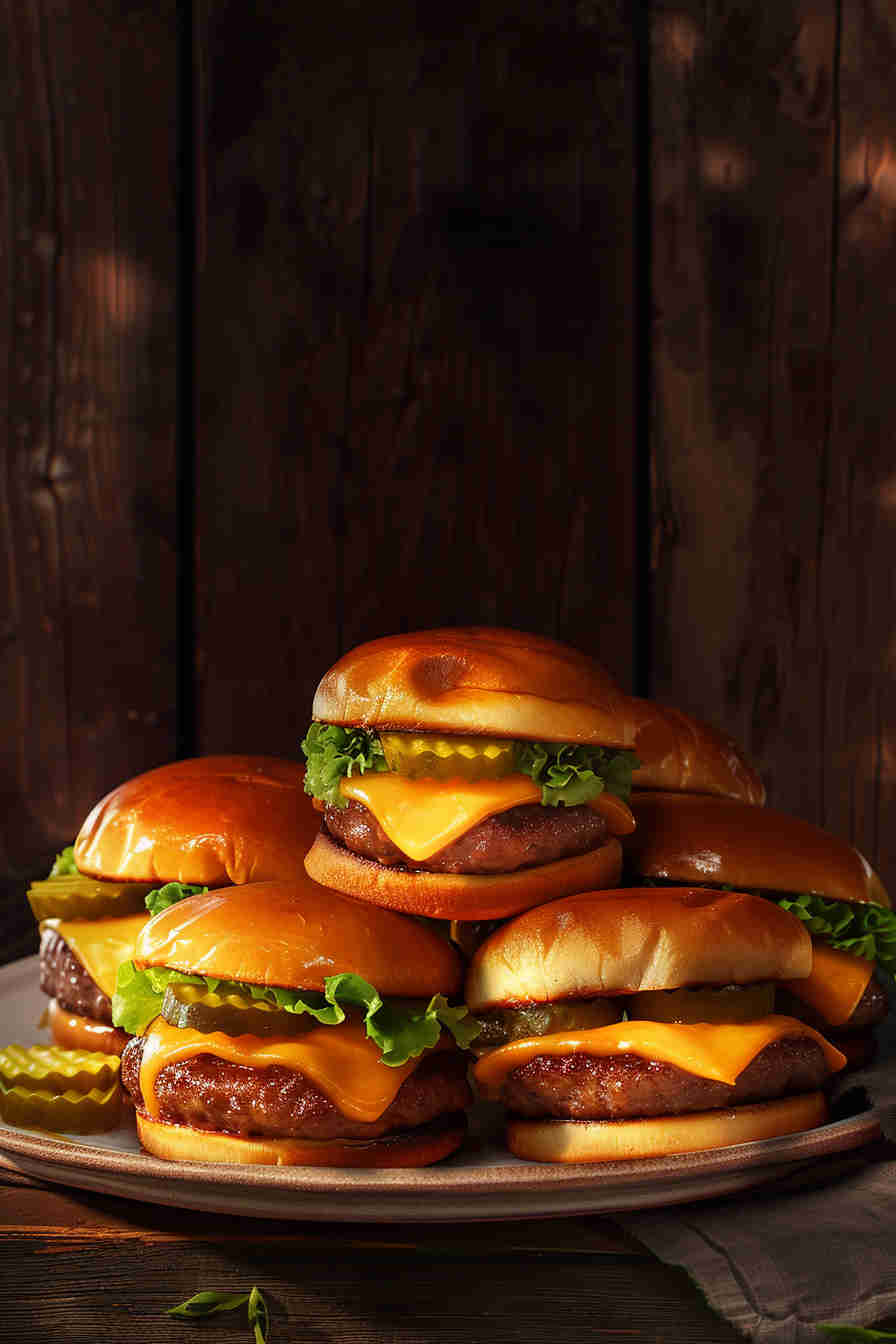
Easy Cheeseburger Sliders
These Easy Cheeseburger Sliders are perfect for game days or family gatherings, delivering juicy, cheesy goodness in every bite-sized portion. Packed with savory ground beef, melty cheddar, and soft slider buns, they’re quick to make and endlessly customizable, ensuring a crowd-pleasing dish everyone will love.
Why You’ll Love This Recipe
You’ll adore these Easy Cheeseburger Sliders for their unbeatable combination of flavor and convenience. They’re a breeze to whip up, requiring minimal prep and cook time, making them ideal for busy weeknights or last-minute parties. The sliders pack all the classic cheeseburger flavors—juicy beef, gooey cheese, and tangy toppings—into a portable, kid-friendly package. Whether you’re hosting a crowd or craving a fun dinner, these sliders deliver big taste with little effort. Plus, their versatility allows you to tweak ingredients to suit any palate, from spicy to mild or even vegetarian.
Recipe Tips and Tricks
- Use High-Quality Beef: Opt for 80/20 ground beef for the perfect balance of flavor and juiciness without excess grease.
- Don’t Overmix: Gently combine the beef and seasonings to keep the patties tender and avoid a tough texture.
- Toast the Buns: Lightly butter and toast the slider buns for a crisp exterior that holds up to the juicy filling.
- Cheese Melting Hack: Cover the sliders with foil during the final bake to ensure the cheese melts evenly without overcooking the beef.
- Prep Ahead: Assemble the sliders (without baking) up to a day in advance, then refrigerate and bake when ready to serve.
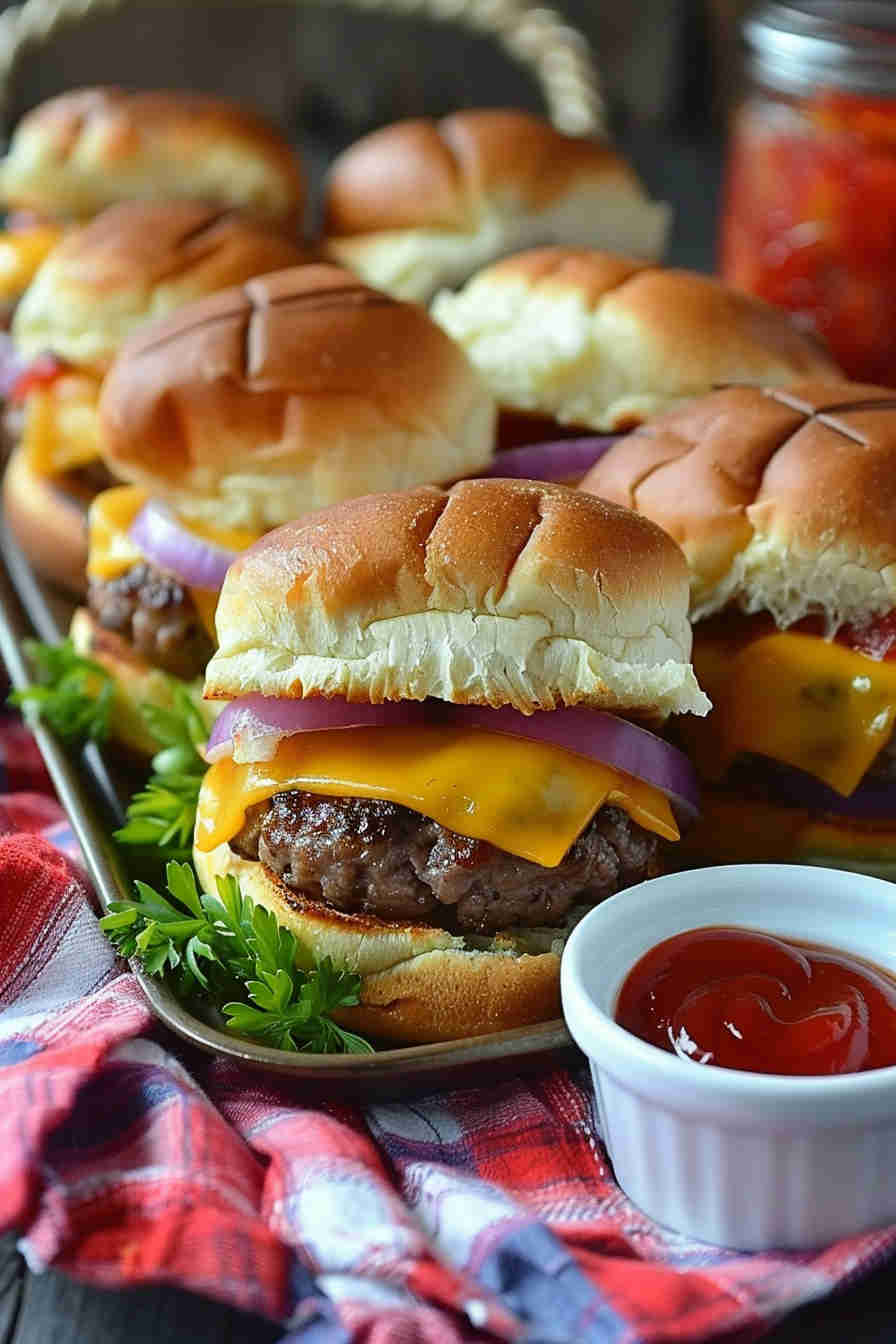
Easy Cheeseburger Sliders
Juicy, cheesy Easy Cheeseburger Sliders are perfect for parties, with savory beef and melty cheddar on soft buns.
Ingredients
- ¼ cup dill pickle chips
- ½ tsp black pepper
- 1 lb ground beef (80/20)
- 1 tbsp sesame seeds
- 1 tbsp Worcestershire sauce
- 1 tsp garlic powder
- 1 tsp onion powder
- 1 tsp salt
- 12 slider buns (Hawaiian or standard)
- 2 tbsp unsalted butter, melted
- 6 slices cheddar cheese (or 1 陆 cups shredded)
- Optional: ketchup, mustard, or mayo for serving
Instructions
- Preheat the Oven: Set your oven to 375°F (190°C) and line a baking sheet with parchment paper for easy cleanup. This ensures your sliders bake evenly without sticking.
- Season the Beef: In a large bowl, combine ground beef, Worcestershire sauce, garlic powder, onion powder, salt, and pepper. Gently mix until just combined to keep the patties tender.
- Form the Patties: Divide the beef mixture into 12 equal portions and shape into small patties, slightly larger than the buns since they’ll shrink during cooking.
- Cook the Patties: Heat a large skillet over medium heat. Cook the patties for 2-3 minutes per side until browned and cooked through (internal temp 160°F). Set aside.
- Prep the Buns: Slice the slider buns in half horizontally. Place the bottom halves on the prepared baking sheet, cut side up, ready for assembly.
- Assemble the Sliders: Place a cooked patty on each bun bottom. Top with a slice of cheddar cheese (or a sprinkle of shredded cheese) and a few pickle chips.
- Add Bun Tops: Place the top halves of the buns over the patties, pressing gently to secure the sliders in place.
- Brush with Butter: Use a pastry brush to coat the bun tops with melted butter, then sprinkle sesame seeds evenly over them for a classic burger look.
- Bake the Sliders: Bake for 8-10 minutes until the cheese is melted and the buns are golden. Cover with foil if the cheese needs more melting time.
- Serve and Enjoy: Let the sliders rest for 5 minutes, then serve warm with ketchup, mustard, or mayo on the side. Watch them disappear fast!
Notes
- For uniform sliders, use a kitchen scale to portion the beef evenly (about 1.3 oz per patty).
- If using Hawaiian buns, watch baking time closely to avoid over-browning due to their sugar content.
- Double the recipe for larger crowds, but bake in batches to ensure even cooking.
Ingredients Notes
- Ground Beef: Choose 80/20 ground beef for optimal juiciness; leaner beef can dry out, while fattier cuts may be too greasy.
- Cheddar Cheese: Sharp cheddar adds bold flavor, but pre-shredded works for convenience; freshly grated melts smoother.
- Slider Buns: Hawaiian rolls bring a touch of sweetness, but standard slider buns or brioche work equally well.
- Pickles: Dill pickle chips add crunch and tang; opt for high-quality brands for better flavor.
- Seasonings: Worcestershire sauce and garlic powder elevate the beef’s umami; adjust salt to taste for balance.
- Butter: Unsalted butter for the bun topping ensures control over seasoning; melted butter helps sesame seeds stick.
Variations and Substitutions
- Add diced jalapeños to the beef or use pepper jack cheese for a spicy twist.
- Substitute ground beef with turkey or plant-based meat for lighter or vegetarian sliders.
- Experiment with cheeses like Swiss or American for different flavor profiles.
- Use lettuce wraps instead of buns for a low-carb option.
- Include bacon bits or caramelized onions for added richness.
- Swap dairy ingredients for vegan cheese and butter alternatives for dairy-free sliders.
- Try sauces like BBQ or sriracha mayo for a unique flavor.
Storage Options
- Refrigerate leftovers in an airtight container for up to 3 days; reheat at 350°F for 10 minutes.
- Freeze unbaked or baked sliders in a freezer-safe container for up to 2 months.
- Thaw frozen sliders overnight in the fridge before reheating.
- Store toppings like pickles separately to prevent sogginess.
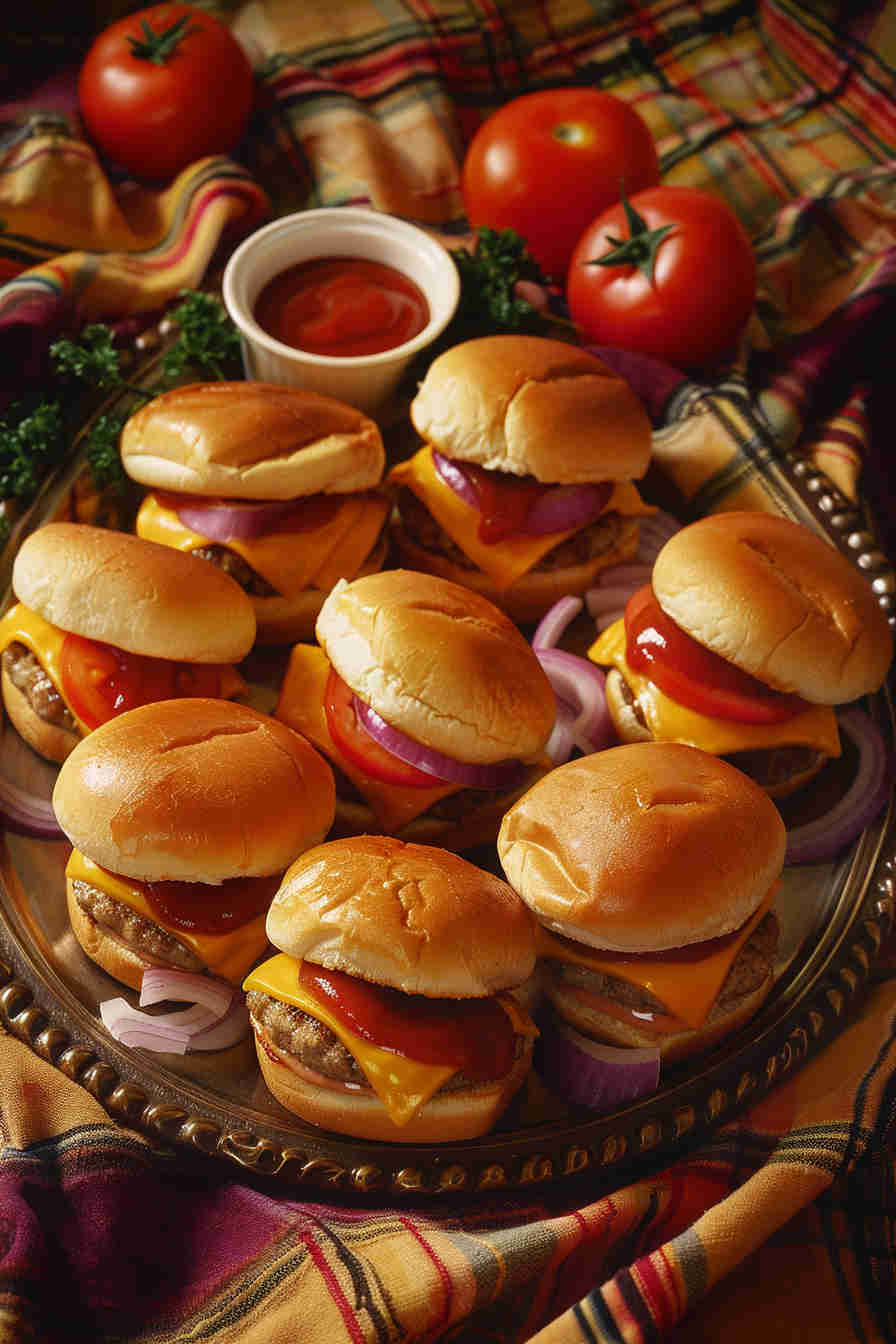
Dish Gallery


Please share this Easy Cheeseburger Sliders with your friends and do a comment below about your feedback.
We will meet you on next article.
Until you can read, Easy Cajun Shrimp Tacos