Essential Tips to Kickstart Your Food Instagram
Learn essential tips to kickstart your food Instagram with high-quality visuals, engaging content, and strategic growth tactics.
Starting a food Instagram account is an exciting way to share your culinary passion with the world. Whether you’re a home cook, a recipe developer, or a food enthusiast, Instagram offers a vibrant platform to showcase your creations, connect with like-minded foodies, and even turn your passion into a profitable venture. This comprehensive guide provides actionable strategies to launch and grow a successful food Instagram account. From mastering food photography to leveraging analytics and monetizing your content, we’ll cover everything you need to build a thriving presence. Let’s dive in!
Why Choose Instagram for Your Food Journey?
Instagram’s visual-first platform is tailor-made for food content. With over 2 billion monthly active users, it offers unparalleled organic reach compared to other platforms like Facebook, where organic reach for business accounts hovers below 2%. Instagram’s algorithm favors creators, making it easier to grow a following without heavy reliance on paid ads. Its diverse features—Reels, Stories, Live, and more—allow you to engage audiences creatively. Whether you’re sharing quick recipes, restaurant reviews, or cooking hacks, Instagram’s tools help you connect with a global foodie community.
Step 1: Laying the Foundation
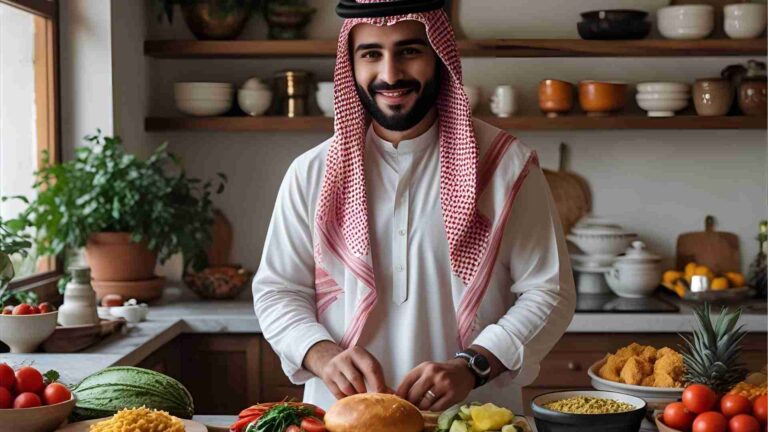
Define Your Niche
Your niche is the cornerstone of your Instagram success. A well-defined niche attracts a dedicated audience and establishes you as an authority. Ask yourself: What unique value do you bring? Are you passionate about vegan comfort food, 30-minute family dinners, or gluten-free baking? For example, an account like @eatswithmish focuses on accessible Indian recipes using basic pantry ingredients, appealing to those intimidated by complex Indian cooking.
To identify your niche:
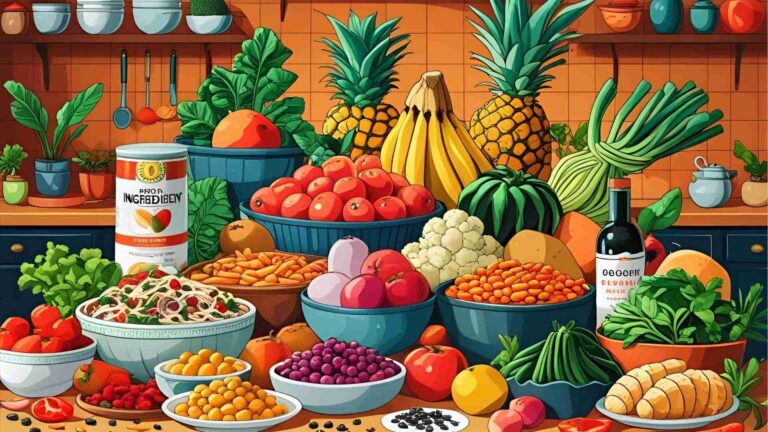
- Reflect on Your Passion: What food topic excites you? It could be budget meals, dessert artistry, or regional cuisine.
- Solve a Problem: Address a specific need, like quick meals for busy parents or plant-based recipes for beginners.
- Research Competitors: Analyze successful accounts in your niche. Identify gaps you can fill with your unique perspective.
Choose a Memorable Handle
Your Instagram handle is your digital identity. It should be catchy, relevant, and easy to remember. Aim for consistency across platforms to strengthen your brand. For instance, @eatswithmish aligns with the creator’s website, eatswithmish.com. Tips for choosing a handle:
- Keep it short and memorable.
- Incorporate your niche or name (e.g., @VeganBitesBySarah).
- Check availability on Instagram and as a domain for future website use.
Craft a Compelling Bio
Your bio is your elevator pitch. With only 150 characters, make every word count. Highlight your niche, personality, and what followers can expect. Use emojis to add flair and keywords for Instagram SEO. For example:
“Mish Sen | Recipe Developer | Easy Indian recipes under 30 min 🍛🌶️ Link to recipes 👇”
Include a call-to-action (CTA) like “Get my free recipe eBook!” and link to your blog or a link-in-bio tool like Linktree.
Secure Your Domain
Even if you’re not ready to build a website, claim a domain matching your Instagram handle. Services like GoDaddy allow you to purchase domains affordably (around $10–$20/year). This ensures brand consistency and prepares you for future expansion. For example, securing eatswithmish.com early allowed seamless integration when the creator launched their site.
Create Audience Personas
Understanding your ideal follower helps tailor your content. Create personas by considering:
- Demographics: Age, gender, location, income level.
- Interests: Are they busy professionals, health-conscious parents, or aspiring chefs?
- Challenges: What food-related problems do they face? (e.g., time constraints, dietary restrictions)
For instance, if your niche is quick vegan meals, your persona might be a 30-year-old working professional seeking healthy, time-saving recipes.
Step 2: Setting Up Your Account
Business vs. Creator Account
Instagram offers two professional account types: Business and Creator. A Creator account is ideal for food influencers, as it’s designed for content creators and provides access to advanced analytics, monetization features, and the @creators hub for tips. To set up:
- Create a new account or switch your personal account to a Creator account via Settings > Account > Switch to Professional Account.
- Select “Creator” and choose “Food & Drink” as your category.
Optimize Your Profile Picture
Your profile picture should be clear and representative of your brand. Options include:
- A high-quality headshot of you cooking.
- A close-up of your signature dish.
- A logo if you have one.
Ensure it’s recognizable as a thumbnail (minimum 180×180 pixels). Use a neutral background to avoid distractions.
Step 3: Crafting Compelling Content
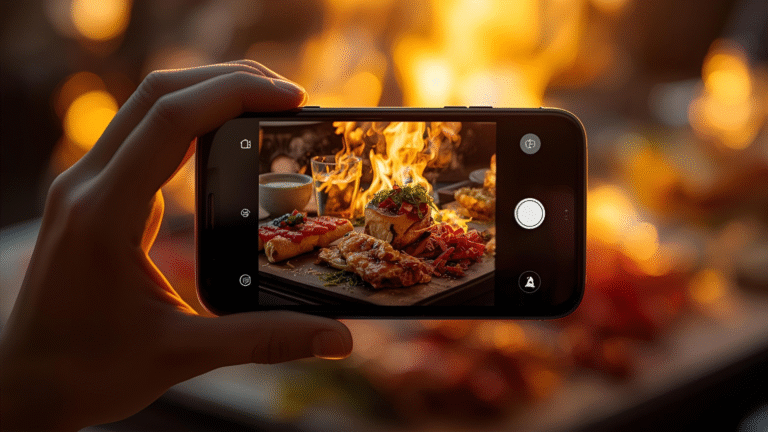
Master Food Photography
High-quality visuals are non-negotiable on Instagram. You don’t need a professional camera—a modern smartphone and basic photography skills will suffice. Key tips:
- Lighting: Use natural light from a window for vibrant, true-to-life colors. Avoid harsh shadows or artificial lighting.
- Composition: Experiment with angles (overhead for flat lays, 45-degree for texture). Follow the rule of thirds for balanced framing.
- Editing: Use apps like Lightroom CC or Snapseed to enhance brightness, contrast, and saturation subtly. Avoid over-editing to keep food looking authentic.
- Styling: Use props like rustic cutting boards, colorful napkins, or garnishes to elevate presentation. Maintain a consistent aesthetic (e.g., warm tones, minimalist backgrounds).
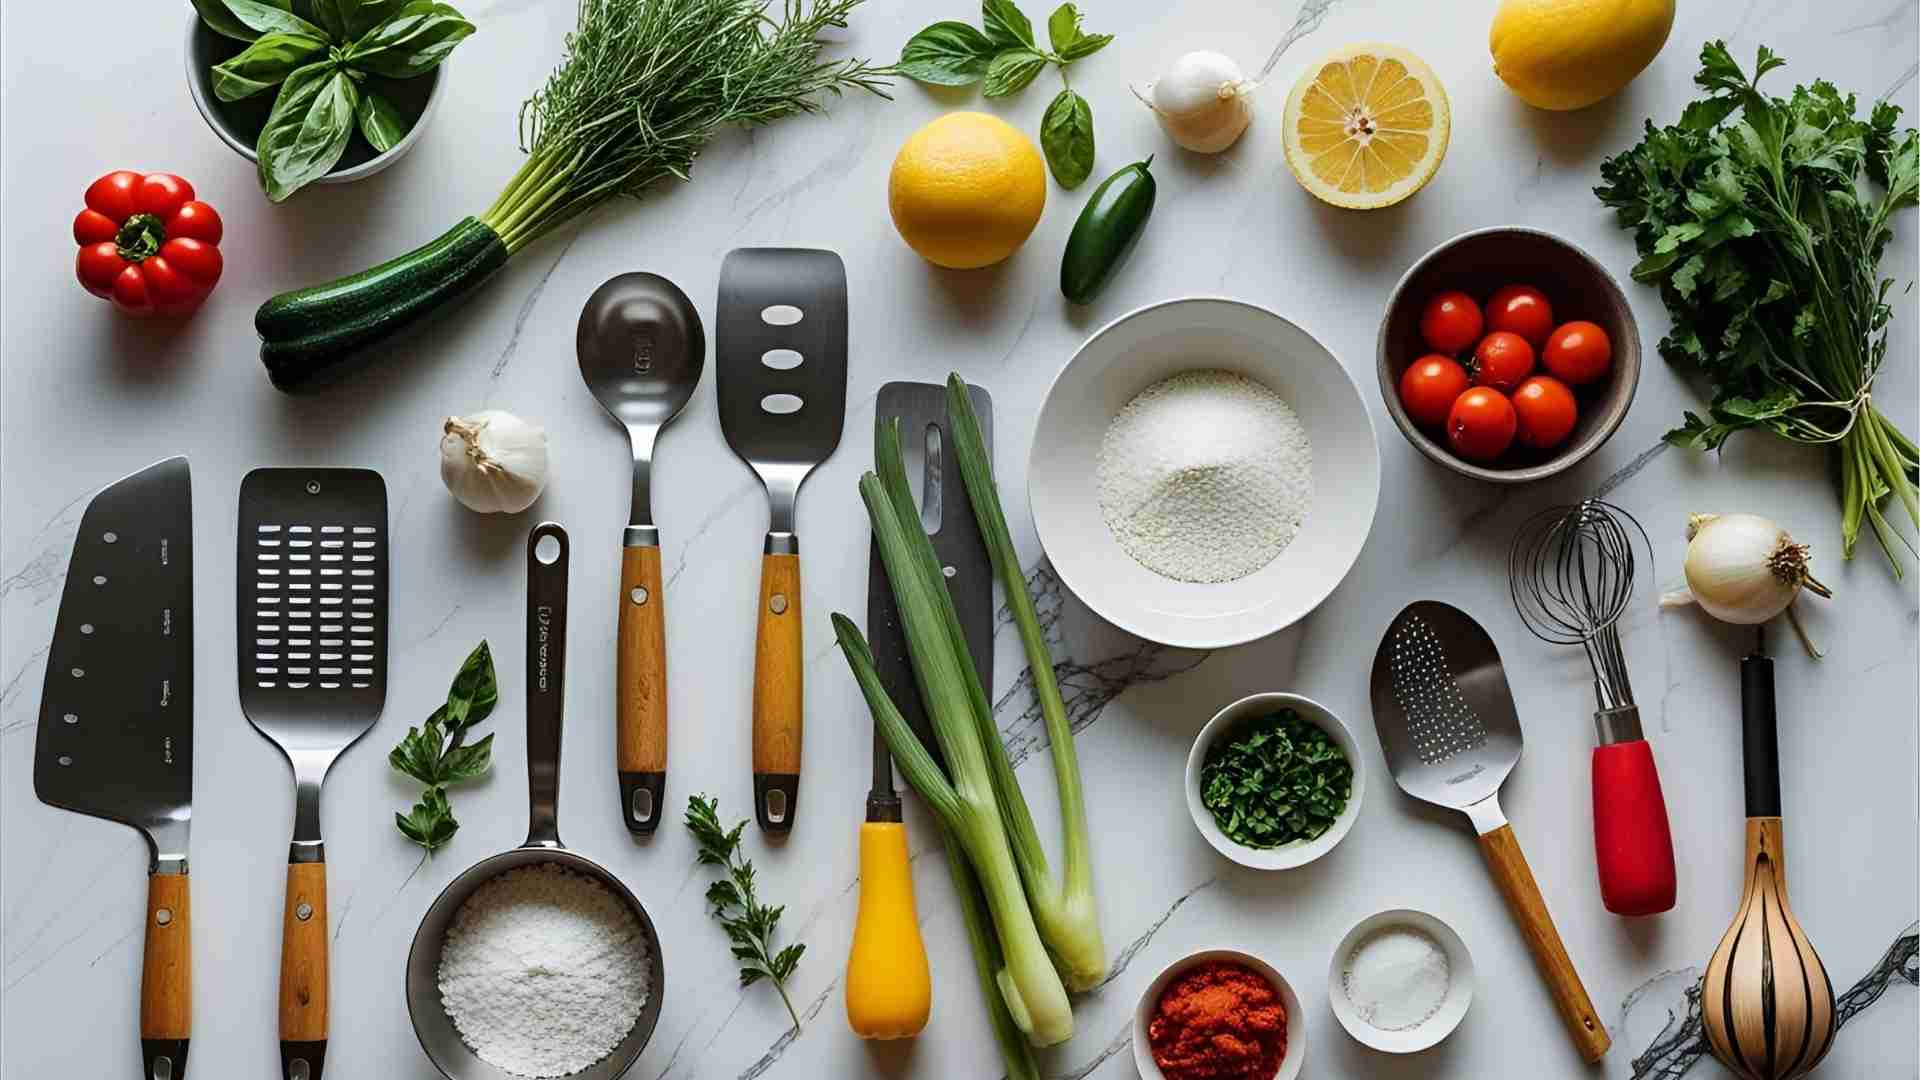
Table: Photography Tools and Costs
| Tool | Purpose | Approx. Cost |
|---|---|---|
| Smartphone (e.g., iPhone 13 or later) | High-quality photos/videos | $600–$1000 (one-time) |
| Tripod | Stabilized shots | $20–$50 |
| Softbox Lighting Kit | Controlled lighting for indoor shoots | $50–$100 |
| Lightroom CC | Photo editing | $9.99/month |
| Canva Pro | Graphic design for Stories/Highlights | $12.99/month |
Diversify Content Types
Keep your feed engaging by mixing content formats:
- Recipes: Share step-by-step guides with vibrant images or short videos.
- Cooking Tips: Offer hacks like knife skills or ingredient substitutions.
- Behind-the-Scenes: Show your cooking process or kitchen setup.
- Food Stories: Share personal anecdotes, like the inspiration behind a dish.
- User-Generated Content: Repost followers’ recreations of your recipes.
Maintain a Consistent Aesthetic
A cohesive feed attracts followers. Choose a color palette (e.g., earthy tones, bright pastels) and stick to a consistent editing style. Use apps like Preview or Planoly to plan your grid layout.
Follow a Content Calendar
Consistency builds trust. Plan posts at least a month in advance, aligning with holidays or seasonal trends (e.g., pumpkin recipes in fall, festive desserts in December). A sample content calendar:
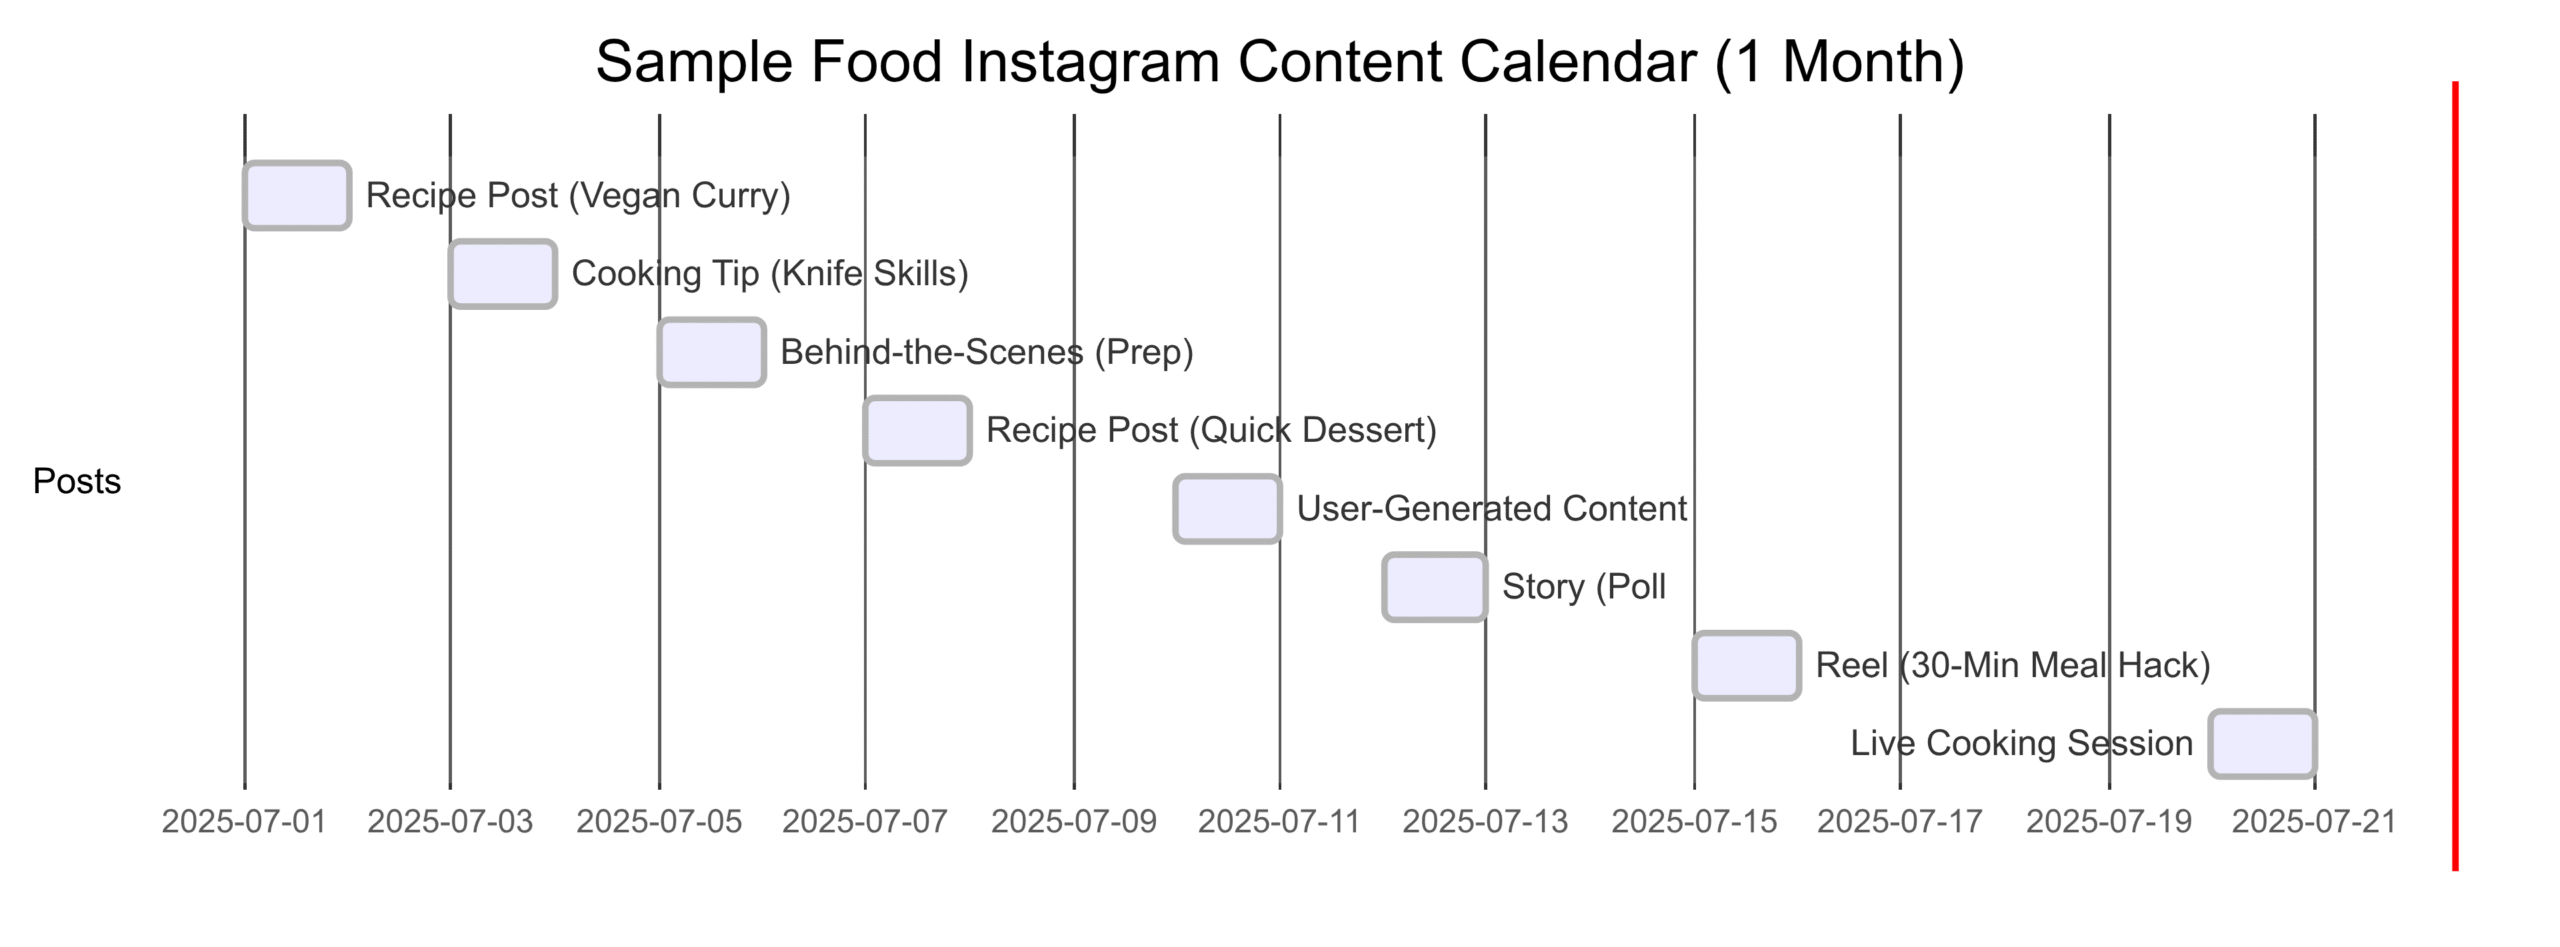
Be Authentic
Authenticity resonates with audiences. Share your culinary journey, including successes and failures. For example, posting a “recipe fail” with a humorous caption humanizes your brand and encourages engagement.
Step 4: Engaging Your Community
Foster Interaction
Building a community requires active engagement:
- Respond Promptly: Reply to comments and DMs within 24 hours to show you value your audience.
- Ask Questions: Use captions to spark discussions (e.g., “What’s your go-to comfort food?”).
- Host Challenges: Encourage followers to recreate your recipes and tag you, boosting engagement.
Collaborate with Others
Partner with food bloggers or complementary accounts (e.g., a kitchenware brand). Cross-promotions expose you to new audiences. For example, collaborate on a joint recipe Reel or co-host an Instagram Live.
Share User-Generated Content
Reposting followers’ recipe recreations fosters loyalty. Always credit the creator and ask permission before sharing.
Engage Beyond Your Posts
Like and comment on posts from followers and other food accounts. This builds relationships and increases your visibility.
Step 5: Mastering Instagram Features
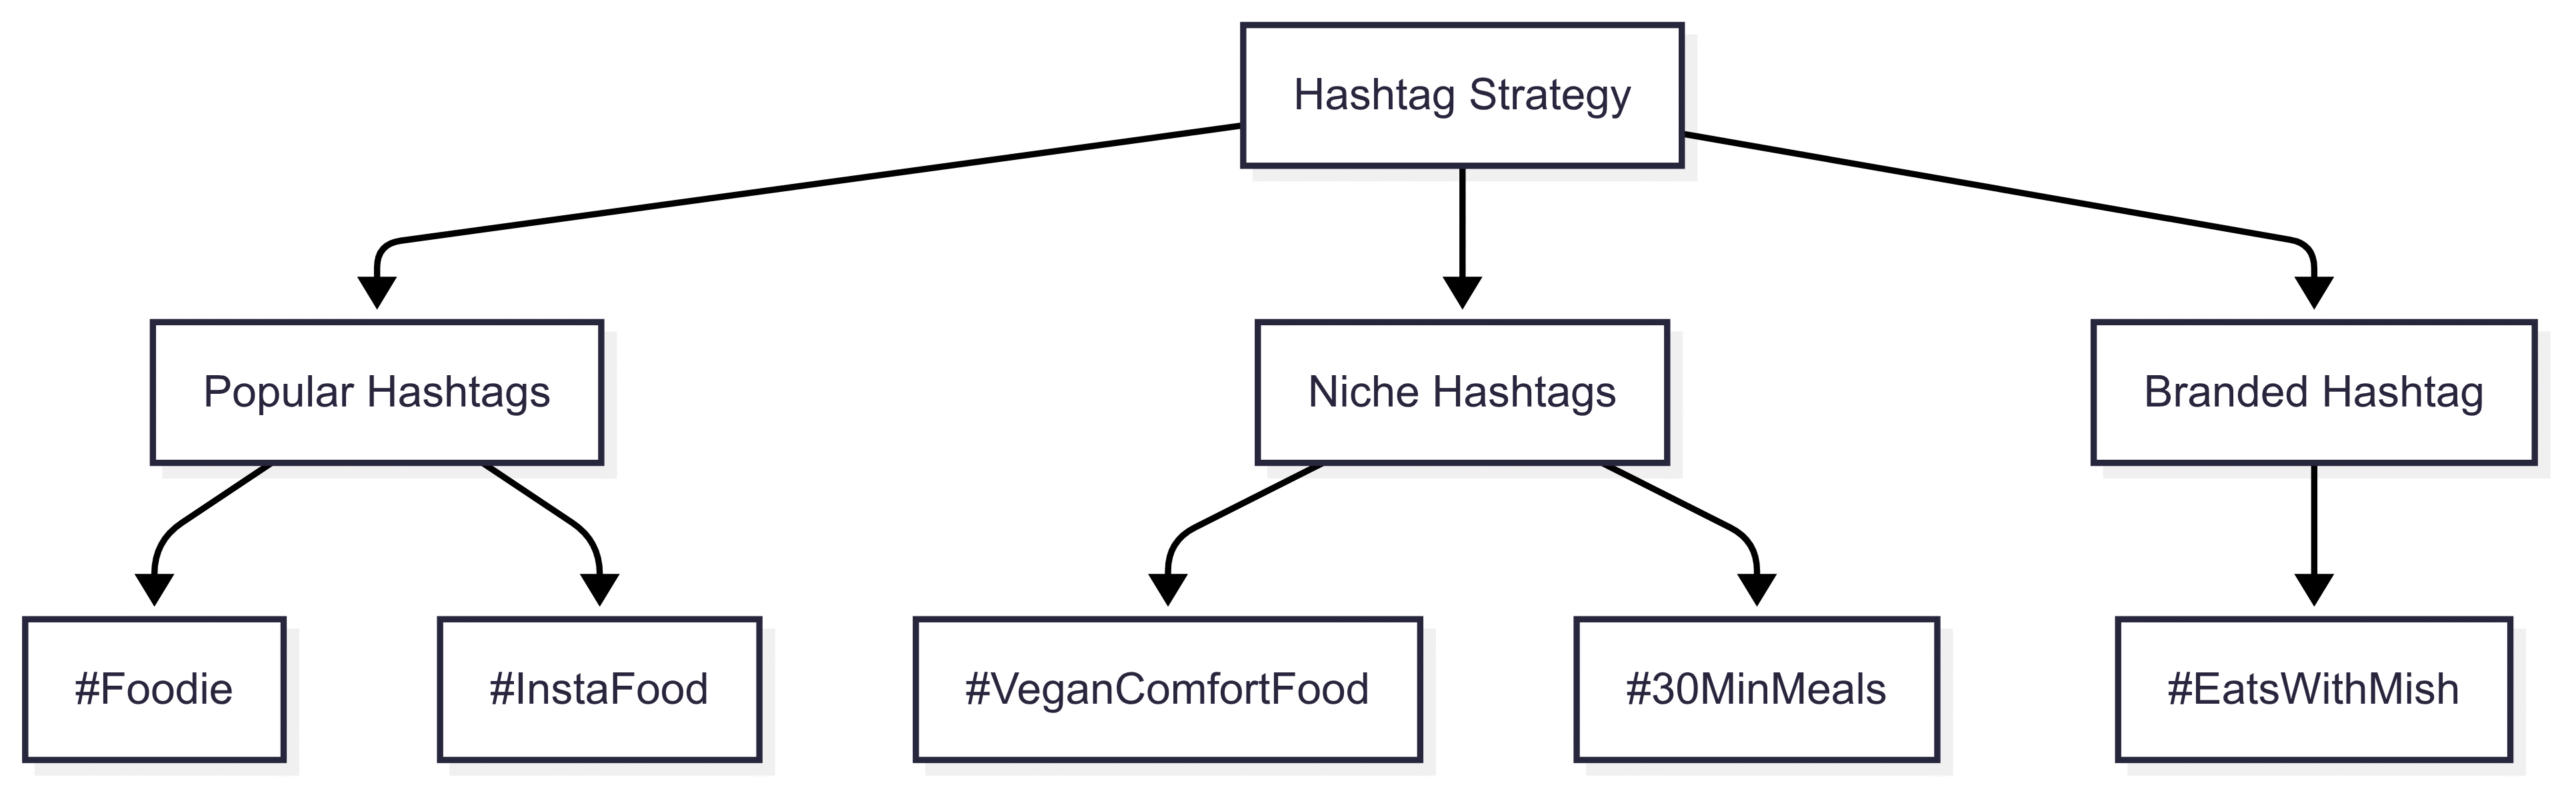
Hashtags
Hashtags boost discoverability. Use 3–5 relevant hashtags per post, mixing popular (e.g., #Foodie, #InstaFood) and niche-specific (e.g., #VeganRecipesNYC, #QuickDinnerIdeas). Tools like IQ Hashtags help identify trending tags. Example hashtag strategy:
Stories
Stories are perfect for informal, daily updates. Use polls, quizzes, or Q&A stickers to engage followers. Save key Stories as Highlights, organized by category (e.g., “Recipes,” “Tips”).
Reels
Reels are Instagram’s most engaging feature. Create 15–30 second videos showcasing quick recipes, hacks, or behind-the-scenes content. Use trending audio to increase reach.
Live
Go Live to cook in real-time or answer follower questions. Start with short sessions (10–15 minutes) and assign a moderator to handle comments.
Location and Collaborator Tagging
Tag locations for restaurant reviews or local ingredients to attract nearby foodies. Tag collaborators to cross-promote content.
Step 6: Leveraging Analytics
Instagram Insights (available for Creator/Business accounts) provide data to refine your strategy:
- Engagement Rate: Measures likes, comments, and shares. Aim for 3–6% engagement (industry average for food accounts).
- Reach and Impressions: Track how many users see your posts and how often. High reach indicates effective hashtags or trending content.
- Audience Insights: Analyze follower demographics (age, location) and active times to optimize posting schedules.
- Website Clicks: Monitor clicks to your bio link to gauge blog traffic.
Focus on 2–3 metrics aligned with your goals (e.g., engagement for community building, reach for growth). Adjust content based on patterns (e.g., if Reels outperform static posts, prioritize video).
Step 7: Monetizing Your Food Instagram
As your following grows, monetization opportunities emerge:
Sponsored Posts
Brands pay influencers to feature their products (e.g., kitchen gadgets, ingredients). Rates vary by follower count:
- Micro-influencers (1K–10K): $50–$250 per post.
- Mid-tier influencers (10K–50K): $250–$1000 per post.
Affiliate Marketing
Earn commissions by sharing affiliate links or discount codes for products like cookware or meal kits. Use Instagram’s shopping tags to link products directly in posts.
Sell Your Products
Create and sell cookbooks, cooking courses, or merchandise. Promote these via your bio link or Stories.
Drive Blog Traffic
Use Instagram to funnel followers to your blog, where you can monetize through ads, affiliate links, or sponsored content.
WP Recipe Maker for Blog Monetization
For bloggers, WP Recipe Maker (starting at $49/year) enhances recipe presentation with customizable cards, SEO-friendly metadata, and features like adjustable serving sizes. Bloggers like Savory Nothings use it to integrate ads and affiliate links seamlessly, boosting revenue.
Table: Monetization Options
| Method | Description | Potential Earnings |
|---|---|---|
| Sponsored Posts | Feature brand products | $50–$1000/post |
| Affiliate Marketing | Earn commissions via links | 5–20% per sale |
| Product Sales | Sell cookbooks, courses | Varies (e.g., $10–$50/unit) |
| Blog Ads | Display ads on your blog | $1–$10/1000 views |
Step 8: Overcoming Challenges
Imposter Syndrome
Comparing yourself to established accounts can be discouraging. Focus on your unique value and progress. Every influencer started at zero.
Time Management
Creating content is time-intensive. Use a content calendar and batch-create posts to stay organized. Tools like Later or Planoly (starting at $9/month) streamline scheduling.
Learning Curve
Photography and video editing may feel daunting. Start with free resources like YouTube tutorials or Canva’s free tier for graphics. Consider hiring a virtual assistant from Upwork or Fiverr for tasks like editing ($10–$50/hour).
Step 9: Staying Motivated
Building a food Instagram takes commitment. Daily affirmations can keep you focused:
- I share valuable content that helps others.
- I prioritize authenticity over perfection.
- I grow my community through consistent effort.
Have fun and celebrate milestones, like your first 100 followers or a viral Reel. Engage with followers to build virtual friendships, like @eatswithmish did with a 9-year-old budding chef.
Conclusion
Kickstarting a food Instagram is a rewarding journey that blends creativity, community, and opportunity. By defining your niche, mastering visuals, engaging your audience, and leveraging Instagram’s features, you can build a thriving presence. Use analytics to refine your strategy and explore monetization as your following grows. With dedication and authenticity, your food Instagram can become a platform for sharing your passion and inspiring others. Start today, stay consistent, and watch your community flourish!
Please share these Essential Tips to Kickstart Your Food Instagram with your friends and do a comment below about your feedback.
We will meet you on next article.
Until you can read, Creative food photography composition techniques