The Food Photographer’s Guide To Better Composition
Master food photography composition with expert tips on rule of thirds, leading lines, layering, and more to create stunning, engaging images.
Food photography is an art form that transforms culinary creations into visual stories that captivate and entice. Composition—the deliberate arrangement of elements within the frame—is the cornerstone of creating images that not only showcase food but also evoke emotion and tell a story. A well-composed food photograph can make viewers hungry, curious, or nostalgic, drawing them into the scene. This comprehensive guide explores the essential principles and techniques of food photography composition, from camera angles to lighting, props, and color theory, to help you craft images that stand out. Whether you’re a beginner or a seasoned photographer, these strategies will elevate your work and make your food photos unforgettable.
Why Composition Matters in Food Photography
Composition is the backbone of food photography. It’s the difference between a snapshot and a masterpiece. A beautifully lit dish with perfect styling can fall flat if the elements within the frame aren’t arranged thoughtfully. Effective composition guides the viewer’s eye, highlights the food’s appeal, and conveys a narrative—whether it’s the rustic charm of a home-cooked meal or the elegance of a fine-dining dish. By mastering composition, you create images that resonate emotionally and keep viewers engaged, making them want to recreate the recipe or visit the restaurant.
Setting Up Your Camera for Success
A stable camera setup is critical for precise composition. Tripods are invaluable, allowing you to lock the camera in place and build your scene methodically. This is especially important for overhead shots, where maintaining a consistent angle is key. Hand-holding the camera can work, but it limits your ability to style to the camera and track your composition’s progress.
Recommended Tripod Setup
For overhead shots, a sturdy yet portable setup is ideal. Here’s a recommended configuration:
- 2 x Light Stands or C-Stands (e.g., Manfrotto): Provide a stable base.
- 1 x 40in. Extension Arm with Grip Head (e.g., Impact): Extends the camera over the scene.
- 2 x Grip Heads (e.g., Impact): Secure the extension arm.
- 1 x Spigot (e.g., Neewer): Connects the camera to the arm.
- 1 x Tripod Ball-Head (e.g., Manfrotto XPRO Magnesium): Allows precise angle adjustments.
For versatility, the Manfrotto 055 Aluminum Tripod with XPRO Magnesium Ball Head is a favorite among food photographers. It’s robust, adjustable, and can be repurposed for both overhead and angled shots.
Shooting Tethered
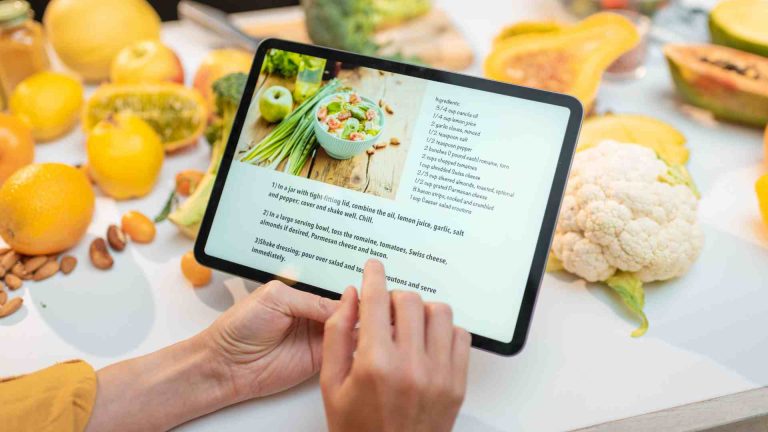
Tethered shooting—connecting your camera to a computer to view images in real-time—enhances composition precision. It allows you to see the frame on a larger screen, making it easier to adjust elements like props and lighting. Use software like Adobe Lightroom or Capture One and a compatible tether cable (check Tether Tools for options). For smartphone users, the device’s screen acts as a natural viewfinder, offering a similar benefit without additional setup.
Choosing the Best Camera Angles
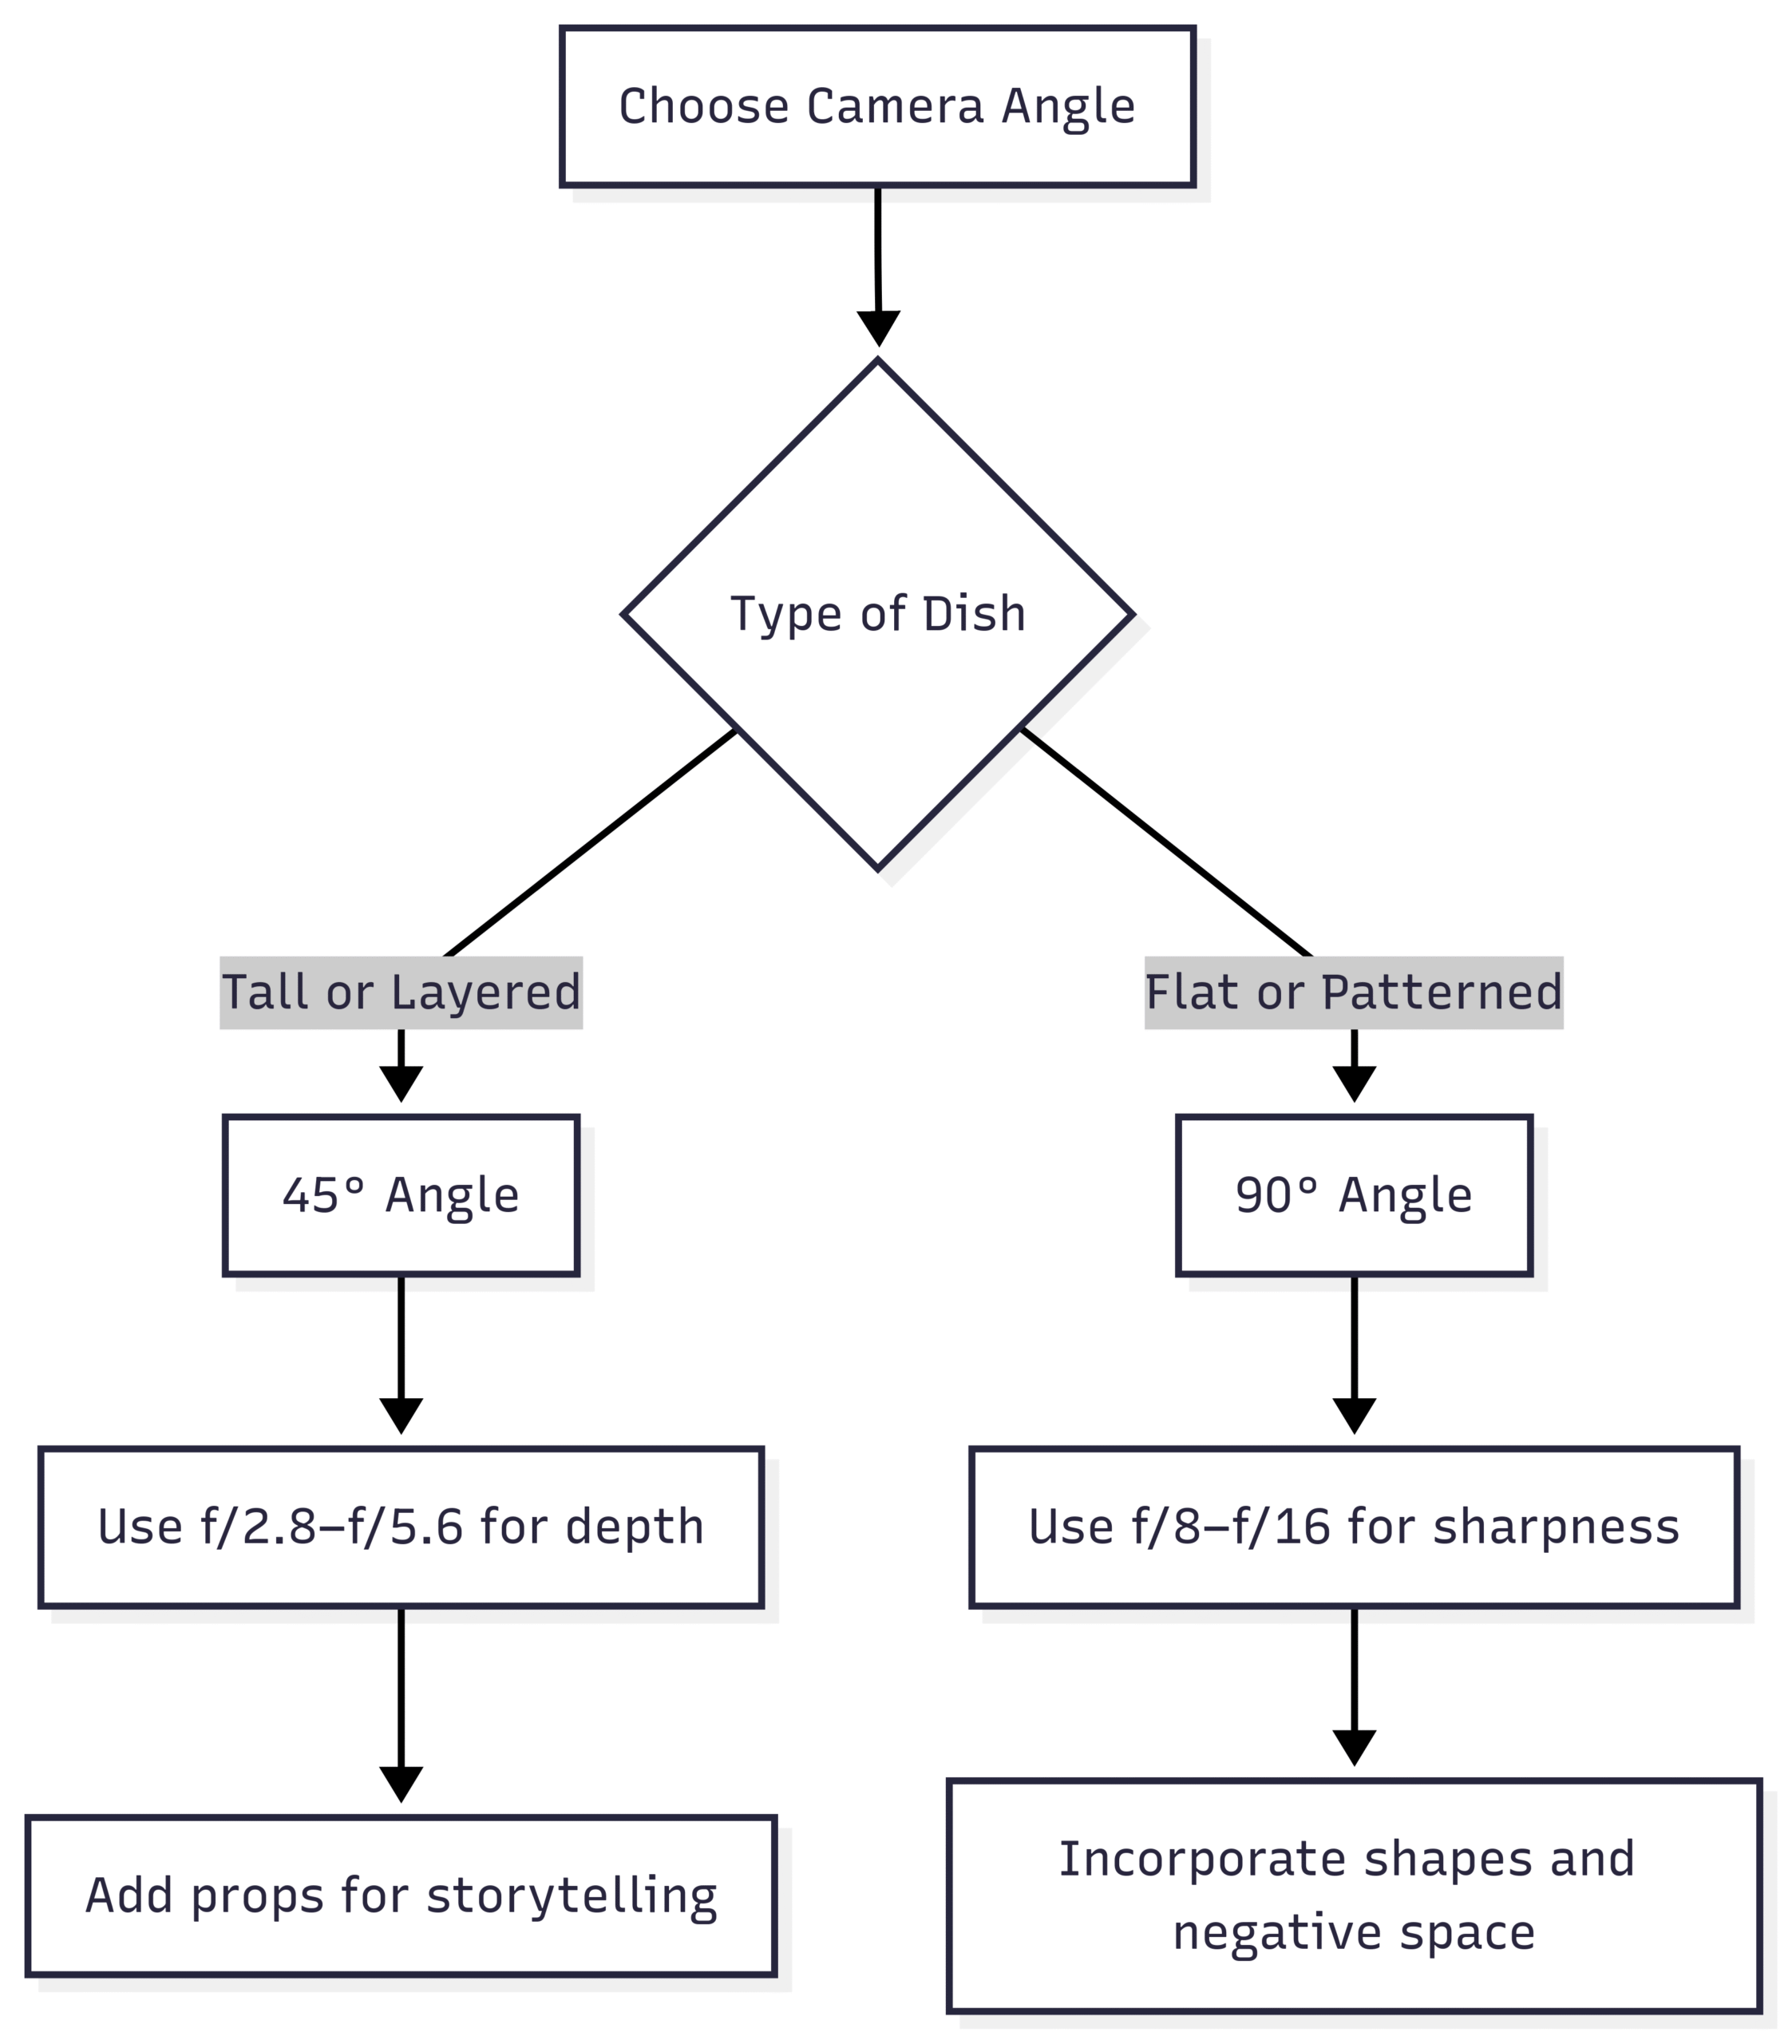
Camera angle dramatically influences how food is perceived. While countless angles are possible, two dominate professional food photography: the 45° angle and the 90° (overhead) angle. These angles are reliable, versatile, and align with how viewers naturally experience food.
The 45° Angle: Depth and Storytelling
The 45° angle, ranging from eye-level (0°) to slightly above (45°), is the most versatile. It mimics how people see food when seated at a table, making it relatable and descriptive. This angle excels for dishes with height, like layered cakes or stacked burgers, as it reveals textures and details.
Why Use the 45° Angle?
- Natural Perspective: Shows food as diners see it, enhancing familiarity.
- Storytelling Opportunities: Includes foreground and background for props and context, adding depth to the narrative.
- Depth of Field Control: A wide aperture (f/2.8–f/5.6) creates a shallow depth of field, isolating the subject with a dreamy bokeh effect while keeping props subtly in focus.
Tips for the 45° Angle:
- Use an aperture of f/2.8–f/5.6 to balance focus and blur.
- Ensure the camera is level with the table to avoid a tilted appearance.
- Style props to frame the dish, such as placing cutlery or ingredients in the foreground and background.
The 90° Angle: Graphic and Bold
The 90° angle, shot directly overhead, creates a graphic, abstract look. It’s ideal for flat dishes like pizzas, charcuterie boards, or artfully arranged plates, where shapes and patterns shine.
Why Use the 90° Angle?
- Shape Emphasis: Highlights the natural shapes of food and props (e.g., circular plates, square pastries).
- Eye-Trapping Patterns: Compositions can guide the viewer’s eye in circular, triangular, or bouncing patterns, keeping them engaged.
- Negative Space Opportunities: Provides space for text overlays, menus, or recipes, making it ideal for commercial use.
Tips for the 90° Angle:
- Use a higher aperture (f/8–f/16) to keep everything in focus for a sharp, graphic look.
- Arrange props in repeating or contrasting shapes to create visual harmony.
- Leave intentional negative space for potential text or branding.
Comparison of Camera Angles
| Angle | Best For | Aperture Range | Key Benefits |
|---|---|---|---|
| 45° | Layered or tall dishes (e.g., cakes, burgers) | f/2.8–f/5.6 | Natural look, depth, storytelling |
| 90° | Flat dishes (e.g., pizzas, flatbreads) | f/8–f/16 | Graphic appeal, shape emphasis, negative space |
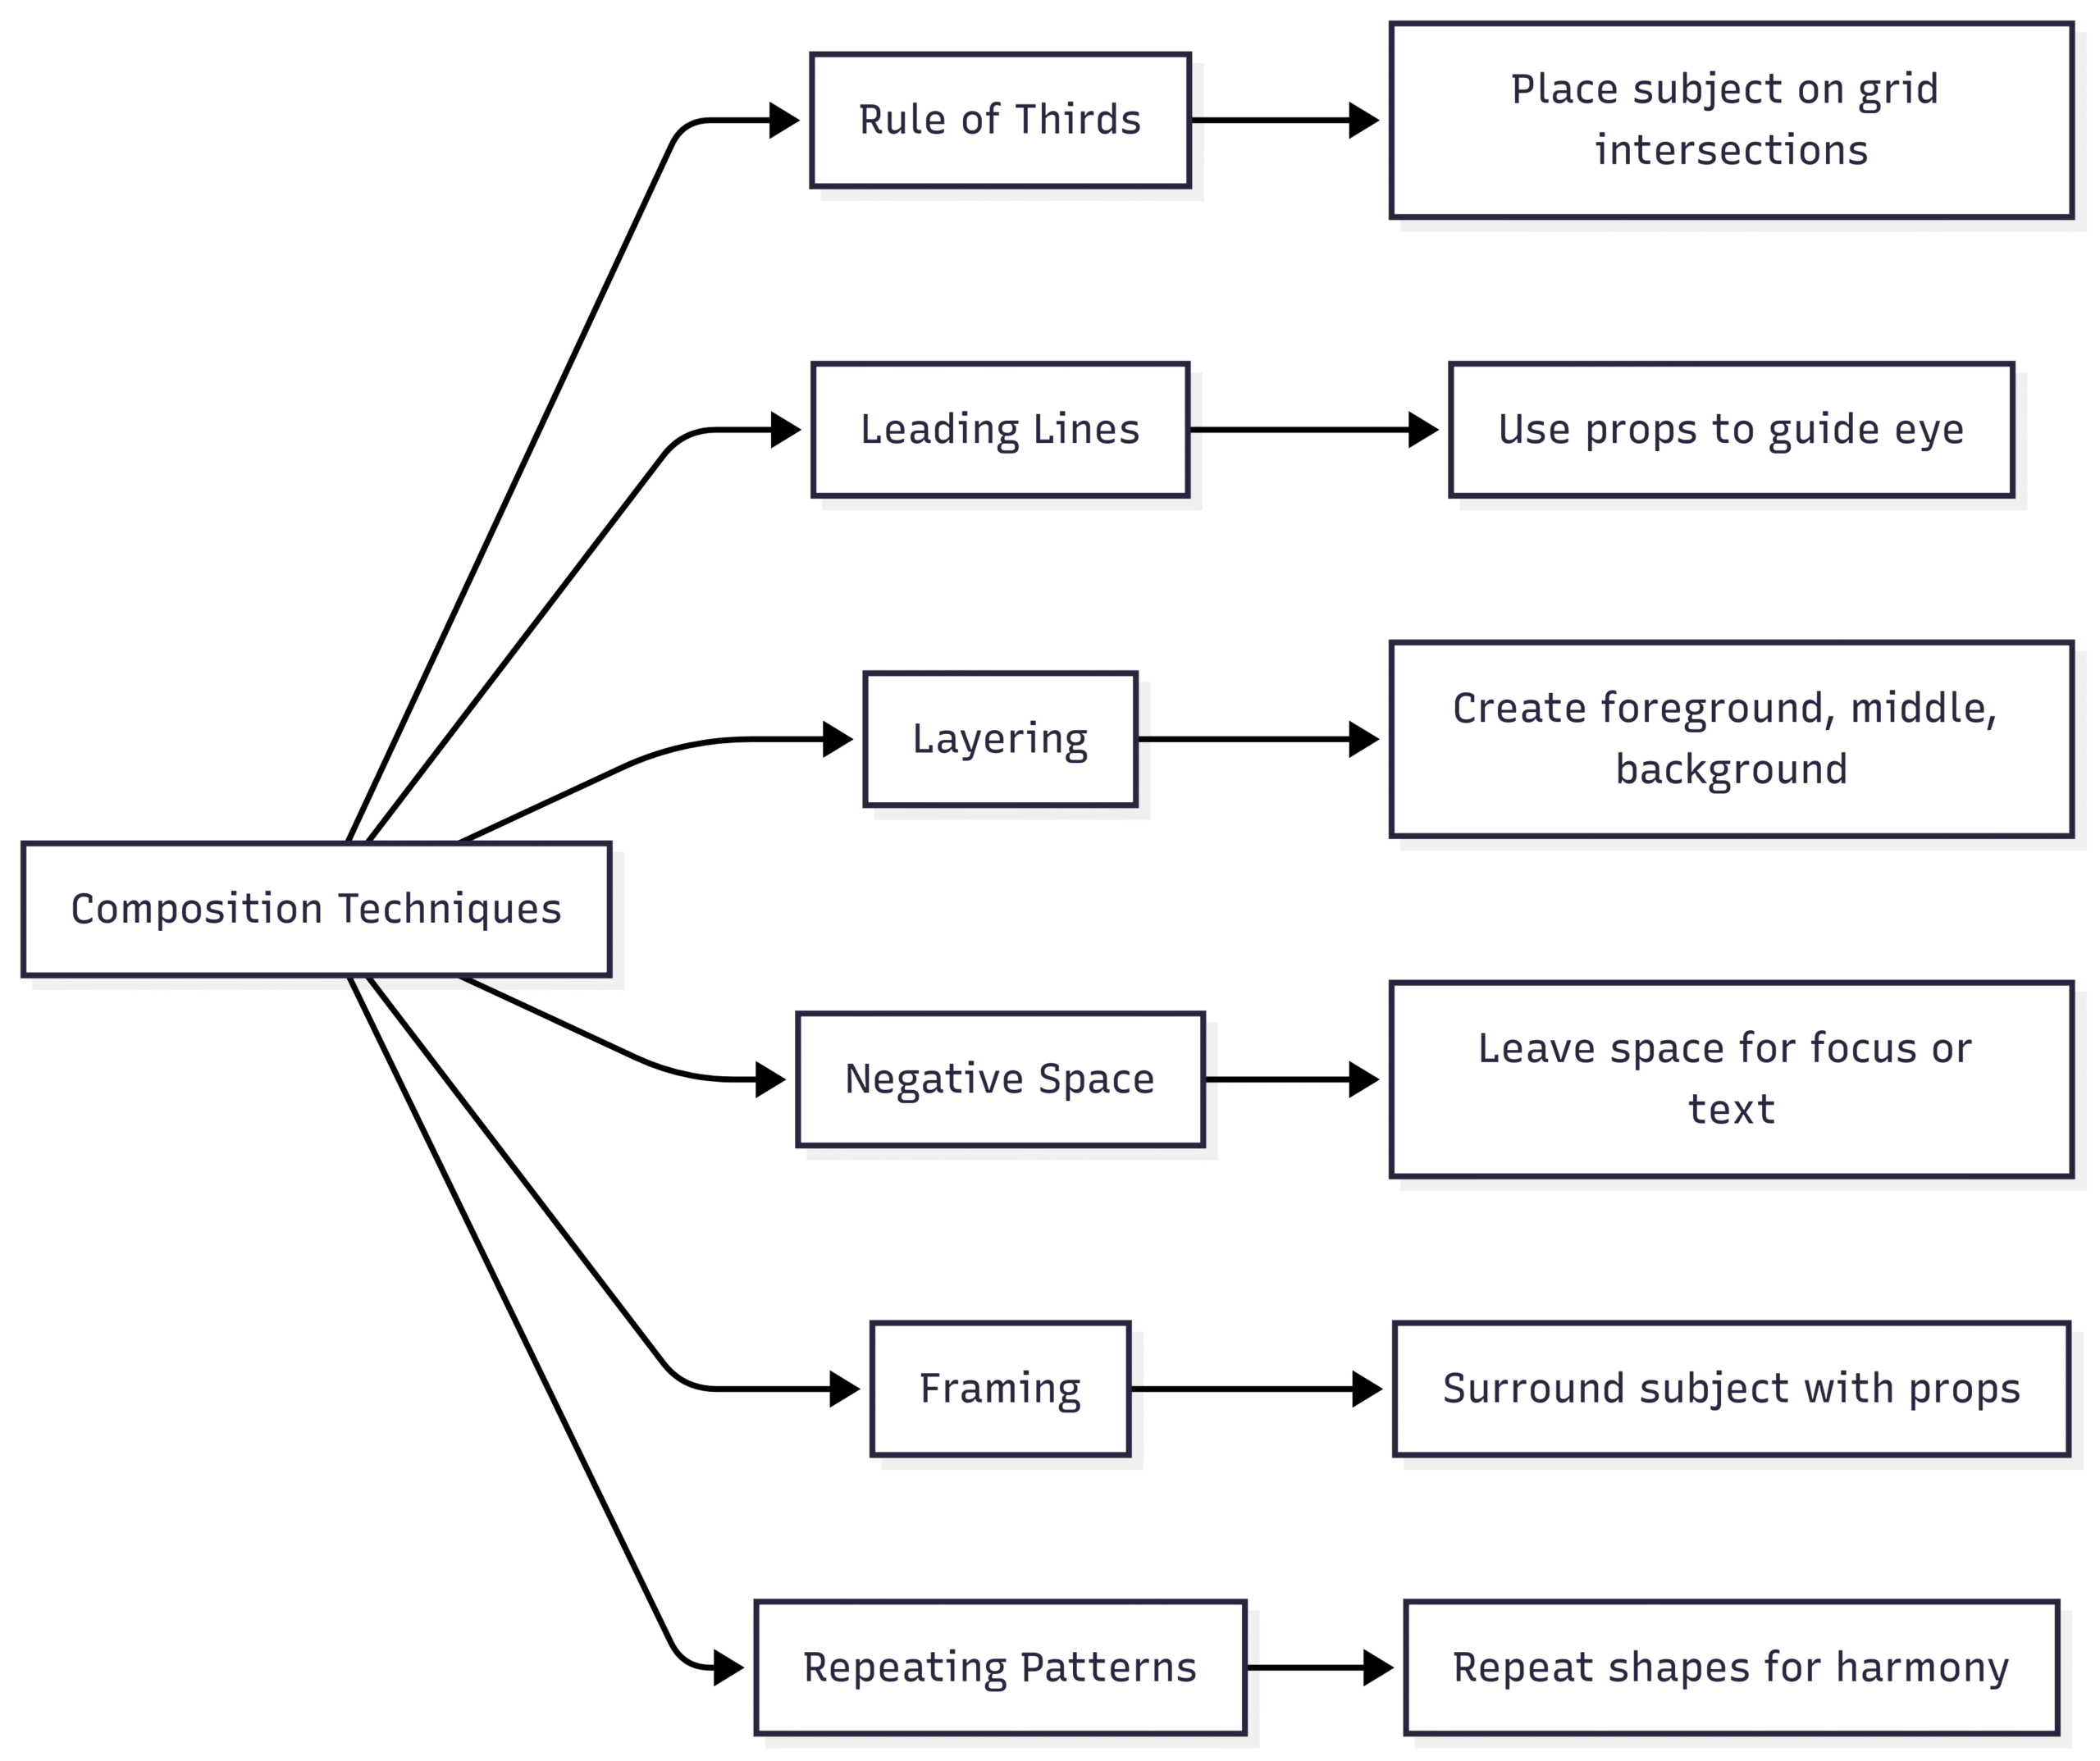
Core Composition Techniques
Mastering composition involves applying time-tested techniques to guide the viewer’s eye and enhance the image’s impact. These principles are flexible, allowing you to adapt them to your creative vision.
Rule of Thirds
The rule of thirds divides the frame into a 3×3 grid, with key elements placed along the lines or at their intersections. This creates balance and draws attention to the subject. Most cameras and editing software offer a grid overlay to assist with placement.
Example: Place a bowl of cherries along the bottom horizontal line, intersecting with the right two points, to create a balanced yet dynamic composition.
Leading Lines
Lines guide the viewer’s eye toward the subject. Use props like utensils, plate edges, or even food elements (e.g., a drizzle of sauce) to create diagonal or parallel lines. These add movement and symmetry to the image.
Example: In a smoked salmon dish, lemons arranged in a line can direct attention to the main dish, while parallel lines from cutlery add visual rhythm.
Layering
Layering adds depth by creating a foreground, middle ground, and background. This technique is particularly effective at the 45° angle, where a shallow depth of field can emphasize the subject while softening props.
Example: Place a dish of quail eggs in the middle ground, with a napkin in the foreground and a rustic board in the background, to frame the subject and add texture.
Negative Space
Negative space—the empty areas around the subject—enhances focus and balance. It’s especially effective in 90° shots, where it can accommodate text or branding.
Example: An overhead shot of chili with ample space on the left and bottom allows room for a recipe overlay.
Framing
Framing directs attention to the subject by surrounding it with props or ingredients. This can be subtle, like a coffee pot’s spout curving over baklava, or direct, like placing a dish within a wooden tray.
Example: Frame whole figs with a wooden platter and props to highlight their importance in the dish.
Repeating Patterns and Shapes
Repeating shapes or patterns creates visual harmony and engages the viewer’s brain, which naturally seeks patterns. Use similar shapes in food and props or repeat elements like crostata on a tray.
Example: Circular tortillas on a round cutting board reinforce a cohesive, graphic composition.
Styling to the Camera
Styling to the camera is a methodical approach to building a composition. Start with a blank scene and a fixed camera position, then add elements one by one, checking the viewfinder after each addition. This ensures every prop and ingredient contributes to the story.
Steps for Styling to the Camera:
- Start with the Idea: Define the mood or story (e.g., rustic breakfast, elegant dessert).
- Place the Main Dish: Position the food as the focal point.
- Build Around It: Add props and ingredients to enhance the narrative.
- Remove the Unnecessary: Eliminate distracting elements to maintain focus.
Example: For a pasta dish, start with the plate of pasta, add a fork and napkin for framing, then include scattered herbs for texture, checking the composition after each addition.
Mastering Lighting for Composition
Lighting shapes the mood and highlights the food’s texture. Natural light is ideal for a soft, organic look, but artificial light can mimic it with diffusers. The angle of light is crucial—reflective surfaces like soups or meats shine when light strikes at the same angle it reflects (angle of incidence = angle of reflection).
Tips for Lighting:
- Position light to enhance texture (e.g., side lighting for layered dishes).
- Use diffusers for soft shadows or reflectors for highlights.
- Adjust the dish’s angle to capture reflections, like tilting lamb chops to show juiciness.
Color Theory in Food Photography
Color sets the mood and guides the viewer’s eye. Understanding color theory helps you choose props and backdrops that complement the food.
Color Techniques:
- Monochromatic: Use shades of one color (e.g., varying blues) for a subtle, harmonious look.
- Complementary: Pair opposite colors (e.g., red and green) for high contrast and impact.
- Analogous: Use adjacent colors (e.g., red, orange, yellow) for a soothing effect, with one color dominating.
Example: For a blueberry dessert, use blue-toned props for a monochromatic look or orange accents for a complementary pop.
Using Props and Ingredients Effectively
Props and ingredients should enhance the food without overshadowing it. Choose items that relate to the dish’s story, like rustic linens for a homemade pie or sleek cutlery for fine dining.
Tips for Props:
- Use sparingly to avoid clutter.
- Match props to the mood (e.g., wooden boards for rustic, marble for modern).
- Incorporate ingredients (e.g., scattered herbs, whole fruits) to hint at the recipe.
Example: For a soup, add a spoon, a napkin, and a sprig of parsley to suggest freshness without overwhelming the dish.
Depth of Field: Controlling Focus
Depth of field (DOF) determines how much of the image is in focus. Adjust the aperture to control DOF:
- Wide Aperture (e.g., f/2.8): Shallow DOF for a blurry background, ideal for 45° shots.
- Narrow Aperture (e.g., f/11): Deep DOF for sharp focus throughout, ideal for 90° shots.
Example: For a Caprese salad, use f/2.8 at a 45° angle to focus on a cherry tomato, blurring the background, or f/11 overhead to keep everything crisp.
Equipment Recommendations
Investing in the right gear streamlines your workflow and enhances composition. Below is a table of recommended equipment with approximate prices (based on common market rates):
| Item | Brand/Model | Purpose | Approx. Price (USD) |
|---|---|---|---|
| Tripod | Manfrotto 055 with XPRO Ball Head | Stable camera positioning | $250–$300 |
| Light Stands | Manfrotto | Overhead setup support | $80–$120 each |
| Extension Arm | Impact 40in. with Grip Head | Overhead camera extension | $50–$70 |
| Tether Cable | Tether Tools | Connect camera to computer | $30–$50 |
| Editing Software | Adobe Lightroom or Capture One | Tethered shooting and editing | $10–$20/month (subscription) |
| Backdrops | Best Ever Backdrops | Set mood and background | $50–$100 each |
Note: Prices are approximate and may vary. Check retailers like B&H Photo or Amazon for current pricing.
Putting It All Together
Creating a compelling food photograph requires balancing technical precision with creative vision. Start by choosing the right angle—45° for depth and storytelling, 90° for graphic impact. Set up your camera on a tripod and consider tethered shooting for real-time feedback. Apply composition techniques like the rule of thirds, leading lines, and layering to guide the viewer’s eye. Use lighting and color to enhance mood, and select props that support the narrative without stealing the show. Finally, adjust depth of field to control focus and ensure the food remains the star.
By practicing these techniques and styling to the camera, you’ll transform ordinary dishes into extraordinary images that captivate and inspire. Experiment, refine, and let your creativity shine—your food photography will not only look delicious but also tell a story that resonates with viewers.
Please share these The Food Photographer’s Guide To Better Composition with your friends and do a comment below about your feedback.
We will meet you on next article.
Until you can read, Teriyaki Glazed Air Fryer Chicken Wings