How To Choose The Best Food Photography Angles
Food photography is an art form that transforms a simple dish into a visual feast. The right camera angle can elevate a photo from ordinary to extraordinary, highlighting textures, colors, and details that make viewers hungry. Whether you’re a food blogger, a chef showcasing your creations, or a photographer aiming to build a portfolio, mastering camera angles is crucial. This comprehensive guide explores the three primary food photography angles—overhead (90°), straight-on (0°), and 3/4 (25°–75°)—and provides actionable tips, equipment recommendations, and techniques to capture mouthwatering images.
Why Camera Angles Matter in Food Photography
Camera angles are the backbone of food photography composition. They determine how the viewer perceives the dish, influencing emotions and appetite. A poorly chosen angle can make even the most delicious meal look unappealing, while the right angle can tell a compelling story about the food. By understanding how to select the best angle based on the dish’s characteristics, you can create images that captivate and engage.
The three main angles—overhead, straight-on, and 3/4—offer distinct perspectives. Each suits specific types of food and styling choices, allowing photographers to highlight key elements like texture, layers, or toppings. This guide breaks down when and how to use each angle, supported by practical advice and professional insights.
The Three Essential Food Photography Angles
1. Overhead Angle (90° Flat Lay)
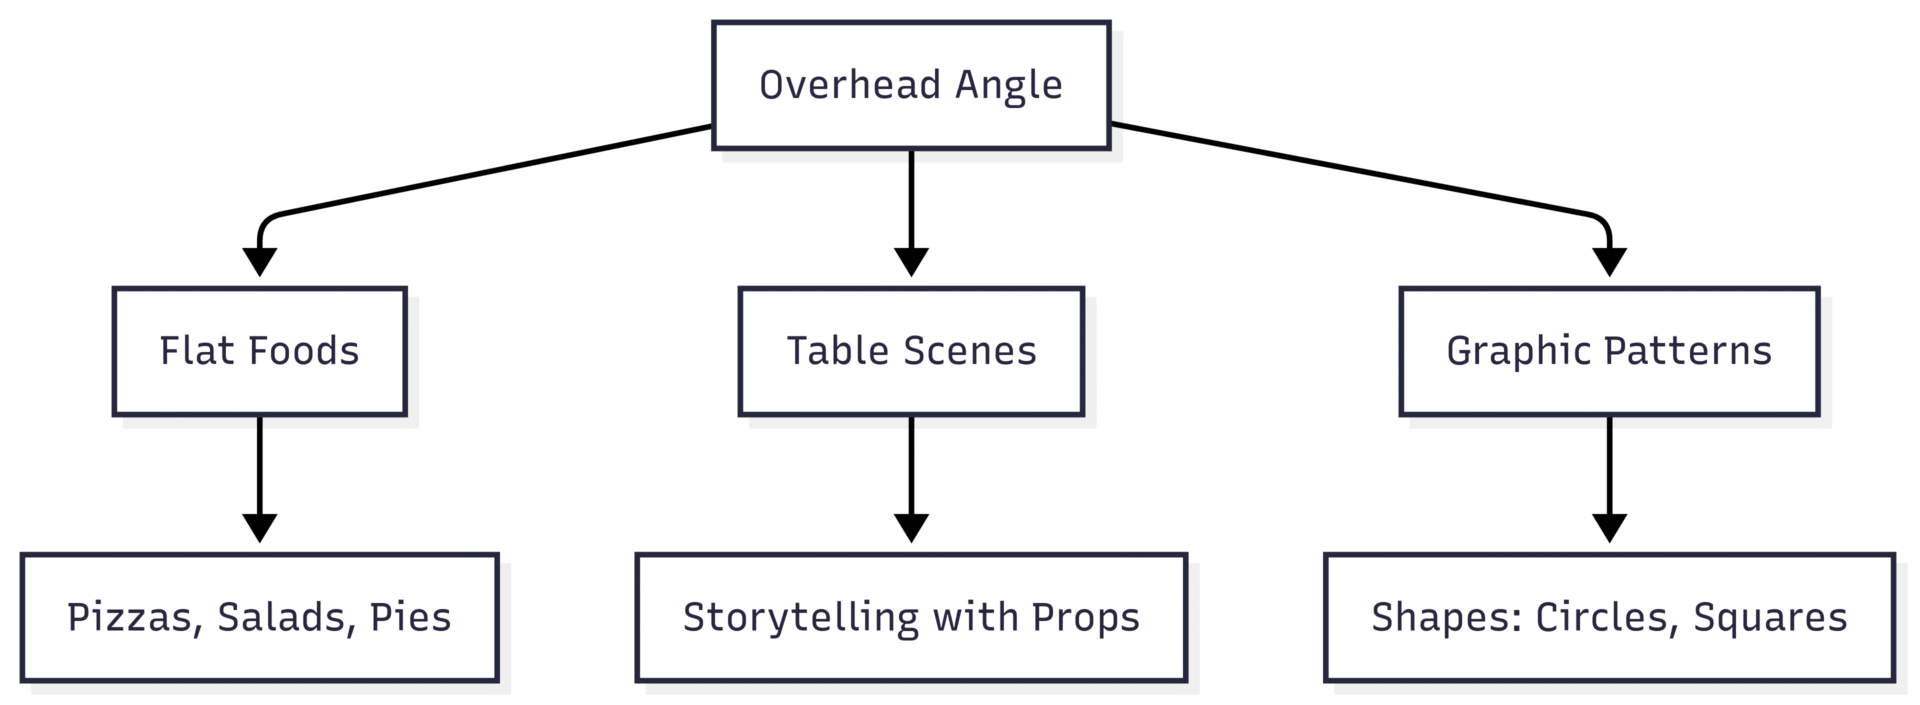
The overhead angle, often called a flat lay, is a staple in food photography, especially on platforms like Instagram and Pinterest. By positioning the camera directly above the dish, this angle captures the entire surface, making it ideal for foods with intricate toppings or flat presentations.
When to Use the Overhead Angle
- Flat or Spread-Out Foods: Perfect for dishes like pizzas, salads, charcuterie boards, pies, tarts, crepes, or open-faced sandwiches where the details are on top.
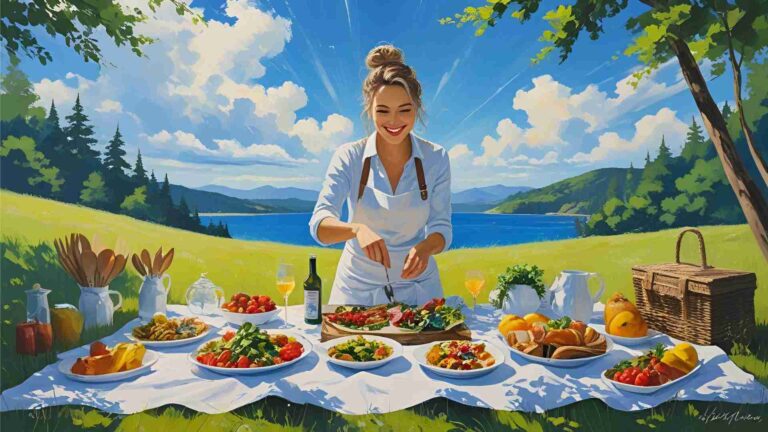
- Table Scenes: Great for storytelling, showing a spread of dishes, props, or ingredients to create a sense of a gathering or meal prep.
- Graphic Compositions: The overhead angle emphasizes shapes and patterns, making it ideal for visually striking arrangements with repeating elements like cookies or sushi.
Best Practices for Overhead Shots
- Keep It Level: Ensure the camera is perfectly parallel to the food to avoid distortion. Use a level or a tripod with a horizontal arm, such as a C-stand or a Manfrotto 055 with an extension arm.
- Use a Wide Lens: A 50mm lens on a full-frame camera (or 35mm on a crop-sensor) is ideal for capturing wide scenes. For close-up flat lays, consider a 100mm macro lens.
- Aperture Settings: Shoot at f/8 to f/16 to keep everything in focus, ensuring a sharp, graphic look.
- Avoid Shadows: Position lighting to minimize shadows from the camera or photographer. Softboxes or diffused natural light work well.
- Incorporate Negative Space: Leave room for text or graphics, which is useful for menus or recipe blogs.
Equipment Recommendations
- Tripod: Manfrotto 055 with XPRO Magnesium Ball Head ($300–$400) for stability and flexibility.
- C-Stand with Extension Arm: Impact 40in. Extension Arm with Grip Head ($50–$100) for overhead setups.
- Lens: Canon EF 50mm f/1.8 STM ($125) for crop-sensor cameras or Canon EF 100mm f/2.8 Macro ($600) for detailed flat lays.
Example
For a vibrant salad with colorful toppings, an overhead shot captures the arrangement of ingredients, like cherry tomatoes and fresh herbs, in a visually appealing way. The flat perspective highlights the dish’s composition without distractions from the sides.
2. Straight-On Angle (0°)
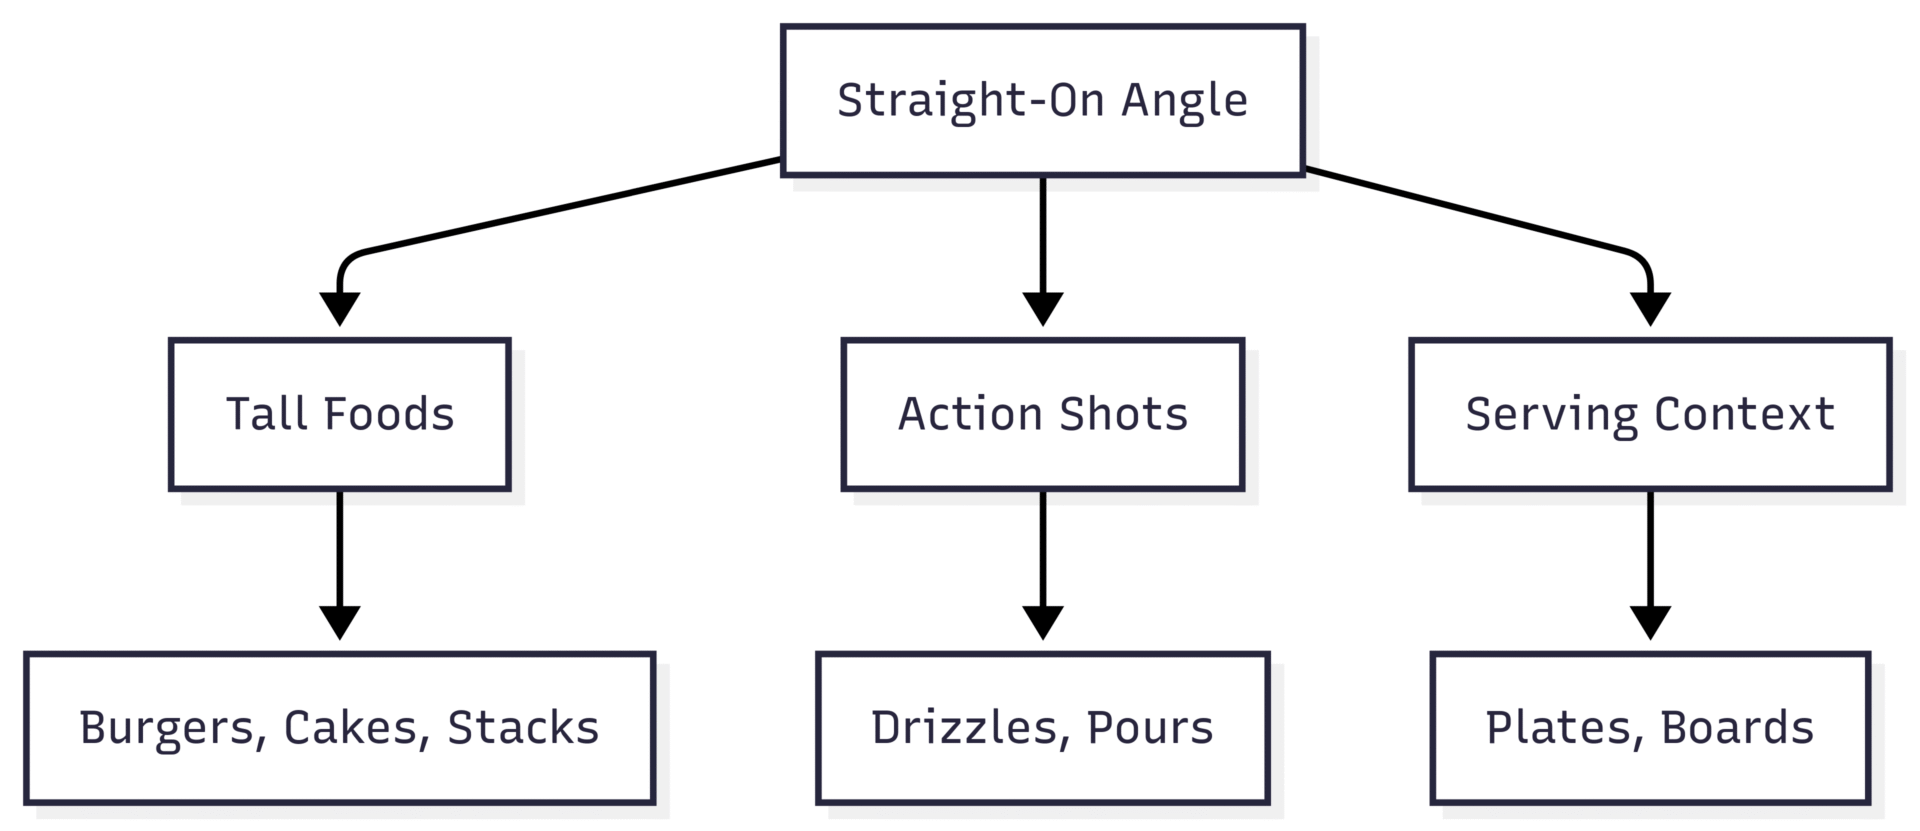
The straight-on angle positions the camera at eye level, directly facing the dish. This perspective emphasizes height and layers, making it ideal for stacked or tall foods where side details are key.
When to Use the Straight-On Angle
- Tall or Layered Foods: Best for burgers, sandwiches, layered cakes, pancake stacks, or ice cream cones where the side view showcases fillings or height.
- Action Shots: Perfect for capturing drizzles, pours, or dustings, like honey dripping over pancakes or powdered sugar on waffles.
- Serving Presentations: Highlights the dish and its container, such as a burger on a rustic wooden board, adding context to the presentation.
Best Practices for Straight-On Shots
- Stabilize with a Tripod: Use a tripod like the Manfrotto 055 ($200–$300) to ensure precise framing and avoid shaky images.
- Long Focal Length: Opt for a 60mm to 100mm lens (e.g., Canon EF 85mm f/1.8 USM, $420) to avoid distortion and create a heroic look.
- Depth of Field: Experiment with a low aperture (f/2.8–f/5.6) to blur the background, drawing attention to the food.
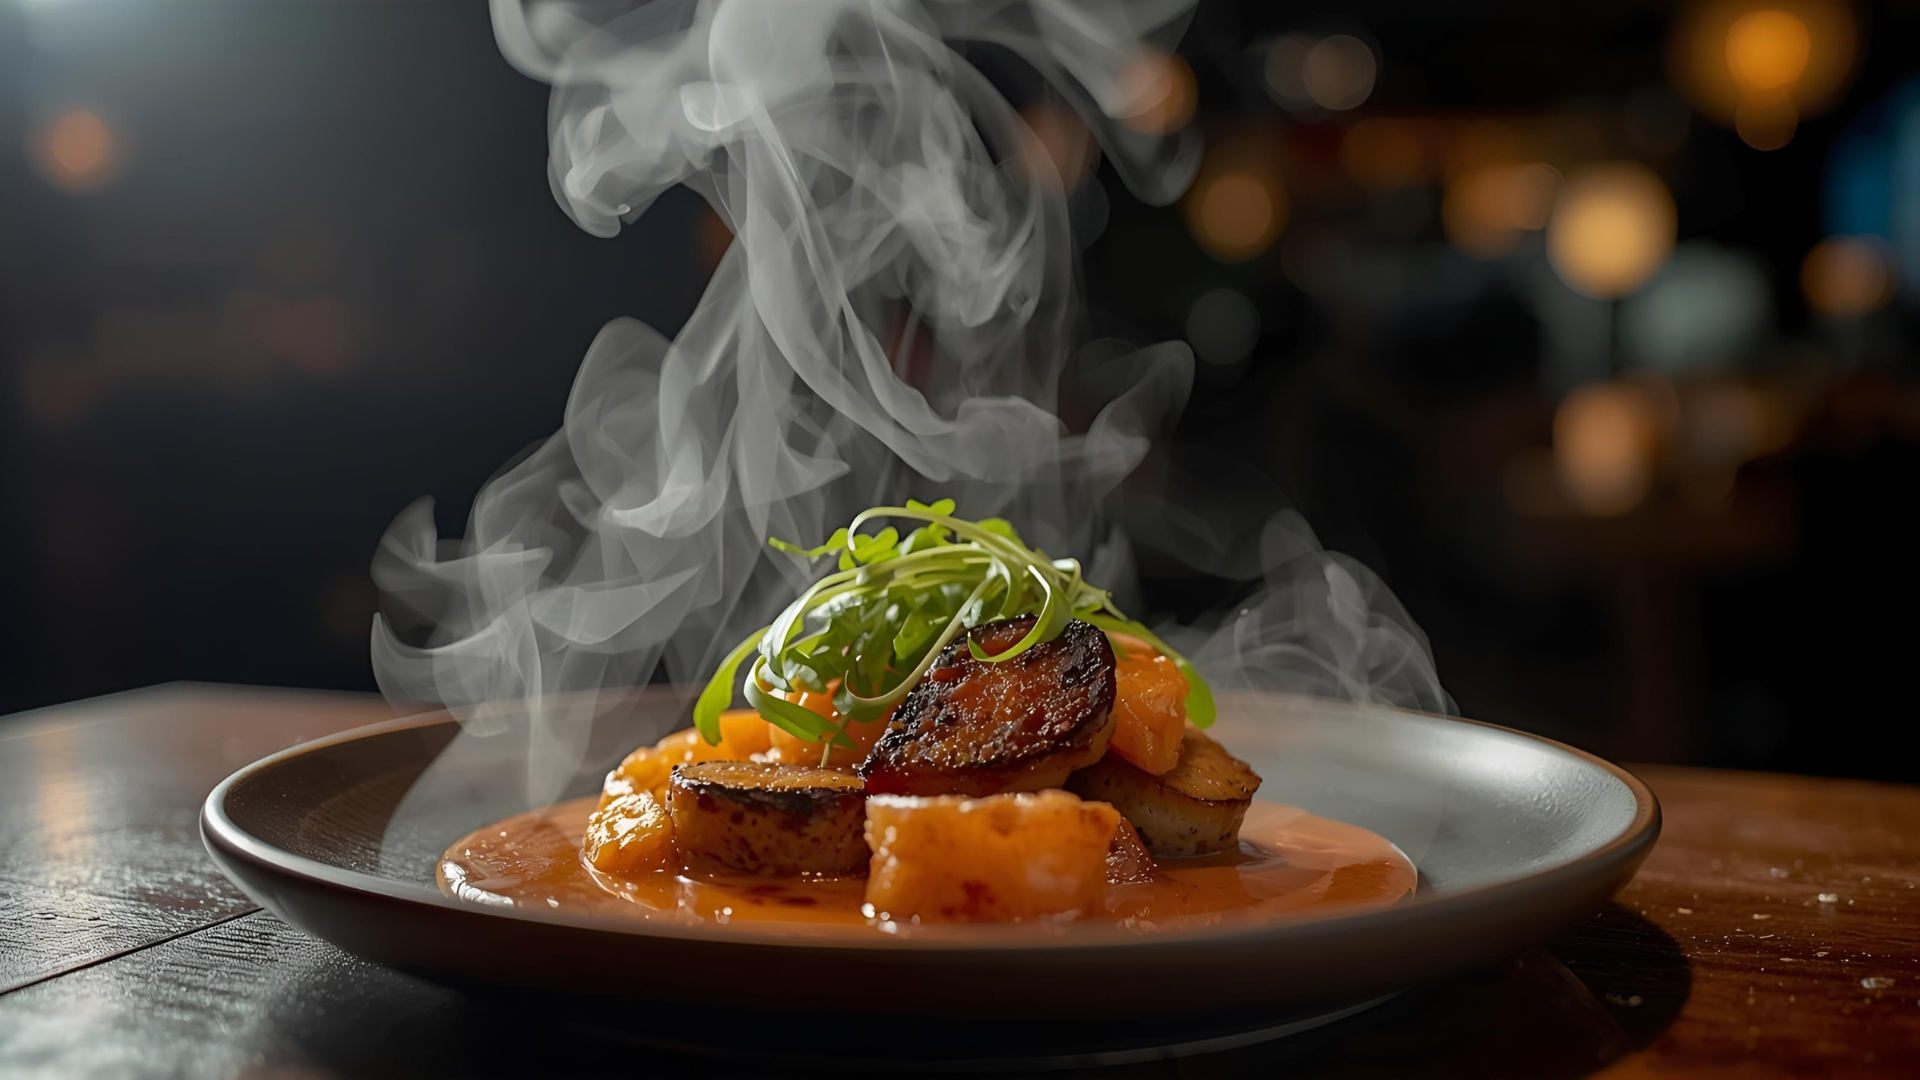
- Lighting: Use soft, diffused light to enhance textures and avoid harsh shadows. Backlighting can highlight drizzles or glossy surfaces.
- Slight Angle Adjustments: If the dish appears flat, tilt the camera slightly upward to emphasize height.
Equipment Recommendations
- Tripod: Manfrotto 055 with Ball Head ($200–$300) for precise positioning.
- Lens: Canon EF 85mm f/1.8 USM ($420) or Nikon AF-S 105mm f/2.8G VR Macro ($900) for sharp, detailed shots.
- Level: A bubble level ($10–$20) to ensure the camera is aligned.
Example
A towering burger with layers of lettuce, tomato, and melted cheese looks heroic when shot straight-on. The angle reveals the juicy patty and condiments, making the dish irresistible.
3. 3/4 Angle (25°–75°)
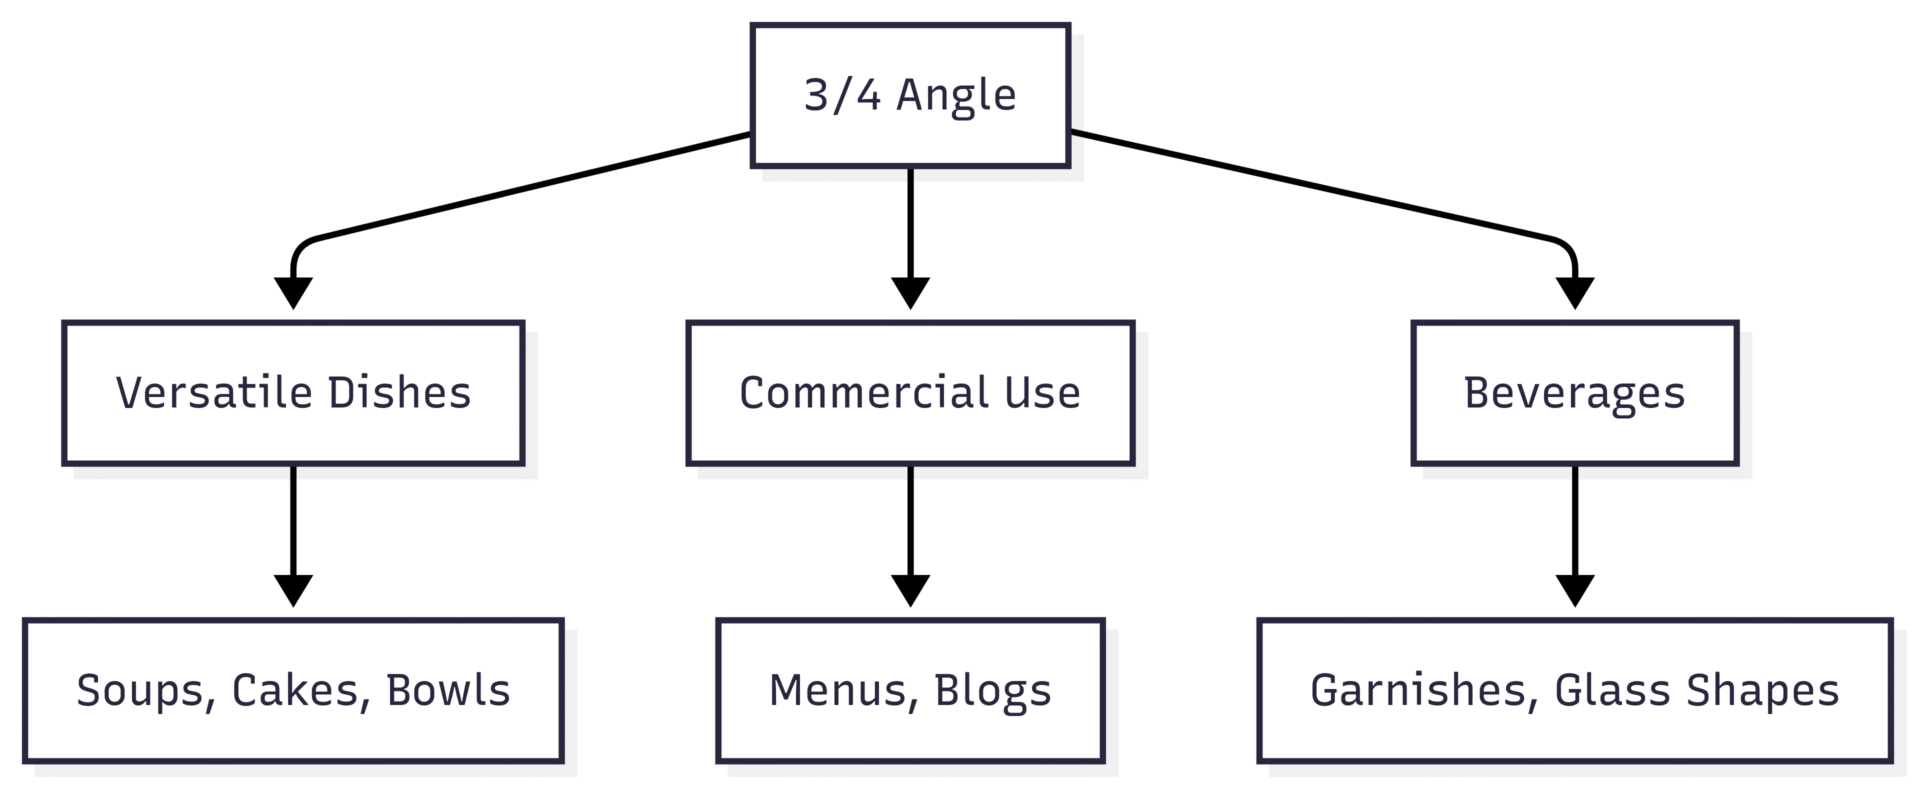
The 3/4 angle, ranging from 25° to 75°, mimics the perspective of someone sitting at a table, making it the most natural and versatile angle. It shows both the top and sides of the dish, balancing detail and context.
When to Use the 3/4 Angle
- Versatile Dishes: Works for most foods, including soups, smoothie bowls, cakes, cupcakes, and beverages, where both top and side details matter.
- Commercial Photography: The 45° angle is a go-to for restaurant menus and food blogs due to its relatable perspective.
- Beverages: A 75° angle highlights garnishes and glass shapes, while a 25°–30° angle emphasizes layers in drinks or desserts.
Best Practices for 3/4 Shots
- Tripod Use: A tripod ensures consistency. The Manfrotto 055 ($200–$300) works well for both 45° and 75° angles.
- Lens Choice: Use an 85mm or 100mm macro lens for close-ups with minimal distortion. A 50mm lens on a crop-sensor camera is also effective.
- Aperture: Shoot at f/2.8–f/5.6 for a shallow depth of field, blurring the background to focus on the food.
- Styling: Add props like cutlery or napkins to create layers and frame the dish, enhancing the story.
- Lighting: Backlighting at an angle can create specular highlights, like a glossy shine on a cake’s ganache.
Sub-Angles Within 3/4
- 75° Angle: Slightly below a flat lay, ideal for beverages or dishes with prominent toppings, showing both the top and some side details.
- 45° Angle: The most common, offering a balanced view of the dish’s top and sides, perfect for soups or plated meals.
- 25°–30° Angle: Lower than 45°, great for showing layers in cakes or dishes held in hands, adding background context.
Equipment Recommendations
- Tripod: Manfrotto 055 with XPRO Ball Head ($200–$300) for versatility.
- Lens: Canon EF 100mm f/2.8 Macro ($600) or Nikon AF-S 85mm f/1.8G ($480) for sharp, detailed images.
- Softbox: Neewer 24x24in Softbox ($50) for diffused lighting.
Example
A bowl of tomato soup with a swirl of cream and fresh herbs looks inviting at a 45° angle. The perspective shows the soup’s texture and the bowl’s depth, mimicking how a diner would see it.
Choosing the Right Angle: A Step-by-Step Approach
To select the best angle, follow this systematic process:
- Analyze the Food’s Form:
- Height and Layers: For tall or layered dishes (e.g., cakes, burgers), use straight-on or 25°–45° angles to showcase structure.
- Top Details: For flat foods with intricate toppings (e.g., pizzas, salads), opt for overhead or 75° angles.
- Depth: For dishes in bowls or glasses (e.g., soups, smoothies), use 45°–75° angles to reveal contents.
- Consider the Story:
- Viewer Perspective: The 3/4 angle feels natural, mimicking a diner’s view, ideal for evoking hunger.
- Texture and Details: Straight-on or 45° angles highlight textures, while overhead emphasizes shapes and patterns.
- Context: Use straight-on or 3/4 angles to include props and backgrounds for storytelling.
- Experiment and Refine:
- Take test shots at multiple angles to compare results.
- Focus on the “hero” element—whether it’s a drizzle, topping, or layer—and choose the angle that highlights it.
- Use a tripod to lock in the best angle after freehand exploration.
Equipment for Food Photography Angles
| Equipment | Purpose | Recommended Model | Price (USD) |
|---|---|---|---|
| Tripod | Stabilizes camera for precise angles | Manfrotto 055 with XPRO Ball Head | $200–$400 |
| C-Stand with Arm | Overhead setup for flat lays | Impact 40in. Extension Arm with Grip Head | $50–$100 |
| 50mm Lens | Wide scenes, flat lays (crop-sensor) | Canon EF 50mm f/1.8 STM | $125 |
| 85mm/100mm Lens | Close-ups, minimal distortion | Canon EF 100mm f/2.8 Macro | $600 |
| Softbox | Diffused lighting | Neewer 24x24in Softbox | $50 |
| Level | Ensures camera alignment | Bubble Level | $10–$20 |
Common Mistakes and Angles to Avoid
- Slanted Angles: Avoid angles between 45° and 90° that make food appear to slide off the table. Use a level to keep horizons straight.
- Too Close: Close-ups are great, but if the viewer can’t identify the dish (e.g., a brussels sprout filling the frame), pull back slightly.
- Wrong Focal Length: Wide-angle lenses (e.g., 35mm on a full-frame) can distort straight-on shots. Use 60mm–100mm lenses for natural proportions.
Styling and Composition Tips
- Styling to the Camera: Set up the camera on a tripod first, then build the scene layer by layer, checking the viewfinder for adjustments.
- Rule of Thirds: Place the dish along the grid lines or intersections to create balanced compositions.
- Props and Layers: Use cutlery, napkins, or ingredients to frame the dish and add depth, especially in 3/4 or straight-on shots.
- Negative Space: In overhead shots, leave space for text or graphics, enhancing versatility for blogs or menus.
- Lighting: Use diffused light (softboxes or window light) to enhance textures. Angle light to match the camera angle for highlights.
Enhancing Your Food Blog with Angles
High-quality images are critical for food blogs, as they attract and retain readers. Varied angles keep posts visually engaging, preventing monotony. For example, a pizza recipe could include an overhead shot of the whole pie, a 45° angle of a slice, and a straight-on shot of a cheesy bite. Tools like WP Recipe Maker ($49/year) can integrate these images into professional recipe cards, enhancing user experience with clickable images and pinnable visuals.
Practice and Experimentation
The best way to master food photography angles is through practice. Try this exercise:
- Create a Shot List: For your next shoot, list angles to try: straight-on (vertical and horizontal), overhead, and 3/4 (from front and sides).
- Check and Adjust: Shoot each angle, review the images, and adjust lighting or props as needed.
- Mix It Up: Avoid using the same angle repeatedly. Experiment with new perspectives to discover unexpected hero shots.
Conclusion
Choosing the best food photography angle is both an art and a science. By understanding the strengths of the overhead, straight-on, and 3/4 angles, you can showcase your dishes in their best light. Analyze the food’s form, consider the story you want to tell, and experiment with test shots to find the perfect perspective. Invest in quality equipment like tripods and lenses, and use styling techniques to enhance compositions. With practice, you’ll develop an intuitive sense for angles, transforming your food photography into stunning visual stories that leave viewers hungry for more.
Please share this How To Choose The Best Food Photography Angles with your friends and do a comment below about your feedback.
We will meet you on next article.
Until you can read, 8 Critical Steps to Launch Your Online Food Business