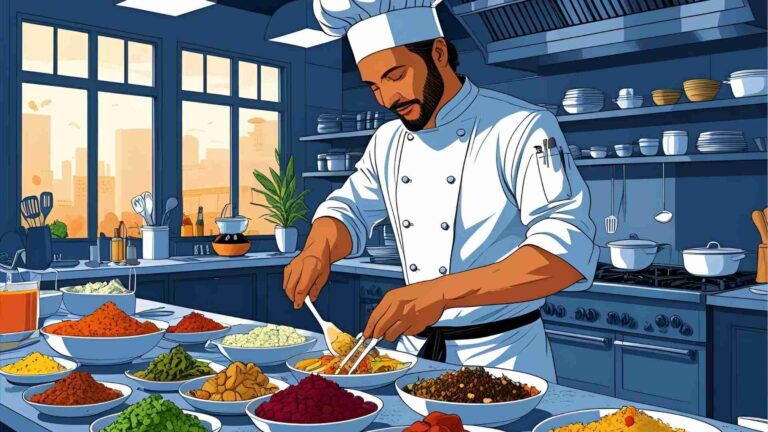
Food Photography Tips for Food Bloggers
Master food photography with expert tips on lighting, angles, props, and editing to create stunning images for your food blog.
Food photography is an essential skill for food bloggers aiming to captivate their audience with mouthwatering visuals. High-quality images can elevate a blog, drawing readers into the culinary experience and encouraging them to try recipes. This comprehensive guide explores proven techniques to master food photography, focusing on lighting, angles, composition, equipment, and editing. Whether you’re a beginner or a seasoned blogger, these tips will help you create professional-grade images that make your dishes shine.
The Importance of Food Photography for Bloggers
In the competitive world of food blogging, visuals are as crucial as recipes. A well-composed photo can convey flavor, texture, and emotion, enticing readers to engage with your content. Studies show that posts with high-quality images receive up to 94% more views than those without. For food bloggers, this means investing time in photography skills can significantly boost audience engagement and blog traffic.
This guide covers everything from lighting techniques to equipment recommendations, ensuring you have the tools to create compelling food photos. Let’s dive into the key elements that will transform your food photography game.
1. Mastering Lighting for Food Photography
Lighting is the cornerstone of great food photography. It affects how colors, textures, and details appear in your images. Natural light is the preferred choice for most food photographers due to its soft, neutral qualities that enhance the food’s natural appeal.
Use Natural Light
Position your setup near a window to harness soft, diffused natural light. Avoid direct sunlight, which can create harsh shadows and overexposed highlights. A shady spot or a window with sheer curtains works best, providing even illumination that highlights the food’s colors and textures.
- Tip: Shoot during the golden hours—early morning or late afternoon—for warm, flattering light.
- Avoid: Built-in camera flashes or overhead lights, which cast unnatural shadows and alter food colors.
Reflectors and Diffusers
To control light, use reflectors and diffusers. A white foam board or even a napkin can bounce light onto the food, softening shadows. Black foam boards can add depth by enhancing shadows. For overly bright light, hang sheer fabric over the window to diffuse it.
- DIY Option: Purchase foam boards at craft stores for under $5 or use household items like white napkins.
- Pro Tip: Experiment with reflector angles to find the perfect balance of light and shadow.
Backlighting for Drama
Backlighting, where light comes from behind the food, creates a glowing effect that emphasizes texture and depth. This technique works well for dishes with translucent elements, like salads or drinks.
- How to Do It: Place the food between the camera and the light source, adjusting the angle to avoid lens flare.
Chart: Lighting Setup Options
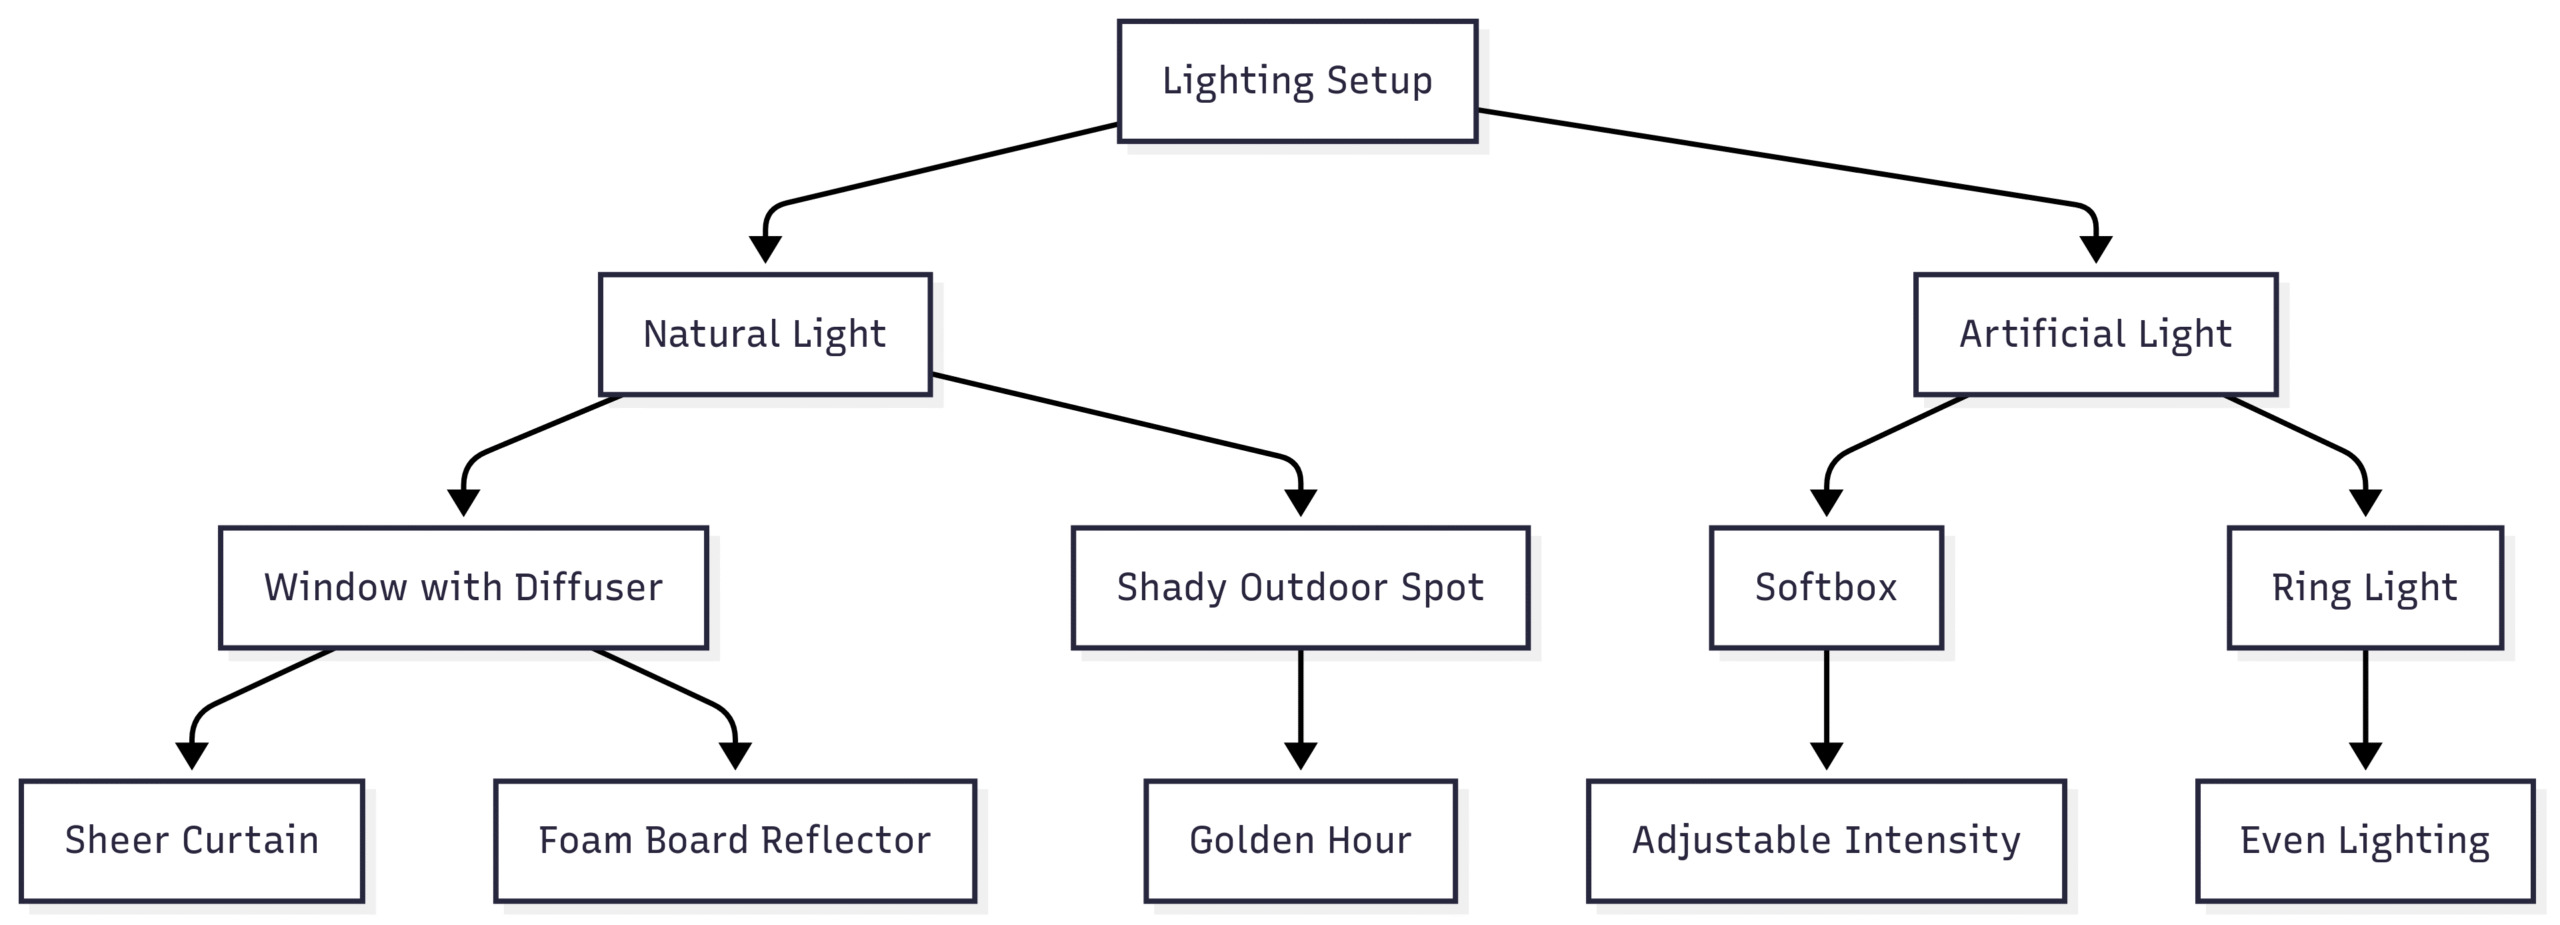
This chart outlines lighting options, emphasizing natural light setups for food photography.
2. Choosing the Right Angles
The angle from which you shoot can make or break a food photo. Different dishes shine at different angles, so experimentation is key.
Overhead (90-Degree) Angle
Best for flat dishes like pizzas, pancakes, or charcuterie boards, the overhead angle showcases patterns and compositions. It’s ideal for styled flat-lays.
- Use Case: A colorful salad or a decorated dessert.
- Tip: Use a tripod with an overhead arm for stability.
45-Degree Angle
This versatile angle mimics the perspective of someone sitting at a table, making it ideal for most dishes. It highlights texture and layers, such as in pasta or layered cakes.
- Use Case: A bowl of soup or a plated meal.
- Tip: Adjust the camera height to capture the dish’s best features.
Straight-On (0-Degree) Angle
Perfect for tall or stacked foods like burgers, sandwiches, or layered drinks, this angle emphasizes height and structure.
- Use Case: A towering burger or a milkshake with whipped cream.
- Tip: Ensure the background complements the food without distracting.
Experimentation
Don’t settle on one angle. Move around the dish, shooting from multiple perspectives to find the most flattering view. Review shots on your camera to select the best one.
- Pro Tip: Shoot in RAW format for greater flexibility in post-processing, especially for adjusting angles and cropping.
3. Minimizing Clutter for Clean Composition
A cluttered image can distract from the food, reducing its appeal. Focus on simplicity to let the dish take center stage.
Clean Backgrounds
Choose backgrounds that complement the food without overpowering it. Wooden boards, marble countertops, or neutral linens work well. Avoid busy patterns or bright colors that compete with the dish.
- Budget Option: Use butcher paper or thrifted tablecloths for affordable, stylish backgrounds.
- Style Tip: Match the background to your blog’s aesthetic—rustic, modern, or minimalist.
Strategic Props
Props add context and tell a story but should be used sparingly. Choose items related to the dish, like a spoon for soup or a fork for pasta. Avoid overcrowding the frame.
- Example: For a pasta dish, include a small bowl of grated cheese or fresh herbs.
- Guideline: Limit props to 2-3 items to maintain focus on the food.
Keep the Food in Focus
Ensure the food is sharp and clear. Use a wide aperture (e.g., f/1.8 or f/2.8) to create a shallow depth of field, blurring the background while keeping the dish in focus.
- Tool: A tripod ensures sharp images, especially in low-light conditions.
4. Essential Equipment for Food Photography
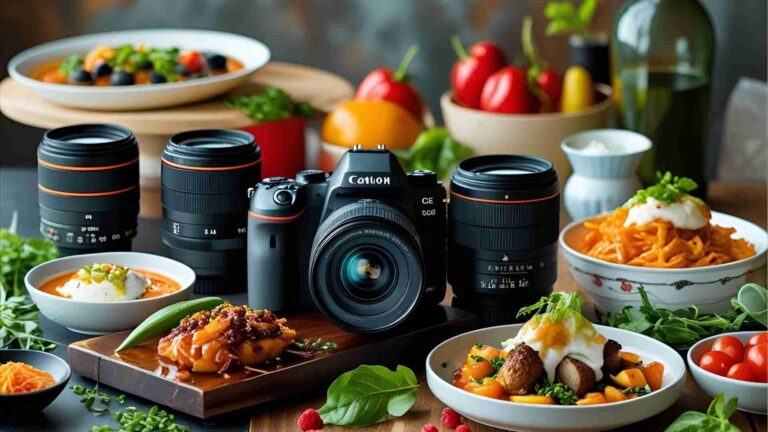
While you don’t need a high-end camera to start, the right equipment can elevate your photos. Here’s a breakdown of recommended gear, including specifications and approximate prices.
Cameras
You can begin with a point-and-shoot camera or even a smartphone with a good macro setting. For more control, invest in a DSLR or mirrorless camera.
- Entry-Level Option: Canon EOS Rebel T7
- Specs: 24.1 MP, APS-C sensor, 1080p video
- Price: ~$400 (body only)
- Why: Affordable, user-friendly, great for beginners.
- Mid-Range Option: Nikon Z6
- Specs: 24.5 MP, full-frame sensor, 4K video
- Price: ~$1,800 (body only)
- Why: Excellent low-light performance, ideal for food photography.
Lenses
Lenses have a bigger impact than the camera body. Fixed (prime) lenses are preferred for their sharpness and wide apertures.
- Budget Option: Nikon AF-S DX 35mm f/1.8G
- Specs: f/1.8 aperture, 35mm focal length (crop sensor)
- Price: ~$200
- Why: Sharp, affordable, great for overhead shots.
- Pro Option: Nikon Nikkor Z 50mm f/1.8 S
- Specs: f/1.8 aperture, 50mm focal length (full-frame)
- Price: ~$600
- Why: Designed for Nikon Z-series, exceptional clarity.
Other Equipment
- Reflectors: White/black foam boards (~$5-$10 at craft stores).
- Tripod: Manfrotto Studio Pro Triman with 322RC2 Joystick Head
- Price: ~$250 (tripod + head)
- Why: Sturdy, adjustable for overhead shots.
- Diffusers: Sheer white fabric or diffuser panels (~$10-$20).
Table: Recommended Equipment for Food Photography
| Equipment | Model/Specification | Price (Approx.) | Best For |
|---|---|---|---|
| Camera (Budget) | Canon EOS Rebel T7 (24.1 MP) | $400 | Beginners |
| Camera (Pro) | Nikon Z6 (24.5 MP, full-frame) | $1,800 | Advanced photographers |
| Lens (Budget) | Nikon 35mm f/1.8G (crop sensor) | $200 | Sharp, affordable shots |
| Lens (Pro) | Nikon Nikkor Z 50mm f/1.8 S | $600 | Full-frame clarity |
| Tripod | Manfrotto Studio Pro + Joystick Head | $250 | Stable overhead shots |
| Reflector | White/Black Foam Board | $5-$10 | Light control |
| Diffuser | Sheer Fabric/Panel | $10-$20 | Softening harsh light |
5. Photo Editing for Polished Results
Editing is where good photos become great. Software like Adobe Lightroom allows you to adjust exposure, white balance, contrast, and sharpness to enhance your images.
Key Editing Tips
- White Balance: Correct unnatural color casts (e.g., blue or yellow tints) to ensure true-to-life colors.
- Exposure and Contrast: Brighten underexposed images and boost contrast to make the food pop.
- Sharpening: Enhance details, especially for textured foods like crusty bread or creamy sauces.
- Software Recommendation: Adobe Lightroom (~$10/month subscription) for its organizational tools and precise adjustments.
Common Editing Issues
- Blurry Photos: Caused by camera shake. Use a tripod or faster shutter speed (e.g., 1/125s or higher).
- Dull Colors: Adjust vibrance and saturation in editing software to bring out the food’s natural hues.
- Lack of Pop: Use a wide-aperture lens (f/1.8) and tweak contrast/sharpness in post-processing.
6. Styling Tips for Compelling Food Photos
Styling is about storytelling. Use props and ingredients to create a narrative that complements the dish.
Use Fresh Ingredients
Fresh, vibrant ingredients make photos more appetizing. Reserve some ingredients (e.g., herbs, whole vegetables) for styling the final shot.
- Example: Garnish a pasta dish with fresh basil leaves or a drizzle of olive oil.
Add Natural Details
Incorporate crumbs, oil drips, or sauce splashes for a lived-in, authentic look. These details make the dish feel approachable and real.
Stick to Recipe Ingredients
Avoid adding props or ingredients not in the recipe, as this can confuse or mislead readers. For example, don’t add strawberries to a dish that doesn’t include them.
Where to Source Props
- Thrift Stores: Find unique, vintage items like plates or napkins.
- Online Retailers: Etsy, Crate & Barrel, or Amazon for modern or artisanal props.
- Home Items: Use existing kitchenware like cutting boards or linens.
7. Learning from Experts
Studying other food photographers can inspire new techniques. Giulia Scarpaleggia, founder of Jul’s Kitchen, emphasizes storytelling through props and fresh ingredients. Her tutorials highlight the importance of authenticity in food photography.
- Resource: Pinch of Yum Tasty Food Photography eBook ($29) offers practical tips and video tutorials.
- Book Recommendation: Understanding Exposure by Brian Peterson for mastering photography fundamentals.
8. Practice and Experimentation
Photography is a skill honed through practice. Experiment with different setups, angles, and lighting conditions. Review your photos critically and seek feedback from other bloggers or photographers.
- Tip: Create a mood board on Pinterest to define your photography style—rustic, minimalist, or vibrant.
- Challenge: Shoot the same dish in different lighting and angles to compare results.
Troubleshooting Common Issues
Here’s a quick guide to fixing common food photography problems:
| Issue | Cause | Solution |
|---|---|---|
| Blurry Photos | Camera shake | Use a tripod, faster shutter speed, or higher ISO (with caution). |
| Inaccurate Colors | Incorrect white balance | Adjust white balance in editing software; shoot in RAW for flexibility. |
| Flat Images | Narrow depth of field | Use a wide-aperture lens (f/1.8) and enhance contrast in editing. |
| Cluttered Composition | Too many props/background | Simplify with neutral backgrounds and minimal props. |
Conclusion
Mastering food photography is a game-changer for food bloggers. By focusing on natural lighting, strategic angles, clean compositions, and the right equipment, you can create images that captivate and inspire. Invest time in practice, experiment with styling, and use editing tools to polish your work. With these tips, your food blog will not only showcase delicious recipes but also tell a visual story that keeps readers coming back for more.
We will meet you on next article.
Please share this Food Photography Tips for Food Bloggers with your friends and do a comment below about your feedback.
Until you can read, Master Food Photography Techniques with These Expert Tips
