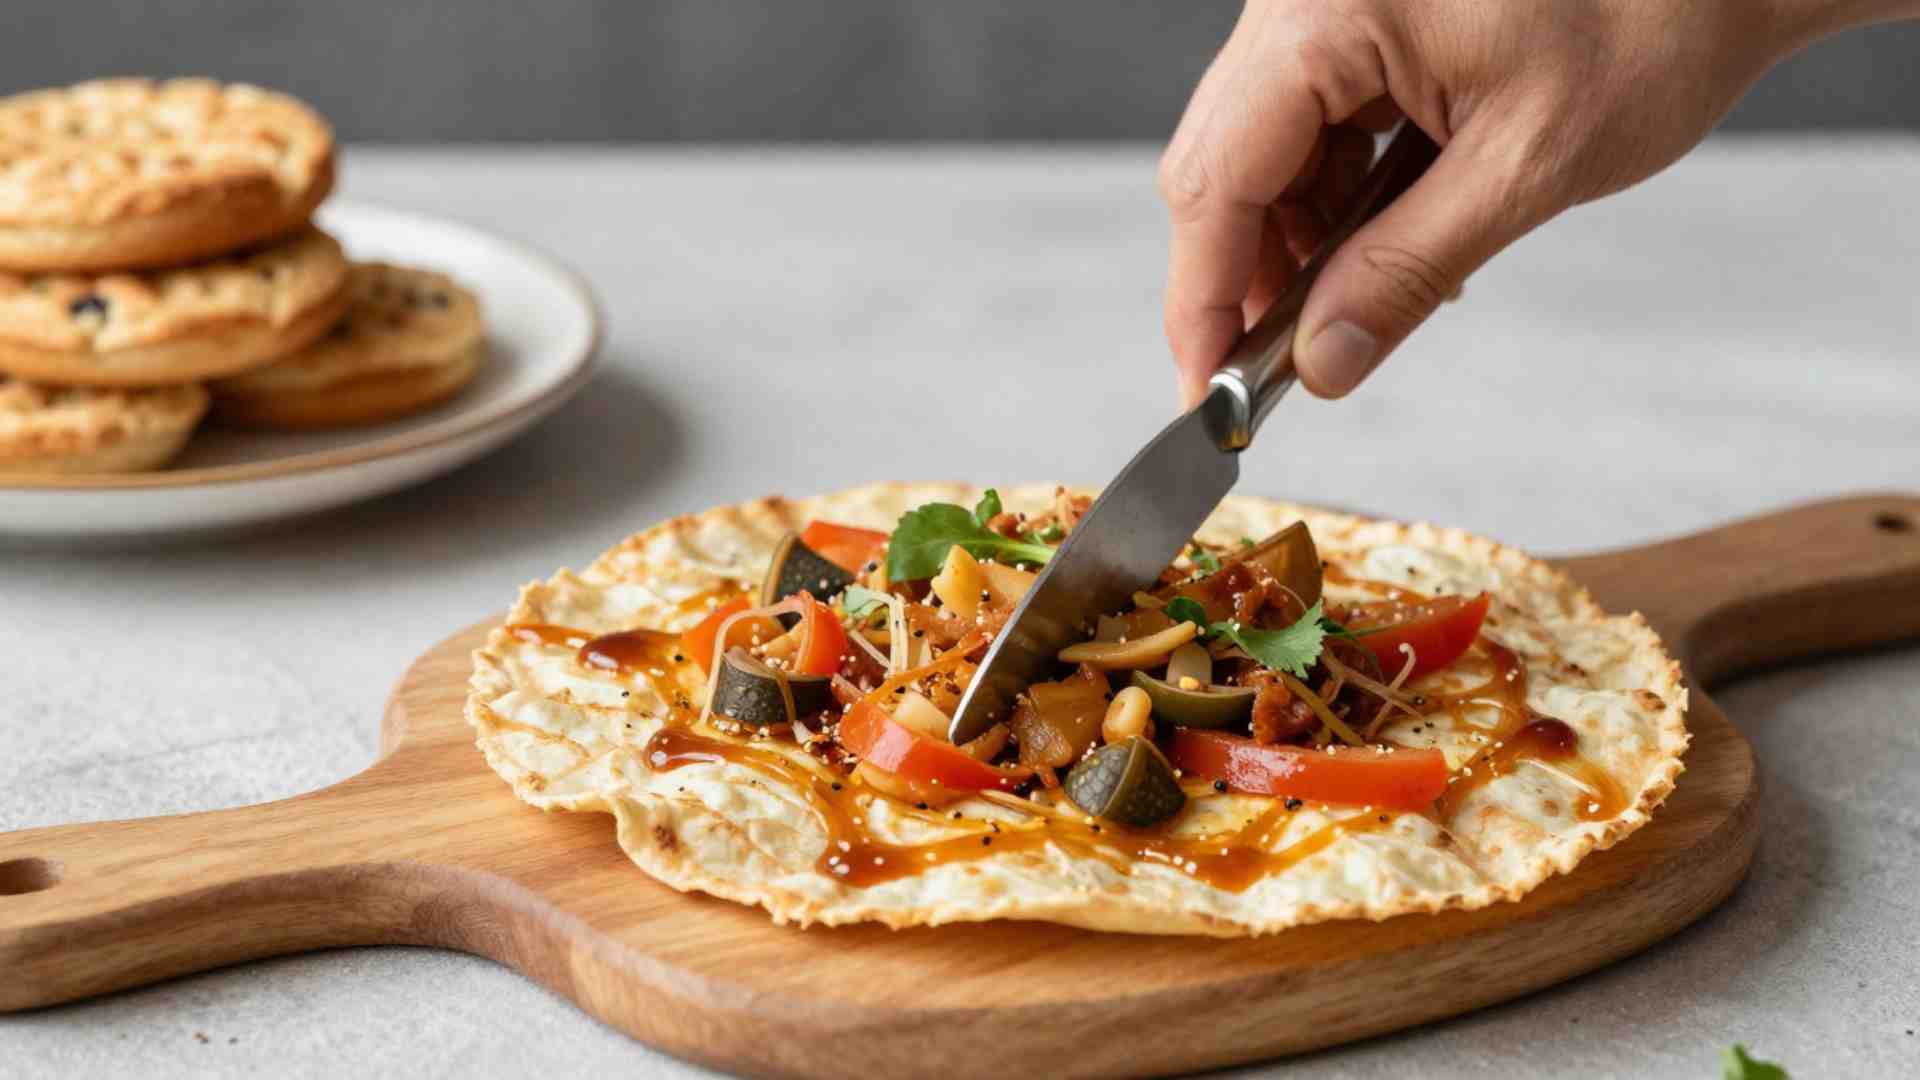
Food Photography Tricks: Pre-Lighting a “Body-Double”
In professional food photography, timing is everything. Dishes like melting ice cream, wilting greens, cooling sauces, or drying drizzles demand rapid execution once plated. Spending minutes adjusting lights, refining composition, or testing focus on the final “hero” dish risks ruining its appearance—leading to flat shadows, lost highlights, or an unappetizing look.
The solution is pre-lighting with a body-double (also called a stand-in or placeholder). This technique uses a substitute object mimicking the hero dish’s shape, size, height, and reflectivity to finalize lighting, composition, camera settings, and focus before introducing the real food. Pros rely on it to deliver crisp, magazine-quality results consistently, especially in high-volume shoots or with time-sensitive subjects.
This approach draws from portrait and fashion photography, where assistants or stand-ins allow precise light tweaking without tiring the subject. In food work, the “subject” is perishable, making the body-double essential for efficiency and quality.
Why Pre-Lighting with a Body-Double Matters
Food deteriorates quickly under studio conditions—heat from lights accelerates melting or wilting, while handling causes smudges or shifts. Pre-lighting addresses this by separating setup from capture:
- Preserves Food Quality — The hero arrives fresh and styled perfectly, shot in seconds rather than minutes.
- Optimizes Lighting Precision — Test shadows, highlights, reflections, and fall-off extensively without pressure.
- Refines Composition and Focus — Lock in framing, depth of field, and prop placement so the final swap is seamless.
- Boosts Efficiency — In multi-dish sessions, setups transfer quickly, reducing overall shoot time and stress.
Without this, photographers face a dilemma: rush imperfect setups or let food degrade. Body-doubles eliminate the Catch-22, enabling 90-99% readiness before the hero appears.
Common Challenges Without a Body-Double
Consider ice cream: lights and composition might take 10-20 minutes, but the scoop melts into a puddle. Baked goods like cakes require long prep; delaying styling leads to cracked frosting or collapsed layers. Shiny elements (glazed donuts, sauces, liquids) create unpredictable reflections—intense hotspots appear only after placement.
Props like silverware introduce distracting catchlights if added last. Liquids (pours, splashes) need shutter speed tests, impossible without risking the final dish.
Pre-lighting resolves these by handling adjustments upfront.
How to Choose the Right Body-Double
Select a stand-in that closely matches key attributes:
- Shape and Size — Core for accurate scale and framing.
- Height/Volume — Critical for depth of field and focus stacking.
- Reflectivity/Texture — Shiny heroes need glossy substitutes; matte ones need dull.
- Color Influence — Neutral tones avoid unwanted casts, though similar hues help gauge bounce.
Examples of Effective Body-Doubles
- Muffins or cupcakes → Tennis ball, foam ball, or stacked props.
- Round fruits/vegetables → Balls (tennis, soccer) or oranges/apples as rough guides.
- Cakes/layered items → Naked/unfrosted version or cardboard mockups.
- Soups/stews in bowls → Plain bowl filled with water or beans.
- Drinks → Water or colored liquid in the final glass.
- Roast potatoes/piled items → Similar volume with books or boxes.
- Shiny glazed items → Chrome/metal bowl or polished prop.
- Liquids/pours → Test with water; use same vessel.
For budget/time constraints, use on-set items: camera lenses, props, or empty dishes. Worst case: props alone (minus food) for basic composition.
Table: Recommended Body-Doubles by Food Type
| Food Type | Ideal Body-Double Examples | Why It Works | Potential Issues & Fixes |
|---|---|---|---|
| Ice Cream/Scoop | Spare unstyled scoop or foam ball | Matches volume and height | Matte substitute misses shine; test highlights later |
| Muffins/Cupcakes | Tennis ball or foam sphere | Similar round shape and size | Adjust for texture; add fill for shadows |
| Layer Cake | Naked/unfrosted layers | Exact shape/height | None—swap to styled hero |
| Glazed Donut | Shiny metal bowl or polished apple | Mimics high reflectivity | Watch for intense hotspots; use flags |
| Soup/Bowl Dish | Bowl with beans/water | Fills volume accurately | Test liquid motion with water |
| Drinks/Cocktails | Same glass with colored water | Exact vessel and level | Bubbles differ; focus on reflections |
| Piled Items | Stacked books or boxes | Matches bulk | Less precise; refine with hero |
Step-by-Step: Implementing Pre-Lighting
- Set Up the Scene — Arrange props, background, and framing first. Use tripod for consistency.
- Place the Body-Double — Position it exactly where the hero will go. Match height precisely (use risers if needed).
- Dial In Lighting — Position key light (softbox/octabox for soft diffusion), fill (reflector), and modifiers. Adjust angles for desired shadows/highlights.
- Side lighting (most common) adds dimension.
- Backlighting creates rim glow on edges.
- Test reflections on shiny stand-ins.
- Refine Composition & Camera — Lock focus, depth of field (f/8-f/11 typical), shutter speed (test pours), and white balance.
- Test Exposures — Shoot bursts; check histograms for clipping.
- Swap to Hero — Remove double, plate hero quickly, shoot immediately (10-30 seconds ideal).
- Final Tweaks — Minor adjustments if needed, but most work is done.
Example: Layer cake shoot
- Use naked layers as double → Tweak softbox angle, add fill card for shadow lift.
- Add frosting → Drizzle caramel fast.
- Capture hero in seconds → Avoid mess or dulling.
Advanced Tips for Specific Scenarios
- Reflective Surfaces — Use glossy doubles; flag lights to control hotspots. Add silverware early to fix reflections.
- Liquids & Motion — Test shutter speeds (1/200s+ for splashes) with water; use high-speed sync if needed.
- Natural vs. Artificial Light — Pre-light works for both; artificial (LED/strobes) allows constant preview.
- Multi-Shot Sessions — Prep multiple doubles; reuse setups.
- Budget Gear — Foam boards ($5-10), household items; no need for expensive dummies.
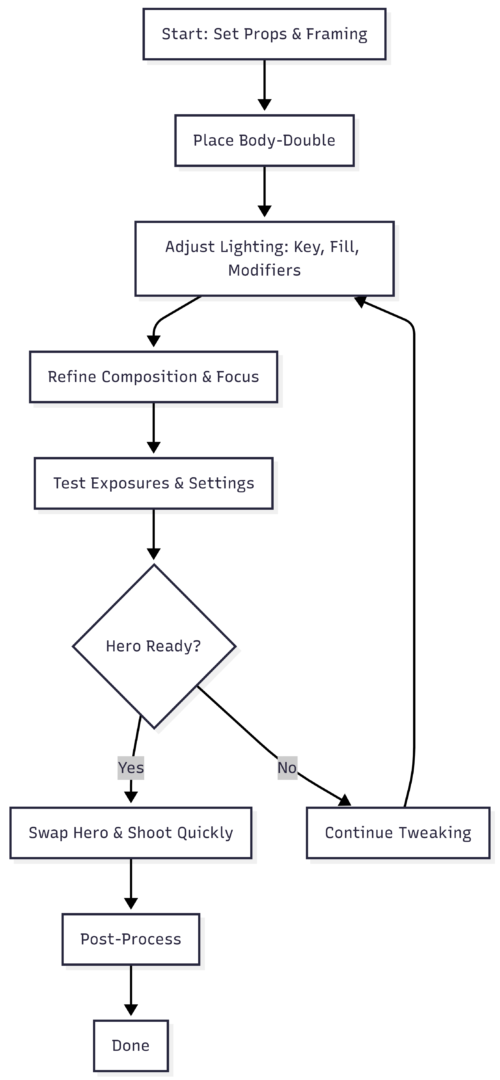
Flowchart: Pre-Lighting Workflow
Common Pitfalls and Fixes
- Mismatch in Reflectivity → Intense highlights surprise; mitigate with flags or diffusers.
- Height Errors → Alters depth of field; measure precisely.
- Color Casts → Use neutral doubles.
- Time Overruns → Practice swaps; keep chef on standby.
Final Thoughts
Pre-lighting with a body-double transforms food photography from reactive to controlled. It safeguards food quality, ensures precise lighting and composition, and enables professional efficiency. Whether shooting glossy desserts, steaming soups, or intricate plated dishes, this technique delivers consistent, high-impact results.
Master it, and you’ll spend less time fighting perishability and more capturing mouthwatering images that sell recipes, products, or stories effectively.
Please share this Food Photography Tricks: Pre-Lighting a “Body-Double” with your friends and do a comment below about your feedback.
We will meet you on next article.
Until you can read, How to Set Achievable Food Photography Goals