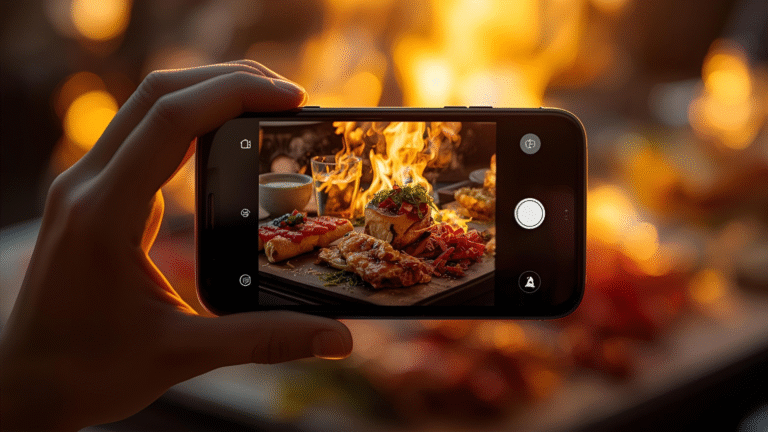
14 Food Styling Ideas Every Food Photographer Should Know
Food styling is the art of arranging and presenting food to make it visually appealing in photographs. As a food photographer, mastering these techniques can transform ordinary shots into compelling images that draw attention and tell a story.
This guide explores 14 practical food styling ideas, drawn from proven methods used by professionals. We’ll focus on actionable strategies to enhance texture, composition, and appeal, while incorporating advanced techniques for lighting, editing, and creativity. By applying these ideas, you’ll create standout photos that perform well in portfolios, social media, or commercial work.
1. Use Cold Food for Control and Consistency
Hot food can complicate shoots by causing steam to fog lenses, melting toppings, or wilting herbs. Instead, opt for cold food to maintain control. Prepare dishes ahead—such as chili or soup made the night before—and refrigerate them. This prevents toppings like cream drizzles or fresh herbs from degrading, giving you a longer window to compose and shoot.
Cold food also improves visual consistency. Sauces thicken when cooled, creating a more photogenic texture. For example, a hot cream sauce might run off pasta, leaving it bare, while a cooled version clings better, highlighting ingredients. In soups, a thicker broth showcases beans and vegetables without them sinking.
Pros of cold food:
- Extended setup time without spoilage.
- Better topping stability (e.g., avocados stay green longer).
- Enhanced textures for photography.
Apply this to flat-lay or overhead shots where heat-induced issues are prominent. Viewers can’t sense temperature, so use styling cues like steam effects (added in post-production) to imply warmth.
2. Fake Ice Cream for Melt-Proof Perfection
Real ice cream melts quickly under lights, limiting shot time to seconds. For non-commercial work, create fake ice cream using a mixture of frosting and powdered sugar for a scoopable consistency. A homemade version combines butter, powdered sugar, and water to form a pliable paste that holds shape indefinitely.
To make it realistic:
- Brush with milk or cream to add sheen and prevent a dry appearance.
- Add cocoa for chocolate flavors or food coloring for others.
- Use an ice cream scoop to create authentic ridges.
Post-shoot, repurpose edible fakes into frosting by adding liquid. Discard if contaminated. This technique is ideal for dessert photography, ensuring sharp, composed images without rush.
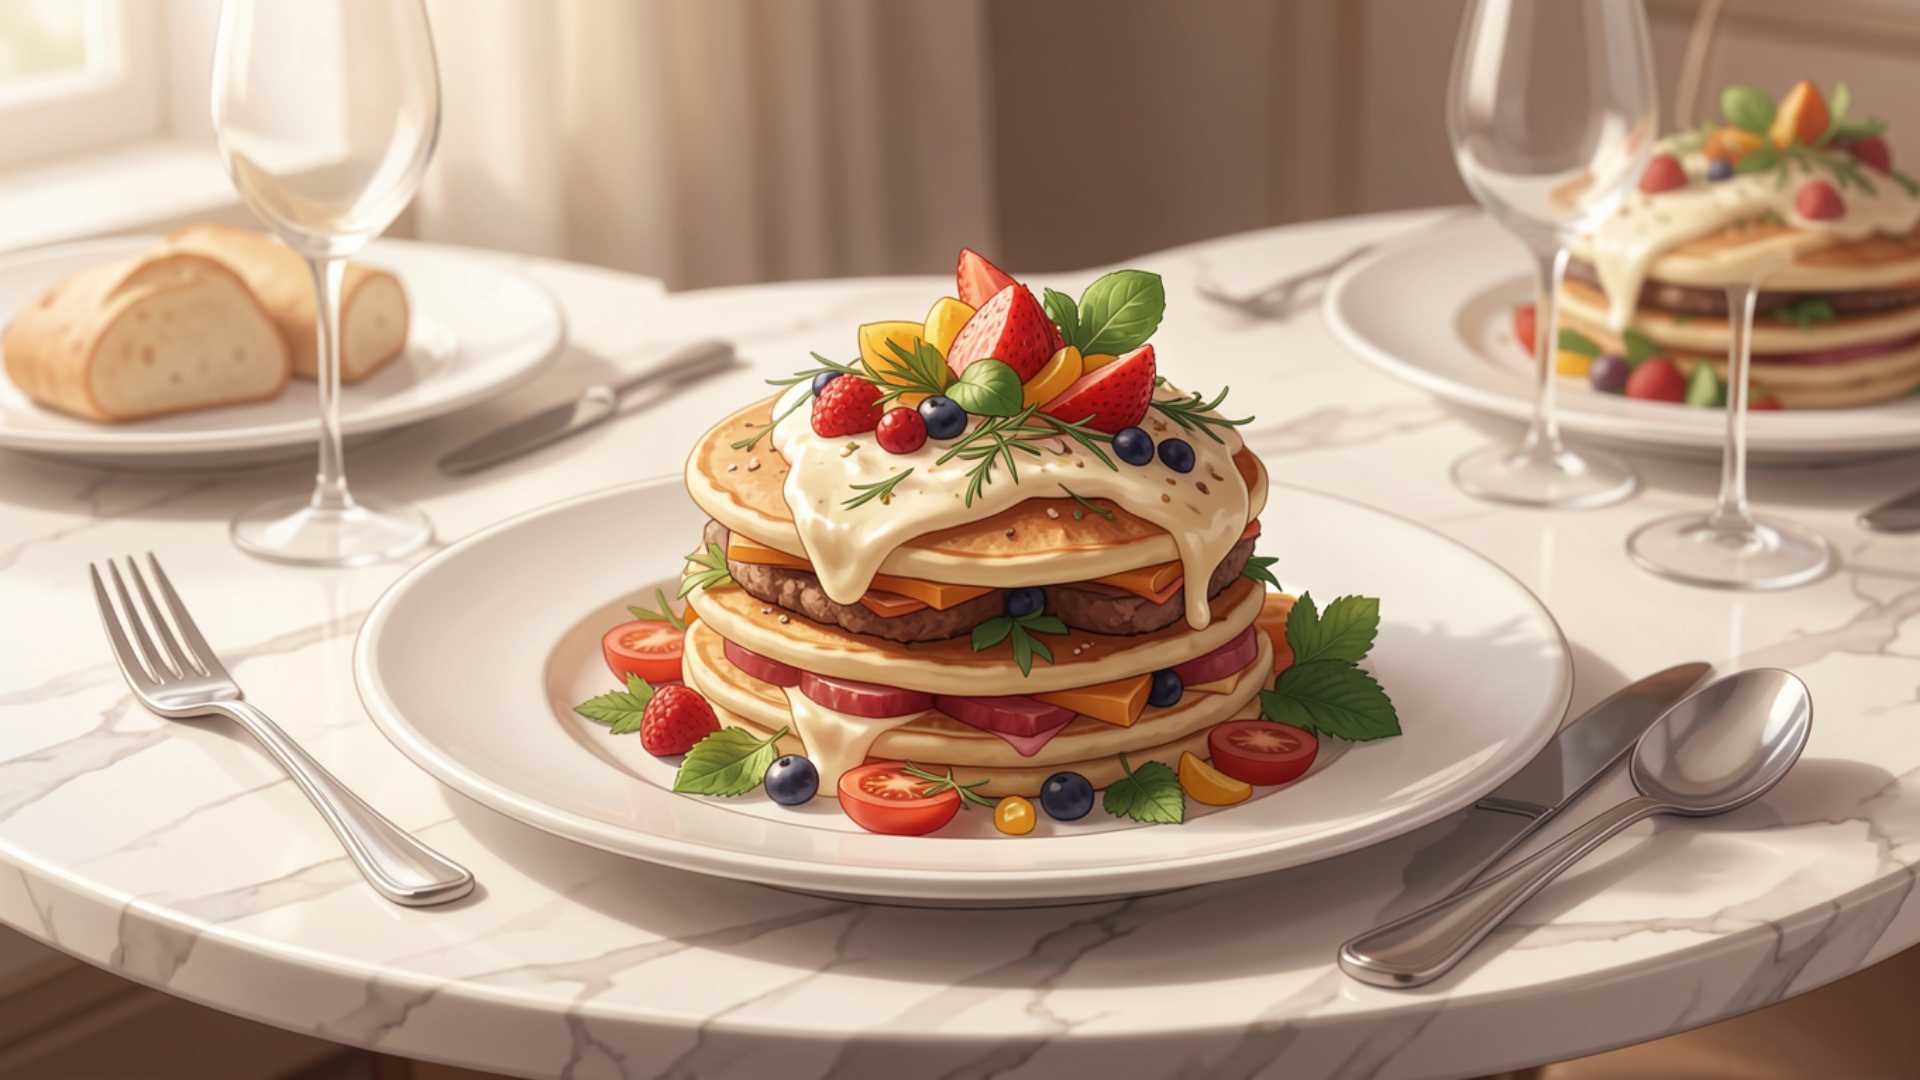
3. Stack Floppy Foods with Supports
Pancakes, waffles, or French toast often flop, ruining stacks. Use hidden supports like kid cup lids, cardboard circles, or old CDs between layers for straight, towering presentations.
| Support Item | Best For | Availability | Price Estimate (USD) |
|---|---|---|---|
| Kid Cup Lids | Small stacks | Household item | Free |
| Cardboard Circles | Custom sizes | Craft stores | $5-10 per pack |
| CDs/DVDs | Large pancakes | Recycled | Free |
Edit out any visible edges in software like Photoshop. This creates height and drama, perfect for breakfast shoots.
4. Add Texture with Fresh Herbs and Spices
Plain foods like soups or oats lack visual interest. Enhance them with garnishes that add texture, even if not in the recipe.
Garnish options:
- Fresh herbs (parsley, cilantro, basil) or chopped salad greens for a fresh look.
- Seeds or nuts (sesame, hemp hearts) for sparkle-like accents.
- Sliced fruits/vegetables (e.g., snap peas on pea soup) for color pops.
This technique implies wholesomeness and elevates bland dishes. Use sparingly to avoid clutter.
5. Incorporate Extra Ingredients in the Frame
Showcase flavors by placing raw or extra ingredients around the main dish. For pasta, scatter dry noodles; for tacos, add a bowl of salsa. Include complementary sides like chips for dips or bread for soups.
Placement ideas:
- Small bowls of sauces in the background.
- Sprinkled herbs or mix-ins at edges.
- Fresh produce like berries or citrus for vibrancy.
- Side items (e.g., cornbread with chili) to suggest pairings.
This fills the frame, inspires viewers, and creates an inviting scene without overwhelming the hero dish.
6. Decorate Plates with Sauces
Elevate small bites or appetizers by swirling sauces on oversized plates, mimicking fine dining. Use complementary sauces (e.g., balsamic reduction on cheese) for savory or sweet designs.
Prep plates ahead for cold desserts to perfect designs without disturbing the food. Opt for messy drizzles for casual vibes or precise pours for elegance. This adds sophistication and perceived value.
7. Freeze Berries for Frosty Appeal
Berries add color to neutral foods. Freeze them for a frosted effect that looks magical in moody shots, like on chocolate pancakes. Avoid strawberries, as they can appear unappetizing when frozen.
This works best in dark, atmospheric photography, enhancing contrast and intrigue.
8. Integrate Florals and Greenery
Flowers and greens evoke freshness and health. Source from gardens, gifts, or stores.
Incorporation methods:
- Edible flowers on desserts for direct topping.
- Vases of real/fake blooms in blurred backgrounds.
- Scattered salad greens for salads.
- Branches or pine for seasonal themes.
Fake options suffice for emergencies, but fresh ones provide authenticity. This fills space and adds organic appeal.
9. Employ Toothpicks and Skewers
These hold structures and add flair.
Uses:
- Stabilize leaning stacks (donuts, cupcakes).
- Create floating effects (edit out skewers).
- Top sandwiches with decorative picks.
- Secure tall burgers or pancake towers.
Ideal for dynamic, architectural compositions.
10. Adjust Cooking Levels for Visual Impact
Overcook for contrast: Darken edges on pies, cookies, or grilled items using a torch for char marks.
Undercook for vibrancy: Blanch vegetables to retain color; leave brownies gooey for tempting interiors.
This highlights textures and colors, making foods more photogenic than edible preferences might allow.
11. Embrace Purposeful Mess
Add realism with controlled chaos: Crumbs from extra baked goods, bite marks, or scattered ingredients like berries.
This shows texture, implies freshness, and adds narrative (e.g., recent baking). Keep it minimal to avoid sloppiness.
12. Design Swirls and Patterns on Top
Enhance lattes or bowls with artistic toppings.
Techniques:
- Drizzle sauces using bottles or spoons.
- Stencil spices/powders (e.g., cocoa on hot chocolate).
- Sprinkle sugar for subtle dustings.
- Arrange nuts/seeds in lines on oats or soups.
This adds elegance and creativity, turning simple dishes into art.
13. Build Layers and Shapes
For flat-lays, use shapes to guide the eye.
Strategies:
- Mix circles (bowls), squares (plates), and lines.
- Stack for height (bowls on racks).
- Add textiles (napkins, paper) for depth.
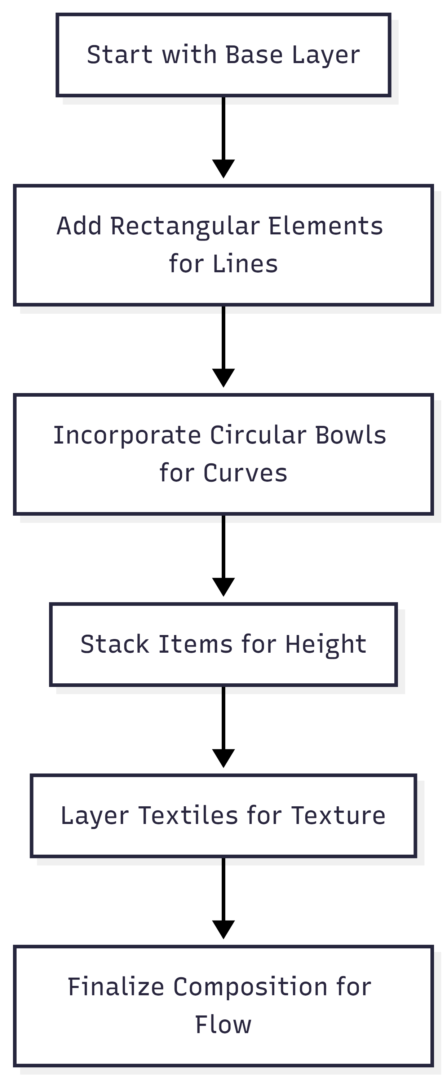
This creates dimension and focus.
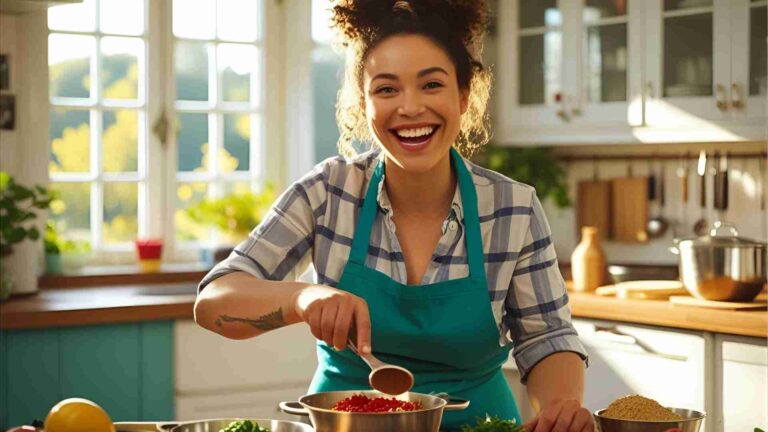
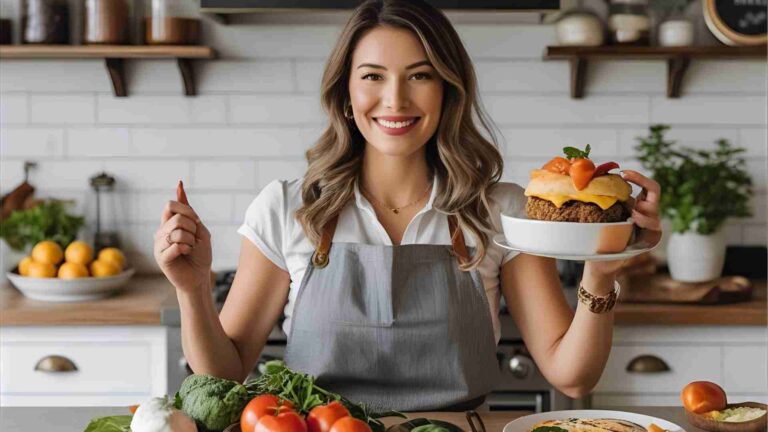
14. Introduce a Human Element
Add people to humanize shots, fostering connection.
Methods:
- Hands holding mugs or bowls.
- Action like pouring or dusting.
- Process shots (rolling dough).
- Serving scenes (slicing pie).
Use tripods for motion; this invites viewers into the story.
Key Techniques to Freshen Your Food Styling
Beyond basics, refresh your approach:
- Capture motion (pouring syrup) for dynamism.
- Experiment with angles: Eye-level for texture, top-down for graphics.
- Use harsh light for shadows and mood.
- Embrace minimalism with negative space.
- Layer textiles for authenticity.
- Apply color theory (complementary hues).
- Shoot macros for details like steam.
- Use props creatively (mirrors for reflections).
These keep styles evolving.
Lighting and Editing Essentials
Natural side light from windows beats artificial overheads for soft, flattering results. In editing (Lightroom or Snapseed), enhance colors and brightness naturally—avoid over-processing to maintain realism.
Six Tactics to Boost Creative Photography Ideas
- Stop Down for Detail: Narrow apertures (e.g., f/8) ensure front-to-back sharpness, avoiding gimmicky blur.
- Take a Step Back: Avoid extreme close-ups; wider views preserve context and integrity.
- Change Your Point of View: Switch between handheld for variety and tripod for precision.
- Ditch Safety Props: Skip overused items like crumpled napkins; focus on dish alone for freshness.
- Resurrect Old Techniques: Revisit past methods with new eyes for untapped potential.
- Use Oblique Strategies: Draw random prompts (e.g., “emphasize flaws”) to spark innovation.
These combat complacency, ensuring continual growth.
In summary, these 14 ideas, plus advanced techniques, equip you to create captivating food photography. Practice iteratively, adapting to your style, for images that resonate and rank well online.
Please share this 14 Food Styling Ideas Every Food Photographer Should Know with your friends and do a comment below about your feedback.
We will meet you on next article.
Until you can read, How to Effectively Use Narrative Photography