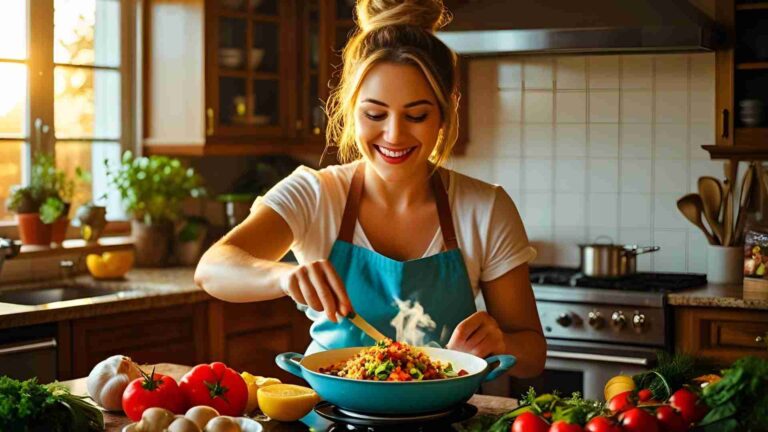
My TOP 5 Food Styling Tricks for Food Bloggers
Food styling is the artistic backbone of compelling food photography, transforming simple dishes into visually captivating content that draws readers in and boosts engagement on food blogs. For bloggers aiming to stand out in a crowded digital space, mastering these techniques is essential. Unlike camera settings, which often have straightforward solutions, food styling relies on creativity and subtlety to make dishes look irresistible.
This comprehensive guide delves into my top five food styling tricks, drawn from practical experience, to help you achieve professional results without endless trial and error. By incorporating these strategies, you’ll create images that not only highlight your recipes but also align with your unique style, ultimately increasing Pinterest shares, website traffic, and reader retention.
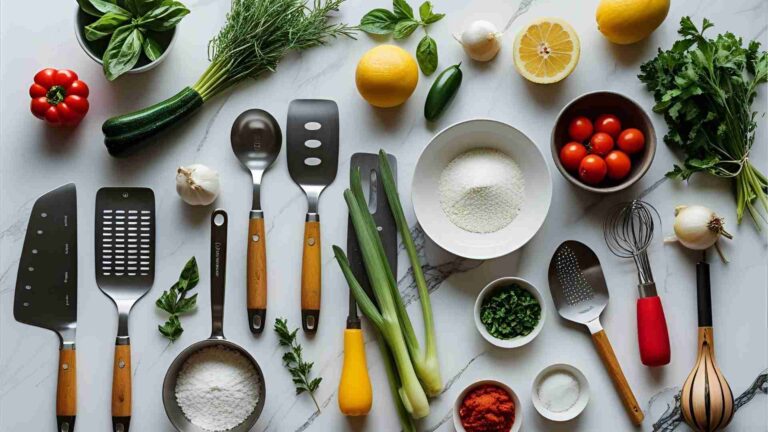
Whether you’re photographing vibrant salads or monochromatic comfort foods, these tricks focus on composition, color, balance, realism, and final touches. We’ll explore each in depth, with step-by-step explanations, examples, and practical applications. Additionally, we’ll cover essential tools, including specifications and pricing where relevant, to equip you for success. If certain aspects like composition workflows lend themselves to visual aids, we’ll include diagrams for clarity.
Trick 1: Plan Out Your Composition
Effective food styling begins long before you plate the dish— it starts with meticulous composition planning. Composition refers to the arrangement of elements within the frame, guiding the viewer’s eye and creating a cohesive, professional image. Without a plan, photos can appear haphazard, detracting from the food’s appeal and reducing shareability on platforms like Pinterest.
To plan effectively, start by sketching a rough layout on paper or using digital tools like apps for overlay grids. Consider the overall scene: the main dish as the focal point, supporting props, background, and lighting direction. This pre-visualization ensures every element serves a purpose, avoiding clutter that overwhelms the subject.
Two foundational rules guide composition in food photography: the rule of thirds and the golden ratio. The rule of thirds divides the frame into a 3×3 grid, placing key elements at intersection points for natural balance. The golden ratio, based on a 1:1.618 proportion (often visualized as a spiral), creates dynamic flow, leading the eye through the image organically.
Here’s a comparison table of these rules:
| Composition Rule | Description | Best For | Example Application |
|---|---|---|---|
| Rule of Thirds | Frame divided into thirds horizontally and vertically; place subjects at intersections. | Balanced, static scenes like plated meals. | Position a bowl of soup at the lower-right intersection, with utensils aligning along grid lines. |
| Golden Ratio | Uses a spiral or phi grid for asymmetrical harmony. | Dynamic, flowing arrangements like overhead shots of ingredients. | Arrange fruits in a spiral pattern, with the main cluster at the spiral’s center. |
Applying these rules elevates your photos from amateur to pro. For instance, in an overhead shot of a charcuterie board, use the rule of thirds to offset the board slightly, allowing negative space on one side for a sense of openness. This not only highlights the food but also invites viewers to imagine themselves in the scene.
To visualize the styling process, including composition planning, consider this flowchart:
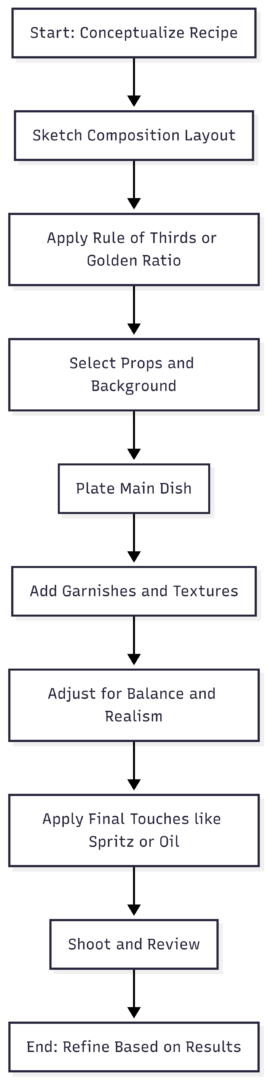
This workflow ensures consistency. Tools for planning include printable grid overlays (free downloads available online) or apps like Adobe Capture for digital grids. No specific pricing applies here, as many resources are free, but investing in a basic sketchpad ($5-10) can aid brainstorming.
By planning composition first, your food photos gain structure, making them more engaging and shareable, directly impacting blog traffic.
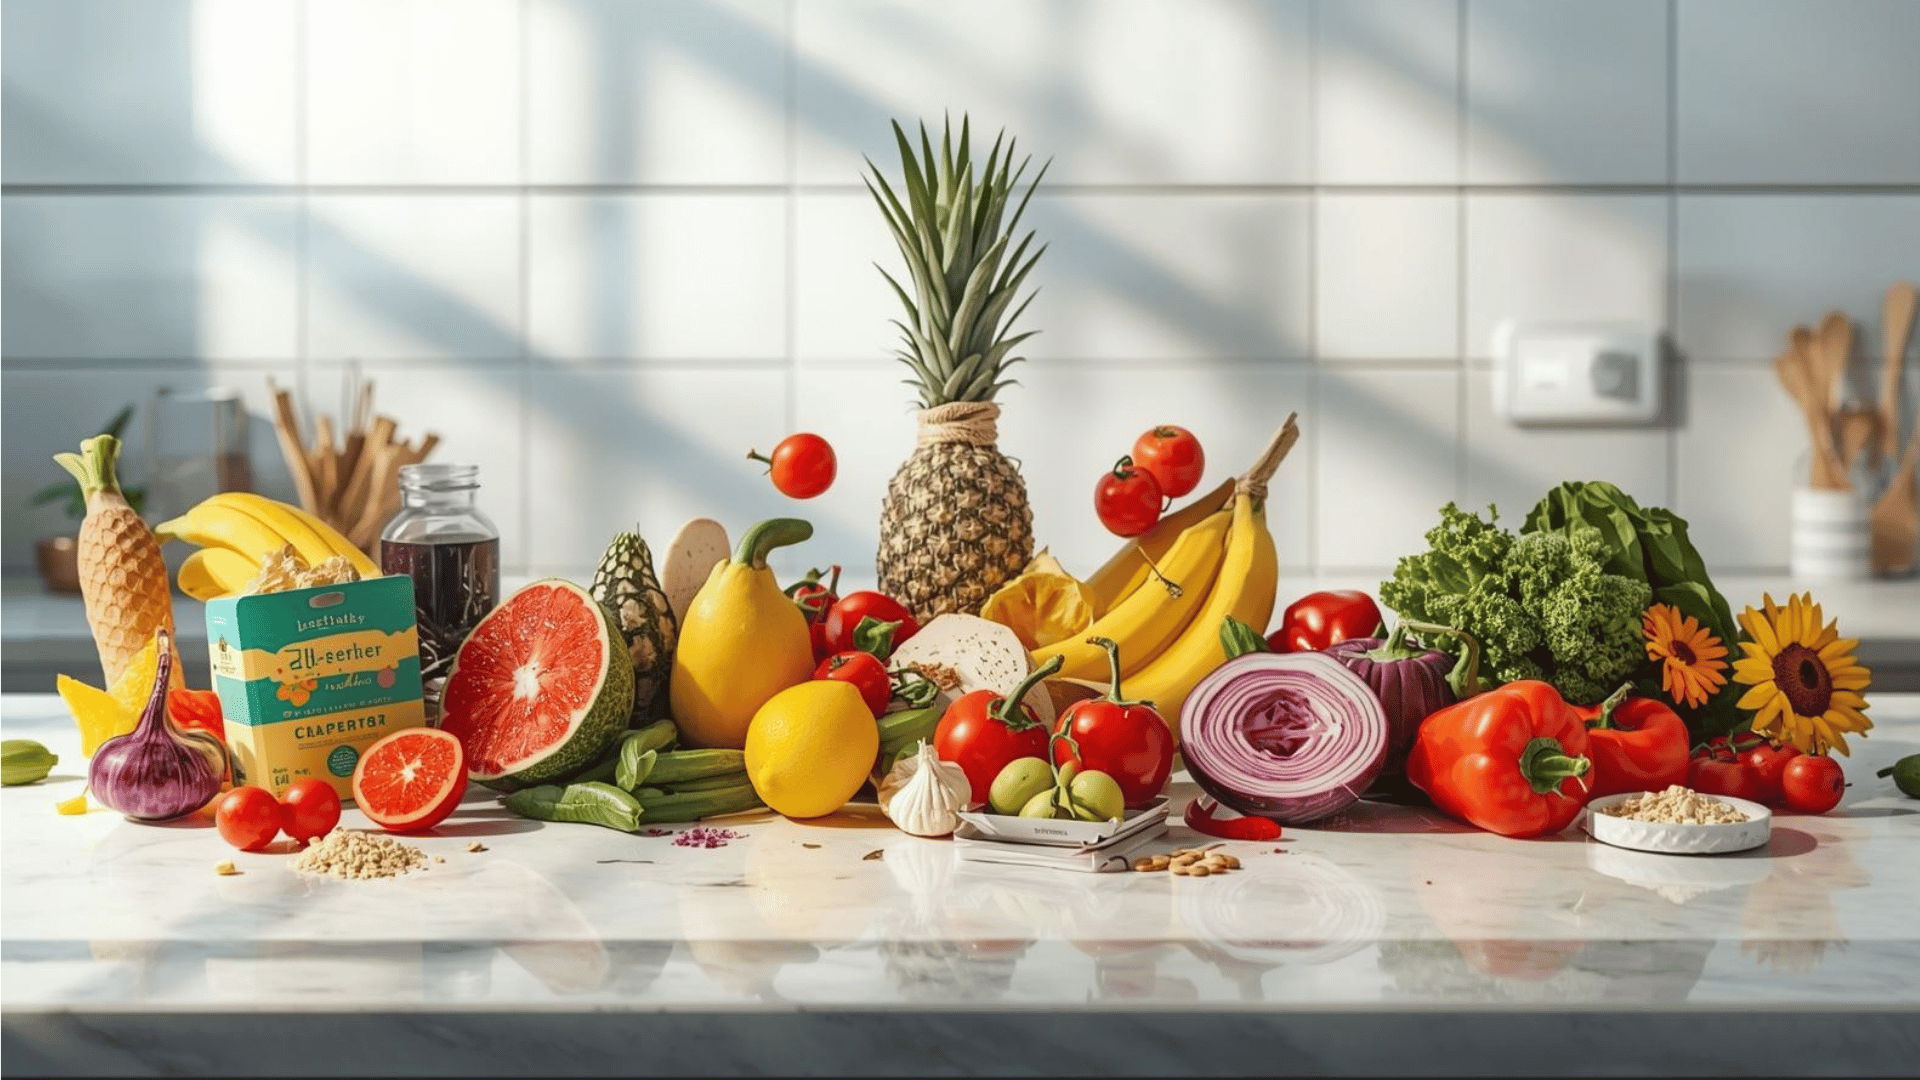
Trick 2: Using Color Theory to Create Interest
Color is a powerful tool in food styling, capable of turning drab, single-tone dishes into vibrant masterpieces. Many recipes fall into monochromatic categories—think beige pasta or brown stews—that taste divine but photograph poorly. Color theory, rooted in the color wheel, provides solutions by suggesting pairings that add contrast and visual appeal.
The color wheel organizes hues into primary, secondary, and tertiary categories. Complementary colors (opposites on the wheel, like red and green) create high contrast, making elements pop. Analogous colors (adjacent, like blue and green) offer harmony for subtler effects.
For monotone foods, introduce complementary garnishes: green herbs on red sauces or purple berries on yellow cakes. Always choose edible, recipe-appropriate additions to maintain authenticity.
Example: A orange curry benefits from green cilantro, transforming a flat image into one bursting with life. Without it, the photo lacks dimension.
Here’s a table of common color pairings for food styling:
| Main Dish Color | Complementary Garnish | Analogous Garnish | Visual Effect |
|---|---|---|---|
| Brown/Beige (e.g., pasta, cakes) | Green herbs, red berries | Yellow lemon zest, orange spices | Adds vibrancy and freshness. |
| Red/Orange (e.g., tomato soups, curries) | Green leaves, blue fruits | Yellow peppers, pink radishes | Creates contrast without overwhelming. |
| Green (e.g., salads, pesto) | Red tomatoes, purple onions | Blueberries, yellow corn | Enhances natural appeal. |
| Yellow (e.g., custards, corn dishes) | Blue berries, purple grapes | Orange carrots, green mint | Builds depth and interest. |
To implement, assess your dish’s dominant color, consult the wheel, and test garnishes under your lighting setup. Tools include a basic color wheel chart (printable for free or $2-5 for laminated versions).
Extra tip: For liquids like broths, use browning agents like Maggi seasoning to simulate rich colors. A 200ml bottle of Maggi seasoning costs around $3-5, depending on the brand, and can be diluted for subtle effects.
This trick not only improves aesthetics but also evokes appetite, encouraging clicks and shares on your blog.
Trick 3: Creating Balance in Your Food Photos
Balance ensures your food photos direct attention precisely where needed, preventing visual competition between elements. It’s not about symmetry but harmony, achieved through negative space, color distribution, or prop placement.
Negative space—empty areas in the frame—isolates the subject, creating focus. For example, in a beetroot risotto shot, position bowls along the central third, leaving surrounding space bare for emphasis. In jam photos, a subtle horizon with minimal props balances foreground and background.
Color balance involves distributing hues evenly; pair bold colors with neutrals to avoid overload.
To achieve balance:
- Evaluate the frame: Is the subject dominant?
- Adjust props: Use neutrals like wooden boards ($10-20 for a 12×18 inch size) to ground vibrant foods.
- Incorporate space: Aim for 30-50% negative space in minimalist shots.
Tools for balance include levels or apps to check symmetry, but practice is key. Priced items: A set of neutral linen napkins ($15 for a pack of 4) can soften edges.
Balanced photos feel professional, enhancing user experience and SEO through longer dwell times.
Trick 4: Make Your Food Photos Look “Lived In” with Spills and Sprinkles
Perfection in food photography can appear sterile; adding subtle imperfections like crumbs or spills creates a “lived-in” realism that draws viewers in, making them envision tasting the dish.
Technique: Scatter crumbs from overdone bread edges around toast for a casual vibe, or sprinkle granola outside a smoothie bowl for authenticity. Start sparingly—overdo it, and it becomes messy.
This builds narrative: A crumb-strewn board suggests a enjoyed meal, boosting relatability.
Tools: Tweezers for precise placement ($5-10 for stainless steel food-grade sets). Cotton swabs for cleanup ($2 for 100-pack).
Extra tip: Use a heat gun for melting cheese or adding sear marks. A basic heat gun (like Steinel HL 1620 S, 1600W, dual temperature settings) costs $30-50. Alternatively, a kitchen torch (Bernzomatic TS8000, adjustable flame) runs $40-60.
This trick humanizes photos, increasing emotional connection and blog engagement.
Trick 5: Give Your Food a Helping Hand
Food often needs minor enhancements to look its best under lights. These quick interventions keep dishes fresh and appetizing.
- Spritz for freshness: Mix 1:1 water and glycerin in a spray bottle. Glycerin (food-grade, 100ml) costs $5-8; spray bottles ($2-4 for 8oz plastic).
- Add sheen: Brush olive oil on veggies or meats. Silicone brushes ($5-10 for a set).
- Build structure: Use toothpicks ($1 for 1000-pack) or sponges (hidden under layers, $3 for pack of 10) for height in burgers or stacks.
- Fake ice: Acrylic cubes ($10-15 for set of 12, reusable, non-melting).
- Undercook slightly: Retains color in veggies.
Extra: 1:1 glycerin mix for droplets; browning liquids like Maggi for simulations.
Tools table:
| Tool | Specifications | Average Price |
|---|---|---|
| Spray Bottle | 8oz plastic, fine mist | $2-4 |
| Glycerin | Food-grade, 100ml | $5-8 |
| Silicone Brush | Heat-resistant, set of 3 | $5-10 |
| Toothpicks | Bamboo, 1000-pack | $1-2 |
| Fake Ice Cubes | Acrylic, set of 12 | $10-15 |
| Heat Gun | 1600W, dual temp | $30-50 |
| Kitchen Torch | Adjustable flame, butane | $40-60 |
These enhancements ensure peak visual appeal, directly translating to better blog performance.
Integrating These Tricks for Maximum Impact
Combine tricks for synergy: Plan composition (Trick 1), add color-contrast garnishes (Trick 2), balance with space (Trick 3), sprinkle for realism (Trick 4), and finish with spritzes (Trick 5). This holistic approach creates standout images.
For advanced learning, consider courses on composition, but start with these for immediate gains.
In summary, these top five tricks—planning composition, leveraging color theory, achieving balance, adding lived-in elements, and providing helping hands—form the core of effective food styling. Implement them to produce irresistible photos that elevate your food blog, drive traffic, and captivate audiences. With practice, you’ll develop a signature style that sets you apart.
Please share this My TOP 5 Food Styling Tricks for Food Bloggers with your friends and do a comment below about your feedback.
We will meet you on next article.
Until you can read, Dutch Apple Coffee Cake