How To Start An Online Cooking Class (Complete Guide)
Learn how to start an online cooking class with our complete guide. Create a curriculum, choose a platform, and market your course effectively.
The online cooking class industry is thriving, driven by a global passion for food and the accessibility of digital learning. Whether you’re a professional chef, a home cook with a unique culinary perspective, or an educator passionate about teaching, launching an online cooking class can be a rewarding venture. It allows you to reach a worldwide audience, build a loyal student base, and create additional revenue streams through related products or services. However, standing out in a competitive market requires careful planning, engaging content, and strategic marketing. This guide provides a step-by-step roadmap to launching a successful online cooking class, covering everything from niche selection to marketing strategies.
Why Start an Online Cooking Class?
Online cooking classes offer significant advantages for both instructors and students. For instructors, the benefits include:
- Global Reach: Teach students from different countries without geographical limitations.
- Scalability: Create a course once and sell it repeatedly, generating passive income.
- Diverse Revenue Streams: Upsell in-person classes, cookbooks, or specialty ingredients.
- Flexibility: Work from your kitchen and set your schedule.
For students, online cooking classes provide convenience, affordability, and access to specialized culinary knowledge. The demand for niche-specific courses, such as vegan baking or regional cuisines, continues to grow, making this an opportune time to enter the market.
Step 1: Define Your Niche and Target Audience
The foundation of a successful online cooking class lies in choosing a specific niche and understanding your target audience. A generic “cooking basics” course may struggle to gain traction in a crowded market, but a well-defined micro-niche can help you stand out.
Finding Your Micro-Niche
A micro-niche is a highly specific topic with less competition but sufficient demand. For example, instead of teaching “Italian cooking,” focus on “authentic Sicilian seafood recipes” or “gluten-free Italian desserts.” To identify a viable micro-niche:
- Research Market Demand: Use platforms like Udemy, Skillshare, or Google Trends to analyze search volume for specific topics. For instance, “Thai cooking recipes” has fewer competing courses (around 3,000 on Udemy) compared to “cooking skills” (over 10,000).
- Evaluate Competition: Check course marketplaces to see how many courses exist in your potential niche. A niche with moderate demand but low competition is ideal.
- Leverage Your Expertise: Choose a topic you’re passionate about and knowledgeable in. Your authenticity will resonate with students.
Example Niches:
- Plant-based meal prep for busy professionals
- Traditional Japanese sushi-making for beginners
- Low-carb baking for keto dieters
Identifying Your Target Audience
Understanding your audience ensures your course meets their needs. Consider demographics, preferences, and pain points:
- Demographics: Are your students young professionals, parents, or retirees? For example, a course on “quick lunchbox recipes for kids” should target middle-aged parents.
- Preferences: Do they prefer quick meals, gourmet dishes, or budget-friendly recipes?
- Pain Points: Are they struggling with time constraints, dietary restrictions, or lack of cooking skills?
Use social media groups, forums, or surveys to gather insights. For instance, posting a poll in a food-related Facebook group can help validate your niche and audience interest.
Step 2: Develop a Compelling Course Idea
Once you’ve identified your niche and audience, brainstorm a course idea that aligns with their needs. A strong course idea is specific, actionable, and appealing.
Validating Your Course Idea
To ensure your course will attract students:
- Conduct Surveys: Create polls on platforms like Reddit or Instagram to gauge interest. Ask questions like, “Would you enroll in a course on vegan Indian curries?”
- Engage with Communities: Participate in food-related online communities to understand trending topics and unmet needs.
- Analyze Competitors: Review similar courses on platforms like Udemy to identify gaps. For example, if existing cheesecake baking courses lack advanced decorating techniques, include those in your course.
Example Course Ideas:
- “30-Day Vegan Meal Prep Challenge”
- “Mastering French Patisserie at Home”
- “Quick and Healthy Weeknight Dinners for Families”
Step 3: Create a Detailed Course Outline
A well-structured course outline keeps you organized and ensures a logical learning progression for students. It also helps avoid content overwhelm or gaps.
How to Build a Course Outline
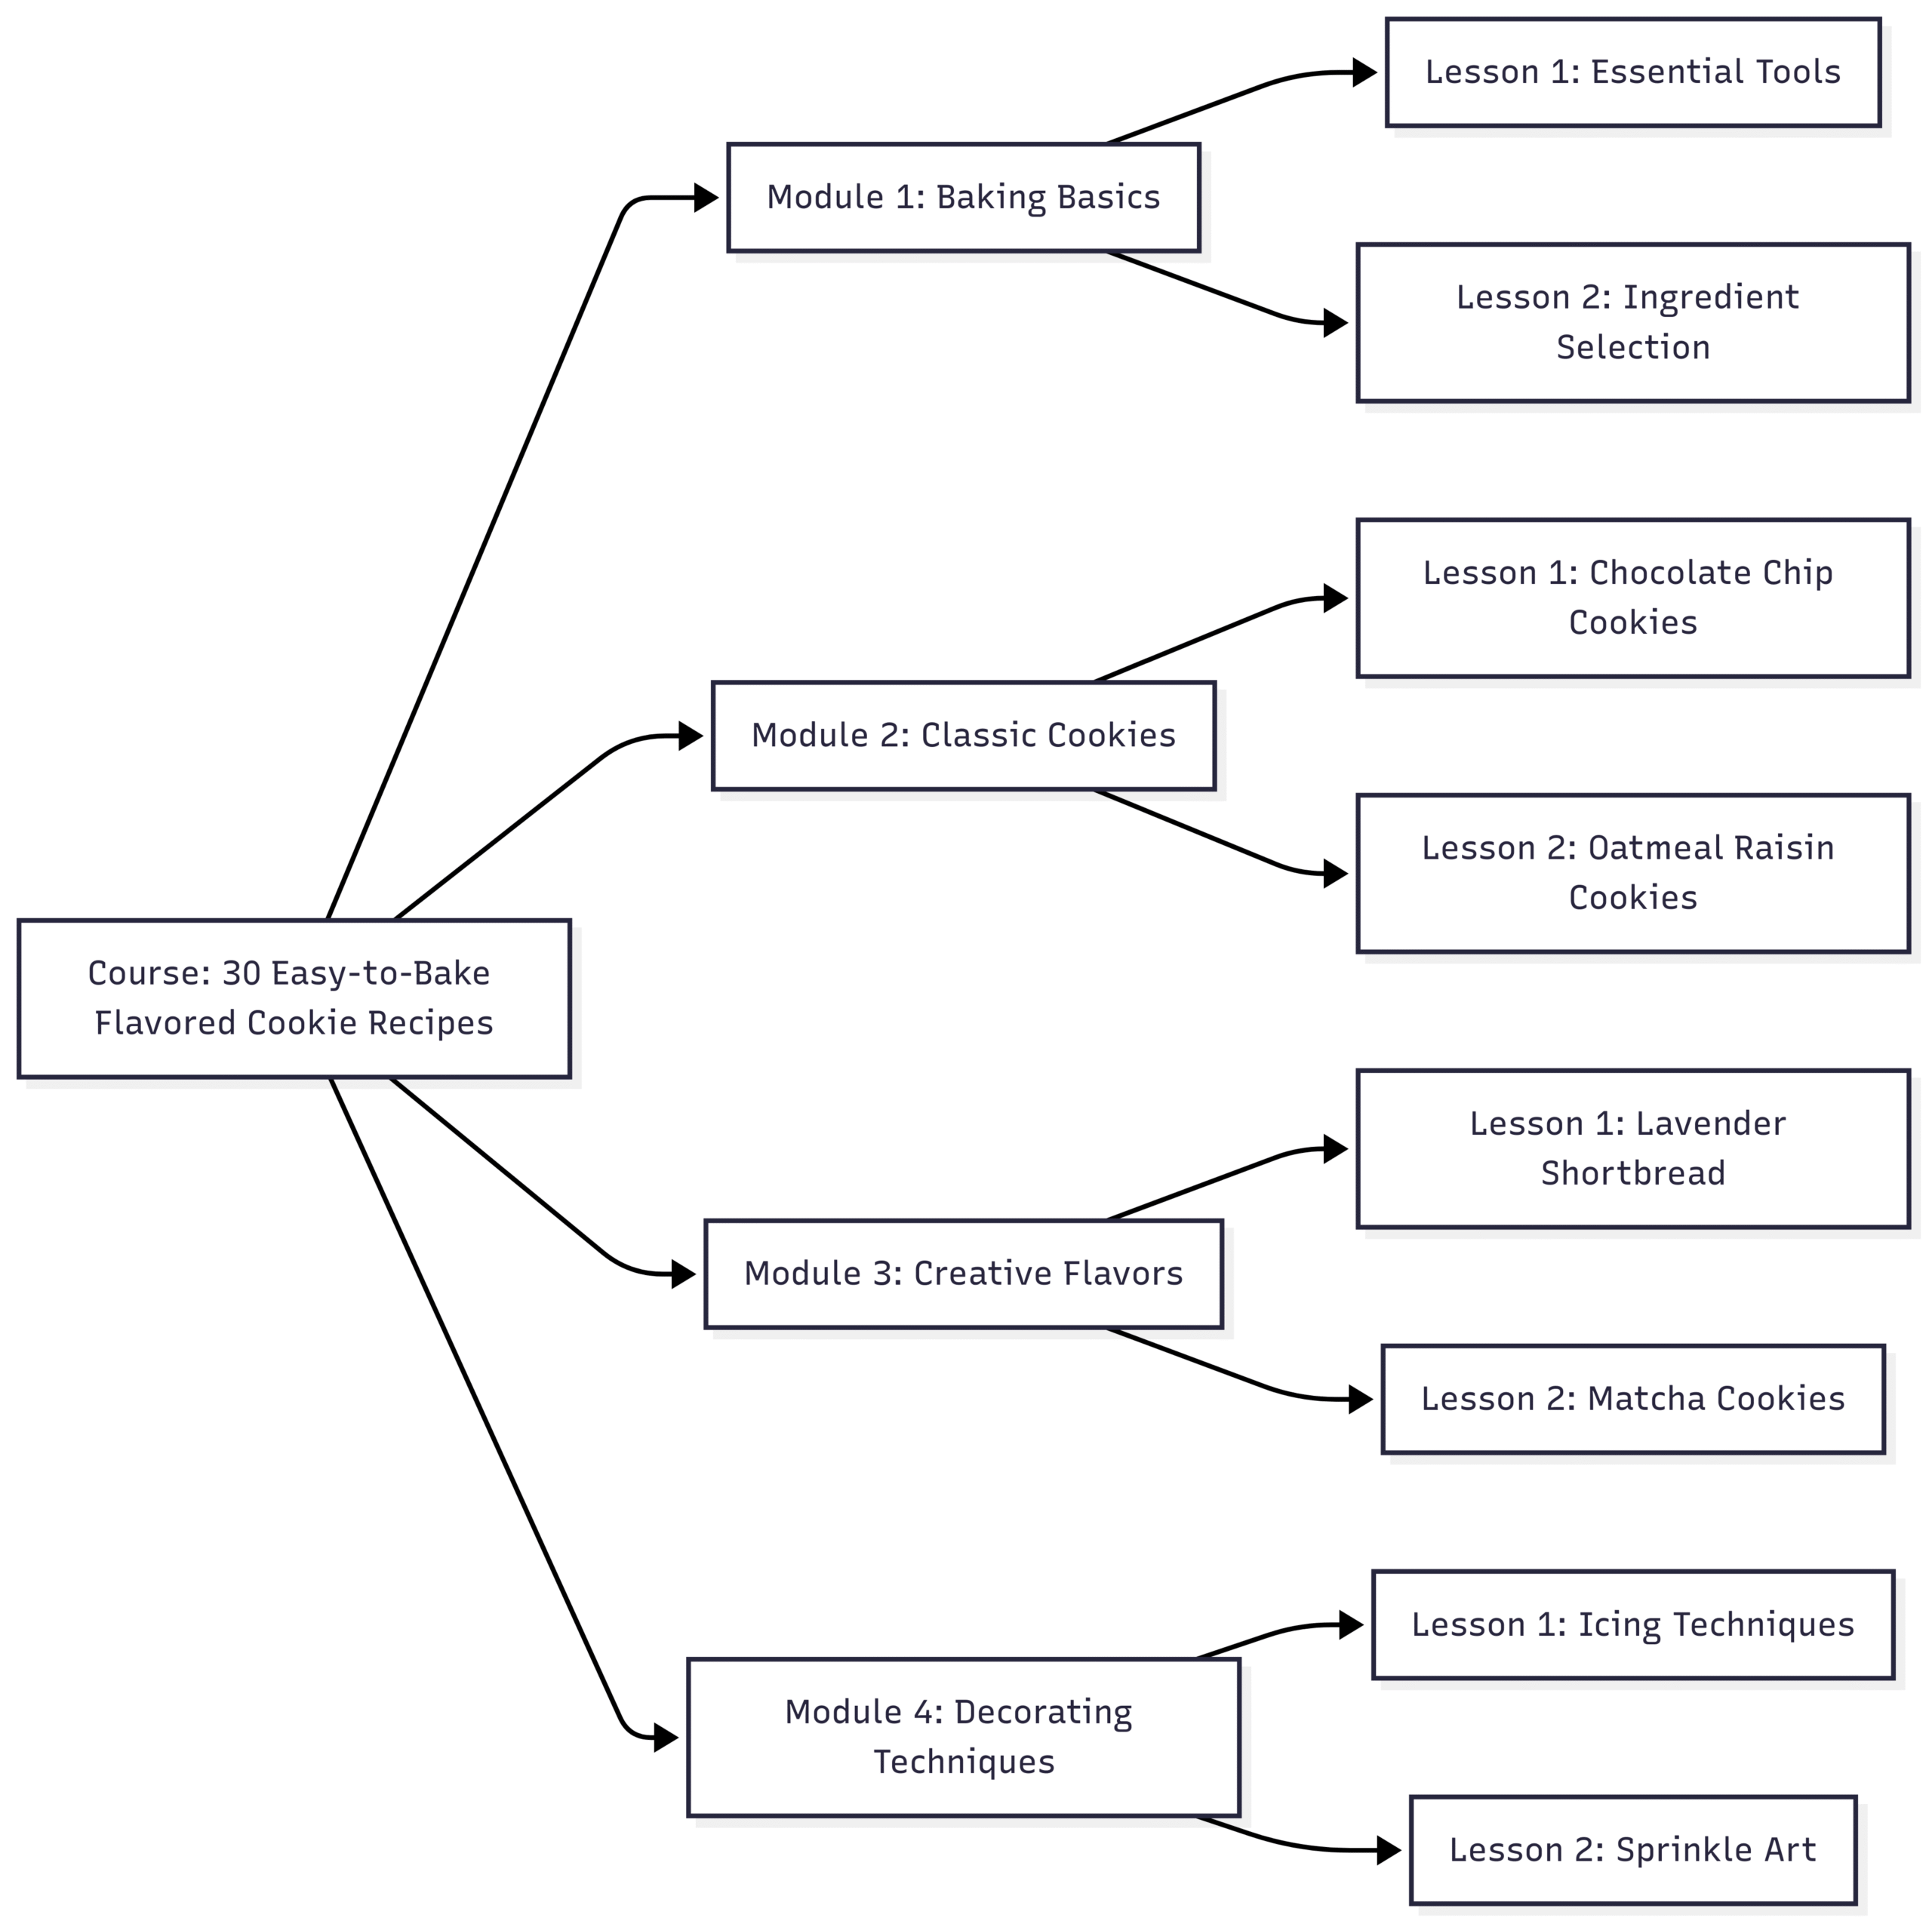
- Set Clear Goals: Define one primary objective for the course. For example, “Students will learn to bake 30 unique cookie recipes.” Each lesson should contribute to this goal.
- Break Down Content: Divide the course into modules, each covering a specific topic. For instance, a sushi-making course might include modules on rice preparation, knife skills, and rolling techniques.
- Incorporate Diverse Formats: Use videos, PDFs, quizzes, and assignments to cater to different learning styles.
- Include Practical Resources: Provide ingredient lists, equipment guides, and downloadable recipes.
- Plan a Schedule: Suggest a timeline for students to complete the course, such as one lesson per day for 30 days.
Example Outline for “30 Easy-to-Bake Flavored Cookie Recipes”
Tips for a Strong Outline
- Review competitor courses to identify missing topics.
- Ensure each lesson has a clear objective.
- Keep lessons concise to maintain student engagement.
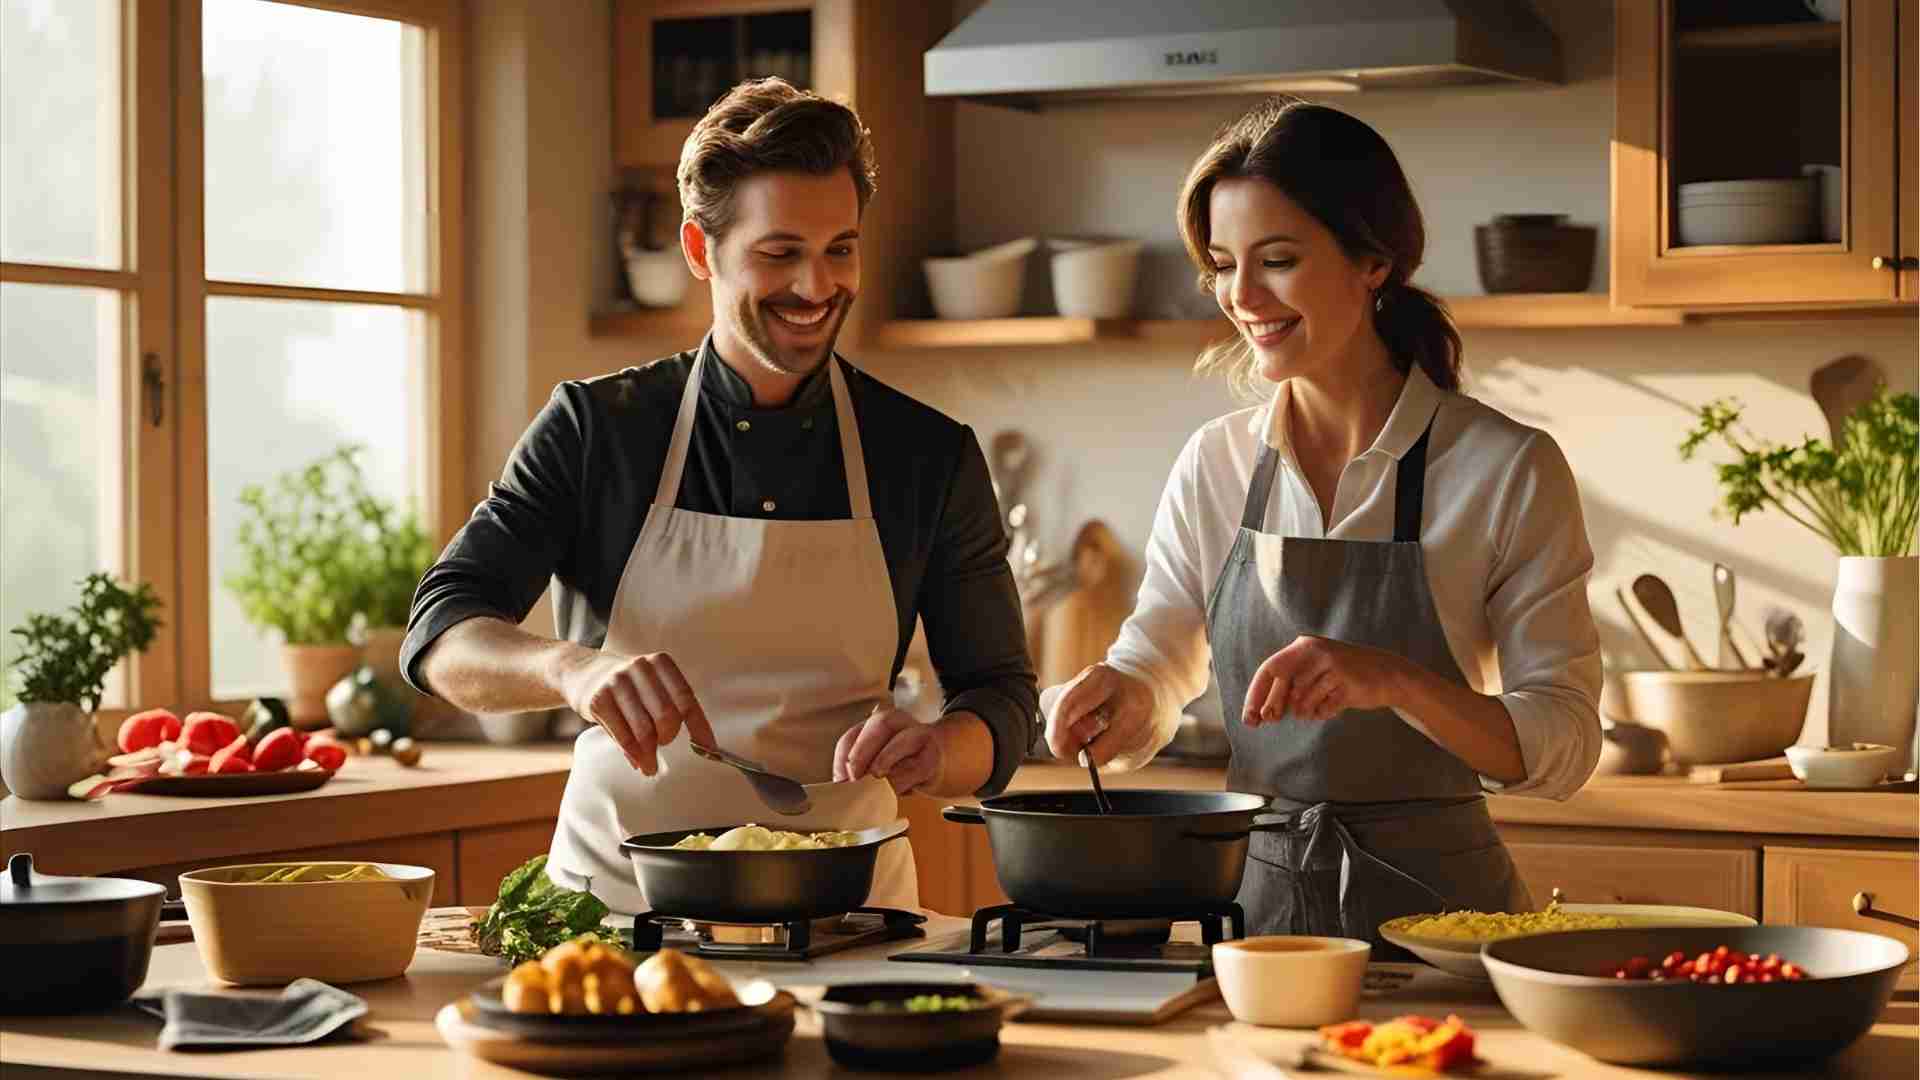
Step 4: Record High-Quality Cooking Tutorials
The quality of your video content is critical to student satisfaction. Poor audio or visuals can deter learners, while professional production builds credibility.
Setting Up Your Recording Space
- Choose a Well-Lit Kitchen: Film in your kitchen, ensuring the workspace is clean and well-lit. Use natural light or affordable lighting equipment like a full-spectrum white light lamp ($30–$50).
- Minimize Clutter: Keep the background simple to focus attention on the cooking process.
- Test Lighting: Avoid overly bright or dim lighting. Soft, diffused light works best.
Equipment Recommendations
| Item | Recommendation | Price (Approx.) |
|---|---|---|
| Camera | Canon EOS 800D/Rebel T7i DSLR | $700 |
| Tripod | Digitek DTR 550 | $40 |
| Microphone | Rode SmartLav+ Lavalier | $80 |
| Lighting | Full-spectrum white light lamp | $30–$50 |
- Camera: A high-resolution camera like the Canon EOS 800D ensures clear visuals. Set it on a tripod for stability.
- Tripod: The Digitek DTR 550 allows for adjustable angles, including top-down shots for ingredient displays.
- Microphone: A lavalier mic like the Rode SmartLav+ captures clear audio, even when you’re moving around the kitchen.
- Editing Software: Use free tools like DaVinci Resolve or hire a professional editor on Fiverr ($20–$50 per video).
Recording Tips
- Prepare Scripts: Write a script for each lesson to stay on track and minimize retakes.
- Gather Materials: Collect all ingredients and utensils before filming to avoid interruptions.
- Give Intros: Start each video with a brief overview of the recipe, ingredients, and safety tips.
- Keep Videos Short: Aim for 5–15 minutes per lesson to maintain attention.
- Engage Viewers: Maintain eye contact with the camera, smile, and use a friendly tone.
- Show Top-Down Views: Use the tripod to capture overhead shots of ingredients or techniques.
Editing and Post-Production
- Trim Unnecessary Footage: Remove pauses or mistakes to keep videos concise.
- Add Subtitles: Include captions for accessibility and clarity.
- Incorporate Graphics: Use text overlays to highlight key steps or ingredients.
- Hire Professionals if Needed: Outsource editing to save time and ensure quality.
Step 5: Host Your Course on a Reliable Platform
Choosing the right platform to host your course is crucial for ease of use, student experience, and scalability. A beginner-friendly platform like OnlineCourseHost.com offers robust features tailored for cooking instructors.
Why OnlineCourseHost.com?
- User-Friendly Interface: Simplifies course creation and management.
- Multiple Content Formats: Supports videos, PDFs, quizzes, and assignments.
- Marketing Tools: Includes email marketing and coupon features.
- Payment Integration: Supports Stripe and PayPal for secure transactions.
Steps to Host Your Course
- Create an Account:
- Sign up on OnlineCourseHost.com using your email or Google account.
- Choose a free subdomain or connect a custom domain via DNS settings.
- Upload Course Content:
- Click “Create New Course” and enter a title and description.
- Add sections and upload videos, PDFs, or text lessons.
- Organize content according to your outline.
- Design a Landing Page:
- Use the platform’s fill-in-the-blank template to create a high-converting landing page.
- Include a course thumbnail, author bio, FAQs, and a compelling description.
Step 6: Price Your Course Strategically
Pricing your course requires balancing affordability for students and profitability for you. Research competitor pricing to find a sweet spot.
Pricing Guidelines
- Market Research: Check platforms like Udemy or Skillshare for similar courses. Beginner courses typically range from $20–$50, while specialized courses can cost $100+.
- Value-Based Pricing: Price higher if your course offers unique value, such as exclusive recipes or expert instruction.
- Tiered Options: Offer multiple pricing tiers, such as a basic course ($30), a premium version with live Q&A ($50), or a bundle with downloadable resources ($75).
Example Pricing Structure
| Tier | Features | Price |
|---|---|---|
| Basic | Video lessons, PDF recipes | $30 |
| Premium | Basic + live Q&A sessions | $50 |
| Ultimate | Premium + ingredient sourcing guide | $75 |
Payment Integration
- Stripe: Connect your Stripe account to collect payments. Setup takes 5 minutes and supports global transactions.
- PayPal: Link your PayPal business account via the platform’s integrations tab.
- Coupons: Create discount codes to attract new students or reward loyal ones. For example, offer a 20% discount for the first 50 enrollments.
Publishing Your Course
- Ensure all content is uploaded and the landing page is complete.
- Set a custom URL for your course (e.g., yourwebsite.com/vegan-cooking).
- Click “Publish Course Now” to make it live.
Step 7: Market Your Cooking Course
Marketing is essential to attract students in a competitive niche. A multi-channel strategy maximizes reach and conversions.
Marketing Strategies
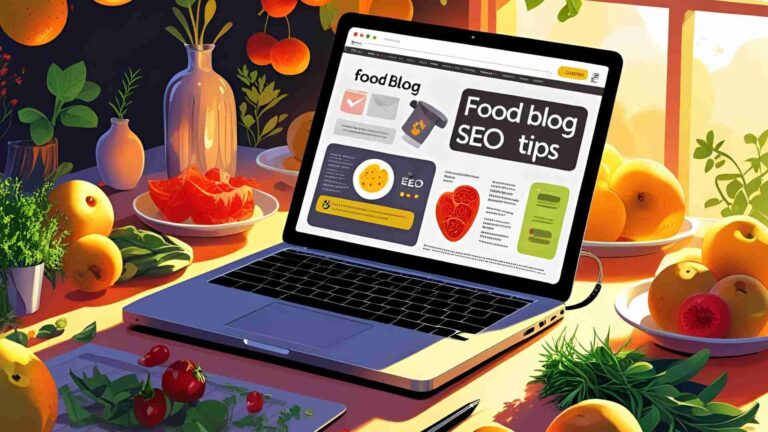
- Search Engine Optimization (SEO):
- Optimize your landing page with keywords like “online vegan cooking class” or “learn Thai recipes.”
- Write blog posts on your website about cooking tips to drive organic traffic.
- Social Media Marketing:
- Share short recipe videos on Instagram Reels or TikTok to showcase your expertise.
- Join food-related Facebook groups and share valuable content (avoid spamming).
- Use hashtags like #CookingClass or #VeganRecipes to increase visibility.
- Email Marketing:
- Build an email list by offering a free recipe eBook in exchange for sign-ups.
- Use OnlineCourseHost.com’s email tools to send newsletters with course updates or discounts.
- Paid Advertising:
- Run targeted Facebook or Google Ads to reach your audience. Set a budget of $5–$10 per day for testing.
- Focus on specific demographics, such as “parents interested in healthy cooking.”
- Influencer Collaborations:
- Partner with food bloggers or micro-influencers to promote your course.
- Offer free access to your course in exchange for a review or shoutout.
- Student Feedback:
- Encourage early students to leave reviews on your landing page.
- Use testimonials in your marketing materials to build trust.
Measuring Success
- Track enrollments, website traffic, and conversion rates using tools like Google Analytics or OnlineCourseHost.com’s analytics.
- Adjust your strategy based on what works (e.g., double down on Instagram if it drives the most sign-ups).
Conclusion
Starting an online cooking class is a rewarding way to share your culinary passion with a global audience. By defining a niche, creating engaging content, choosing a reliable platform, and implementing a robust marketing strategy, you can build a successful course that stands out in a competitive market. The key is thorough research and consistent effort. With platforms like OnlineCourseHost.com simplifying the technical aspects, you can focus on teaching and growing your business. Begin today by identifying your niche and taking the first step toward launching your course.
Please share these How To Start An Online Cooking Class (Complete Guide) with your friends and do a comment below about your feedback.
We will meet you on next article.
Until you can read, What is a good name for food blogging?