How to Create Digital Recipe Cards
Learn how to create stunning digital recipe cards with Canva’s easy-to-use tools. Customize, print, or share your recipes in minutes!
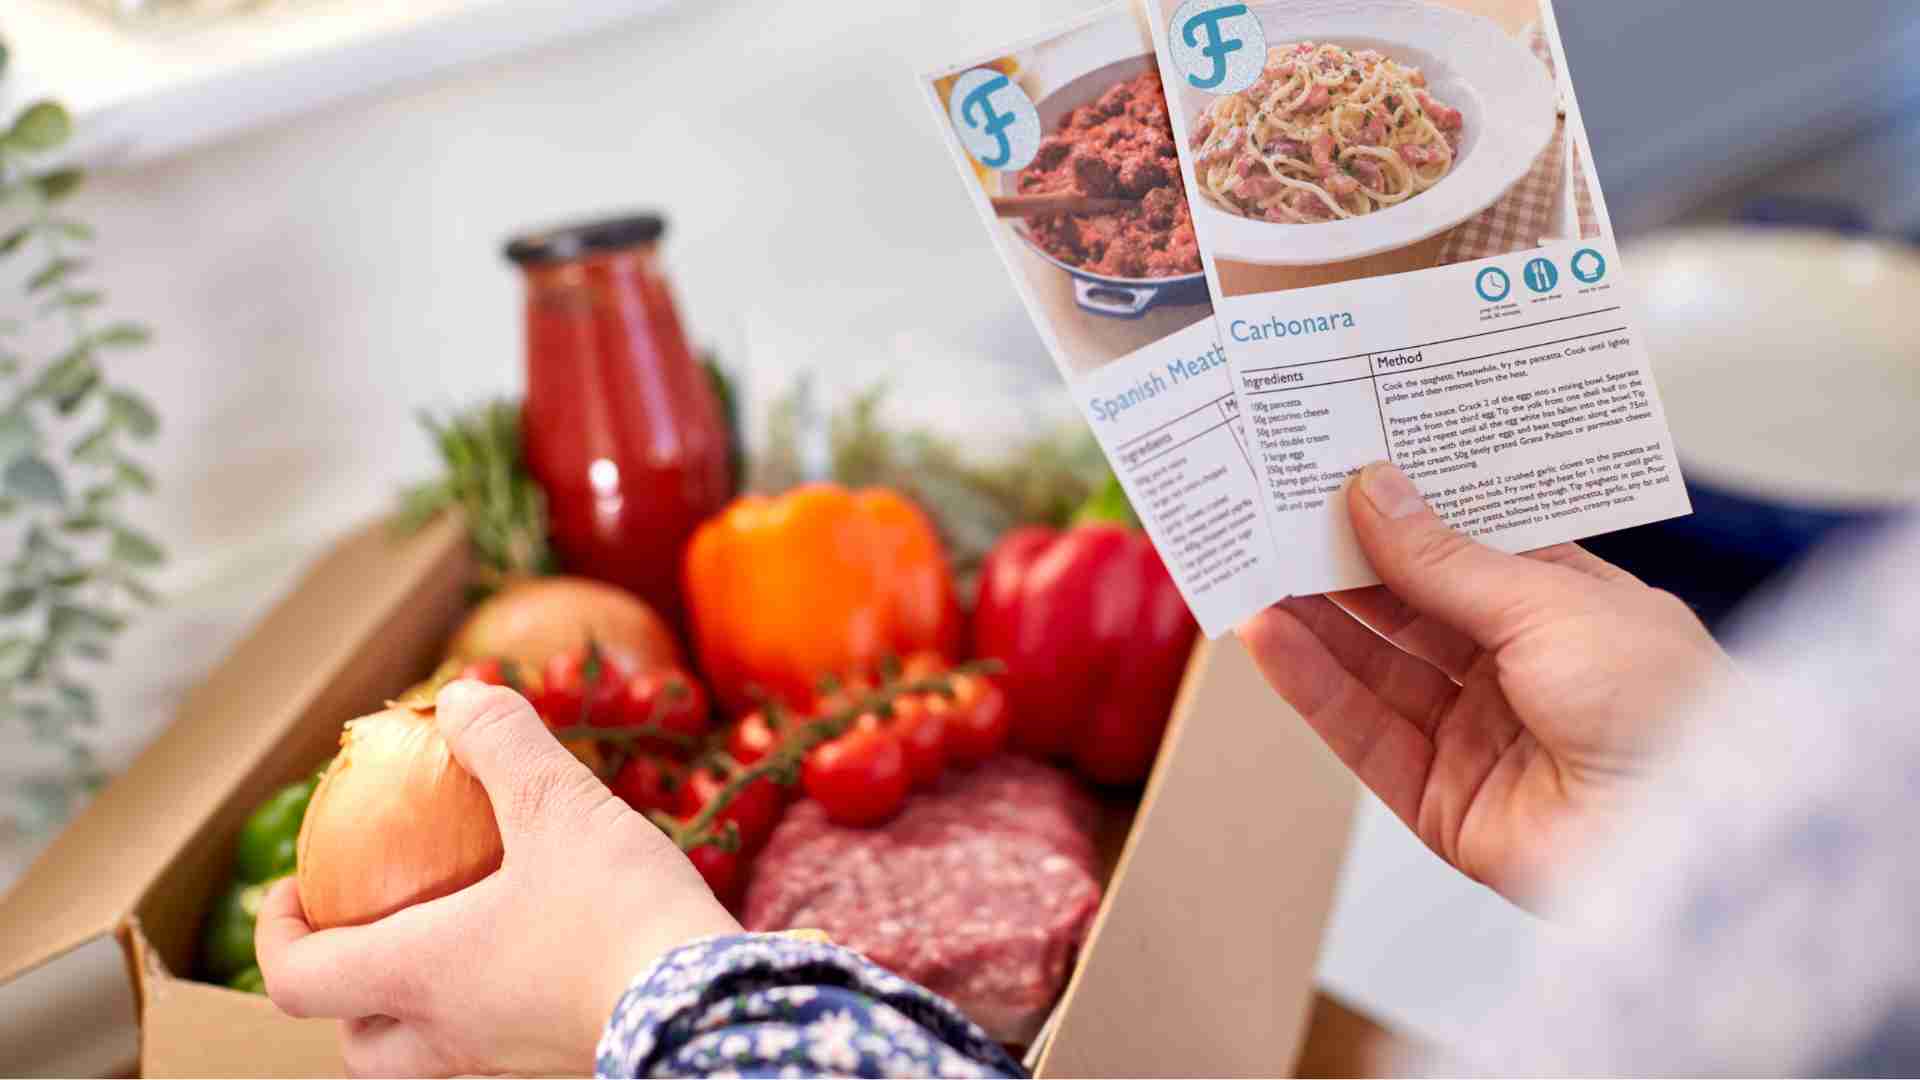
Recipes are more than just instructions for cooking—they’re a celebration of culture, creativity, and connection. Whether you’re a home cook preserving family traditions, a food blogger engaging your audience, or a restaurant owner ensuring consistency, digital recipe cards offer a modern, versatile way to document and share your culinary creations. With platforms like Canva, creating professional, visually appealing recipe cards is accessible to everyone, regardless of design experience. This guide will walk you through the process of designing stunning digital recipe cards using Canva, with step-by-step instructions, design tips, and insights into why recipe cards matter. We’ll also explore tools like WP Recipe Maker for bloggers and provide practical advice for restaurants and home cooks alike.
Why Digital Recipe Cards Matter
Recipe cards have evolved from handwritten notes tucked into a kitchen box to dynamic digital tools that streamline cooking, enhance sharing, and preserve culinary heritage. Here’s why they’re essential:
- Preservation of Culinary Heritage: Recipes carry stories—of family traditions, cultural roots, or personal creativity. Digital recipe cards ensure these treasures are preserved in a durable, shareable format.
- Consistency in Cooking: For restaurants, recipe cards standardize dishes, ensuring every plate meets expectations, no matter who’s in the kitchen. For home cooks, they simplify recreating favorite meals.
- Efficiency and Cost Control: Clear ingredient lists and instructions reduce food waste and overbuying, saving time and money.
- Engagement for Food Bloggers: Shareable recipe cards boost audience interaction, improve SEO, and increase brand visibility on platforms like Pinterest and Instagram.
- Accessibility: Digital cards can be accessed on any device, edited in real-time, and shared instantly with friends, family, or customers.
With Canva’s intuitive design platform, creating these cards is fast, free, and fun. Let’s dive into how to make them.
Step-by-Step Guide to Creating Digital Recipe Cards in Canva
Canva’s drag-and-drop interface, extensive template library, and customization options make it an ideal tool for crafting recipe cards. Follow these steps to create your own:
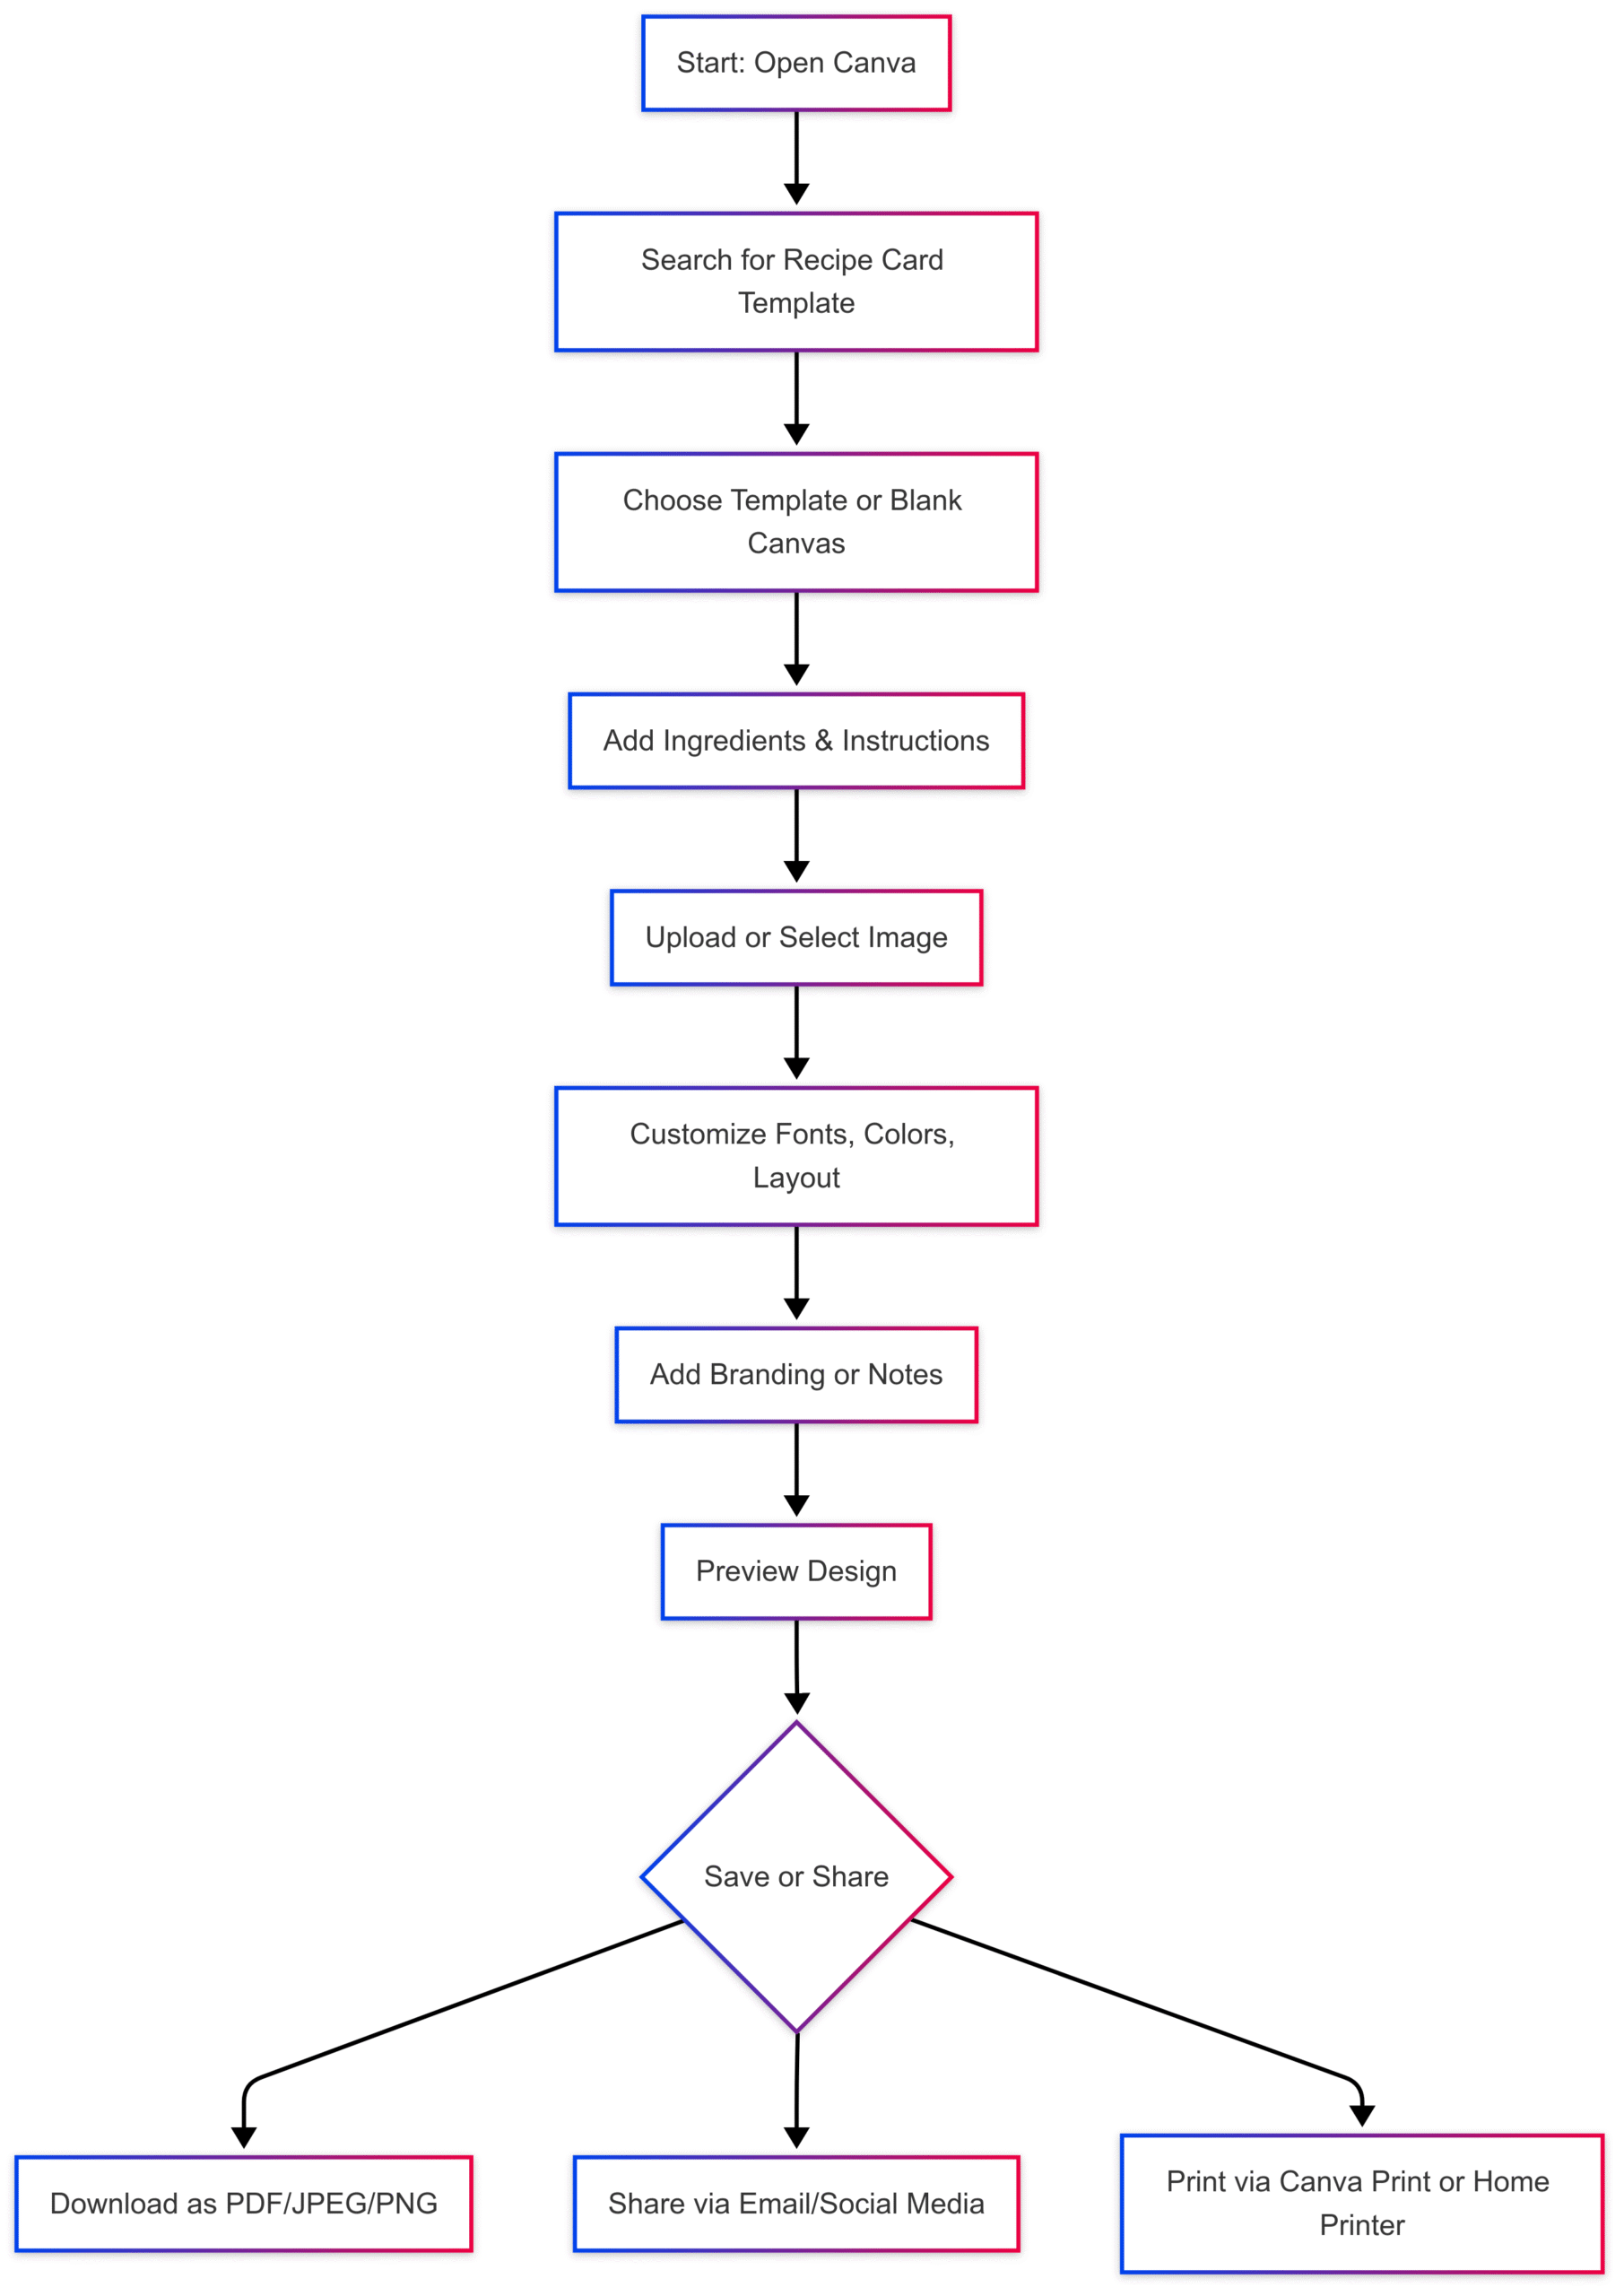
Step 1: Open Canva and Select a Recipe Card Template
- Access Canva: Visit Canva.com or download the Canva app on iOS or Android. Sign up for a free account or log in.
- Search for Recipe Cards: In the search bar, type “Recipe Card” to explore Canva’s design types. You can start with a blank canvas or choose from thousands of professionally designed templates.
- Choose a Template: Browse templates tailored to various themes—vegan, desserts, soups, or holiday meals. Select one that matches your style by clicking “Create a design” and then “Recipe Card.”
Step 2: Explore Canva’s Features
Canva offers a robust set of tools to bring your recipe card to life:
- Drag-and-Drop Editor: Easily add elements like text, images, and shapes by dragging them onto your canvas.
- 3M+ Stock Photos and Graphics: Access Canva’s library of over 3 million free and premium images, icons, and illustrations. Use the search function to find food-related graphics or upload your own photos.
- Photo Effects: Apply filters, adjust brightness, or crop images to enhance your visuals.
- Color and Font Customization: Choose from over 100 fonts and use the color wheel to match your brand or aesthetic.
Step 3: Customize Your Recipe Card
Make your recipe card uniquely yours with these customization options:
- Edit Text: Replace placeholder text with your recipe title, ingredients, and instructions. Use clear, readable fonts like Arial or Times New Roman for instructions and a decorative font for the title.
- Add Images: Upload a high-quality photo of your dish to help users visualize the final product. Drag and drop your image into the template or select one from Canva’s library (free images are available, premium ones cost $1 each).
- Adjust Layout: Rearrange elements like ingredient lists, prep time, and serving size. Use Canva’s grid view to align elements precisely.
- Incorporate Branding: Add your logo or choose colors that reflect your personal or business brand.
- Include Additional Details: Add fields for prep time, cooking time, serving size, allergen information, or special notes (e.g., “Gluten-free option: substitute almond flour”).
Step 4: Save, Share, or Print
Once your design is complete:
- Save Your Design: Download your recipe card as a PDF (for printing), JPEG, or PNG (for digital sharing). Canva’s free version supports high-quality exports.
- Share Online: Use Canva’s share button to send your card via email, Facebook, X, or Instagram. For collaborative editing, share an editable link with friends or family.
- Print with Canva Print: Order professional prints through Canva Print for high-quality, physical cards delivered to your door. Alternatively, print at home on cardstock or regular paper.
Step 5: Organize and Store
- Digital Storage: Save your designs in Canva’s cloud or your device for easy access and future edits.
- Physical Storage: Print cards in standard sizes (3×5”, 4×6”, or 5×7”) and store them in a recipe box or binder. Consider laminating for durability in the kitchen.
Design Tips for Effective Recipe Cards
A well-designed recipe card is both functional and visually appealing. Here are five tips to ensure your cards are easy to use and beautiful:
- Use Clear, Readable Fonts: Opt for simple fonts like Helvetica or Georgia to ensure readability under kitchen conditions. Avoid overly decorative fonts for ingredient lists and instructions.
- Organize Information Clearly: Divide your card into sections—title, ingredients, instructions, and notes. Use bullets or numbered lists for clarity.
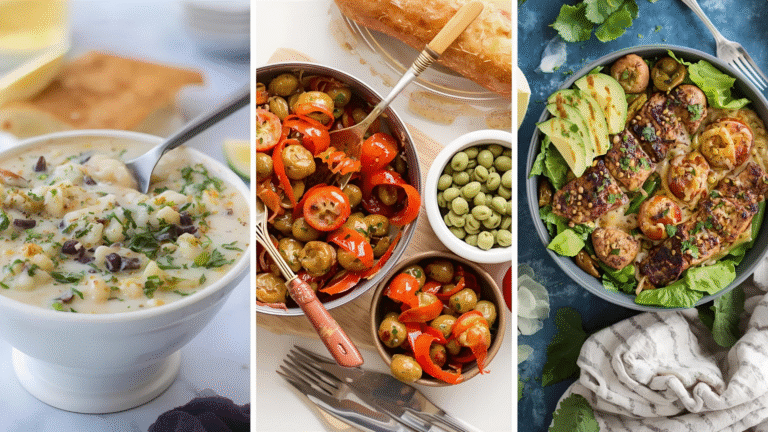
- Include a Photo: A high-quality image of the finished dish helps users visualize the result and adds visual appeal.
- Leave Space for Notes: Include a blank section for users to jot down substitutions, tips, or personal tweaks.
- Incorporate Branding: For businesses, add a logo or use brand colors to maintain consistency. For personal use, choose colors and fonts that reflect your personality.
Chart: Recipe Card Creation Workflow
To visualize the process of creating a recipe card, here’s a flowchart created using syntax:
Benefits of Digital Recipe Cards
Digital recipe cards offer significant advantages over traditional handwritten cards:
- Sustainability: Digital cards reduce paper waste and can be updated without reprinting.
- Accessibility: Access your recipes from any device—phone, tablet, or computer—making them ideal for on-the-go cooking.
- Ease of Sharing: Share cards instantly via email or social media, fostering community and engagement.
- Cost Efficiency: Free tools like Canva eliminate the need for expensive design software. Premium features (e.g., Canva Pro) are affordable at $12.99/month or $119.99/year for advanced tools like background removal.
- Consistency: For restaurants, digital cards ensure every cook follows the same recipe, reducing errors and maintaining quality.
For Food Bloggers: Enhancing Recipe Cards with WP Recipe Maker
Food bloggers can elevate their recipe cards using WP Recipe Maker, a WordPress plugin designed for creating shareable, SEO-friendly recipe cards. Here’s how to use it:
Why Use WP Recipe Maker?
- SEO Optimization: Structured data improves Google visibility, making your recipes more discoverable.
- Interactive Features: Add checkboxes for ingredients, star ratings, or “Jump to Recipe” buttons.
- Customization: Choose from templates like Basic, Chic, or Compact, and customize colors and fonts to match your blog’s branding.
- Sharing Options: Enable sharing on Pinterest, Facebook, X, or email to boost engagement.
How to Create Recipe Cards with WP Recipe Maker
- Install the Plugin: From your WordPress dashboard, go to Plugins > Add New, search for “WP Recipe Maker,” and install/activate it.
- Set Up the Plugin: Follow the onboarding process to select a template (e.g., Classic or Blend In).
- Create a Recipe: Navigate to WP Recipe Maker > Create Recipe, and enter details like name, ingredients, instructions, prep time, and image.
- Add to Posts: In a new or existing post, add a WP Recipe Maker block and select your recipe.
- Enable Sharing: In the Template Editor, add social sharing buttons (e.g., Facebook Share, Pinterest Pin) and customize their appearance.
- Publish: Preview and publish your post to display the recipe card.
Pricing for WP Recipe Maker
- Free Version: Includes basic templates and features.
- Premium Bundles:
- Premium: $49/year (advanced templates, ratings, affiliate links).
- Pro: $79/year (adds nutrition facts, unit conversion).
- Elite: $149/year (includes all features plus priority support).
For Restaurants: Streamlining Operations with Recipe Cards
Restaurants rely on recipe cards to maintain consistency and train staff. Here’s how to create and use them effectively:
Why Restaurants Need Recipe Cards
- Consistency: Ensure every dish tastes the same, regardless of the cook.
- Training: Simplify onboarding for new staff with clear, detailed instructions.
- Cost Control: Precise ingredient measurements reduce waste and stabilize food costs.
- Allergen Management: Document allergen information to protect customers.
Creating Restaurant Recipe Cards
-
Gather Information: Compile details for each dish, including:
- Name
- Prep and cooking time
- Category (e.g., appetizer, main)
- Serving size and yield
- Ingredients with exact measurements
- Step-by-step instructions
- Plating notes and photo
- Allergen information
- Storage instructions
- Choose a Format: Use Canva or a downloadable Excel template (like the one from Toast: Recipe Card Template).
- Test the Cards: Have a cook test the recipe to ensure clarity and accuracy.
- Laminate and Organize: Print on 4×6” cardstock, laminate for durability, and store in a recipe box or binder.
Example Recipe Card Layout
Here’s a sample layout for a restaurant recipe card:
| Field | Details |
|---|---|
| Dish Name | Marinated Tuna Tostada |
| Category | Appetizer |
| Prep Time | 20 minutes |
| Cooking Time | 10 minutes |
| Serving Size | 4 tostadas |
| Ingredients | – 8 oz fresh tuna, diced – 2 tbsp soy sauce – 1 tbsp lime juice – 4 tostada shells – 1 avocado, mashed – 1 tsp chili powder |
| Instructions | 1. Marinate tuna in soy sauce and lime juice for 15 minutes. 2. Spread avocado on tostada shells. 3. Top with marinated tuna. 4. Sprinkle with chili powder. |
| Plating Notes | Garnish with cilantro and serve immediately. |
| Allergens | Soy, fish |
| Storage | Store marinated tuna in fridge for up to 24 hours. |
Comparing Printable vs. Digital Recipe Cards
Both printable and digital recipe cards have their place, depending on your needs:
| Feature | Printable Cards | Digital Cards |
|---|---|---|
| Accessibility | Easy to use in the kitchen, no device needed | Accessible on any device, anywhere |
| Durability | Can be damaged by spills; lamination helps | Immune to physical damage |
| Storage | Requires physical space (box or binder) | Stored in the cloud or on-device |
| Editing | Requires reprinting for updates | Easily editable in real-time |
| Sharing | Limited to physical copies | Instantly shareable via email or social media |
| Cost | Printing and laminating costs | Free or low-cost (e.g., Canva Pro: $12.99/mo) |
For restaurants, printable cards are practical for kitchen use, while digital cards are ideal for sharing and updating. Home cooks may prefer digital for sustainability and ease of access, while bloggers benefit from digital cards’ shareability.
Additional Tools for Recipe Management
Beyond Canva and WP Recipe Maker, consider these tools to enhance your recipe card creation and management:
- FoodDocs Recipe Card Maker: A free tool for digitizing recipes, with fields for ingredients, instructions, and images. Download as a PDF for free.
- Adobe Acrobat: Scan handwritten recipes, merge them into a single PDF, and add images or annotations. Pricing starts at $12.99/month.
- Recipes Generator: A third-party tool for bloggers, offering SEO-friendly recipe cards with customizable designs. Pricing starts at $36 every six months.
- BeFunky Graphic Designer: Create recipe cards from scratch with a focus on graphics and text customization. Free with premium options.
Best Practices for Sharing Recipe Cards
To maximize engagement, especially for food bloggers:
- Add Social Sharing Buttons: Include links for Pinterest, Facebook, and X to boost visibility.
- Use High-Quality Visuals: Add photos or videos to make your cards more appealing. Videos can increase conversions by up to 86%.
- Incorporate CTAs: Encourage readers to share your card with phrases like “Share this recipe with a friend who’d love it!”
- Leverage Email Newsletters: Send recipe cards to subscribers to drive traffic to your blog.
- Optimize for SEO: Use structured data (via WP Recipe Maker) and include keywords like “easy recipe card” or “printable recipe template” to rank higher on Google.
Conclusion
Digital recipe cards are a powerful tool for preserving culinary traditions, ensuring consistency, and engaging audiences. With Canva’s free, user-friendly platform, anyone can create beautiful, functional recipe cards in minutes. Whether you’re a home cook digitizing family recipes, a blogger boosting your brand, or a restaurant streamlining operations, this guide provides everything you need to get started. Pair Canva with tools like WP Recipe Maker or FoodDocs for added functionality, and start sharing your culinary creations with the world.
Please share these How to Create Digital Recipe Cards with your friends and do a comment below about your feedback.
We will meet you on next article.
Until you can read, Slow Cooker Beef Stroganoff with Egg Noodles