How to keep screen from going dark while cooking?
Keep your screen on while cooking! Learn how to adjust phone settings, use apps, and enable cook mode for a seamless recipe experience.
Cooking while following an online recipe can be a delightful experience—until your screen goes dark at the worst possible moment. Whether you’re kneading dough, chopping vegetables, or stirring a sauce, a dimming or sleeping screen can disrupt your flow, leaving you fumbling with messy hands to wake your device. This guide explores practical solutions to keep your screen on while cooking, covering device settings, third-party apps, and specialized features like “cook mode” in recipe apps and plugins. Designed for home cooks, food bloggers, and tech enthusiasts, this article provides actionable steps to ensure a seamless, frustration-free cooking experience.
Why Keeping Your Screen On Matters
Imagine this: you’re halfway through a complex recipe, your hands are coated in flour, and your phone or tablet screen goes dark. You lose your place, smudge your device, and waste precious time. Keeping your screen active during cooking eliminates these interruptions, allowing you to focus on creating delicious meals. This is especially crucial for recipes requiring precise timing or constant attention, such as baking or preparing multi-step dishes.
For food bloggers, offering a screen-on feature like “cook mode” can enhance user experience, making your recipes more accessible and enjoyable. This guide covers both device-based solutions for individual cooks and advanced tools for bloggers to implement on their websites.
Device Settings: The Foundation of Screen Control
The simplest way to prevent your screen from going dark is to adjust your device’s built-in settings. Both iOS and Android devices offer options to control screen timeout and brightness, ensuring your display stays active during cooking sessions.
Adjusting Auto-Lock Settings
Auto-lock or screen timeout determines how long your device remains active before the screen dims or turns off. Extending this duration is an effective way to keep your screen on while cooking.
For iOS Devices (iPhone/iPad)
- Open the Settings app.
- Navigate to Display & Brightness > Auto-Lock.
- Choose a longer duration, such as 5, 10, or 15 minutes. For cooking, select Never to keep the screen on indefinitely (recommended only for short-term use to avoid battery drain).
- Optionally, disable True Tone (under Display & Brightness) to prevent automatic color adjustments that may affect visibility.
For Android Devices
- Open the Settings app.
- Go to Display > Screen Timeout (or Sleep on some devices).
- Select a longer interval, such as 10 or 30 minutes. Some devices offer a Never option to keep the screen on indefinitely.
- Note: The exact menu names may vary depending on the Android version or manufacturer (e.g., Samsung, Google Pixel).
Table 1: Auto-Lock/Screen Timeout Options by Device
| Device Type | Settings Path | Available Options |
|---|---|---|
| iOS (iPhone/iPad) | Settings > Display & Brightness > Auto-Lock | 30 seconds, 1, 2, 3, 4, 5, 15 minutes, Never |
| Android | Settings > Display > Screen Timeout | 15 seconds, 30 seconds, 1, 2, 5, 10, 30 minutes, Never (varies by device) |
Note: Setting auto-lock to “Never” can significantly drain your battery, so use this sparingly or keep your device plugged in.
Disabling Auto-Brightness
Auto-brightness adjusts your screen’s brightness based on ambient light, which can cause the screen to dim in darker kitchens, making recipes hard to read. Disabling this feature ensures consistent visibility.
For iOS Devices
- Go to Settings > Accessibility > Display & Text Size.
- Toggle off Auto-Brightness.
- Manually adjust brightness via the Control Center (swipe down from the top-right corner on newer iPhones or up on older models).
For Android Devices
- Open Settings > Display.
- Look for Adaptive Brightness or Auto-Brightness and toggle it off.
- Adjust brightness manually using the slider in Settings > Display or the notification shade.
Pro Tip: Lowering brightness to a comfortable level can reduce battery consumption while keeping the screen readable in the kitchen.
Accessibility Features for Enhanced Control
Both iOS and Android offer accessibility features that can help keep your screen active during cooking.
iOS: Guided Access
Guided Access locks your device to a single app, preventing accidental taps and disabling auto-lock for the session.
- Go to Settings > Accessibility > Guided Access and enable it.
- Open your recipe app, triple-click the side button (or home button on older devices), and set options to disable auto-lock.
- Exit Guided Access when done by triple-clicking again and entering your passcode.
Android: Accessibility Menu
Some Android devices offer accessibility options to control screen behavior. Check Settings > Accessibility for features like Magnification or Accessibility Menu, which may allow you to keep the screen on during specific tasks.
Third-Party Apps for Screen Control
If built-in settings don’t meet your needs, third-party apps offer advanced options to keep your screen on. These are particularly useful for Android users, as iOS restricts such apps due to its closed ecosystem.
Popular Android Apps
- Tasker ($3.49, Google Play Store)
- A powerful automation app that lets you create custom profiles to control screen timeout. For example, set the screen to stay on for 20 minutes when a recipe app is open.
- Pros: Highly customizable, supports complex automation.
- Cons: Steep learning curve for beginners.
- Caffeine (Free, available as a Quick Settings tile on many Android devices)
- Adds a toggle to the notification shade to keep the screen on until manually disabled.
- Pros: Simple, no setup required.
- Cons: Limited customization.
- Quick Settings (Free, Google Play Store)
- Allows you to add custom tiles to the notification shade, including a “Caffeine” tile to keep the screen on.
- Link: Quick Settings on Google Play
- Tiles (Free, Google Play Store)
- Similar to Quick Settings, adds a “Caffeine” button to the quick panel for one-tap screen control.
- Link: Tiles on Google Play
- Gravity Screen (Free with in-app purchases, Google Play Store)
- Uses sensors to detect hand waves or device orientation to keep the screen on.
- Pros: Innovative, touch-free control.
- Cons: May require calibration for accuracy.
- Keep It On (Free, Google Play Store)
- Offers customizable options and a quick settings tile to prevent screen timeout.
- Link: Keep It On on Google Play
Table 2: Comparison of Android Apps for Screen Control
| App Name | Price | Key Feature | Customization | Ease of Use |
|---|---|---|---|---|
| Tasker | $3.49 | Automation profiles | High | Moderate |
| Caffeine | Free | Quick Settings toggle | Low | High |
| Quick Settings | Free | Custom tiles | Moderate | High |
| Tiles | Free | Quick panel button | Low | High |
| Gravity Screen | Free (with in-app purchases) | Sensor-based control | High | Moderate |
| Keep It On | Free | Customizable tile | Moderate | High |
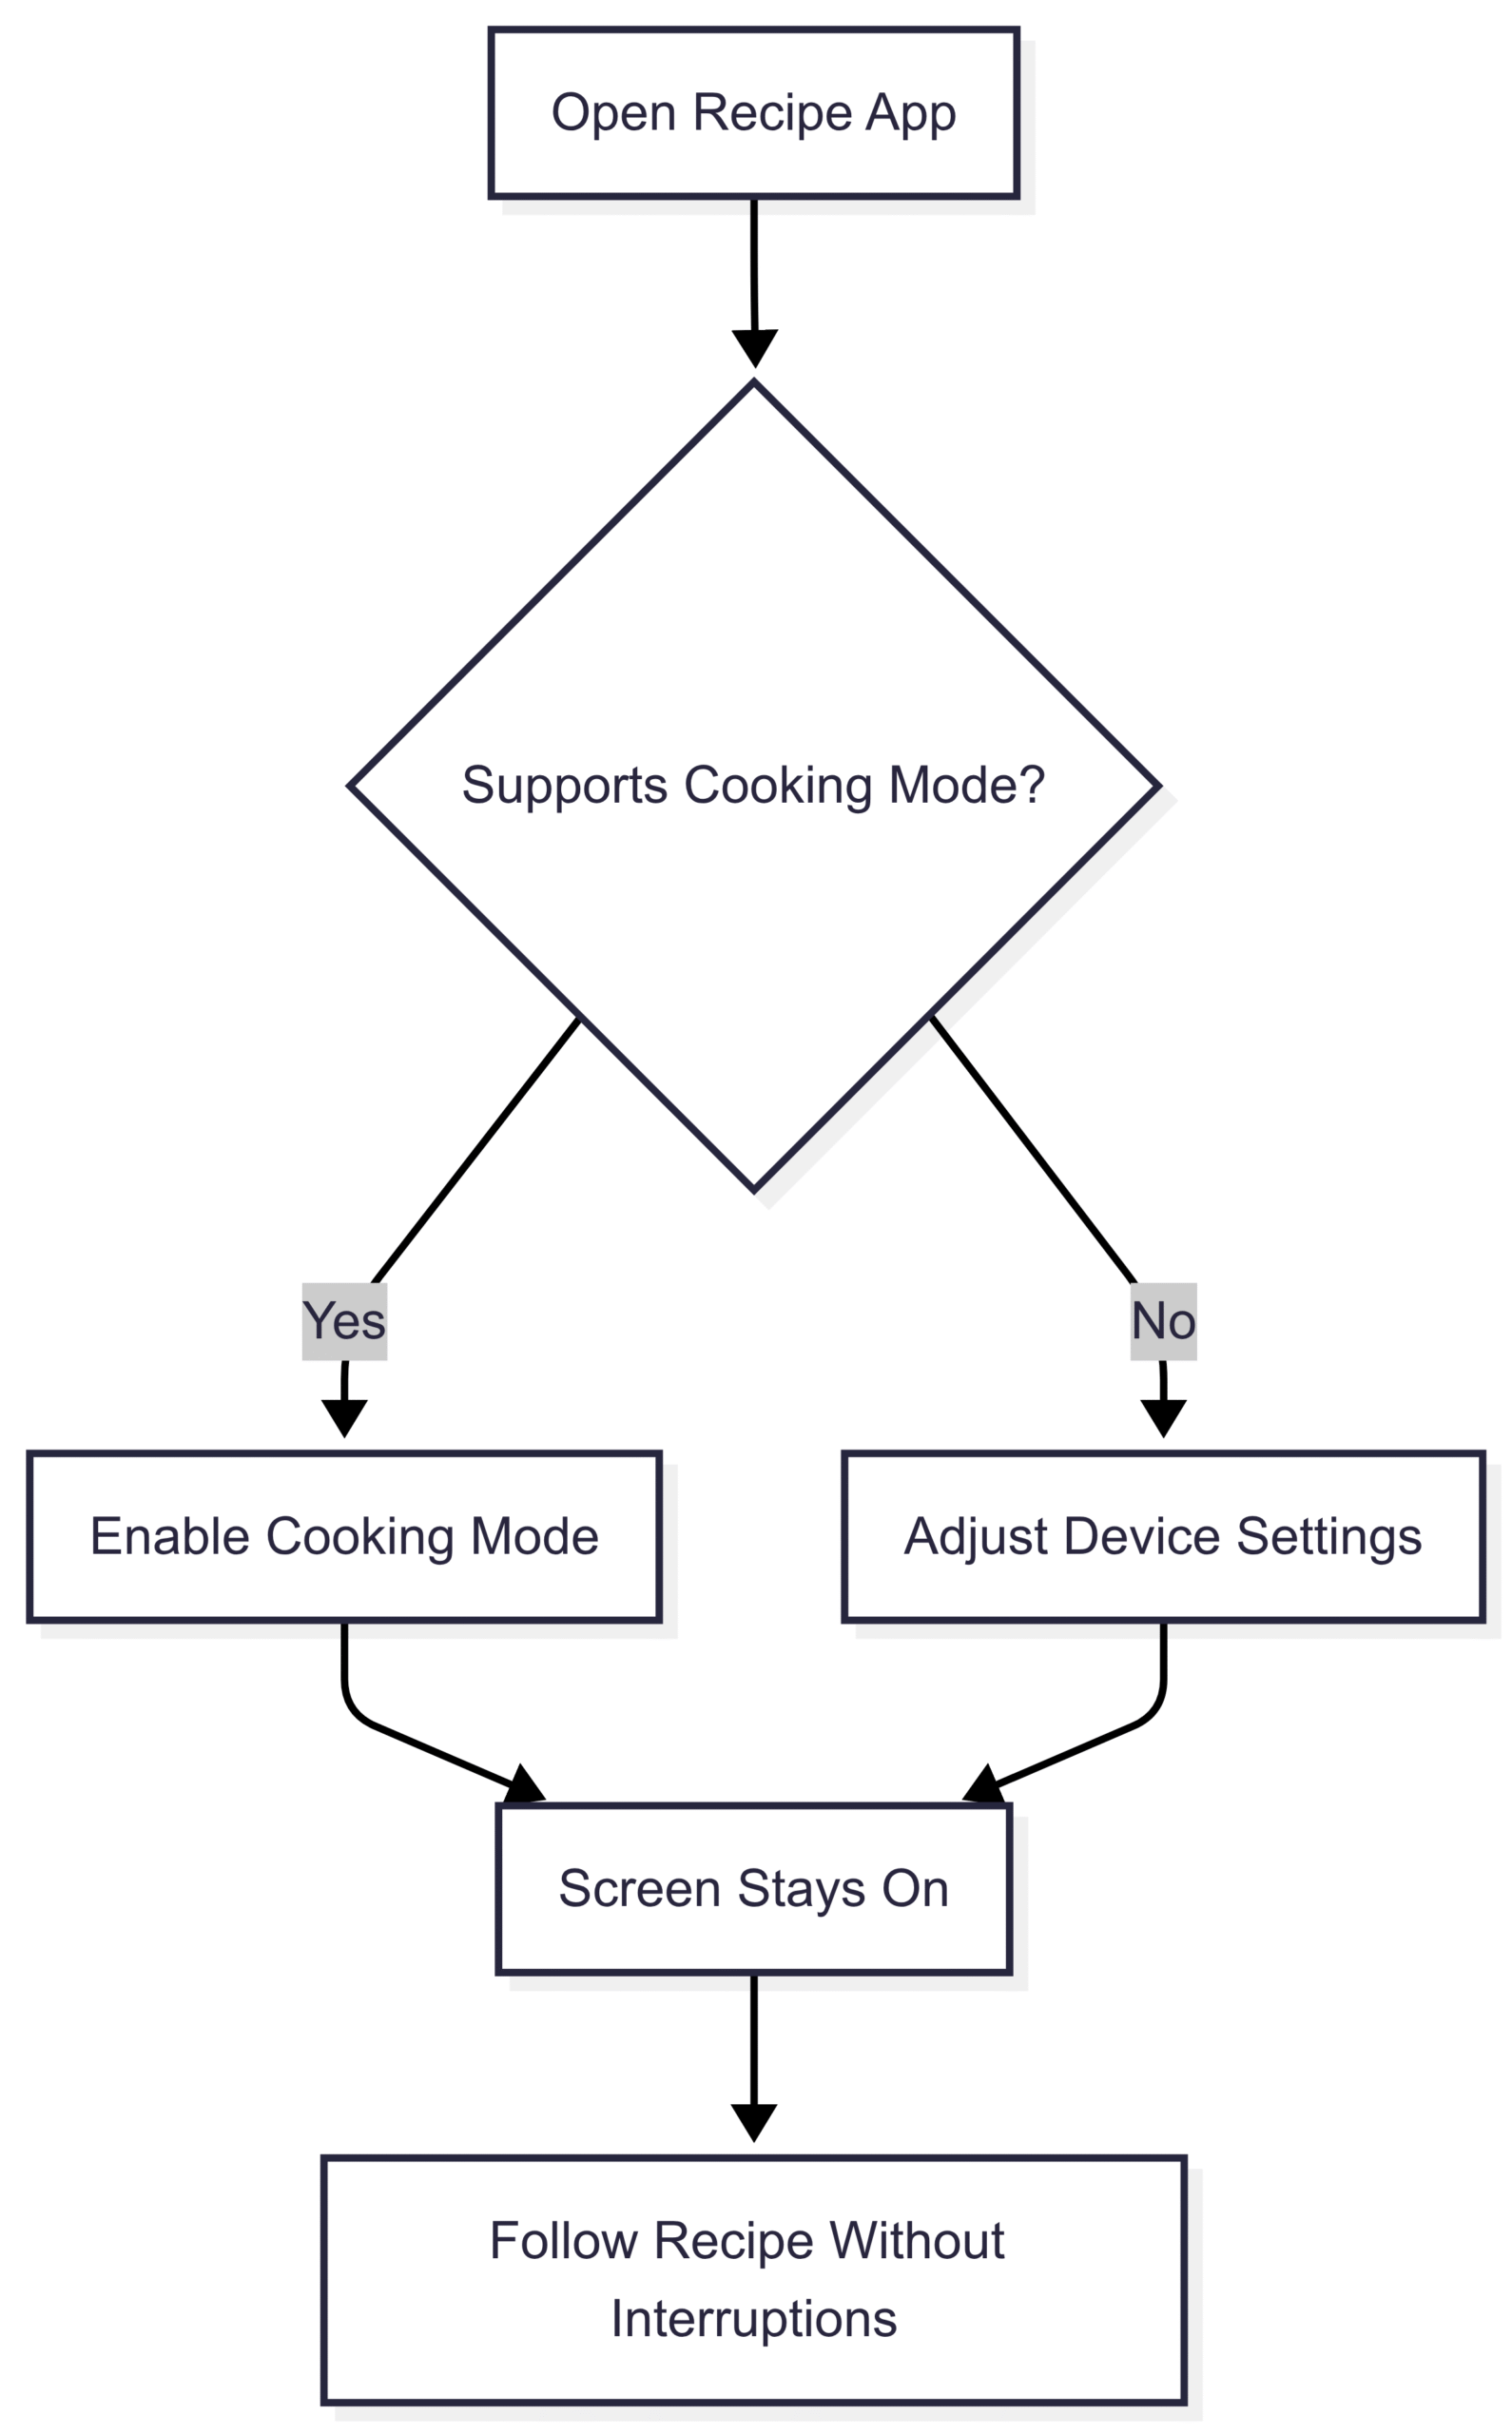
Recipe Apps with Built-In Screen Control
Some recipe apps include a “cooking mode” or “keep screen awake” feature, designed specifically for culinary use. Examples include:
- Mealime (Free with in-app purchases, iOS/Android): Offers a cooking mode that prevents screen timeout while viewing recipes.
- Yummly (Free, iOS/Android): Includes a screen-on feature for seamless recipe following.
- Paprika ($4.99, iOS/Android): Allows users to enable a keep-screen-on option in settings.
Chart: Workflow for Using a Recipe App with Cooking Mode
Cook Mode: A Game-Changer for Food Bloggers
For food bloggers, integrating a “cook mode” feature on your website can significantly enhance user experience. This feature, often powered by the WakeLock API, keeps the screen active while users follow your recipes, eliminating the need for constant screen taps. The WP Recipe Maker plugin for WordPress is a leading solution for implementing cook mode.
What is WP Recipe Maker?
WP Recipe Maker is a WordPress plugin designed for food bloggers, offering features like recipe cards, shopping list generators, and cook mode. The cook mode feature, also known as the “Prevent Sleep Toggle,” is available in the Premium ($49/year), Pro ($79/year), or Elite ($149/year) bundles.
Table 3: WP Recipe Maker Pricing and Features
| Plan | Price (Annual) | Key Features | Cook Mode Included |
|---|---|---|---|
| Free | $0 | Basic recipe cards, SEO optimization | No |
| Premium | $49 | Cook mode, shopping lists, user ratings | Yes |
| Pro | $79 | All Premium features, nutrition info | Yes |
| Elite | $149 | All Pro features, advanced analytics | Yes |
Installing WP Recipe Maker
- Free Version:
- Go to Plugins > Add New in your WordPress dashboard.
- Search for “WP Recipe Maker.”
- Click Install and then Activate.
- Premium/Pro/Elite Version:
- Purchase the desired plan from WP Recipe Maker’s website.
- Download the .zip file from your email or account page.
- In your WordPress dashboard, go to Plugins > Add New > Upload Plugin.
- Select the .zip file, click Install Now, and then Activate.
Activating Cook Mode
To enable cook mode on your recipe cards:
- Go to WP Recipe Maker > Template Editor > Add Blocks.
- Add the Prevent Sleep block to your recipe template.
- Customize the toggle’s appearance (e.g., switch style, label, description) using the Template Editor.
- Save and apply the template to your recipes.
Note: Cook mode relies on the WakeLock API, which is supported by most modern browsers (e.g., Chrome, Edge) but may not work on older browsers or some mobile devices. Check Can I Use for compatibility details.
Chart: WP Recipe Maker Cook Mode Setup Process

Examples of Cook Mode in Action
Food bloggers using WP Recipe Maker’s cook mode create a seamless experience for their readers. Here are three examples:
- Holy Cow Vegan: Features cook mode on a mint paratha recipe, allowing users to follow steps without screen interruptions.
- Belle of the Kitchen: Uses cook mode for a garlic parmesan roasted asparagus recipe, enhancing usability.
- Divas Can Cook: Implements cook mode for a buttermilk pie recipe, ensuring a hassle-free cooking process.
Battery-Saving Tips for Screen-On Cooking
Keeping your screen on for extended periods can drain your device’s battery. Here are strategies to balance convenience and battery life:
- Reduce Screen Brightness: Lower brightness to the minimum comfortable level via the quick settings panel or control center.
- Enable Power-Saving Mode:
- iOS: Go to Settings > Battery > Low Power Mode.
- Android: Go to Settings > Battery > Battery Saver.
- Keep Device Plugged In: Use a charger or portable power bank in the kitchen to maintain battery levels.
- Use a Stand or Holder: Position your device on a stand to avoid accidental taps and ensure easy viewing, reducing the need for frequent screen interactions.
Table 4: Battery-Saving Strategies
| Strategy | How to Implement | Impact on Battery |
|---|---|---|
| Reduce Brightness | Adjust via Control Center (iOS) or Notification Shade (Android) | Moderate |
| Enable Power-Saving Mode | Settings > Battery > Low Power Mode (iOS) or Battery Saver (Android) | High |
| Plug In Device | Use a charger or power bank | Eliminates battery drain |
| Use a Stand | Place device on a stable holder | Indirect (reduces screen taps) |
Enhancing Your Food Blog with WP Recipe Maker
For food bloggers, WP Recipe Maker offers more than just cook mode. Additional features include:
- Shopping List Generator: Allows users to create ingredient lists from recipes, enhancing user engagement.
- SEO Optimization: Improves recipe visibility on search engines like Google.
- Nutrition Information: Provides nutritional data for health-conscious readers (Pro/Elite plans).
- User Ratings: Encourages interaction by letting readers rate recipes.
By integrating these features, you can transform your blog into a user-friendly platform that keeps readers coming back. The cook mode feature, in particular, addresses a common pain point, making your recipes more accessible and enjoyable.
Troubleshooting Common Issues
- Cook Mode Not Working:
- Ensure your browser supports the WakeLock API. Update to the latest version or switch to a compatible browser like Chrome.
- Verify that you’ve added the Prevent Sleep block in WP Recipe Maker’s Template Editor.
- Battery Draining Too Fast:
- Lower screen brightness or enable power-saving mode.
- Plug in your device during long cooking sessions.
- App or Setting Not Available:
- For iOS users, rely on Guided Access or recipe app settings, as third-party screen control apps are limited.
- For Android, explore alternative apps like Caffeine or Tiles if your preferred app isn’t compatible with your device.
Conclusion
Keeping your screen from going dark while cooking is a small but transformative adjustment that enhances your culinary experience. By tweaking device settings, using third-party apps, or leveraging features like WP Recipe Maker’s cook mode, you can ensure uninterrupted access to your recipes. For home cooks, adjusting auto-lock and brightness settings or using apps like Tasker or Caffeine provides a quick fix. For food bloggers, implementing cook mode via WP Recipe Maker elevates your site’s usability, making it a go-to resource for your audience.
Whether you’re a casual cook or a dedicated food blogger, these solutions eliminate the frustration of a sleeping screen, letting you focus on what matters most: creating delicious meals. Ready to revolutionize your cooking experience? Adjust your settings, explore recipe apps, or download WP Recipe Maker today to keep your screen on and your kitchen flowing smoothly.
Please share this How to keep screen from going dark while cooking? with your friends and do a comment below about your feedback.
We will meet you on next article.
Until you can read, Craft Your Food Blog Media Kit Like a Pro