How to Make Artificial Light Look Natural in Food Photography
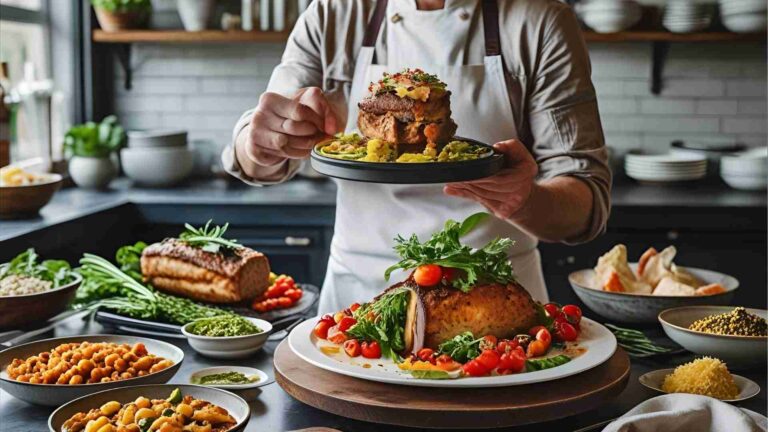
Food photography thrives on light that enhances textures, colors, and details, making dishes appear appetizing and lifelike. Natural light from windows often delivers soft, diffused illumination, but it varies with time, weather, and location. Artificial light offers consistency and control, allowing shoots at any hour without relying on external conditions.
The challenge lies in avoiding harsh shadows, flat appearances, or unnatural tones that can make food look unappealing. This guide explores proven techniques to replicate natural light using artificial sources, focusing on camera settings, modifiers, light types, positioning, and advanced controls. By mastering these, photographers can produce images with depth, dimension, and vibrancy comparable to daylight shots.
Switching to artificial light elevates food photography by providing repeatable results. It eliminates inconsistencies like shifting sunlight angles or cloudy days, enabling precise replication of setups across sessions. For professionals handling client work or bloggers maintaining a consistent portfolio, this control is invaluable. The key is understanding how artificial light behaves differently from natural sources and adjusting accordingly to mimic soft, even illumination.
Essential Equipment for Natural-Looking Artificial Light
Selecting the right gear forms the foundation for achieving natural results. Focus on continuous LED lights or flashes that offer high color accuracy (CRI 96+), adjustable power, and compatibility with modifiers. Continuous lights allow real-time previewing, ideal for beginners, while flashes suit action shots like pouring liquids.
A core setup includes a powerful LED light, large softbox, reflectors, and sturdy stands. Below is a table of recommended equipment, including specifications and approximate current prices based on major retailers like Amazon, B&H Photo, and Walmart. Prices fluctuate; check vendors for latest deals.
| Equipment | Specifications | Approximate Price (USD) |
|---|---|---|
| Godox SL-200W LED Light | 200W power, 5600K color temperature, CRI 96+, TLCI 97+, Bowens mount, 95,600 Lux at 1m, AC power 100-240V, dimmable 0-100%, silent fan, dimensions 6.3 x 7.9 x 13.4 inches | $250-300 |
| Godox SL-150W LED Light | 150-160W power, 5600K color temperature, CRI 96+, TLCI 97+, Bowens mount, 73,600 Lux at 1m, AC power 100-240V, dimmable 0-100%, 8 FX effects, ultra-silent, dimensions similar to SL-200W | $200-350 |
| 120cm Octagonal Softbox | Octagonal shape for soft diffusion, 120cm (47 inches) diameter, nylon material with aluminum shaft, double diffusion layers, Bowens mount compatible, includes carrying bag, weight ~0.7-0.8kg | $20-50 |
| 5-in-1 Collapsible Reflector (42-43 inches) | Oval or circular, 42-43 inches diameter, surfaces: translucent diffuser, silver, gold, white, black; collapses to 1/3 size, nylon material, includes carrying bag, weight ~0.5-1kg | $20-40 |
| Photography Light Stand (7-9 feet) | Aluminum alloy, adjustable 2.5-7 feet height, air-cushioned for smooth lowering, 1/4-inch screw mount, load capacity 5-10kg, includes carrying bag, weight ~1-2kg | $20-50 (per stand) |
These items provide a versatile starting point. The Godox LEDs excel in food photography due to their daylight-balanced output and high lux ratings, ensuring bright, even coverage. Pair with a softbox to diffuse light, mimicking a large window. Reflectors fill shadows, and stands offer stable positioning. Total setup cost: $300-600 for basics.
Shooting in Manual Mode for Precise Control
Manual mode is non-negotiable for natural-looking artificial light. It grants full authority over exposure, preventing the camera’s auto settings from misinterpreting the scene. Key parameters include ISO, aperture, shutter speed, and white balance.
Start with ISO at 100-200 to minimize noise. Aperture (f/5.6-f/11) controls depth of field; wider for creamy bokeh on backgrounds, narrower for sharp details across the dish. Shutter speed (1/125-1/200) freezes minor movements, but adjust based on light intensity—faster speeds reduce overexposure. White balance (set to 5600K for daylight LEDs) ensures accurate colors; custom balance if mixed lights are present.
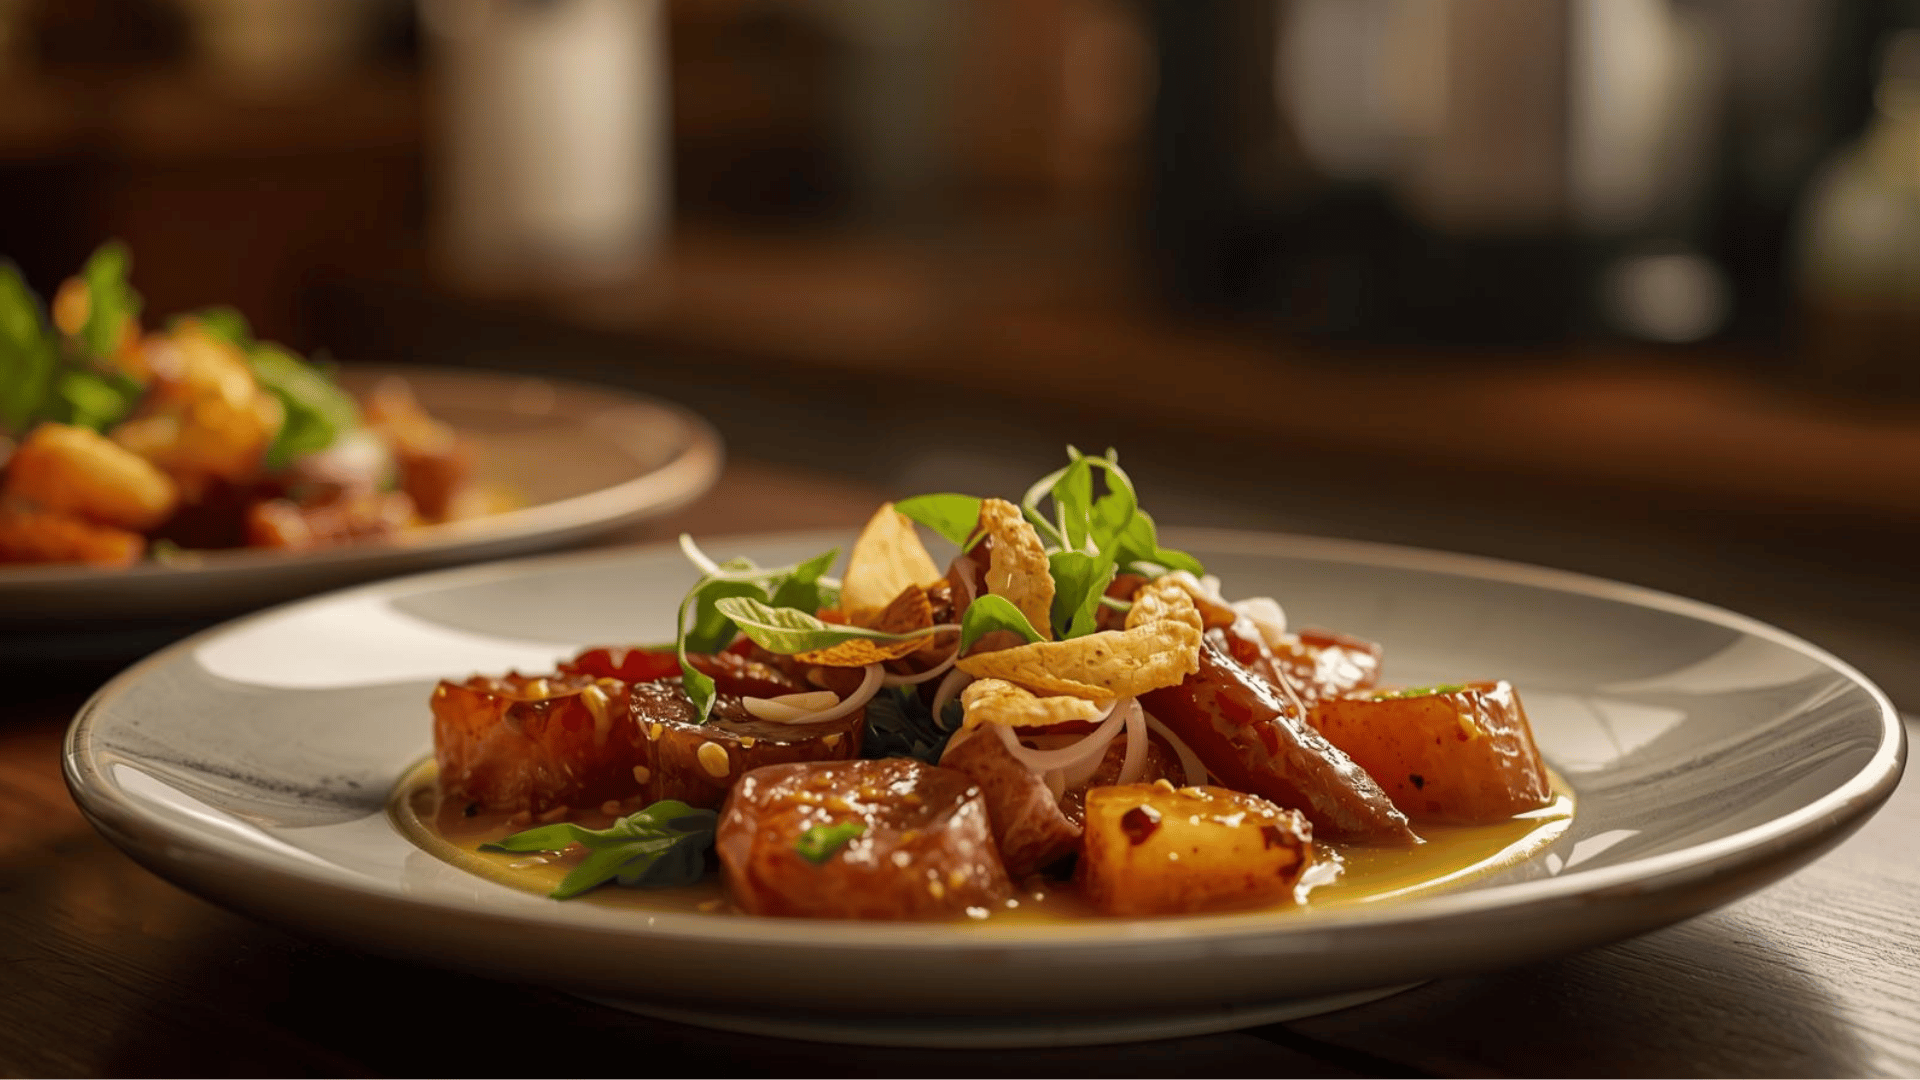
Overexposure flattens food, washing out highlights and making it appear artificial. Underexposure darkens shadows unnaturally. Test shots reveal issues: if highlights blow out, increase shutter speed or dim the light. For a pumpkin spice cupcake with frosting, proper exposure highlights the caramel glaze’s sheen without glare. Practice dialing in settings for consistent, natural tones— this step alone transforms flat images into dimensional ones.
Using Modifiers to Soften and Diffuse Light
Modifiers are crucial for converting harsh artificial beams into soft, natural glows. A softbox or umbrella spreads light evenly, reducing hard edges that scream “studio setup.”
Opt for large modifiers like a 120cm octagonal softbox, which emulates a big window’s diffusion. It features double layers: an inner baffle and outer diffuser, scattering rays for wrap-around illumination. Position it close for softer light or farther for subtle hardness. Umbrellas offer portability but less control.
In practice, direct light creates specular highlights on glossy foods like olives, but without diffusion, shadows harden. A modifier softens these, adding a gentle glow that enhances appeal. For best results, use Bowens-mount compatible modifiers for easy attachment to LEDs like Godox models.
Choosing Between Flash and Continuous Light
Artificial light splits into flash and continuous types, each affecting surroundings differently.
Flash delivers a burst, canceling ambient light. It freezes action—ideal for splashing sauces or steam—without impacting videos. Use it with overhead lights on or windows open, as it overrides extras. However, it requires test fires for preview.
Continuous light, like Godox LEDs, stays on, mimicking natural light for real-time adjustments. It suits both photos and videos but demands controlled environments: turn off room lights, draw curtains to avoid color casts or mixed shadows. Any stray light alters the scene negatively.
For food, continuous often wins for its natural preview, but flash excels in dynamic shots. Adjust surroundings accordingly—darken the room for continuous to isolate the artificial source.
Manipulating Light for Depth and Mood
Light manipulation builds on natural light principles, using position, reflectors, and flags to craft desired effects.
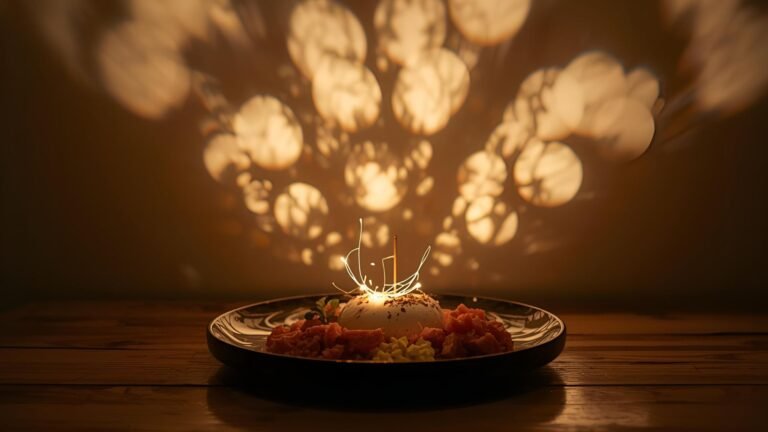
Positioning alters shadows and highlights. Side lighting creates directional shadows for texture, like on a cupcake’s ridges. Backlighting emphasizes gloss, such as oil on olives, but needs reflectors to avoid silhouettes.
Reflectors bounce light into shadows: white for soft fill, silver for brighter contrast. Place opposite the light for balance. For moodier shots, use black flags to absorb light, deepening shadows.
Here’s a diagram for a basic side lighting setup:
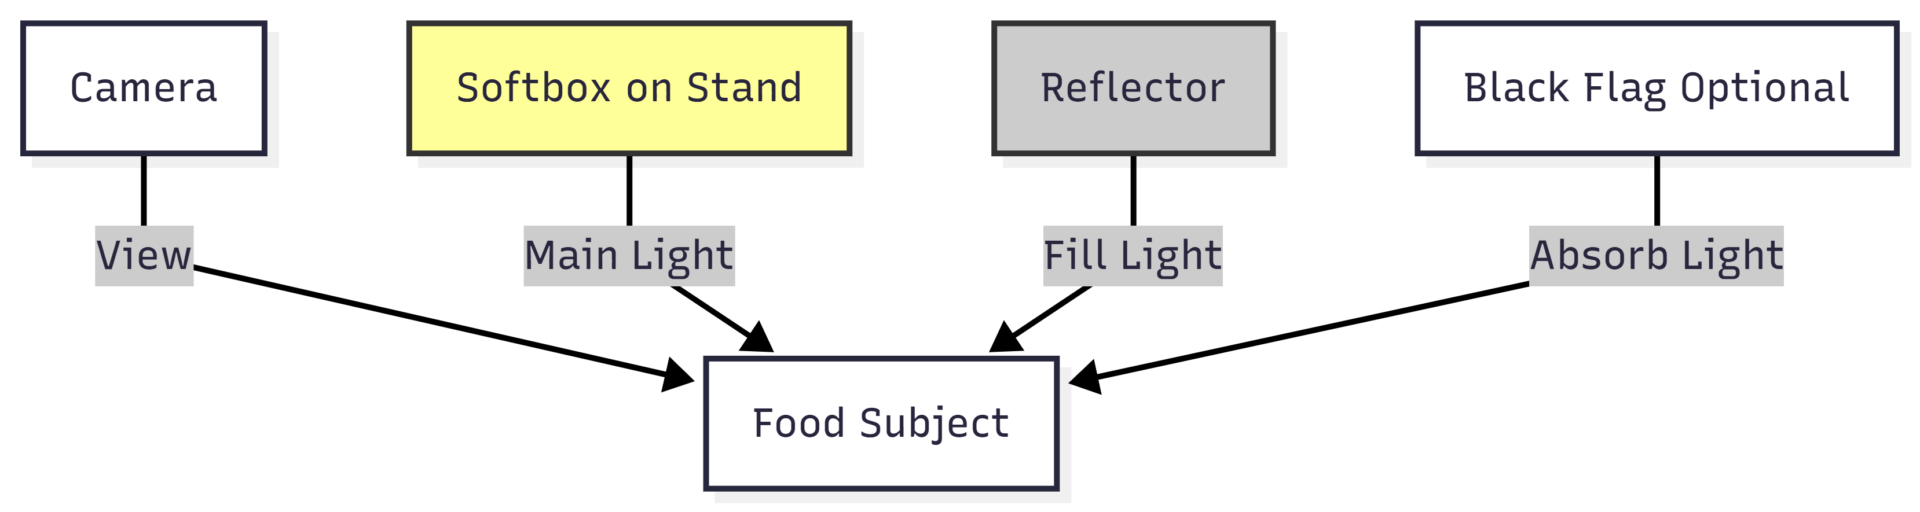
This flowchart shows light flow: main from softbox, fill from reflector, optional absorption for contrast.
For backlighting:

Angle the softbox high and down to prevent flare, using a tripod for precision.
Advanced Techniques: Gobos, Flags, and Intensity Control
Elevate setups with gobos—objects like plants or blinds placed before the light to break rays, simulating dappled sunlight through windows. This adds realism to scenes.
Flags (black boards) block spill, creating dramatic shadows for moody desserts. Control intensity by distancing the light: closer for softer diffusion, farther for defined edges.
Balance contrast with reflectors; test shots ensure soft highlights without harshness. Eliminate room light entirely for purity—cover windows, switch off overheads.
Tips for Success and Consistency
Test frequently: Adjust height, angle, and power via camera histogram for even exposure. Artificial light’s consistency allows replicating “perfect daylight” anytime, boosting efficiency.
For versatile looks, switch between side and back setups. Side suits most foods for balanced shadows; back highlights transparencies like beverages.
Overcome hurdles: If colors skew, recalibrate white balance. For flatness, add reflectors. Practice yields confidence, turning artificial into indistinguishable from natural.
In conclusion, artificial light, when manipulated thoughtfully, rivals natural sources in food photography. By controlling exposure, diffusion, and positioning, achieve images full of depth and allure. Experiment with these techniques to refine your style, ensuring every shot captivates.
Please share this How to Make Artificial Light Look Natural in Food Photography with your friends and do a comment below about your feedback.
We will meet you on next article.
Until you can read, The Basic Light Setup For Food Photography