How to shoot food like a pro just using a smartphone
Learn how to shoot pro-level food photos with your smartphone. Master lighting, composition, and editing for stunning results.
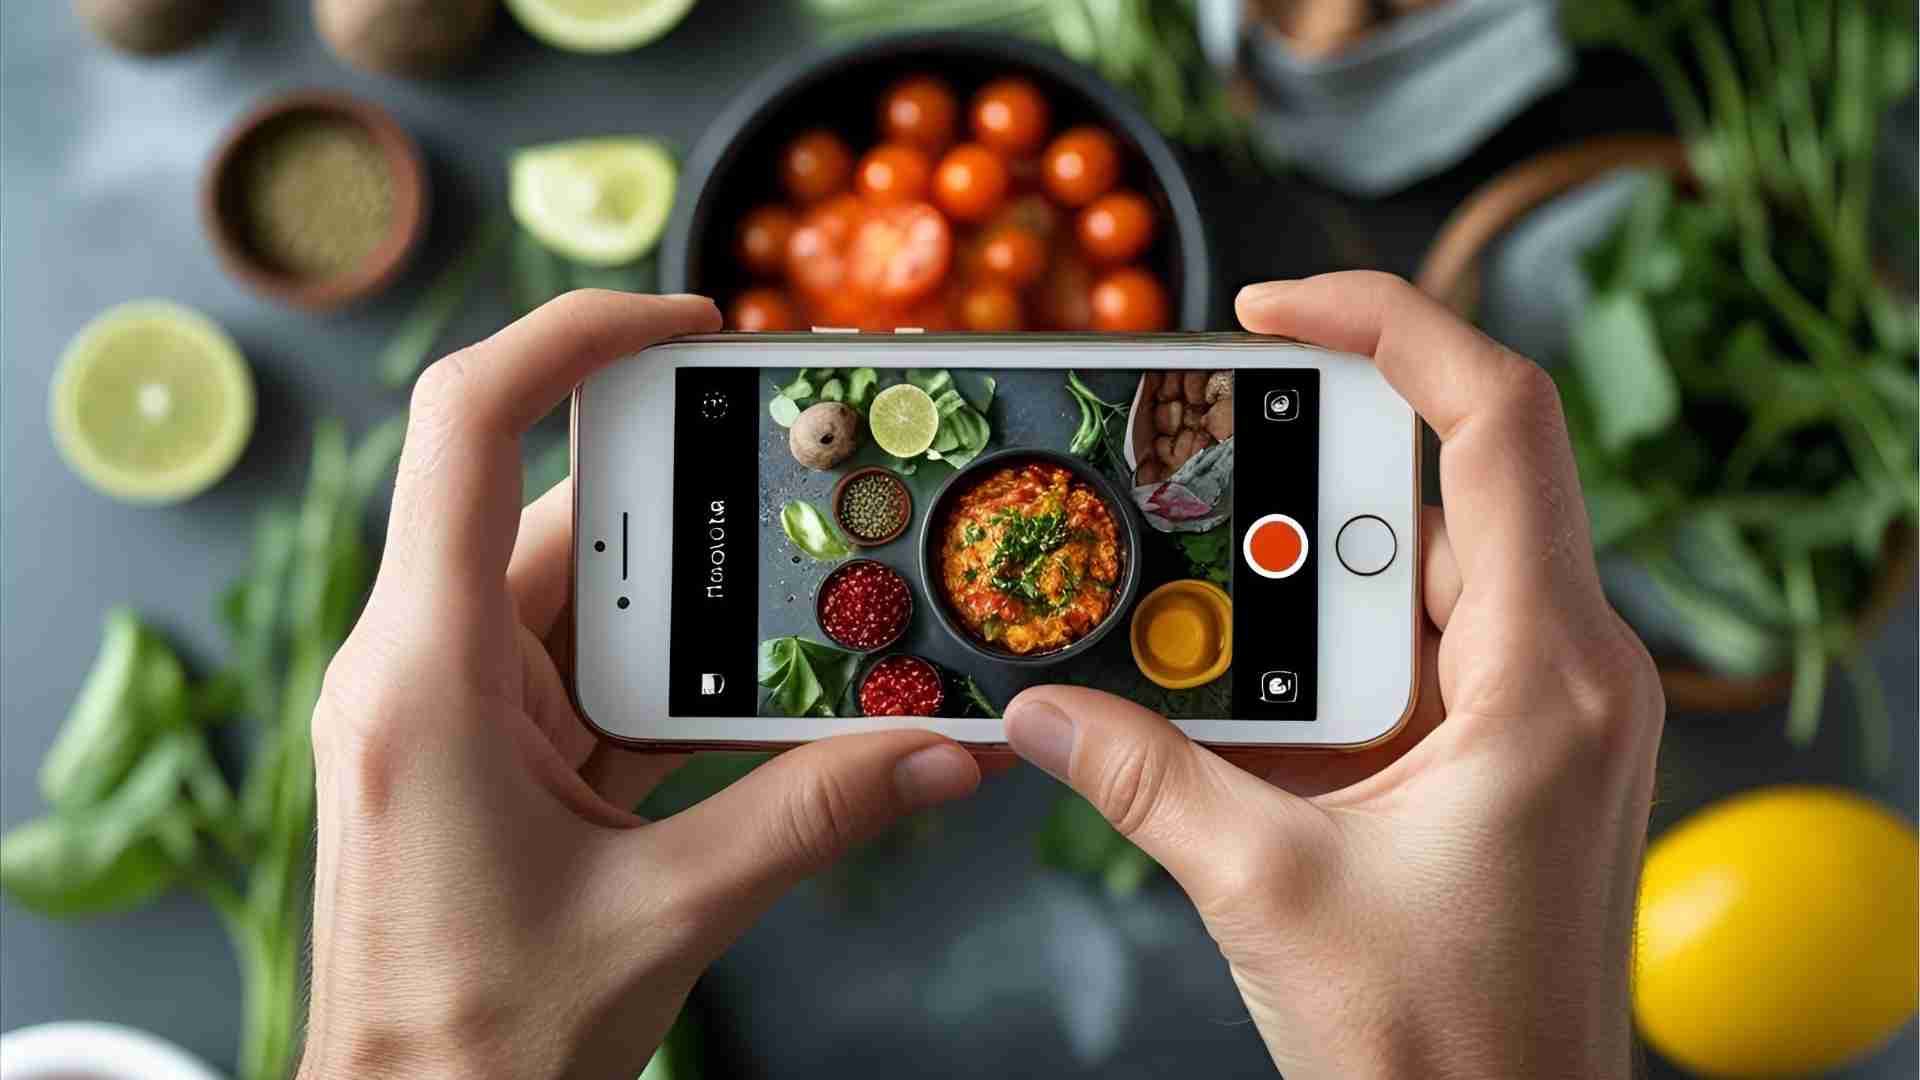
Capturing stunning food photography doesn’t require expensive cameras or professional studios. With a smartphone, you can create mouthwatering images that rival those of seasoned photographers. Whether you’re a food blogger, a home cook sharing recipes on social media, or a small business owner showcasing your dishes, mastering smartphone food photography is within your reach. This guide provides a comprehensive, step-by-step approach to elevate your food photos using techniques for lighting, composition, camera settings, and editing—all tailored for smartphone users. Let’s dive into the art of food photography and turn your dishes into visual feasts.
Why Smartphone Food Photography?
Smartphones have revolutionized photography, offering high-quality cameras with advanced features like manual controls, RAW shooting, and powerful editing apps. The convenience of a device you already carry, combined with the right techniques, makes professional-grade food photography accessible to everyone. Whether you’re using an iPhone, Samsung Galaxy, or another modern smartphone, you can achieve stunning results by focusing on a few key principles: lighting, composition, stabilization, and post-processing.
This guide draws inspiration from experts like Jade Nina Sarkhel, a renowned food photographer who started her career with minimal equipment and now creates breathtaking visuals for clients worldwide. Her journey underscores that with practice and the right approach, anyone can excel in food photography using just a smartphone.
1. Mastering Lighting: The Foundation of Great Food Photos
Lighting is the cornerstone of food photography. It defines the mood, highlights textures, and ensures the colors of your dish pop. Here’s how to get it right with your smartphone.
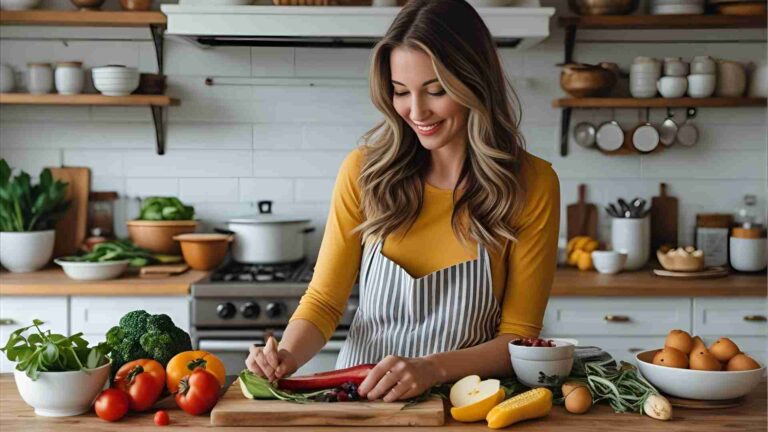
Embrace Natural Light
Natural light is your best friend for food photography. It produces soft, flattering tones that make food look fresh and appetizing. Position your dish near a window to capture diffused daylight, ideally on a cloudy day to avoid harsh shadows. If you’re shooting outdoors, aim for early morning or late afternoon light for a warm, golden glow.
Pro Tip: Avoid direct sunlight, which can create stark contrasts and overexposed highlights. If sunlight is too intense, use a diffuser like greaseproof paper or a thin white cloth to soften it.
Avoid Artificial Light Pitfalls
Artificial light, such as overhead room lights or your phone’s flash, can alter the natural colors of food, making dishes look unappealing. For example, a tomato soup under fluorescent light might appear brownish rather than vibrant red. If you must use artificial light, opt for a neutral white light source (around 5000K) and test its effect on your dish’s colors.
Use Reflectors for Balance
To soften shadows and enhance lighting, use a reflector. A simple white card, foam board, or even a piece of aluminum foil can bounce light onto your subject, creating a balanced, professional look. Position the reflector opposite your light source to fill in shadows on the darker side of the dish.
Lighting Setup Example
Here’s a simple lighting setup using Mermaid syntax to visualize the arrangement:
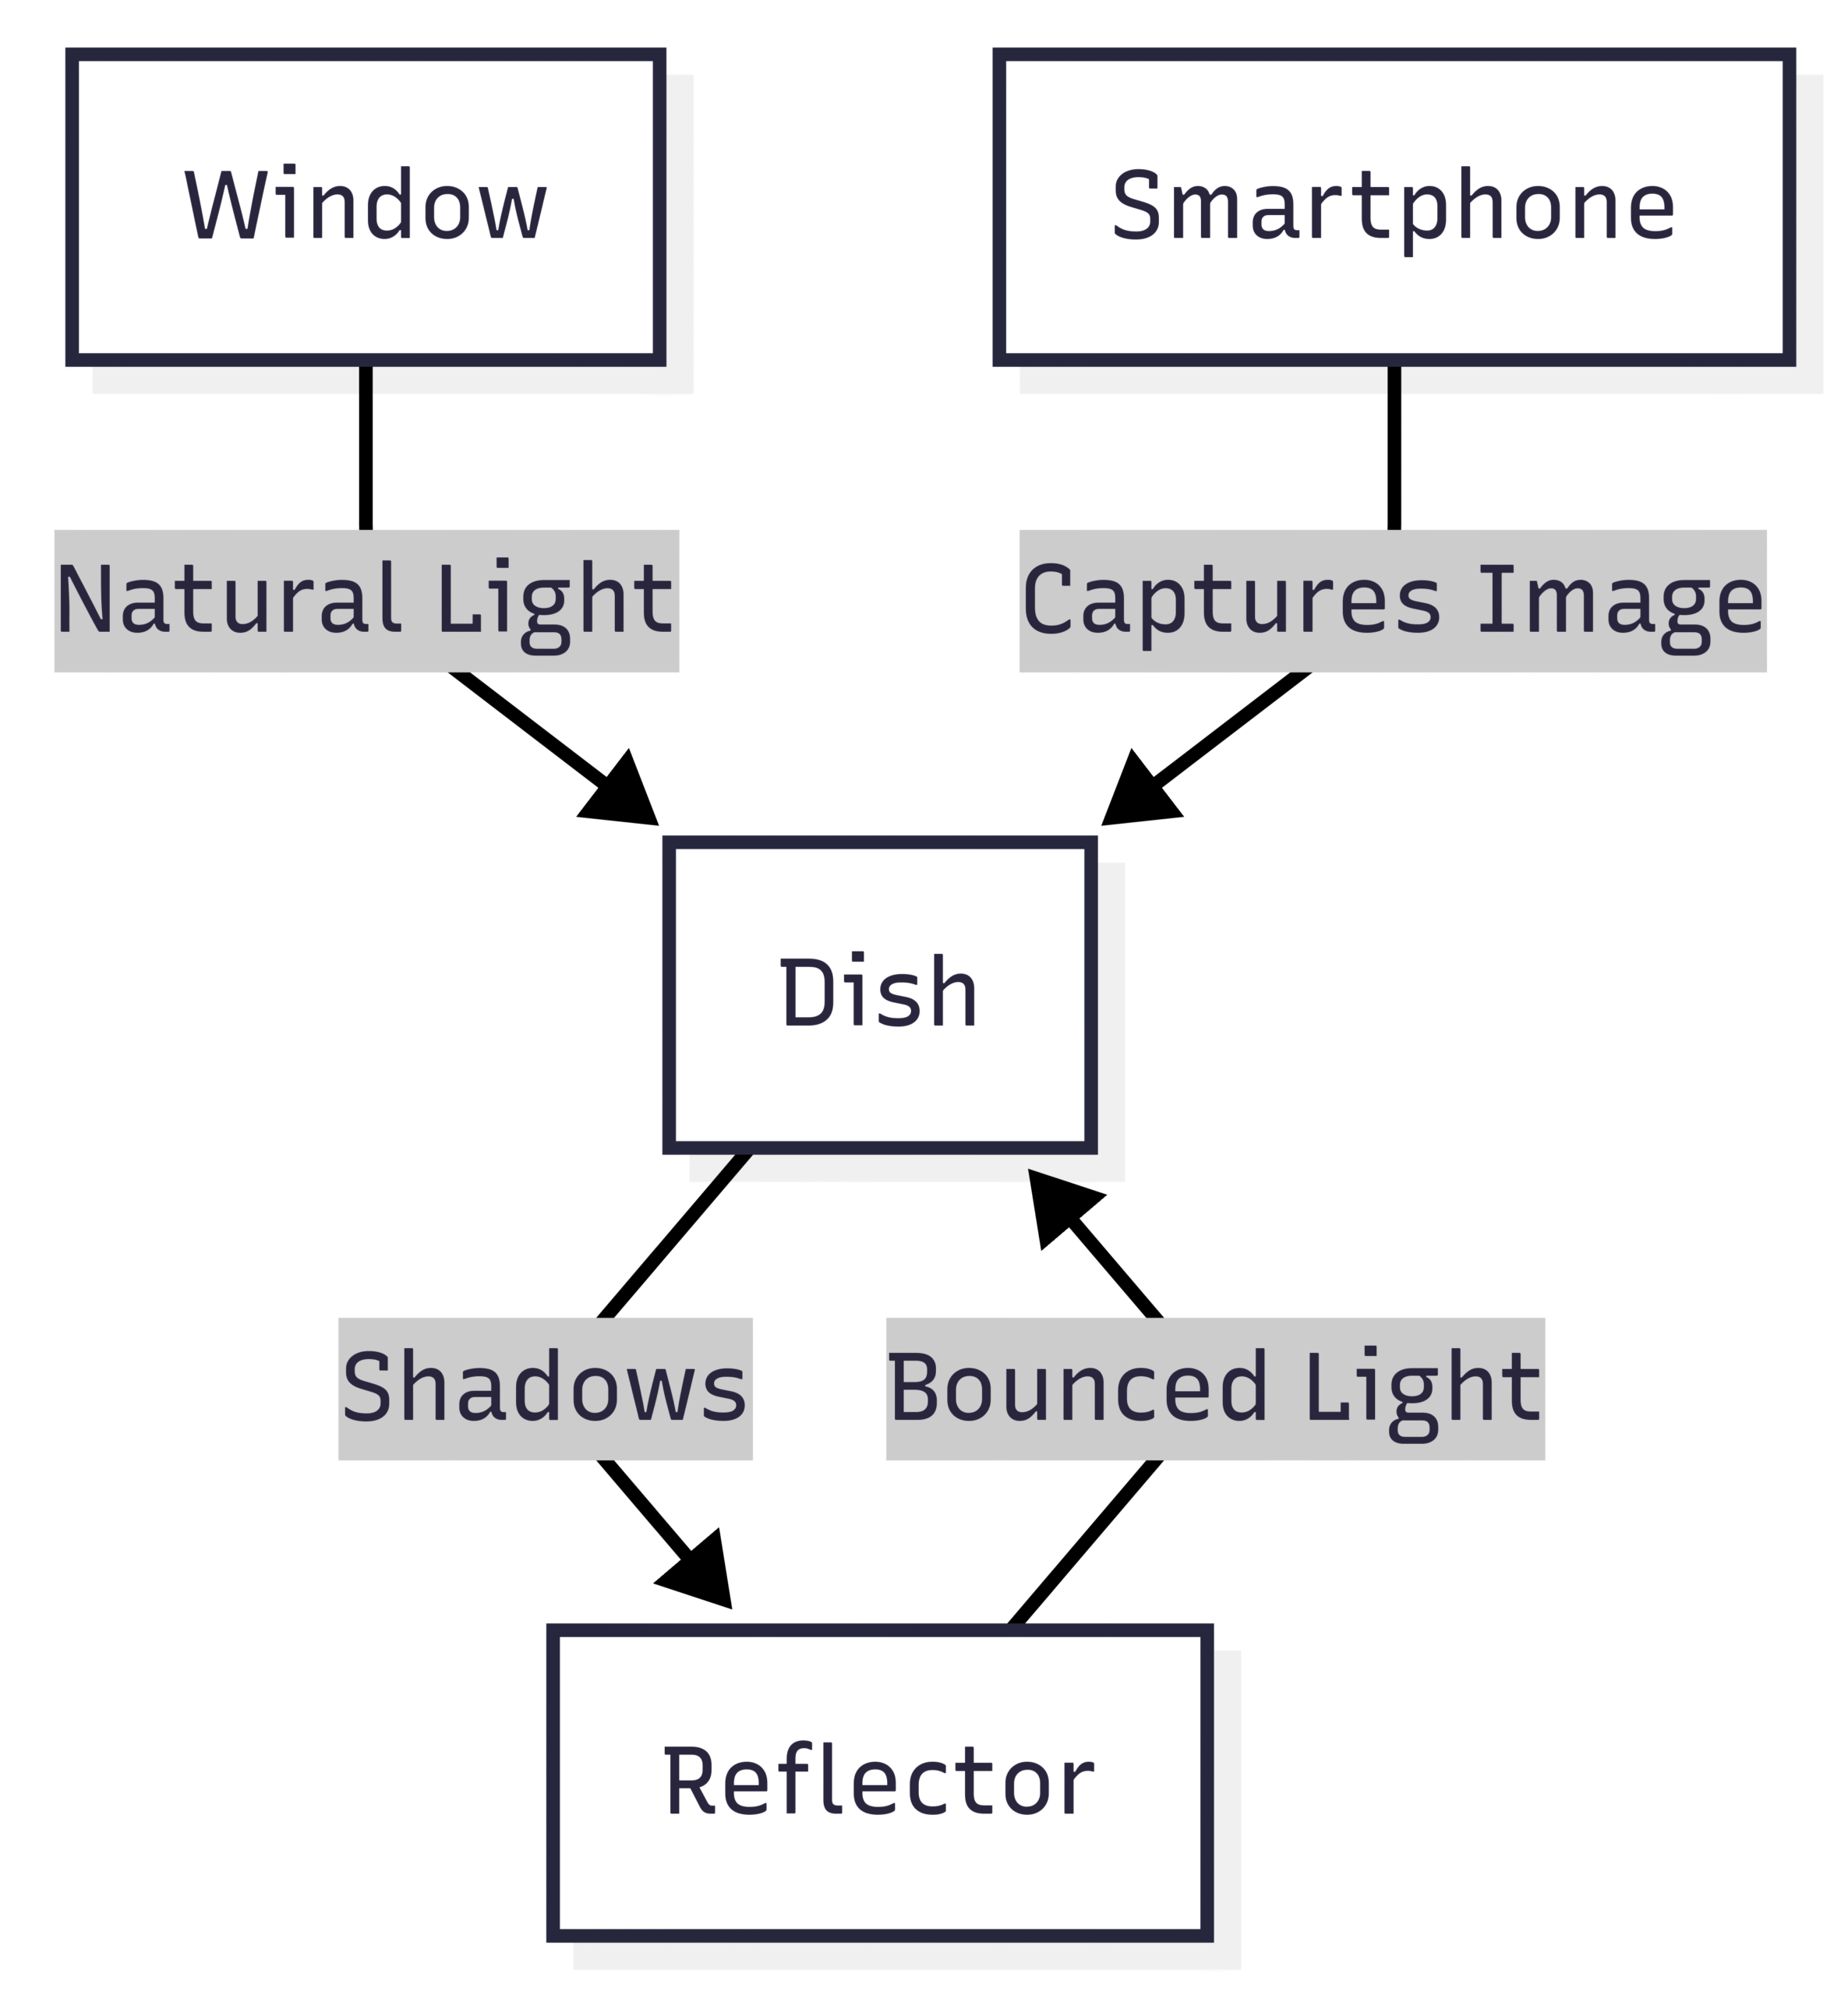
This setup ensures your dish is evenly lit with soft shadows, enhancing texture and depth.
2. Composition: Framing Your Food for Impact
Composition determines how your audience perceives your dish. A well-composed photo draws attention to the food while creating a visually pleasing image.
Apply the Rule of Thirds
Most smartphones offer a grid overlay in the camera app (e.g., iPhone: Settings > Camera > Grid > On). This grid helps you apply the rule of thirds, a photography principle that places key elements along imaginary lines dividing the frame into thirds. Position the focal point of your dish—such as a vibrant garnish or the main ingredient—at the intersections of these lines for a balanced, dynamic composition.
Choose the Right Angle
The angle you shoot from can make or break your photo. Here are three go-to angles for food photography:
- Overhead (90 degrees): Ideal for flat dishes like pizzas, soups, or latte art. This angle showcases the surface details and is perfect for flat-lay compositions.
- 45 degrees: A versatile angle for most dishes, capturing both height and depth. Use it for layered dishes like salads or pastas.
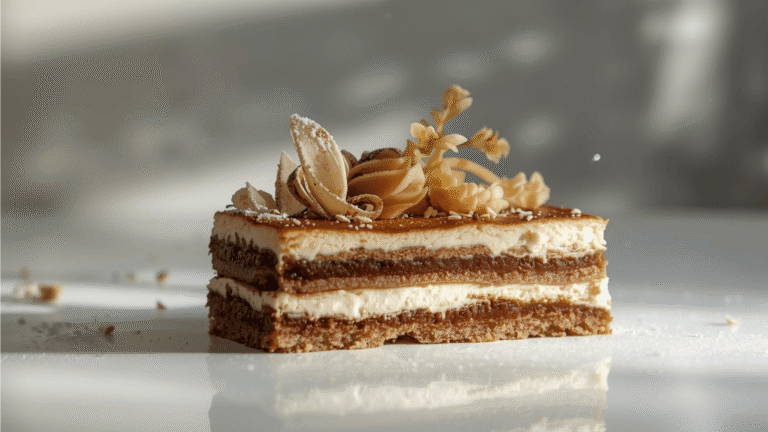
- Eye-level: Best for tall, stacked foods like burgers, cakes, or pancakes to emphasize height and structure.
Pro Tip: If you can’t get low enough for an eye-level shot, turn your phone upside down to lower the lens closer to the table.
Select a Clean Background
A cluttered background distracts from your dish. Opt for neutral, textured surfaces like wooden tables, marble countertops, or parchment paper. Avoid busy patterns or bright colors that compete with the food. For curated backgrounds, consider affordable options like Replica Surfaces or vinyl backdrops available on Amazon.
Use Props Sparingly
Props like cutlery, napkins, or ingredients can add context to your dish, but use them sparingly to avoid clutter. For example, a single fork beside a slice of cake or a sprig of herbs next to a soup bowl can enhance the story without overwhelming the frame.
Composition Checklist
| Element | Tip |
|---|---|
| Rule of Thirds | Align key elements with grid intersections for balance. |
| Angle | Choose overhead, 45-degree, or eye-level based on dish structure. |
| Background | Use neutral, textured surfaces to complement the food. |
| Props | Add minimal props for context, avoiding visual clutter. |
3. Camera Settings: Optimizing Your Smartphone’s Potential
Modern smartphones offer advanced camera settings that rival professional cameras. Understanding and using these features can significantly improve your food photos.
Use Manual Mode
If your phone supports manual mode (e.g., Pro mode on Samsung or third-party apps like ProCam), adjust settings like ISO, shutter speed, and white balance. Lower ISO (e.g., 100-200) works best in bright conditions to reduce noise, while a faster shutter speed (e.g., 1/125) prevents blur in low light. Adjust white balance to match your lighting conditions for accurate colors.
Focus and Exposure
Tap the screen to set the focus point on your dish, ensuring sharp details. Most phones display a sun icon next to the focus point—slide it up to brighten or down to darken the exposure. Experiment to find the right balance for your desired aesthetic, whether bright and airy or moody and dramatic.
Shoot in RAW
If your phone supports RAW format (e.g., iPhone Pro models or high-end Androids), enable it for greater flexibility in post-processing. RAW files retain more data than JPEGs, allowing you to adjust exposure, colors, and shadows without losing quality.
Enable High Efficiency Mode
To save storage and improve processing speed, enable High Efficiency Mode (e.g., iPhone: Settings > Camera > Formats > High Efficiency). This format uses HEIC/HEIF, which compresses images efficiently while maintaining quality.
Avoid Digital Zoom
Digital zoom reduces image quality, resulting in pixelated photos. Instead, move your phone closer to the dish for crisp, detailed shots. For macro shots, use your phone’s ultra-wide lens or macro mode if available.
4. Stabilization: Keeping Your Shots Sharp
Blurry photos can ruin even the best-composed food images. Stabilization is key to achieving sharp, professional results.
Use a Tripod
A tripod ensures stability, especially for low-light shots or videos. Affordable options include:
- Basic Tripod with Phone Mount ($15-$25): Ideal for beginners.
- Tabletop Tripod ($10-$20): Perfect for overhead shots in small spaces.
- Adjustable Ring Light Tripod Combo ($30-$50): Combines stabilization with lighting.
- Heavy-Duty Tripod ($50-$100): For frequent shooters or outdoor setups.
Alternative Stabilization Methods
If you don’t have a tripod, place your phone on a stable surface like a stack of books or a countertop. Use the self-timer or a Bluetooth remote shutter to avoid shaking the phone when pressing the capture button.
Clean Your Lens
A dirty lens can cause hazy or blurry images. Wipe it with a microfiber cloth or a clean, soft shirt before every shoot. This simple step ensures crisp, clear photos.
5. Post-Processing: Polishing Your Photos
Editing is where your food photos come to life. Subtle adjustments can enhance colors, textures, and mood without making the image look artificial.
Recommended Editing Apps
- Snapseed (Free): Beginner-friendly with tools for brightness, contrast, and selective adjustments.
- Adobe Lightroom Mobile (Free/Premium): Powerful for precise edits, presets, and syncing with desktop.
- VSCO (Free/Premium): Offers stylish filters and fine-tuned controls for a cohesive aesthetic.
Editing Tips
- Exposure and Contrast: Adjust to enhance depth and make your dish pop.
- Clarity and Texture: Boost to highlight details like crumbs or sauce drizzles.
- Vibrance: Increase slightly to make colors vivid without looking unnatural.
- Selective Edits: Use tools like Snapseed’s Brush to adjust specific areas, such as brightening a garnish.
Pro Tip: Avoid over-editing. Subtle changes maintain the natural appeal of the food. Save presets in Lightroom for consistent edits across your photos.
Sample Editing Workflow
| Step | Adjustment | Purpose |
|---|---|---|
| Exposure | +0.5 to +1.0 | Brighten the image for a fresh look. |
| Contrast | +10 to +20 | Add depth and definition. |
| Clarity | +15 | Enhance textures like crust or sauce. |
| Vibrance | +10 | Boost natural colors subtly. |
6. Additional Tips for Pro-Level Results
To take your smartphone food photography to the next level, incorporate these expert tips inspired by professionals like Jade Nina Sarkhel.
Take Multiple Shots
Shoot from various angles and settings to give yourself options during editing. Experiment with different compositions and lighting setups to find the perfect shot.
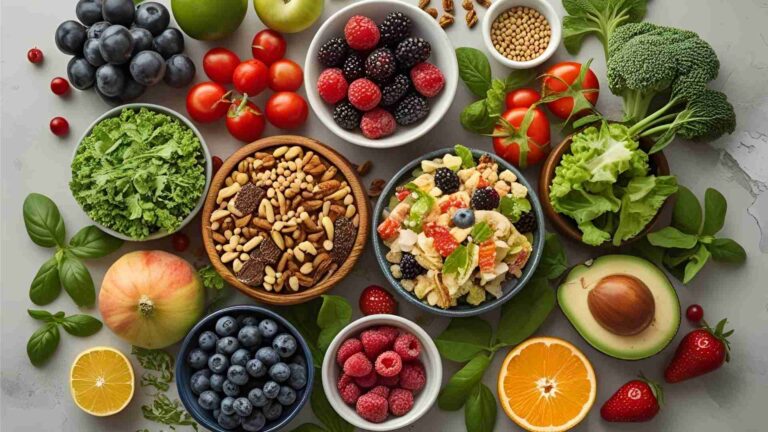
Style Your Dish Thoughtfully
Food styling enhances the visual appeal of your photos. Arrange ingredients naturally, add garnishes for color, and ensure plates are clean of smudges or spills. For example, a sprinkle of herbs or a drizzle of olive oil can elevate a dish’s presentation.
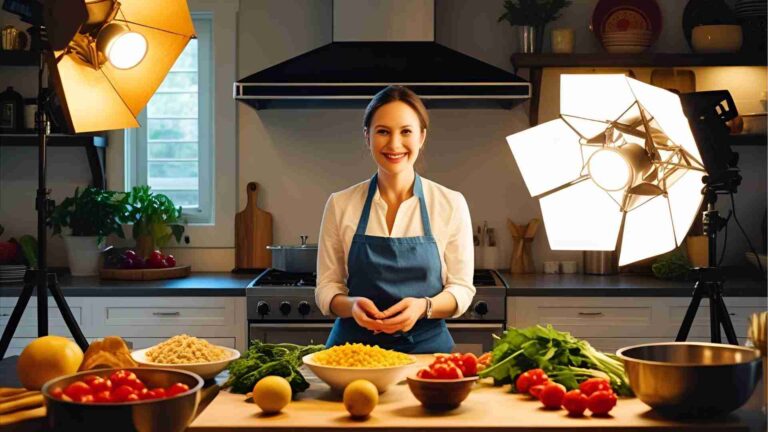
Experiment with Artificial Light (When Necessary)
If natural light isn’t available, use artificial lighting sparingly. A ring light or softbox with a neutral white tone (5000K) can mimic daylight. Test the light’s effect on your dish to avoid unnatural color casts.
Update Your Phone’s Software
Regular software updates improve your phone’s camera capabilities, such as low-light performance, autofocus, and new features like ProRAW or Photographic Styles. Check for updates in your phone’s settings to ensure optimal performance.
Learn from Online Resources
Explore online courses or tutorials, like those offered by Jade Nina Sarkhel, to deepen your skills. Many platforms provide smartphone-specific photography courses covering lighting, styling, and editing.
Equipment Recommendations and Pricing
While a smartphone is your primary tool, a few affordable accessories can enhance your results. Here’s a breakdown of recommended equipment:
| Item | Price Range | Purpose |
|---|---|---|
| Basic Tripod | $15-$25 | Stabilizes phone for sharp photos. |
| Tabletop Tripod | $10-$20 | Ideal for overhead shots. |
| Ring Light with Stand | $20-$40 | Provides neutral artificial light. |
| Softbox Lighting Kit | $50-$100 | Professional lighting for any space. |
| Reflector (Foam Board) | $5-$15 | Balances light and softens shadows. |
| Vinyl Photo Backdrop | $10-$30 | Creates curated, textured backgrounds. |
Inspiration from a Pro: Jade Nina Sarkhel’s Journey
Jade Nina Sarkhel, a Bali-based food photographer, began her career with a simple camera and a passion for food. Growing up in her parents’ restaurants, she developed a deep connection to culinary arts. After her father’s passing, she returned to the hospitality industry, eventually picking up a camera to shoot for a restaurant group. Her self-taught skills and persistence led to a thriving career, working with chefs worldwide to create stunning visuals. Jade’s advice for aspiring photographers is to focus on technical skills, practice regularly, and build relationships with clients to bring their visions to life.
Her philosophy—“Decide what kind of life you want and say no to everything that isn’t that”—applies to food photography. Focus on what makes your photos unique, whether it’s vibrant colors, minimalist compositions, or storytelling through props.
Conclusion: Start Shooting Like a Pro Today
With a smartphone, you have everything you need to create professional-quality food photos. By mastering natural lighting, experimenting with composition, optimizing camera settings, stabilizing your shots, and editing thoughtfully, you can transform your dishes into visual masterpieces. Invest in affordable tools like a tripod or reflector to elevate your setup, and draw inspiration from experts like Jade Nina Sarkhel to refine your craft.
Start practicing today—set up a dish near a window, clean your lens, and experiment with angles and edits. With time and persistence, your smartphone food photography will rival the pros, whether you’re sharing on Instagram, building a blog, or marketing your culinary creations.
We will meet you on next article.
Please share this How to shoot food like a pro just using a smartphone with your friends and do a comment below about your feedback.
Until you can read, YouTube Keyword Strategies for Recipe Video Success