How to Start a Cooking Channel on YouTube: Complete Guide
Learn how to start a cooking channel on YouTube with our complete guide. Discover tips, equipment, and monetization strategies to succeed.
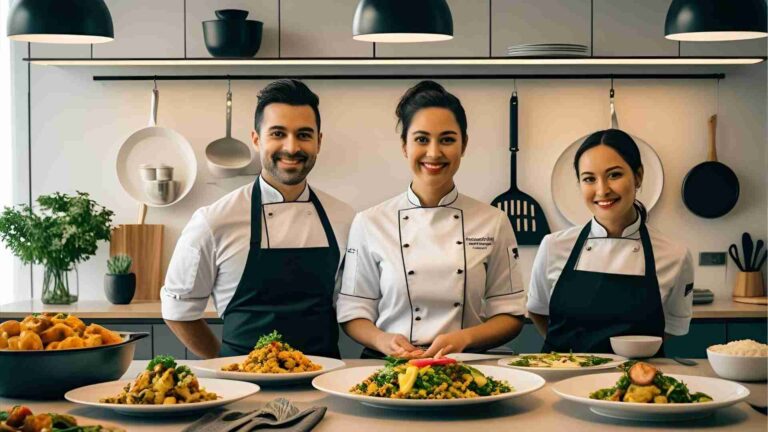
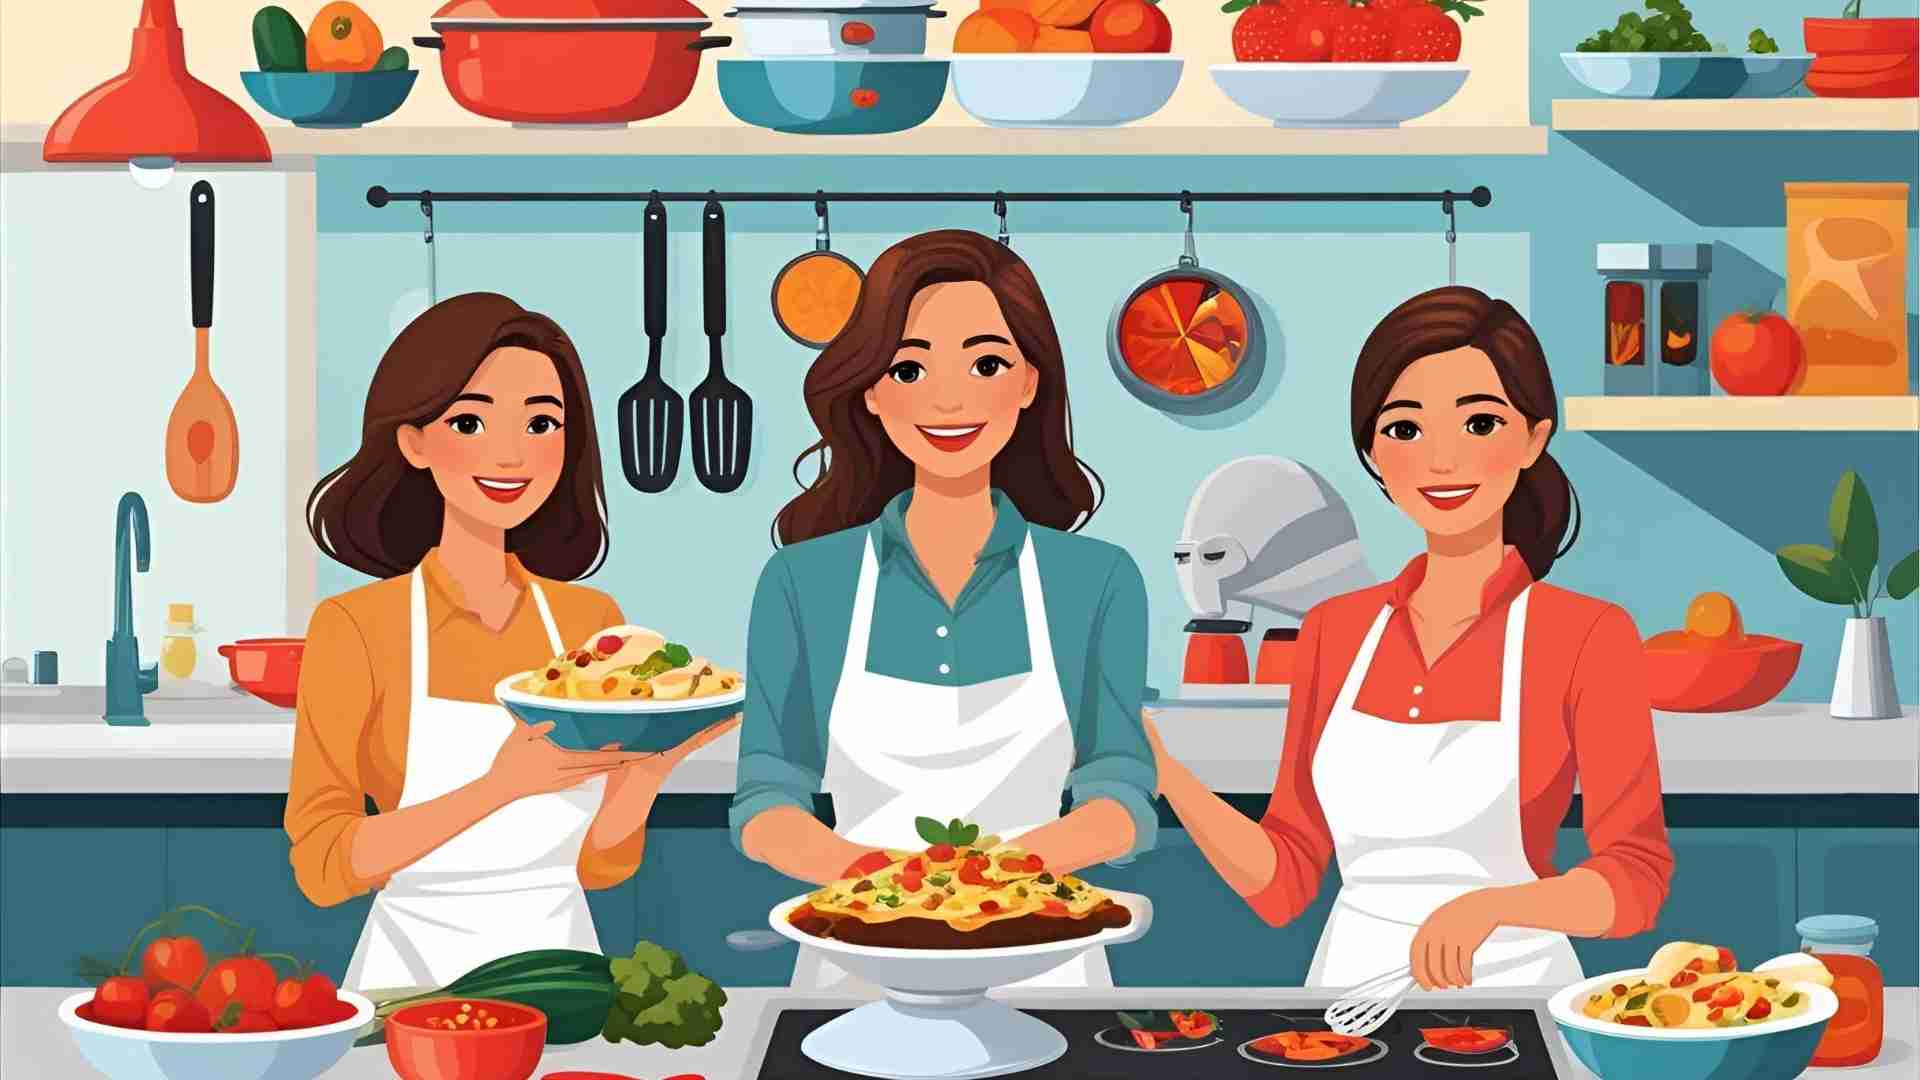
YouTube is a goldmine for food lovers, offering a platform where home cooks, amateur chefs, and culinary enthusiasts can share their passion, connect with audiences, and even turn their skills into a source of income. Starting a cooking channel on YouTube is an exciting venture, but it requires strategy, dedication, and creativity to stand out in a crowded digital kitchen. Whether you’re a seasoned home cook or someone like the Reddit user cantoreanu, a physical therapist with a knack for cooking and a desire to document their journey, this guide will walk you through every step to launch a thriving cooking channel. From defining your niche to monetizing your content, here’s how to create a channel that captivates viewers and builds a loyal community.
Step 1: Research and Plan for Success
A successful YouTube cooking channel begins with thorough research and strategic planning. Without a clear roadmap, your content risks getting lost in the sea of food videos. Here’s how to lay a strong foundation.
Define Your Audience and Niche
Understanding your target audience is the cornerstone of a successful cooking channel. Consider who you’re cooking for: Are they busy parents looking for quick meals, health-conscious millennials, or adventurous foodies seeking global cuisines? Demographics like age, location, and dietary preferences shape your content. For instance, data shows that millennials consume 30% more food-related content on YouTube than other age groups, favoring authentic, skill-building tutorials that align with their values.
Once you know your audience, carve out a unique selling proposition (USP). Your niche should reflect your skills and passion while addressing a specific viewer need. Examples include:
- Quick Weeknight Meals: Perfect for busy professionals or parents.
- Vegan or Gluten-Free Recipes: Catering to dietary restrictions.
- Cultural Cuisines: Showcasing regional dishes, like Mexican or Syrian recipes, as seen in channels like A Cook Named Matt.
- Budget-Friendly Cooking: Appealing to students or cost-conscious viewers.
Your niche influences your channel name, branding, and content. For example, a channel focused on vegan desserts might be called “Plant-Based Pastries” and feature colorful, plant-based sweets. A clear niche helps you attract a loyal audience and makes your channel memorable.
Develop a Presentation Style and Visual Identity
Your presentation style and visual identity set the tone for your channel. Decide how you’ll film: Will you use overhead shots to highlight techniques, face-to-camera segments for personality, or creative angles to showcase plating? Your style should match your audience’s preferences. For instance, younger viewers might enjoy fast-paced, TikTok-inspired edits, while older audiences may prefer calm, detailed instruction.
Your on-camera persona is just as critical. Are you high-energy like Jamie Oliver, whose enthusiastic style makes cooking approachable, or calm and methodical like Claire Saffitz, who breaks down complex recipes with precision? Authenticity is key—viewers connect with genuine personalities. Consistency in editing (pacing, color grading, transitions) and your kitchen setup (clean, uncluttered backdrops) creates a recognizable brand. For example, a minimalist kitchen with neutral tones can convey professionalism, while a cozy, colorful setup feels homey and relatable.
Analyze Successful Cooking Channels
Studying top cooking channels reveals what works and sparks inspiration. Here are two examples of successful channels and their approaches:
- A Cook Named Matt: Blends professional chef expertise with an approachable vibe, incorporating Mexican and Syrian influences. Matt encourages flavor experimentation while offering practical tips, making his content accessible yet aspirational.
- Jamie Oliver: Known for high-energy, simplified recipes, Oliver uses 3-5 minute tutorials, collaborations, and themed series (e.g., “Family Meals”) to keep viewers engaged.
Analyze their video formats, camera angles, and engagement tactics. Notice how they structure intros, explain techniques, or use music to enhance mood. Don’t copy—adapt their strategies to fit your unique style. For instance, if you’re inspired by cantoreanu’s idea of trying TikTok cooking hacks, you could create a series like “Testing Viral TikTok Recipes” to attract viewers while showcasing your personality.
Step 2: Set Up for High-Quality Content
With your research done, it’s time to prepare for production. High-quality content requires the right recipes, equipment, and planning to ensure your videos are engaging and professional.
Find and Adapt Recipes for Video
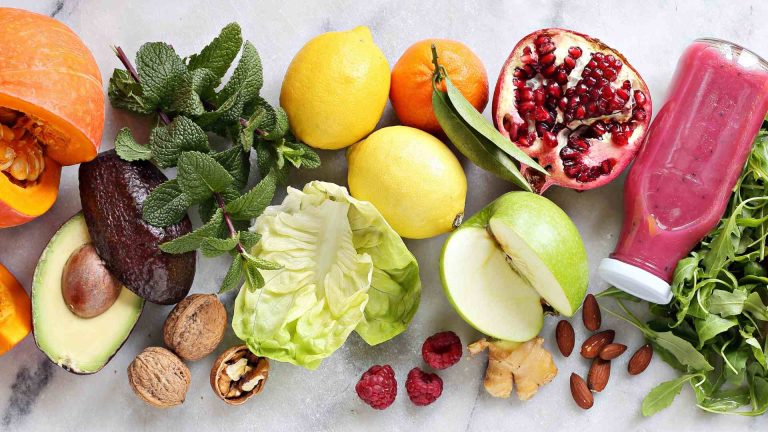
Your recipes should align with your niche and appeal to your audience. Start with dishes you’re confident preparing, as familiarity helps you appear natural on camera. Draw inspiration from cookbooks, food blogs, Instagram, or family recipes, but add your unique twist to keep content original. For example, if you’re focusing on quick meals, adapt a classic pasta dish by incorporating a time-saving technique or a bold new ingredient.
When adapting recipes for video, prioritize:
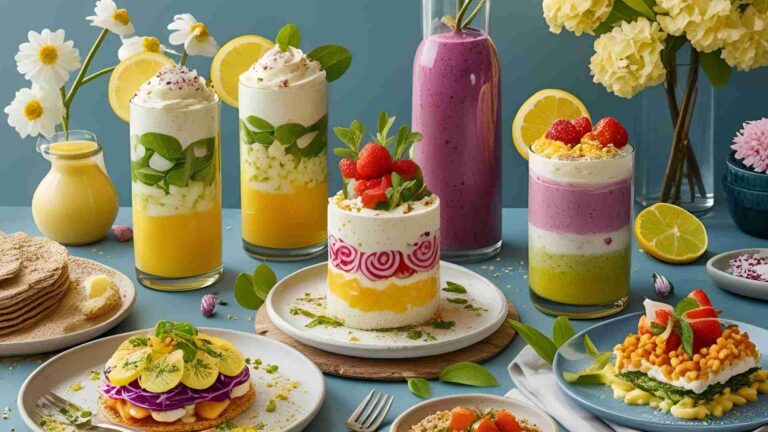
- Visual Appeal: Choose dishes with vibrant colors or dynamic techniques, like sizzling stir-fries or layered desserts.
- Time Management: Opt for recipes that fit a 10-15 minute video. Long recipes can be sped up or edited into parts.
- Complexity: Match difficulty to your audience’s skill level. Beginners might appreciate one-pot meals, while advanced cooks may want intricate baking tutorials.
Test recipes before filming to ensure accuracy and avoid on-camera mishaps. This step is crucial for building viewer trust and delivering clear instructions.
Plan Your First 5-10 Videos
Consistency builds audience trust, so plan your first 5-10 videos to maintain momentum. Create a content calendar that includes:
- A Channel Intro Video: Introduce yourself, your niche, and what viewers can expect.
- Themed Series: Group recipes into series like “5-Ingredient Dinners” or “Weekend Baking Projects.”
- Varied Complexity: Include beginner and intermediate recipes to appeal to a broad audience.
- Optimal Posting Times: Schedule uploads for weekends or evenings when food content viewership peaks.
Batch filming multiple videos in one session saves time and ensures a steady content pipeline. For example, film three 10-minute recipes in a day by prepping ingredients in advance.
Get the Right Equipment
You don’t need a professional studio to start, but investing in key equipment improves video quality. Here’s a breakdown of essentials with approximate costs:
| Equipment | Recommendation | Approx. Cost (USD) |
|---|---|---|
| Camera | Smartphone (e.g., iPhone 12) or DSLR (e.g., Canon EOS Rebel T7) | $0 (if using phone) – $500 |
| Tripod/Stabilizer | Joby GorillaPod or basic tripod | $20 – $100 |
| Lighting | Natural light or LED ring light (Neewer) | $0 (natural) – $50 |
| Microphone | USB microphone (Blue Snowball) or lavalier | $30 – $100 |
| Cookware | Matching pots, pans, and utensils | $50 – $200 |
| Prep Tools | Cutting boards, prep bowls | $20 – $50 |
Focus on clear visuals, good lighting, and crisp audio. A clean kitchen setup with cohesive cookware enhances professionalism. As your channel grows, upgrade to advanced gear like a mirrorless camera or softbox lighting.
Step 3: Shoot and Edit Your First Cooking Video
With your setup ready, it’s time to film your first video. Keep it simple and focus on execution over perfection.
Keep It Simple to Start
The biggest hurdle for new creators is starting. Choose a familiar recipe, like a family favorite or a simple dish like spaghetti aglio e olio, to build confidence. Set realistic goals—your first video doesn’t need cinematic production. Focus on clear instructions and authentic delivery. As Brian Lagerstrom (1.6M subscribers) noted in an Insidehook interview, even successful creators start with basic videos and improve over time.
Filming Techniques for Engaging Videos
Engaging cooking videos combine visuals, sound, and pacing. Use these techniques:
- Multiple Angles: Capture overhead shots for prep, close-ups for techniques, and wide shots for plating.
- Food Sounds: Highlight sizzling, chopping, or stirring sounds to immerse viewers.
- Natural Light: Film near a window or use LED panels to showcase food colors.
- Clean Background: Keep counters clutter-free to focus on the food.
For beginners like cantoreanu, who has some photography knowledge, leverage your skills to frame shots thoughtfully. Experiment with POV angles, as suggested by rabbithole_hobbies on Reddit, for a unique perspective.
Edit Like a Pro
Editing transforms raw footage into a polished video. Recommended tools include:
- Beginner-Friendly: InShot or KineMaster (mobile, $0-$5/month), iMovie or Clipchamp (desktop, free).
- Advanced: Adobe Premiere Pro ($20.99/month) or Final Cut Pro ($299.99 one-time).
During editing, trim pauses, add text overlays for ingredients, and include subtle background music. Maintain a brisk pace while ensuring instructions are clear. For example, a 10-minute video might include a 30-second intro, 8 minutes of cooking, and a 1-minute outro with a call-to-action.
Step 4: Promote and Stay Consistent
Publishing your video is just the beginning. Promotion and consistency drive growth and engagement.
Optimize for YouTube’s Algorithm
YouTube’s algorithm favors videos that keep viewers watching. Optimize your content with:
- Compelling Titles: Use keywords like “Easy Vegan Stir-Fry Recipe” or “5-Minute Breakfast Ideas.”
- Detailed Descriptions: Include ingredients, timestamps, and keywords (e.g., “quick dinner,” “healthy recipes”).
- Relevant Tags: Add terms like “cooking tutorial,” “vegan recipes,” or “weeknight meals.”
- Eye-Catching Thumbnails: Feature the finished dish with vibrant colors and clear text.
Include 3-5 hashtags (e.g., #CookingTutorial, #EasyRecipes) to boost discoverability. Tease upcoming steps or tips to improve viewer retention.
Engage Your Audience
Building a community fosters loyalty. Engage viewers by:
- Responding to comments promptly.
- Asking questions in videos (e.g., “What’s your favorite pasta dish?”).
- Running polls in YouTube’s Community tab.
- Featuring viewer recipe attempts in future videos.
Engagement signals boost your videos in YouTube’s algorithm, increasing visibility.
Stick to a Posting Schedule
Consistency builds trust, as Dani Spies (2.26M subscribers) emphasizes: “Consistency builds trust, and I can’t think of anything more valuable than trust when building a community.” Start with a weekly upload schedule, using YouTube’s scheduling feature to post in advance. Batch film and edit to save time.
Step 5: Monetize Your Cooking Channel
Turning your passion into profit is achievable with multiple revenue streams. Here’s how to monetize effectively.
YouTube Ads, Sponsorships, and Affiliate Marketing
Join the YouTube Partner Program (requires 500 subscribers and 3,000 watch hours) to earn from:
- Ads: Revenue from pre-roll and mid-roll ads.
- Super Chat/Thanks: Viewer donations during livestreams or videos.
- Channel Memberships: Monthly subscriptions for exclusive content.
Sponsorships with food or kitchen brands can be lucrative. For example, Squarespace sponsors creators like Babish Culinary Universe (10.4M subscribers) to promote their platforms authentically. Affiliate marketing—recommending tools like knives or appliances with unique links—generates commissions. Always disclose affiliations to maintain trust.
Sell Digital Products
Leverage your expertise with digital products like:
- eBooks: Compile your best recipes into a digital cookbook ($5-$20).
- Online Classes: Offer in-depth cooking courses via platforms like Teachable ($39/month).
- Recipe Cards: Sell printable recipe templates ($2-$5 each).
These products require upfront effort but offer passive income with high margins.
Merchandise and Brand Partnerships
As your channel grows, explore merchandise through YouTube Shopping:
- Branded Items: Sell aprons, spice blends, or kitchen tools ($10-$50).
- Collaborative Products: Partner with brands for custom cookware or ingredient kits, earning royalties.
Creators like Mark Wiens (11M subscribers) sell branded clothing, proving merchandise’s potential.
Pro Tips for Growth and Scaling
To take your channel to the next level, implement these advanced strategies.
Stay on Top of Trends
Incorporate trending topics like air fryer recipes or plant-based diets, but ensure they align with your niche. Add your unique spin to stand out. For example, cantoreanu’s idea of testing TikTok hacks could become a viral series like “Cooking TikTok Hacks Gone Wrong.” Balance trendy content with evergreen recipes (e.g., classic chocolate chip cookies) for long-term traffic.
Collaborate with Others
Collaborations expose you to new audiences. Partner with creators of similar size or complementary niches. For instance, a vegan channel could collaborate with a fitness YouTuber. Brand partnerships, like those with Squarespace, amplify reach when authentic.
Analyze YouTube Analytics
Use YouTube Studio to track:
- Watch Time: Identify high-performing recipes (e.g., quick meals vs. desserts).
- Retention Graphs: Pinpoint where viewers drop off to refine pacing.
- Traffic Sources: Optimize for search or suggested videos.
- Demographics: Tailor content to your audience’s age or location.
Viewer comments also provide qualitative insights, like recipe requests or technique questions.
Expand Beyond YouTube
Diversify across platforms to boost reach and income. Multi-channel creators earn $45,000-$55,000 monthly compared to $5,000-$15,000 for YouTube-only creators (100,000 subscribers). Consider:
- Food Blog: Host detailed recipes and embed YouTube videos using WP Recipe Maker.
- Instagram: Share food photography and recipe teasers.
- TikTok: Post short, viral cooking hacks.
- Pinterest: Drive traffic with recipe pins.
A blog offers content ownership and SEO benefits, amplifying your reach.
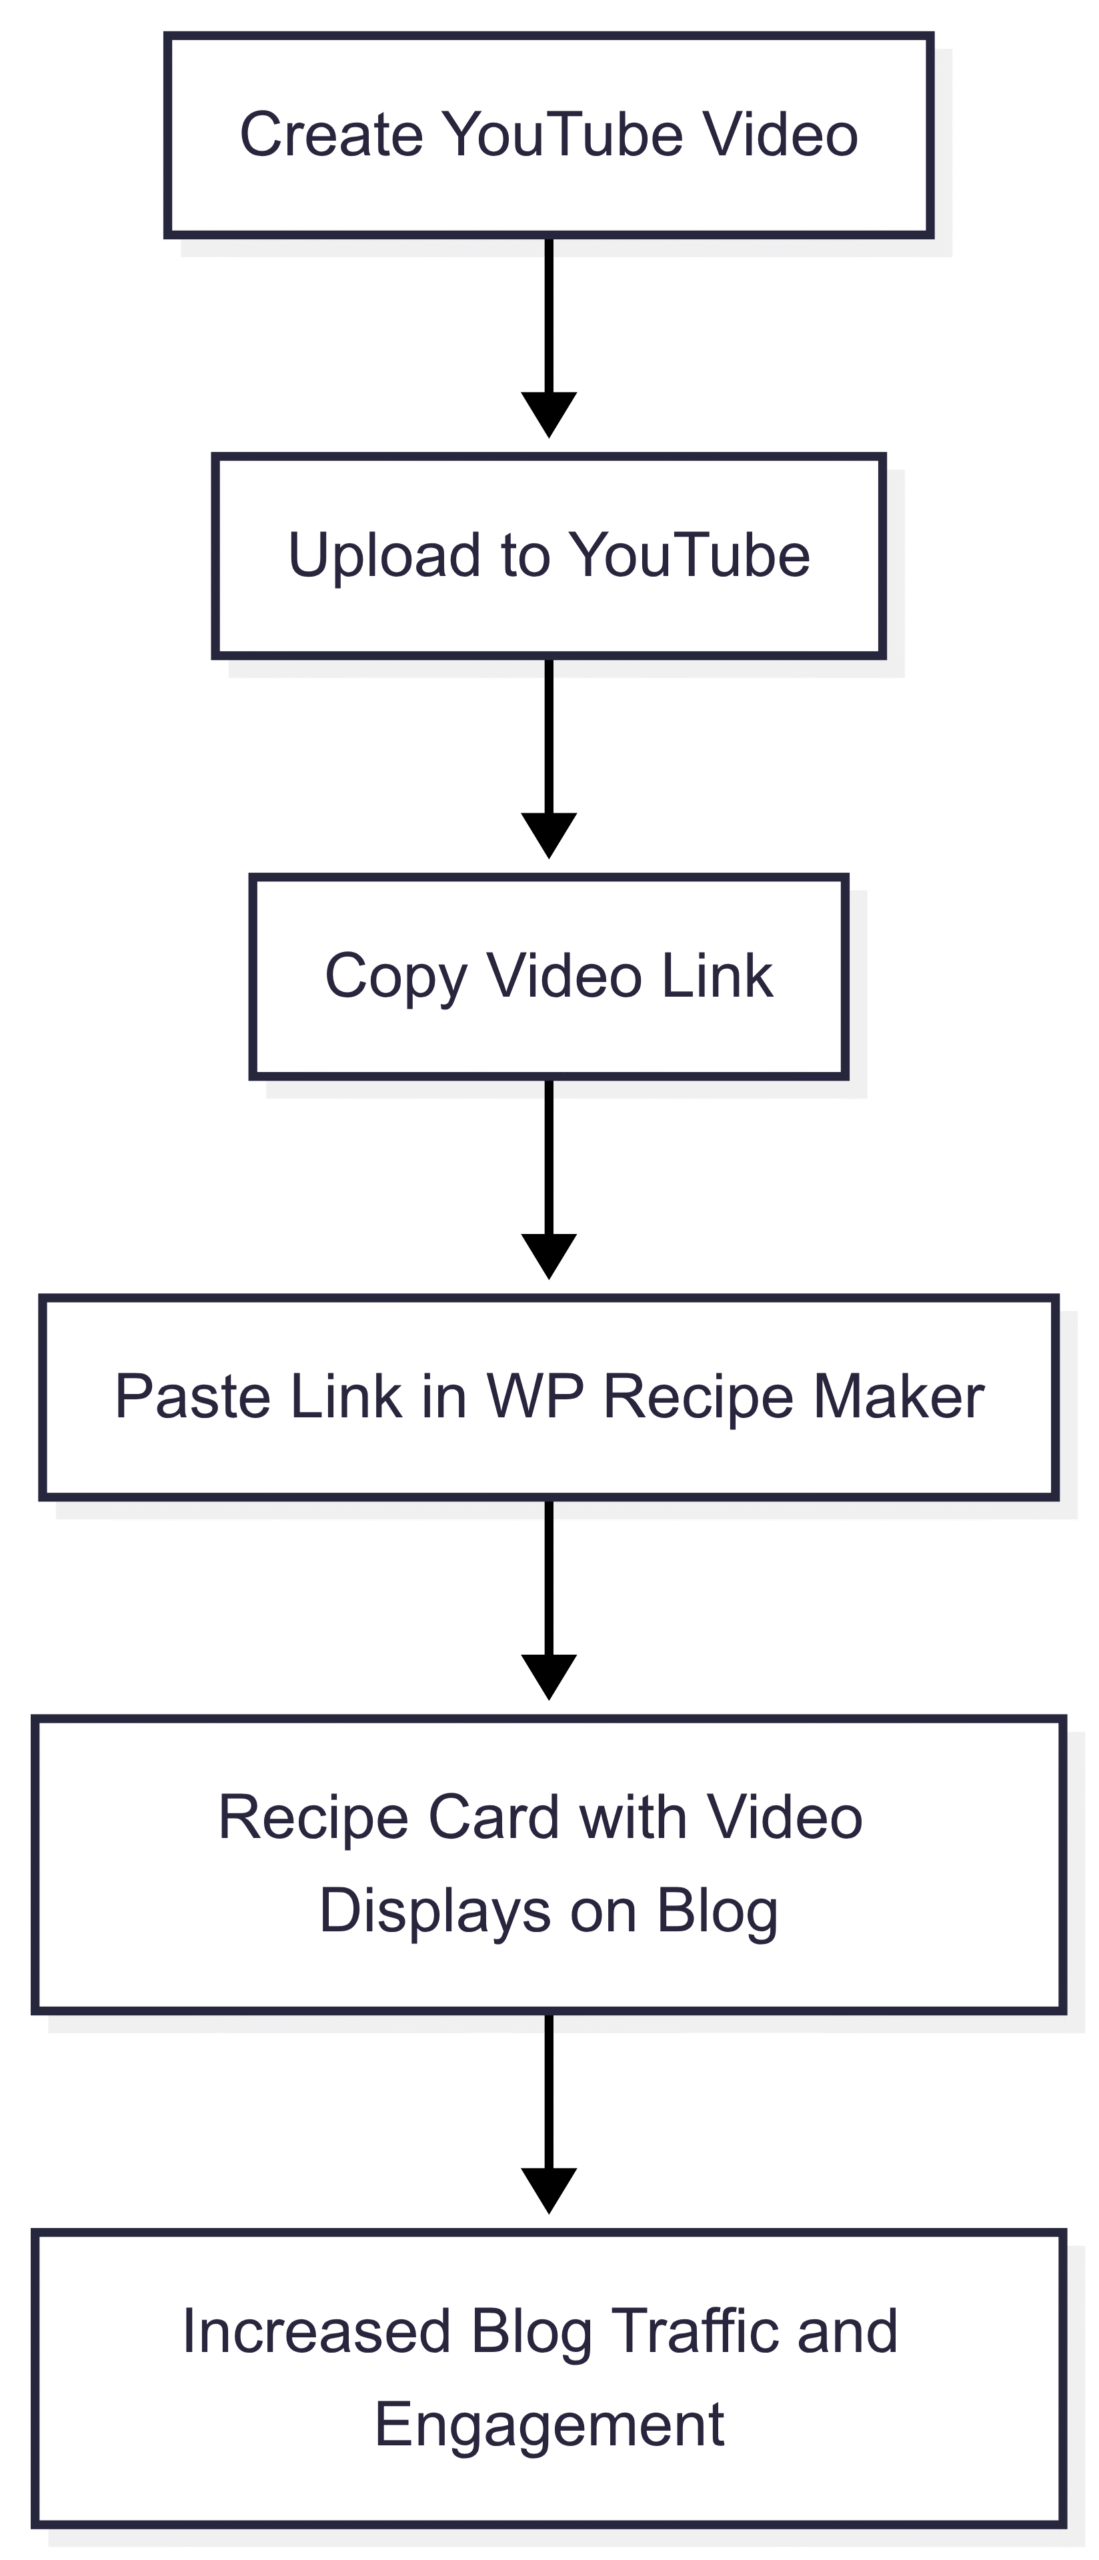
Embedding Videos with WP Recipe Maker
For creators with blogs, WP Recipe Maker simplifies embedding YouTube videos in recipe cards. Paste your video link into the plugin’s editor, and it creates a professional recipe box with ingredients, instructions, and your video. Benefits include:
- Cross-Promotion: Drives traffic between your blog and YouTube.
- Monetization: Auto-adds affiliate links for ingredients or tools.
- User Experience: Enhances readability and encourages return visits.
Here’s a sample workflow in to illustrate the process:
Conclusion
Starting a YouTube cooking channel is an exciting way to share your culinary passion, build a community, and potentially earn income. By defining your niche, investing in basic equipment, creating engaging content, and promoting strategically, you can grow a thriving channel. Monetization through ads, sponsorships, digital products, and merchandise offers financial rewards, while diversifying across platforms like blogs and social media ensures long-term success. Take inspiration from cantoreanu’s enthusiasm and start small, focusing on authenticity and consistency. With dedication, your channel can become a go-to destination for food lovers worldwide.
We will meet you on next article.
Please share this How to Start a Cooking Channel on YouTube: Complete Guide with your friends and do a comment below about your feedback.
Until you can read, The Serious Eats Guide to Food Photography