How to start make a cooking video at home
Learn how to create professional cooking videos at home with our step-by-step guide, including equipment, filming tips, and editing techniques.
Creating cooking videos at home is a fantastic way to share your culinary passion, connect with an audience, and grow your online presence. Whether you’re a food blogger, a home cook, or an aspiring influencer, producing high-quality cooking videos can enhance your content and engage viewers across platforms like YouTube, Instagram, and your own website. This guide provides a detailed, step-by-step approach to filming professional-looking cooking videos in your kitchen, covering equipment, techniques, editing, and strategies to maximize reach. With practical tips and affordable tools, you’ll be ready to create mouth-watering content that resonates with foodies everywhere.
Why Make Cooking Videos?
Cooking videos have exploded in popularity, driven by the rise of short-form content on platforms like Instagram Reels and TikTok. They offer unique benefits for creators:
- Increased Reach: Recipe videos often achieve higher engagement. For example, data from social media analytics shows that recipe reels can double the average reach compared to other content types, as they appeal to audiences seeking quick, actionable ideas.
- Durability: Cooking videos are highly shareable and saveable. On Instagram, recipe videos can garner up to 8x more saves than other posts, ensuring long-term visibility as viewers revisit them.
- Approachability: Videos make complex recipes accessible by visually demonstrating steps, breaking down barriers for novice cooks and making your content relatable.
This guide will walk you through the process, from selecting budget-friendly equipment to editing and sharing your videos strategically.
Essential Equipment for Cooking Videos
You don’t need a Hollywood budget to create professional-looking cooking videos. Here’s a breakdown of the essential tools, with specifications and approximate prices (based on common retail prices as of 2025).
1. Camera
A quality camera is the cornerstone of your setup. For beginners, a smartphone with at least 1080p resolution is sufficient, as modern phones like the iPhone 14 or Samsung Galaxy S23 offer excellent video quality. For those ready to invest, a dedicated camera provides more control.
- Recommended Camera: Canon EOS R6
- Specifications: 20.1 MP, 4K video at 60fps, full-frame sensor, 24-105mm lens
- Price: ~$2,499 (body only), ~$3,099 with 24-105mm lens
- Why: Offers wide-angle shots without cropping in 4K, ideal for small kitchens.
- Budget Option: Canon EOS M50 Mark II
- Specifications: 24.1 MP, 4K video (cropped), 15-45mm kit lens
- Price: ~$599 (with kit lens)
- Why: Affordable, compact, and great for secondary angles or beginners.
- Smartphone Option: iPhone 14 or similar
- Specifications: 4K video at 60fps, 12 MP sensor
- Price: ~$799+
- Why: Convenient, high-quality, and widely available.
2. Tripod
A sturdy tripod ensures stable footage, allowing you to experiment with angles like overhead or side shots.
- Recommended Tripod: Manfrotto Compact Action Tripod
- Specifications: 3.5 kg load capacity, 155 cm max height, fluid head
- Price: ~$89
- Why: Lightweight, durable, and supports most cameras.
- Overhead Rig: Manfrotto Autopole + Super Clamps
- Specifications: Extends 2.1–3.7m, holds 1.8 kg, includes two super clamps and a Neewer telescopic pole (60 cm)
- Price: Autopole (
$129), Super Clamps ($29 each), Neewer Pole (~$25) - Why: Perfect for small spaces, allowing overhead shots without floor stands.
3. Lighting
Consistent lighting is crucial for vibrant, appetizing footage. Natural light can work, but artificial lighting offers control.
- Recommended Light: Godox SL60W LED Video Light
- Specifications: 60W, 5600K color temperature, CRI 95+
- Price: ~$139
- Why: Budget-friendly, bright, and pairs well with a softbox.
- Softbox: Neewer Parabolic Softbox (90cm x 120cm)
- Price: ~$59
- Why: Softens harsh light for a professional look.
- Diffuser: Neewer 5-in-1 Reflector/Diffuser (90cm x 120cm)
- Price: ~$35
- Why: Softens natural or artificial light for even illumination.
4. Editing Software
Editing polishes your videos, making them engaging and professional. Free or affordable options work well for beginners.
- Recommended Software: Final Cut Pro
- Specifications: Supports multi-cam editing, 4K workflows
- Price: ~$299 (one-time purchase)
- Why: Intuitive, powerful, and ideal for multi-angle setups.
- Budget Option: CapCut
- Specifications: Free, supports mobile and desktop editing, trending audio integration
- Price: Free (with in-app purchases)
- Why: User-friendly, perfect for quick edits and social media.
- Alternative: Adobe Premiere Pro
- Specifications: Professional-grade, supports 4K and multi-cam
- Price: ~$20.99/month
- Why: Industry standard, but steeper learning curve.
5. Additional Accessories
- Workbench: IKEA Butcher’s Block (62cm x 79cm)
- Price: ~$149
- Why: Compact, portable, and visually appealing for food prep.
- External Storage: SanDisk Extreme Pro Portable SSD (1TB)
- Price: ~$149
- Why: Fast, reliable storage for large video files.
| Equipment | Model | Price (Approx.) | Key Features |
|---|---|---|---|
| Camera (Main) | Canon EOS R6 | $2,499–$3,099 | 4K full-frame, 24-105mm lens |
| Camera (Budget/Secondary) | Canon EOS M50 Mark II | $599 | 4K cropped, 15-45mm lens |
| Tripod | Manfrotto Compact Action | $89 | 3.5 kg load, fluid head |
| Overhead Rig | Manfrotto Autopole + Clamps | $213 ($129 + $84) | Extends 2.1–3.7m, holds 1.8 kg |
| Lighting | Godox SL60W | $139 | 60W, 5600K, CRI 95+ |
| Softbox | Neewer Parabolic Softbox | $59 | 90cm x 120cm, softens light |
| Diffuser | Neewer 5-in-1 Reflector | $35 | Softens natural/artificial light |
| Editing Software | Final Cut Pro | $299 | Multi-cam, 4K support |
| Editing Software (Free) | CapCut | Free | Mobile-friendly, trending audio |
| Workbench | IKEA Butcher’s Block | $149 | Compact, portable, aesthetic |
Step-by-Step Guide to Making a Cooking Video
Follow these steps to create engaging, professional cooking videos from your home kitchen.
Step 1: Define Your Video Style
Your video style should align with your brand and audience. Consider these popular formats:
- Tasty-Style Videos: Fast-paced, under 1 minute, with overhead shots and quick cuts. Ideal for social media.
- Instructional Videos: Detailed, host-led tutorials (e.g., Binging with Babish). Great for YouTube.
- Personality-Driven Videos: Focus on the host’s charisma (e.g., Maangchi). Best for building a loyal audience.
Watch competitors’ videos on YouTube, Instagram, and TikTok to identify trends and refine your style. Consistency is key—stick to a format that suits your niche, whether it’s vegan, budget-friendly, or gourmet.
Step 2: Choose the Right Recipe
Select a recipe that’s simple, visually appealing, and relevant to your audience. Consider:
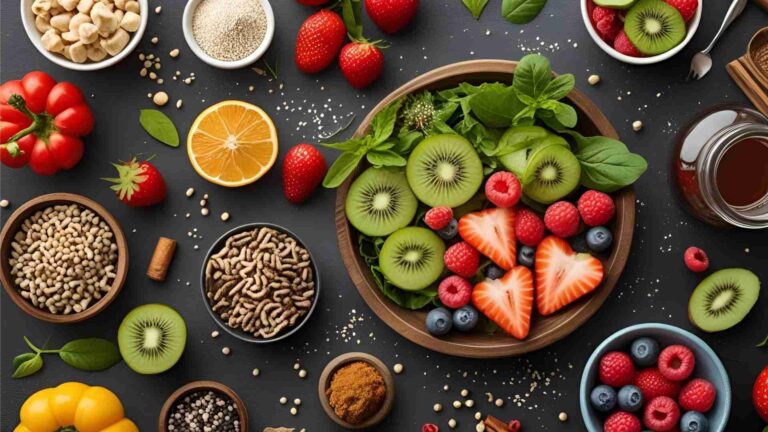
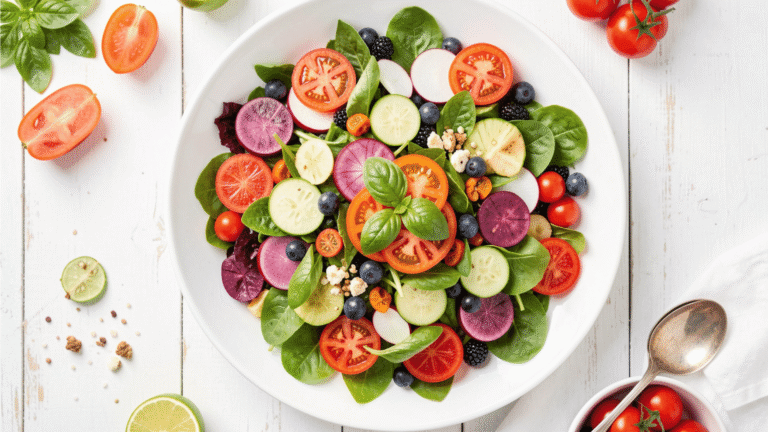
- Simplicity: Opt for dishes with 5–10 ingredients and minimal steps (e.g., a Spanish omelette or a Caprese salad).
- Seasonality: Match recipes to the season (e.g., hearty stews in winter, fresh salads in summer).
- Visual Appeal: Use colorful ingredients (e.g., bright vegetables, garnishes) to make the dish pop on camera.
Test the recipe beforehand to ensure it’s reliable and pairs well with your theme (e.g., a wine pairing for a winery blog). For your first video, choose a signature dish to showcase your expertise.
Step 3: Plan and Script Your Shots
Planning prevents awkward pauses and ensures a smooth flow. Create a storyboard outlining:
- Intro: A quick hook (e.g., “Craving a quick, delicious meal?”).
- Key Steps: List each cooking step and the shots needed (e.g., chopping, sautéing, plating).
- Transitions: Plan cuts or fades to keep the video dynamic.
- Angles: Include wide shots (full scene), close-ups (ingredients), and overhead shots (process).
Here’s a sample shot list in format for a Spanish omelette video:
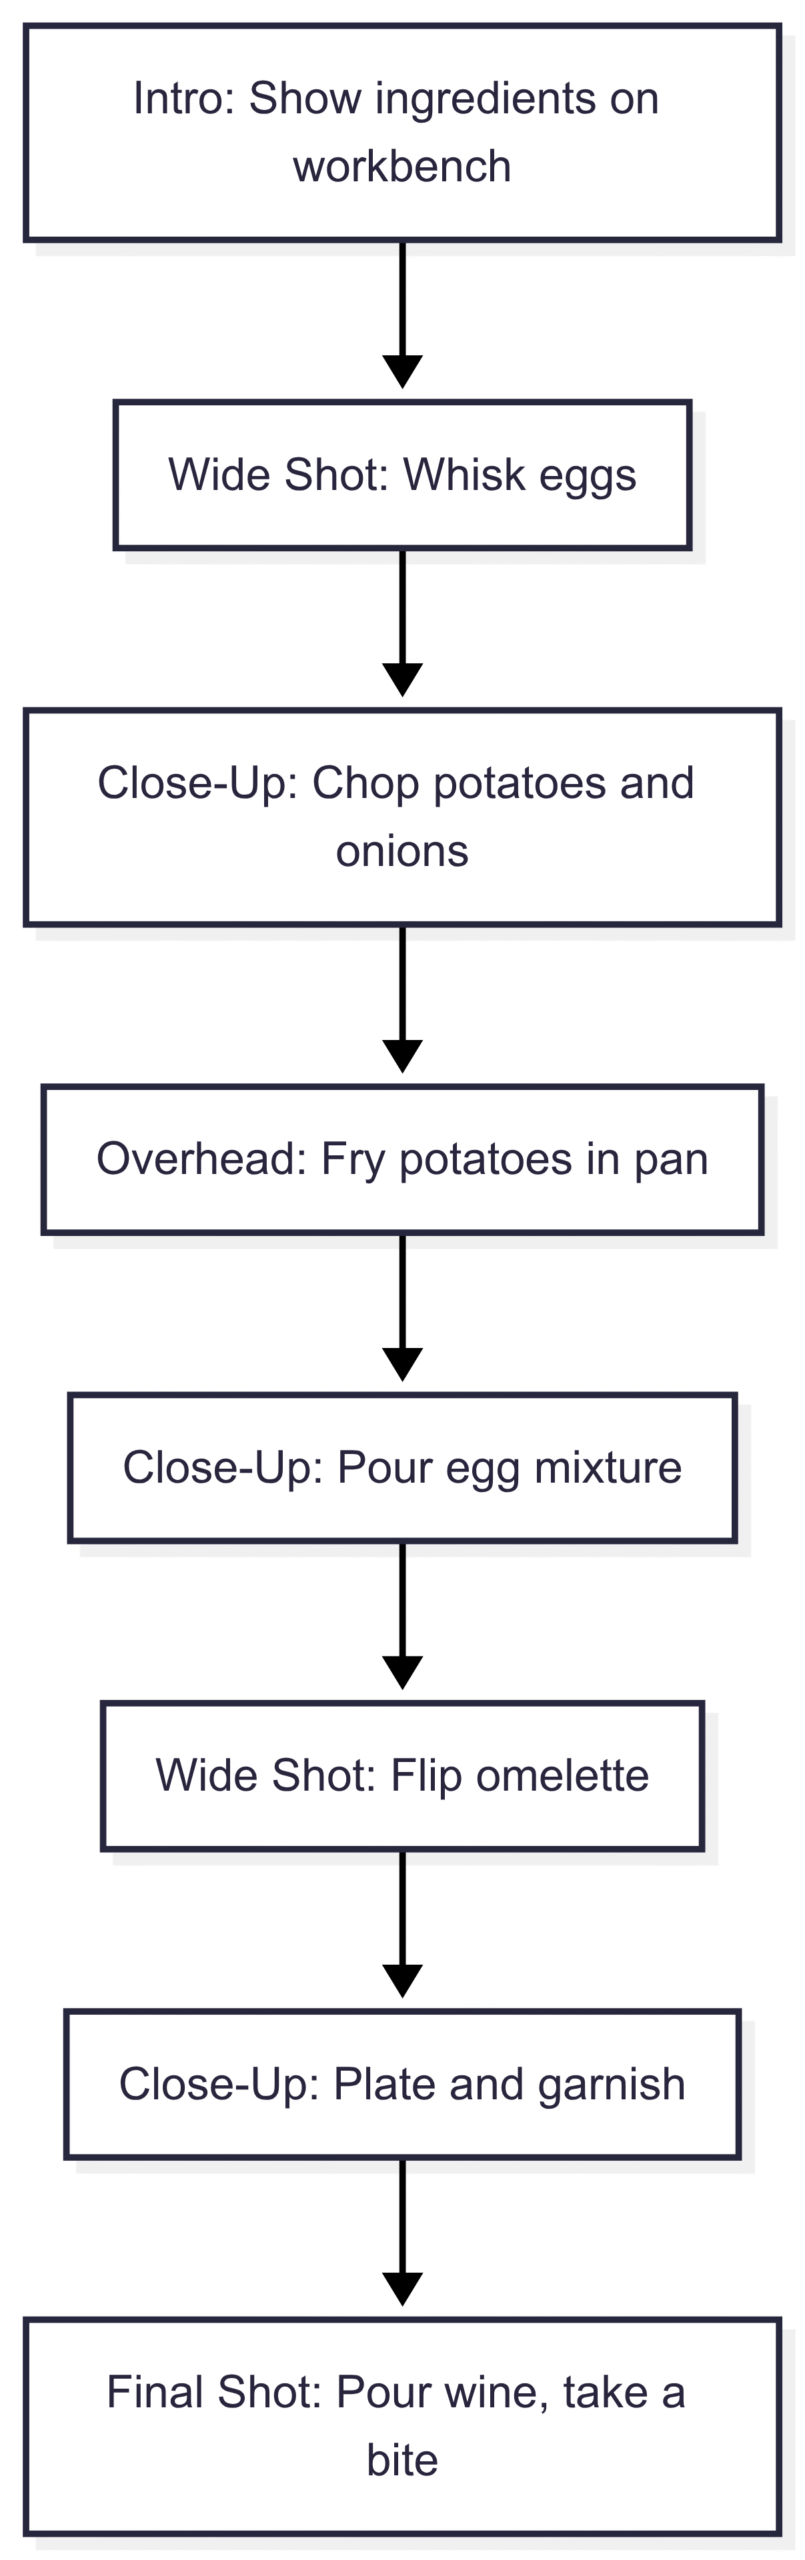
Use this to guide your filming, ensuring you capture every essential moment.
Step 4: Prep Your Kitchen and Ingredients
A clean, organized kitchen enhances professionalism. Follow these steps:
- Clean the Space: Remove clutter, wipe surfaces, and ensure the background is neutral or aesthetically pleasing.
- Pre-Measure Ingredients: Portion out ingredients in bowls for quick access and a polished look.
- Set Up Lighting: Position your key light (e.g., Godox SL60W) at a 45-degree angle to the workbench, with a diffuser to soften shadows. Use natural light from a window if available, softened with a reflector.
- Test Equipment: Check camera batteries, tripod stability, and storage space (at least 10–20 GB for 4K footage).
Pre-cook time-consuming steps (e.g., parboiling vegetables) to streamline filming.
Step 5: Film the Video
With everything prepped, start recording. Keep these tips in mind:
- Capture All Steps: Film each action, even briefly (e.g., 5 seconds of chopping one carrot). Excess footage is better than missing a step.
- Use Multiple Angles: Set up your main camera (e.g., Canon R6) for wide shots, a secondary camera (e.g., Canon M50) for side angles, and an overhead rig for top-down views.
- Incorporate Close-Ups: Highlight textures, like sizzling oil or a creamy sauce.
- Add Narration or Tips: If speaking, share hacks (e.g., “Use a sharp knife for cleaner cuts”) or ingredient insights (e.g., “I source these tomatoes from a local farm”).
- Plate Artfully: End with a plated dish, garnished attractively, and capture dynamic shots (e.g., slicing, drizzling sauce).
Don’t worry about mistakes—they can be edited out or repurposed for engaging bloopers.
Step 6: Edit Your Video
Editing transforms raw footage into a polished video. Follow these steps:
- Import Clips: Use software like Final Cut Pro or CapCut to organize footage.
- Sync Multi-Cam: If using multiple cameras, create a synchronized multi-cam clip for seamless angle switching.
- Trim and Cut: Keep the video concise (1–3 minutes for social media, 5–10 minutes for YouTube). Remove unnecessary pauses or errors.
- Add Text and Graphics: Display ingredients, quantities, or steps on-screen for clarity, especially for silent videos.
- Incorporate Music: Use royalty-free or trending audio from platforms like Epidemic Sound or TikTok’s library to enhance the mood.
- Create a Short Version: Edit a 15–30-second clip for Instagram Reels or TikTok, focusing on key steps and vibrant visuals.
- Export in High Quality: Use 1080p or 4K at 30fps for most platforms.
Step 7: Share and Promote Your Video
Maximize your video’s reach by sharing it strategically:
- YouTube: Upload with a detailed description, including ingredients, recipe steps, and links to your website or social media. Use relevant tags (e.g., “easy recipes,” “home cooking”).
- Instagram/TikTok: Post Reels or short videos with captions listing ingredients and a call-to-action (e.g., “Get the full recipe on my blog!”). Use trending hashtags like #Foodie or #RecipeReel.
- Your Website: Embed videos in recipe posts using a plugin like WP Recipe Maker. Create a recipe card with ingredients, steps, and nutritional info, and add the video via the “upload video” or “embed from URL” options.
- Schedule Posts: Use tools like Buffer or Hootsuite to post at peak times (e.g., 6–8 PM in your audience’s time zone).
Integrating Videos with WP Recipe Maker
WP Recipe Maker is a powerful WordPress plugin for embedding cooking videos in recipe posts. Here’s how to use it:
- Upload Video:
- Go to “Edit Recipe” in WordPress.
- Click “Upload Video” or “Replace Video” in the media section.
- Drag and drop your video file or select it manually.
- Embed from URL:
- Use embed codes from YouTube, Vimeo, or Mediavine.
- In the post editor, select “Add Media” > “Insert from URL” and paste the link.
- Customize Display:
- Use the Template Editor to position the video within the recipe card.
- Add the
[wprm-recipe-video]shortcode to place the video elsewhere in the post.
- Optimize Metadata:
- Add a description and poster image via “Edit File” to enhance SEO and user experience.
This plugin creates engaging recipe cards, boosting user interaction and encouraging feedback through ratings.
Tips for Success
- Test Recipes: Ensure recipes are reliable and visually appealing before filming.
- Keep It Short: Aim for 1-minute videos for social media to maximize engagement.
- Tell a Story: Structure videos with a clear beginning (ingredients), middle (cooking process), and end (plated dish).
- Engage Your Audience: Include calls-to-action (e.g., “Comment your favorite recipe!”) to boost interaction.
- Learn from Feedback: Monitor comments and analytics to refine your style and content.
Common Challenges and Solutions
| Challenge | Solution |
|---|---|
| Small kitchen space | Use compact tripods and overhead rigs like Manfrotto Autopole. |
| Inconsistent lighting | Invest in a Godox SL60W and diffuser for reliable, soft lighting. |
| Long editing times | Pre-plan shots and use efficient software like CapCut for quick edits. |
| Low engagement | Post at peak times, use trending audio, and include strong calls-to-action. |
Conclusion
Creating cooking videos at home is an exciting way to share your culinary creations and grow your audience. With affordable equipment like the Canon EOS M50, Manfrotto tripods, and Godox lighting, you can produce professional content without breaking the bank. By planning your shots, choosing engaging recipes, and editing strategically, you’ll create videos that captivate viewers on YouTube, Instagram, and your blog. Use tools like WP Recipe Maker to integrate videos seamlessly into your website, enhancing user experience and SEO. Start with what you have, experiment, and refine your skills—your next viral recipe video is just a shoot away!
We will meet you on next article.
Please share this How to start make a cooking video at home with your friends and do a comment below about your feedback.
Until you can read, Boost Your Cooking Recognition: Recipe Submission Tips