How to take a picture of silver without reflection?
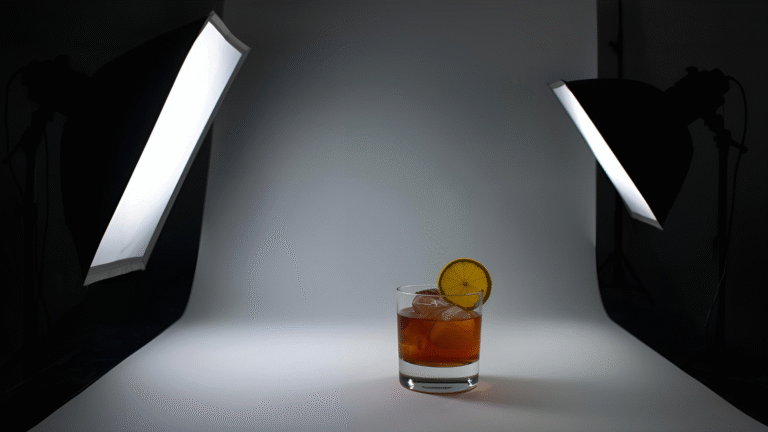
Photographing silver objects, whether it’s cutlery for food photography or shiny frames for artwork, presents unique challenges due to their reflective surfaces. Reflections can distort the subject’s appearance, introducing harsh glares that detract from the overall image.
This comprehensive guide explores the science behind reflections, practical techniques to eliminate them, and advanced methods for complex scenarios like glass-covered frames. By understanding key principles and applying targeted strategies, you can capture silver items with clarity and vibrancy, making your photos stand out in portfolios, e-commerce listings, or social media.
Understanding Reflections in Photography
To effectively photograph silver without reflections, it’s essential to grasp the types of reflections that occur on shiny surfaces. Reflections are categorized into two main types: specular and diffuse. This distinction is crucial because it dictates how light interacts with the subject and how you can control it.
Specular Reflections
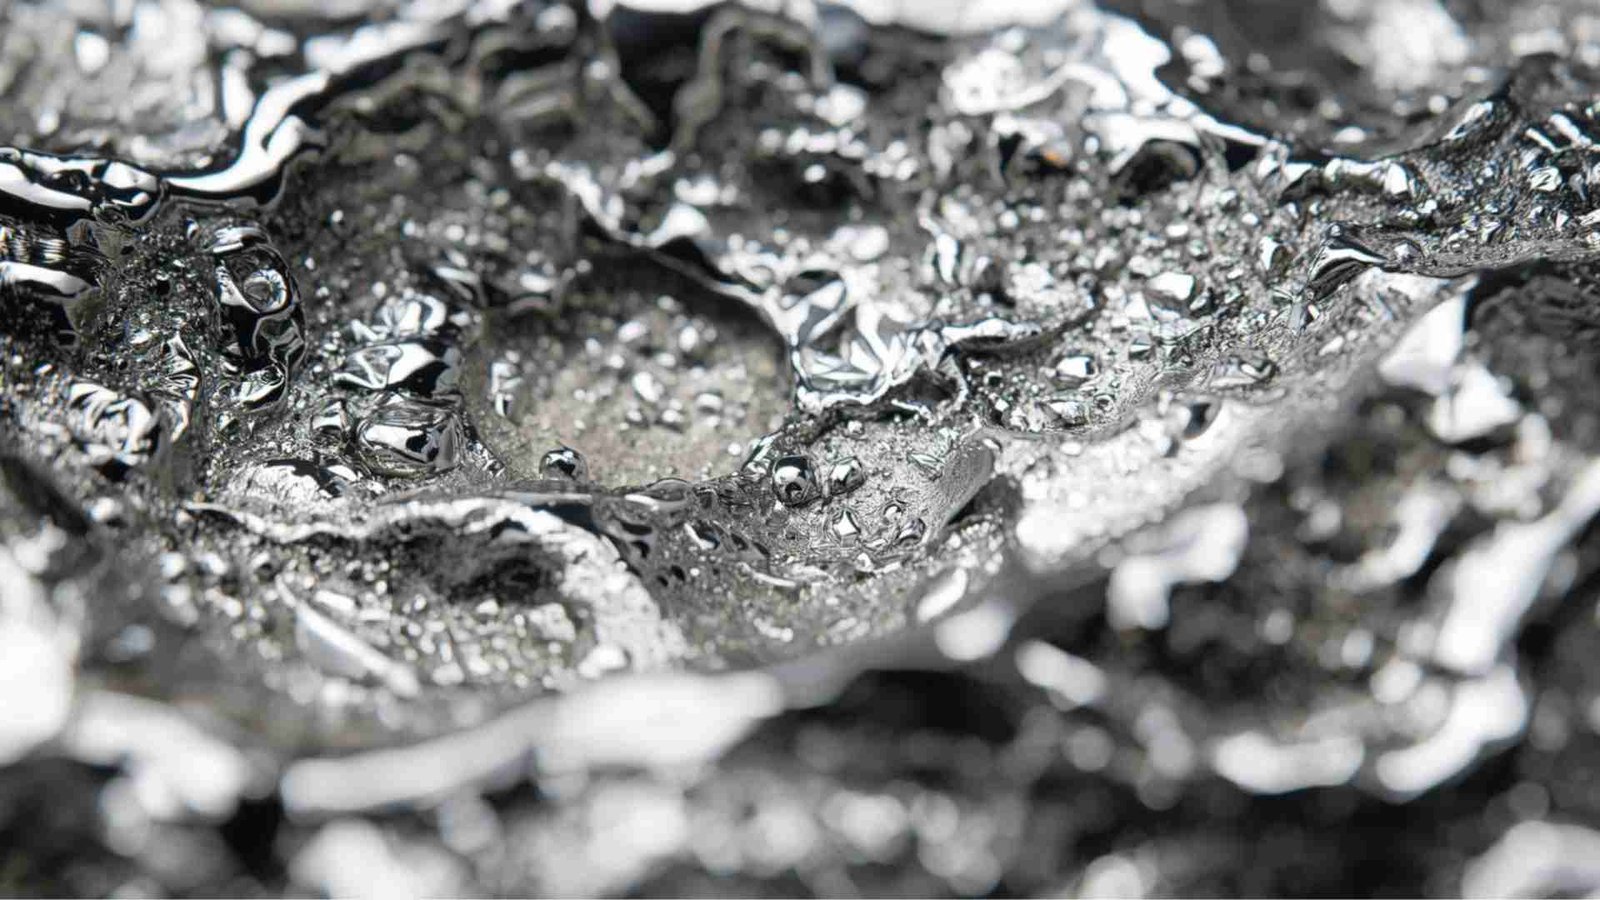
Specular reflections, also called direct reflections, happen when light bounces off a smooth, shiny surface like silver at the same angle it arrives, directing it straight into the camera lens. These create bright, harsh highlights that often appear as blown-out white spots, ruining the detail and texture of the silver. Think of them as mirror-like echoes of the light source itself. For instance, on a silver spoon, a direct light might reflect as a stark, elongated glare along the curve.
The intensity of specular reflections doesn’t change with the distance of the light source from the subject. If you move a lamp closer or farther from a silver knife, the reflection’s brightness remains constant because it’s essentially mirroring the light source. This property makes specular reflections particularly stubborn in photography.
Diffuse Reflections
In contrast, diffuse reflections scatter light in all directions upon hitting the surface. This occurs on matte or textured materials where the light doesn’t rebound uniformly. The result is even illumination that appears consistent regardless of the viewing angle. If you photograph a diffusely reflective object from multiple sides with the same camera settings, its brightness stays uniform.
Diffuse reflections respond to light distance: closer sources make the subject brighter, while distant ones dim it. Silver objects with a brushed or matte finish naturally produce more diffuse reflections, reducing the need for extensive adjustments.
To illustrate the difference, consider a simple experiment. Shine a light on a polished silver fork (specular) versus a wooden spoon (diffuse). The fork will show pinpoint glares, while the spoon will glow softly.
The Family of Angles: Predicting and Avoiding Reflections
A key concept in managing specular reflections is the “family of angles.” This refers to the range of positions where the camera can capture a direct reflection of the light source on the subject’s surface. It’s governed by the law of reflection: light bounces off at the same angle it incidents.
Factors influencing the family of angles include:
- Position of the subject relative to the light and camera.
- Focal length of the lens—wider lenses (e.g., 24mm) expand the family, capturing more potential reflections, while longer lenses (e.g., 100mm) narrow it.
To predict reflections, imagine the silver object as a mirror. If standing at the camera’s position, could you see the light source in that “mirror”? If yes, the camera will capture a specular reflection. Adjusting the setup to break this alignment eliminates the issue.
For visual aid, here’s a diagram representing a basic lighting setup and the family of angles:
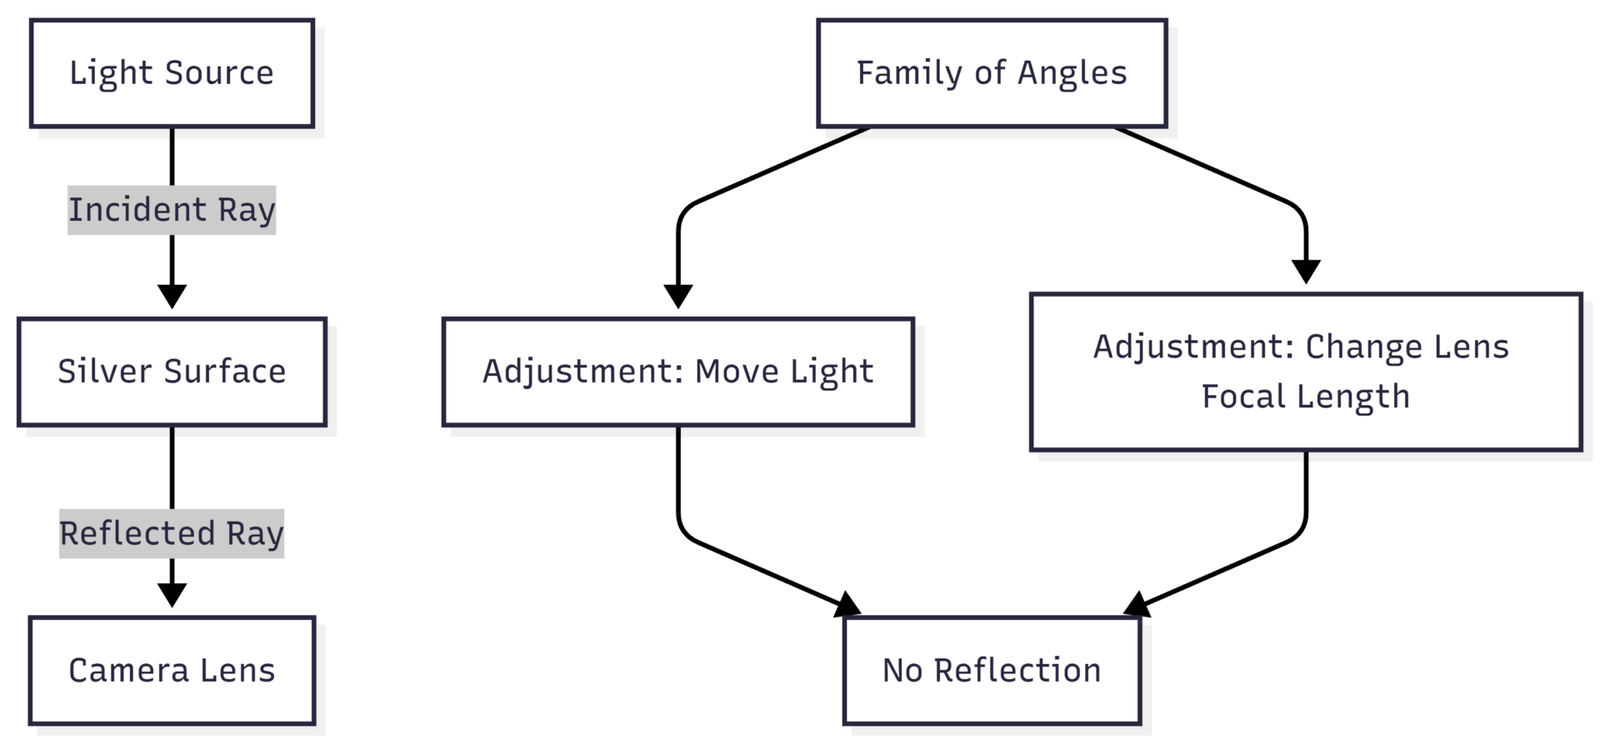
This flowchart shows how incident light creates reflections and how adjustments can redirect rays outside the camera’s view.
Essential Techniques for Photographing Silverware
Silverware, like knives, forks, and spoons, is common in food photography but notorious for reflections. The goal is to light the food primarily while adapting the silverware to the setup, not vice versa.
Positioning for Success
Start by lighting the scene for the main subject (e.g., food). Then, orient the silverware to avoid the family of angles. Tilt spoons slightly using a prop like Blu Tack under one end—this shifts reflections away without altering the composition noticeably.
Switch to matte or vintage cutlery for inherent diffuse reflections. For example, gold-toned teaspoons with a subtle sheen maintain dimension without harsh glares.
Diffusion Methods
Diffuse lighting is the cornerstone of reflection control. Enclose the subject in a light tent or diffusion setup to scatter light evenly.
- Light Tent or EZcube: A portable, foldable enclosure with translucent sides. Specifications: Typical size 24x24x24 inches, made of nylon fabric with zippered access. Price: Around $20-$50 on Amazon (e.g., Neewer 24-inch Light Tent at $25).
- Softbox: Attaches to lights for broad, soft illumination. Specs: 20×28 inches, with inner diffusion layer. Price: Godox SB-UE 24×24-inch Softbox at $30.
- Tracing Paper or Diffusion Sheets: Budget option; tape over windows or lights. Specs: Acid-free, 24-inch rolls. Price: $10 per roll.
Place white foam boards around the setup to bounce light and fill shadows. Specs: 20×30-inch polystyrene boards, 1/8-inch thick. Price: $5-$10 each.
Camera and Setup Tips
- Use a tripod for stability, enabling slower shutter speeds (e.g., 1/30s) and smaller apertures (f/8-f/16) for depth of field.
- Angle the camera slightly to dodge direct reflections.
- Clean silver meticulously—fingerprints amplify in photos. Use microfiber cloths.
For a step-by-step process:
- Set up diffuse lighting around the silver.
- Position silverware at angles avoiding light source reflections.
- Test shots and adjust tilts or props.
- Post-process minimally for contrast.
Advanced Strategies for Shiny Frames and Glass
Photographing silver or gold frames, especially with glass, compounds issues due to dual surfaces: reflective metal and transparent glass. A common scenario is capturing a triptych artwork in a shiny frame without camera or room reflections.
Challenges with Frames
Frames reflect like silverware but add glass, which can mirror the entire setup. Direct front-on shots often show the camera in the center pane.
Solutions from Experts
- Shift Lens Technique: Use a tilt-shift lens to offset the camera without tilting, avoiding reflections while maintaining perpendicular alignment. Specs: Canon TS-E 24mm f/3.5L II—focal length 24mm, tilt ±8.5°, shift ±12mm. Price: $1,900 new. This lens is ideal for architecture but adapts well here.
- Off-Camera Flash: Position flashes at 45° angles from sides, far back to minimize direct bounce. Reduce exposure to fade residual reflections. Specs: Godox TT600 Speedlite—guide number 60, recycle time 0.1-2.6s. Price: $60.
- White Board with Hole: Place a white foam board in front, lit from behind or sides, with a lens hole. Shoot slightly off-axis so the hole reflects in a dark area of the image. Adjust keystoning in post if needed.
For compositing:
- Take one shot optimized for frame lighting (bright, gold tones).
- Another for artwork (no reflections on glass).
- Merge in Photoshop using layers and masks.
Here’s a table comparing techniques:
| Technique | Pros | Cons | Equipment Needed | Approx. Cost |
|---|---|---|---|---|
| Light Tent | Even diffusion, portable | Limited size | EZcube | $25 |
| Softbox | Directional control | Bulkier | Godox Softbox | $30 |
| Shift Lens | No distortion | Expensive | Canon TS-E | $1,900 |
| Off-Camera Flash | Flexible angles | Setup time | Godox TT600 | $60 |
| White Board Hole | Low-cost | Manual alignment | Foam Board | $10 |
Tools and Equipment Recommendations
Investing in the right gear streamlines the process. Here’s a curated list with specs and prices (based on current market averages):
- Tripod: Manfrotto MT055XPRO3—aluminum, 66-inch height, 20-lb load. Price: $250.
- Microfiber Cloths: Amazon Basics pack of 24, 12×16 inches. Price: $15.
- Blu Tack: Reusable putty, 75g pack. Price: $5.
- Vintage Cutlery: Search for “matte gold teaspoons” on Etsy—set of 6, stainless steel with matte finish. Price: $20.
For budgets under $100, start with a light tent and foam boards.
Common Mistakes and Troubleshooting
Avoid these pitfalls:
- Over-relying on post-processing; dark frames can’t be salvaged easily.
- Using wide lenses, expanding reflection families.
- Ignoring cleaning, leading to visible smudges.
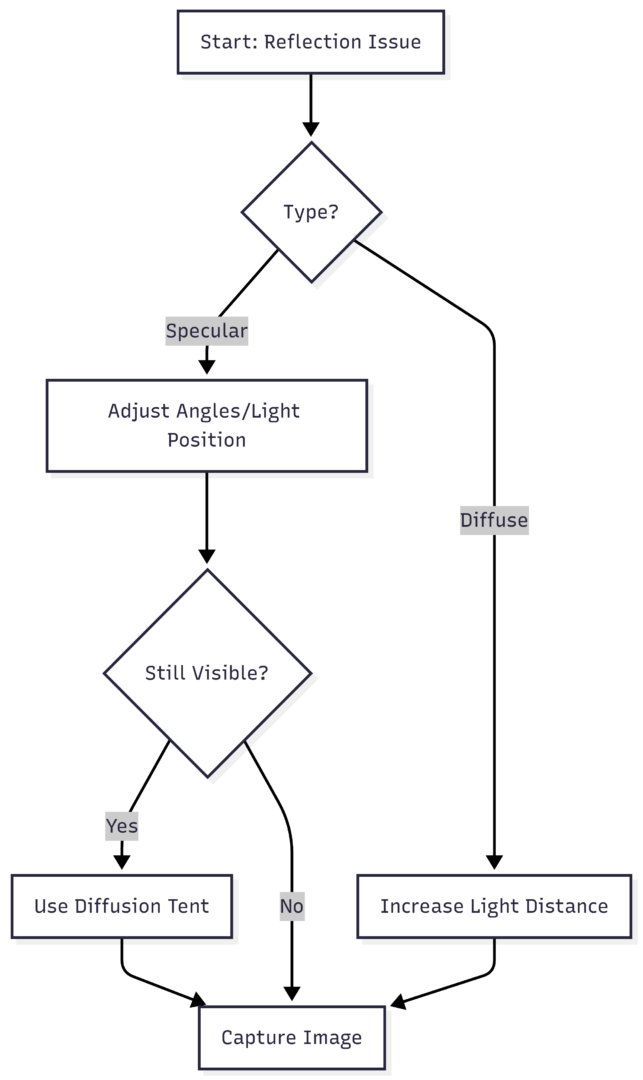
Troubleshoot with this flowchart:
Post-Processing Essentials
Even with perfect setups, minor tweaks enhance results. Use Adobe Lightroom or Photoshop to:
- Adjust exposure selectively on reflections.
- Clone out residual glares.
- Correct colors for true silver tones.
For frames, fix keystoning via Transform tools.
Real-World Applications
In food photography, these techniques ensure silverware complements dishes without distracting. For product shots, like jewelry or utensils, they yield professional e-commerce images. Artists photographing framed work can preserve gold sheen without glass artifacts.
By mastering these methods, you’ll handle any silver photography challenge confidently, producing images that captivate viewers.
Please share this How to take a picture of silver without reflection? with your friends and do a comment below about your feedback.
We will meet you on next article.
Until you can read, Set One Year Food Photography Goals


![How To Create a Weight Loss Blog [9 Steps to Success!]](https://yumtonight.com/wp-content/uploads/2025/07/Untitled-design-2-4-768x432.jpg)