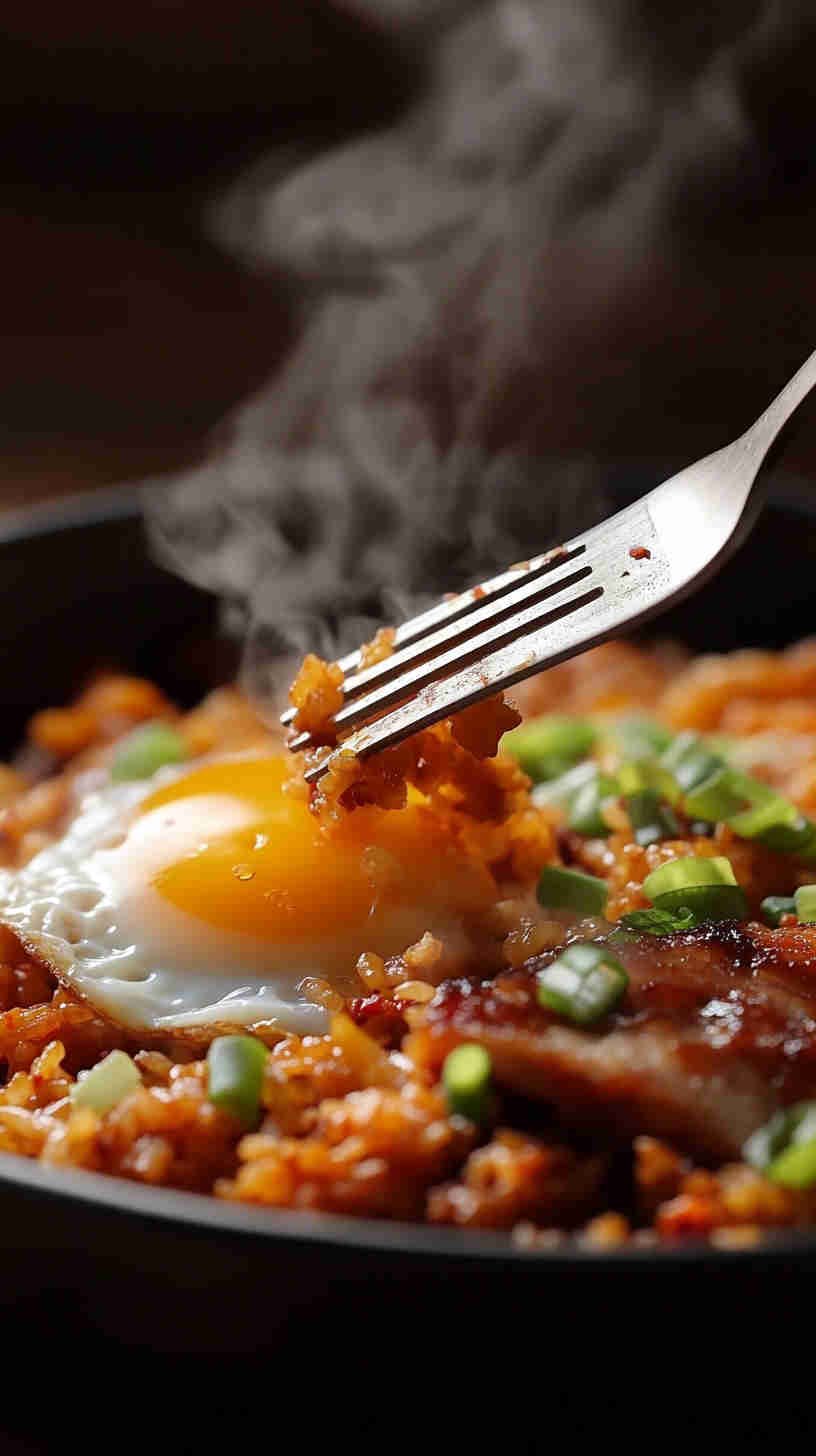
Kimchi Fried Rice with Pork Belly
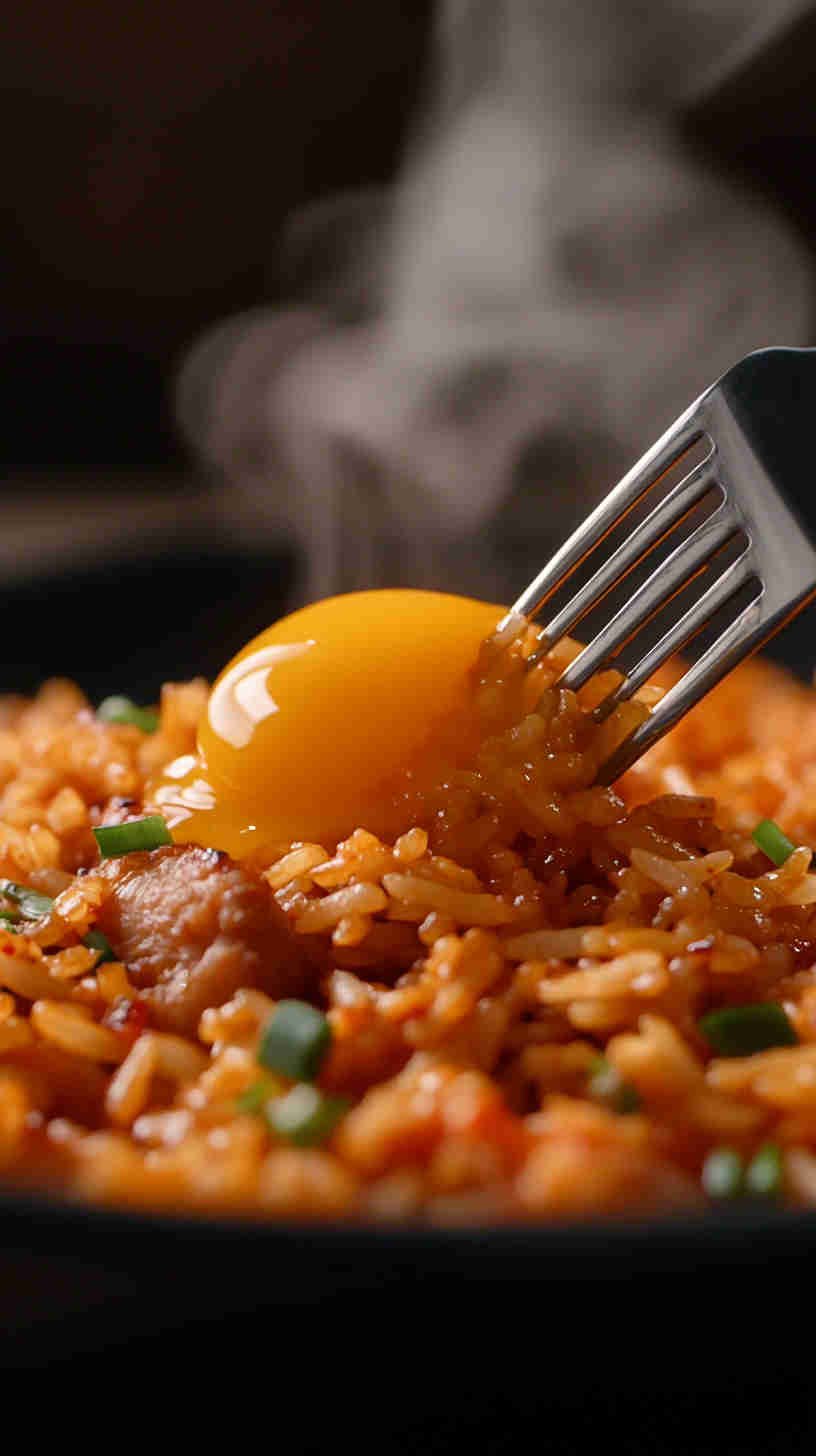
Crispy pork belly crackles mingle with tangy, fiery kimchi and day-old rice in this Korean-Chinese fusion fried rice. Gochujang gloss, runny egg crown, and sesame-scallion finish deliver bold umami, heat, and texture in one sizzling wok.
Why You’ll Love This Recipe
This kimchi fried rice with pork belly is pure addiction in a bowl—salty-crunchy pork fat renders into the rice while fermented kimchi releases explosive tang and gentle heat that blooms with every toss. The day-old grains drink up kimchi juice and gochujang glaze, achieving perfect separation and that elusive smoky wok hei. A fried egg with molten yolk ties everything together in creamy luxury. It’s a 20-minute wonder that clears out leftover rice and that jar of kimchi lurking in the fridge, yet tastes like late-night Seoul street food. Customizable spice, built-in protein, and zero waste—leftovers reheat even better as flavors deepen overnight. Whether you’re feeding hangry teens or impressing foodie friends, this dish disappears faster than you can say “bokkeumbap.”
Recipe Tips and Tricks
- Cold Rice Mandatory → Day-old prevents mush.
- Render Pork First → Crispy bits = flavor gold.
- Kimchi Juice → Squeeze and use every drop.
- Gochujang Control → Start mild, add more.
- Egg Timing → Fry separately for runny perfection.
- High Heat Toss → Lift-flip motion for char.
- Sesame Finish → Off-heat to preserve aroma.
- Taste & Adjust → Kimchi varies in salt/heat.
Kimchi Fried Rice with Pork Belly

Crispy pork belly and tangy kimchi ignite day-old rice—bold Korean-Chinese fusion.
Ingredients
- 1 tbsp neutral oil
- 1 tsp light soy sauce
- 1 tsp sesame oil
- 1½ cups chopped kimchi + ¼ cup juice
- 2 tbsp gochujang
- 3 cloves garlic, minced
- 4 cups day-old jasmine rice, cold
- 4 large eggs
- 4 scallions, sliced (whites/greens separated)
- 8 oz skin-on pork belly, ¼-inch dice
- Optional: sesame seeds, nori strips
Instructions
- Prep Station → Dice pork, squeeze kimchi (reserve juice), chill rice—line up every ingredient beside your screaming-hot wok.
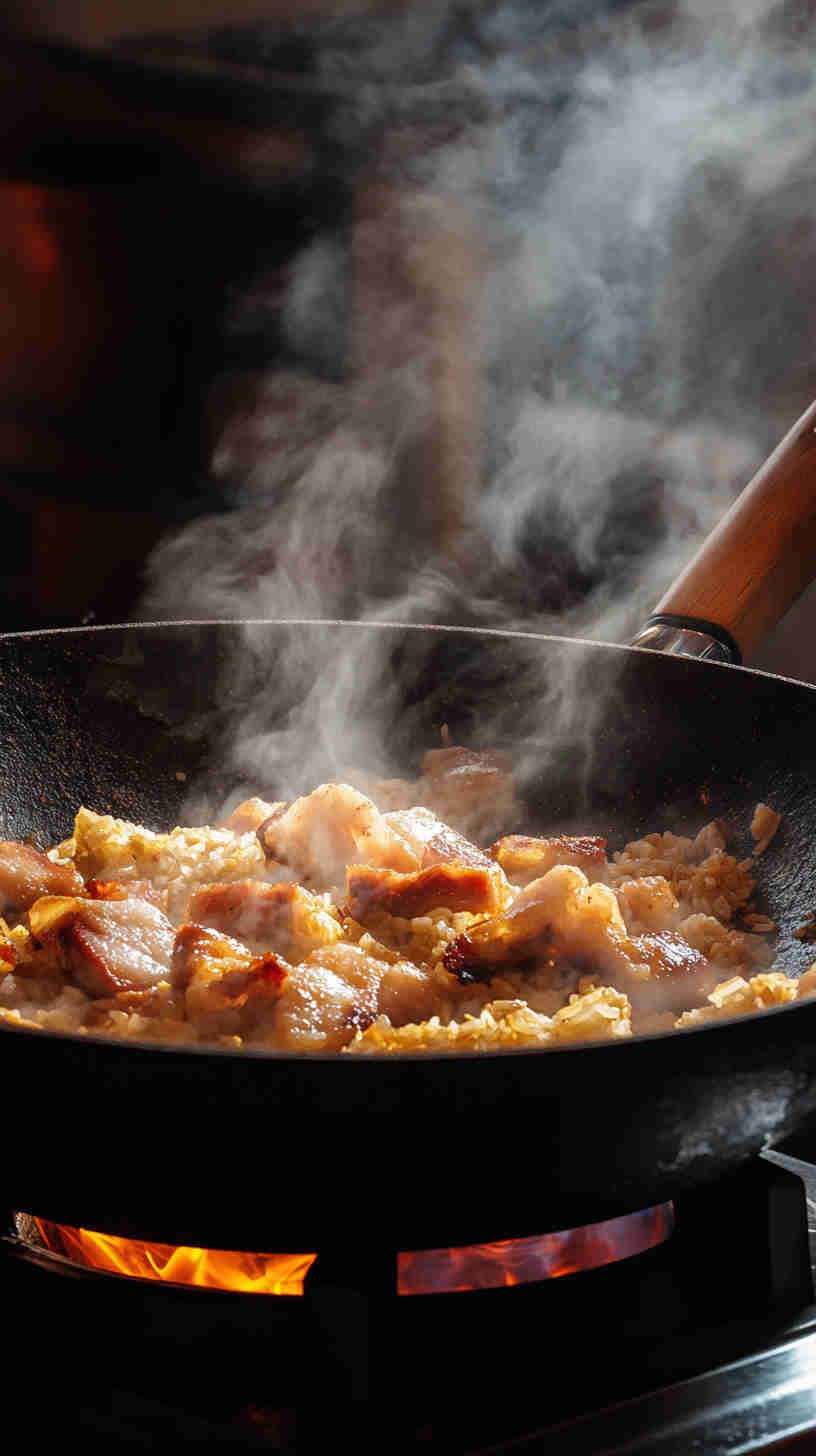
- Render Pork → Heat wok blazing-high; add pork belly dice in one layer—let sit 3 minutes undisturbed until golden and crisp.
- Aroma Base → Push pork aside; add garlic and scallion whites—stir-fry 20 seconds until fragrant.
- Kimchi Sizzle → Toss in chopped kimchi; let juices hit hot surface and reduce 1 minute for concentrated tang.
- Gochujang Gloss → Dollop gochujang + kimchi juice; stir into pork-kimchi mixture until glossy and bubbling.
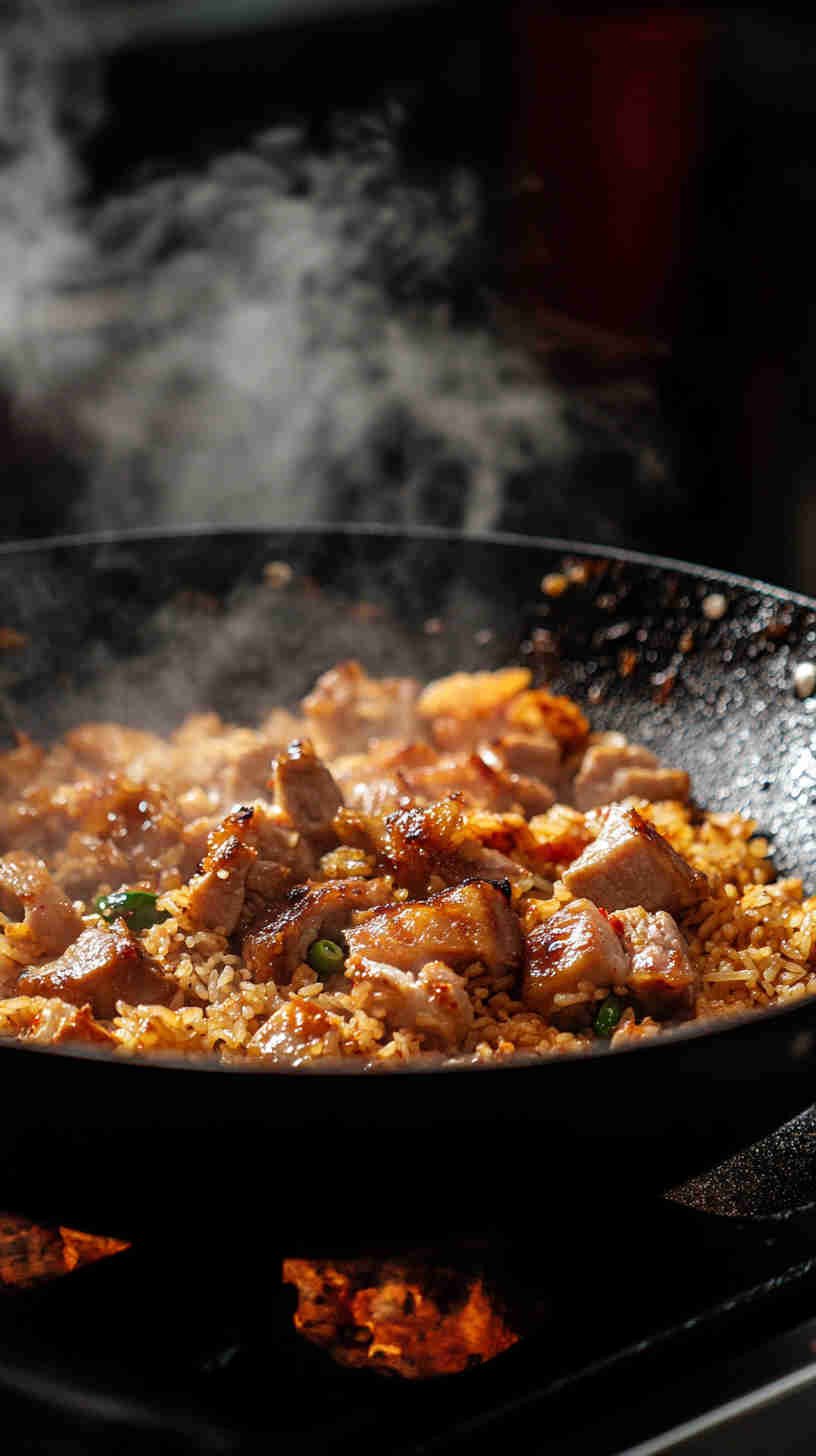
- Rice Revival → Crumble cold rice over the top; toss vigorously to separate grains and coat in red glory.
- Char Magic → Spread rice thin against wok; let sit 45 seconds for crispy bottom, then flip and repeat.
- Season Balance → Drizzle soy sauce around edges; one final toss to distribute salt without darkening.
- Fresh Finish → Remove from heat; drizzle sesame oil, scatter scallion greens and optional sesame seeds.
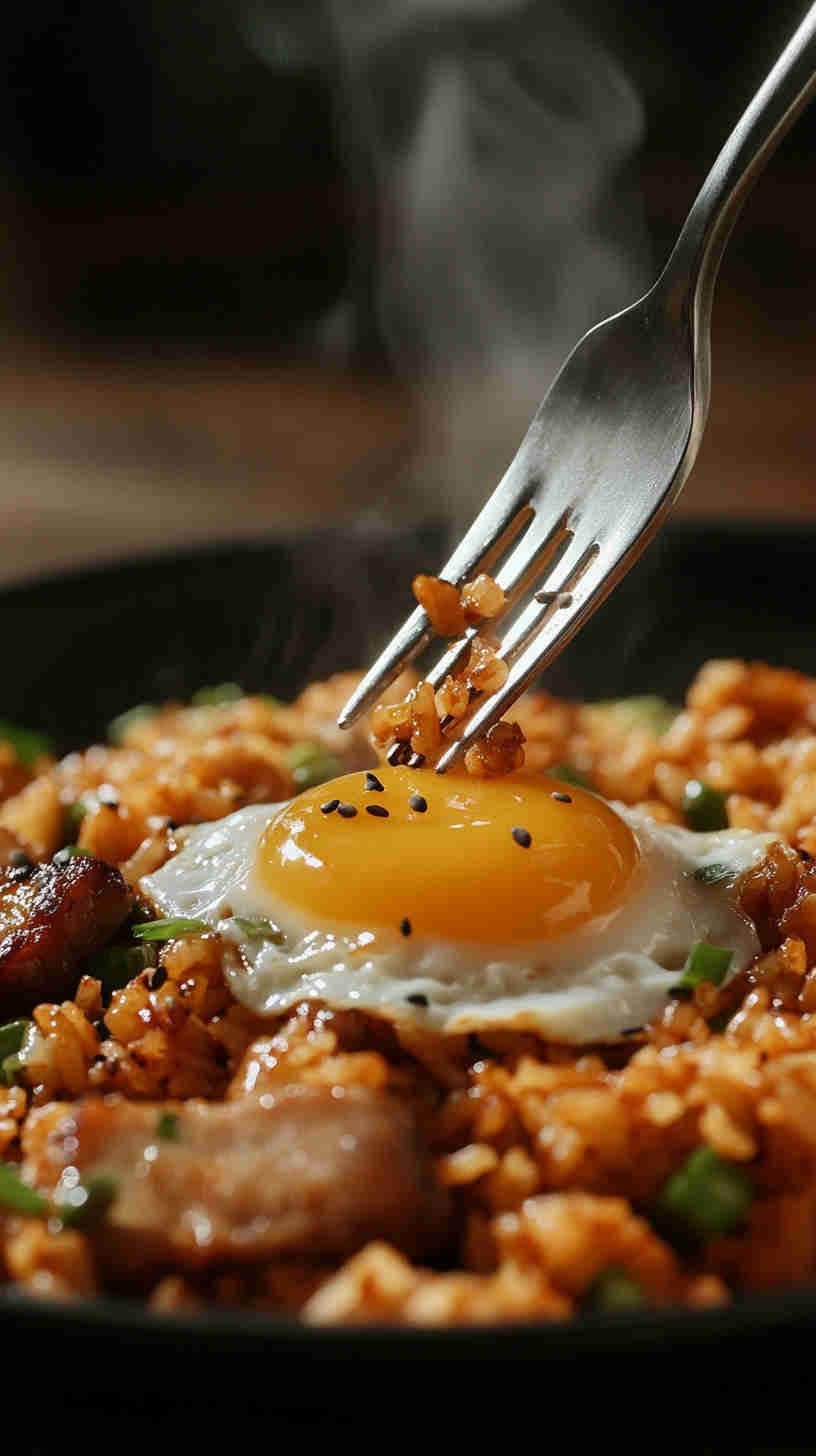
- Crown with Egg → Fry eggs sunny-side in separate pan; slide atop steaming rice and serve immediately.
Notes
- Day-old rice is non-negotiable—fresh rice turns gummy.
- Kimchi juice is liquid gold—don’t discard.
- Adjust gochujang to your heat tolerance; start with 1 tbsp.
- Runny yolk is the built-in sauce—don’t overcook eggs.
Nutrition Information
Yield
4Serving Size
1Amount Per Serving Calories 639Total Fat 19gSaturated Fat 5gUnsaturated Fat 14gCholesterol 236mgSodium 367mgCarbohydrates 88gFiber 2gSugar 14gProtein 28g
The recipes and nutritional information on Yum Tonight are for informational purposes only. Always consult a healthcare provider for personalized dietary advice.
Ingredients Notes
- Pork Belly → 8 oz skin-on; cut ¼-inch dice for crisp.
- Day-Old Rice → 4 cups jasmine; cold and clumped.
- Kimchi → 1½ cups well-fermented Napa; chopped + juice.
- Gochujang → 1-2 tbsp; Korean chili paste depth.
- Garlic → 3 cloves minced; subtle backbone.
- Scallions → 4; whites cook, greens garnish.
- Eggs → 4 large; sunny-side with lacy edges.
- Soy Sauce → 1 tsp light; balances fermentation.
- Sesame Oil → 1 tsp finish; nutty perfume.
- Neutral Oil → 1 tbsp; supplements pork fat.
Variations and Substitutions
- Protein Swap → Bacon, spam, shrimp, or tofu.
- Vegetarian → Mushrooms + extra kimchi juice.
- Mild Version → Reduce gochujang; use mild kimchi.
- Cheese Twist → Melt mozzarella on top (Korean trend).
- Cauliflower Rice → Low-carb; 2 min less cook.
- Brown Rice → Nutty; slightly longer reheat.
- Gluten-Free → Tamari + GF gochujang.
- Veggie Boost → Spinach, zucchini, or corn.
Storage Options
- Refrigerator → Airtight up to 3 days (kimchi keeps it safe).
- Freezer → Portion (no egg); up to 1 month.
- Reheating → Wok with splash water or microwave damp towel.
Dish Gallery

Please share this Kimchi Fried Rice with Pork Belly with your friends and do a comment below about your feedback.
We will meet you on next article.
Until you can read, Garlic and Ginger Fried Rice with Broccoli