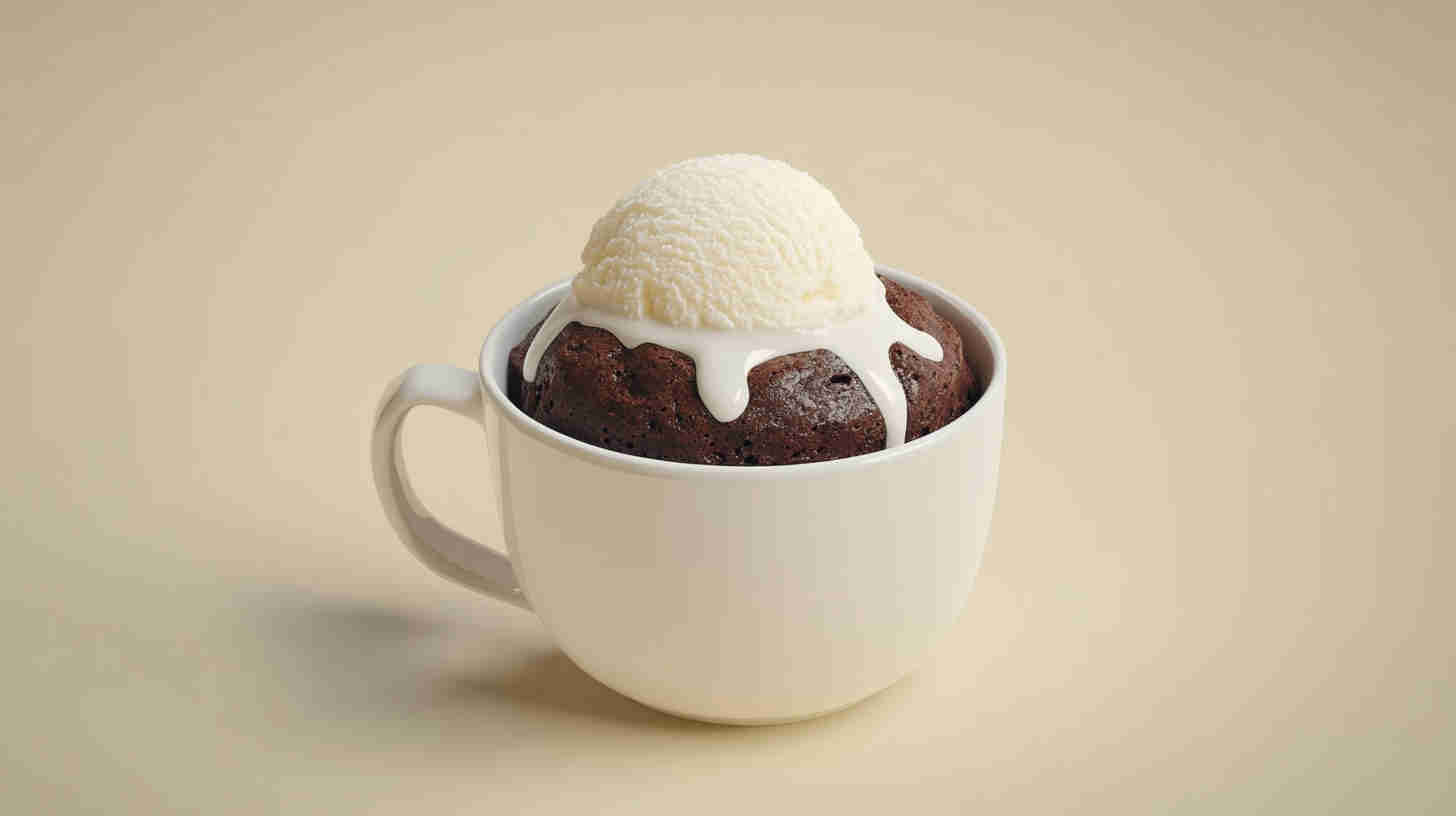
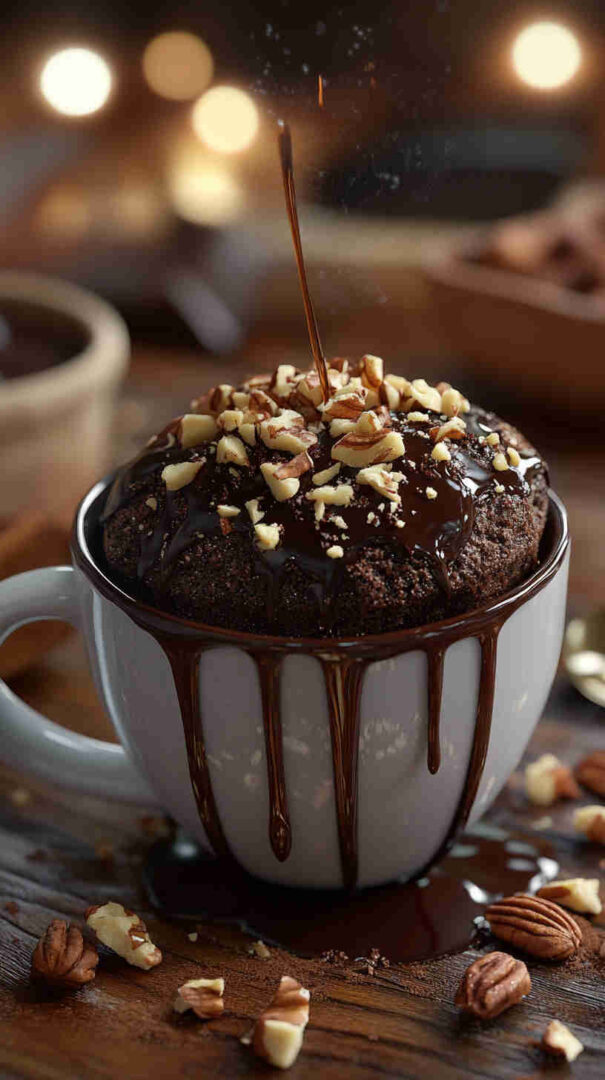
Microwave Mug Brownie Recipe
This single-serve microwave mug brownie is a fudgy, chocolate-packed treat ready in under 2 minutes. Made with wholesome ingredients like almond flour, cocoa, and natural sweeteners, it’s lower in calories, gluten-free friendly, and perfect for when you need a fast, healthy dessert without turning on the oven.
Why You’ll Love This Recipe:
You’ll fall head over heels for this microwave mug brownie because it delivers all the rich, gooey indulgence of a classic brownie in a fraction of the time and with far fewer calories. There’s no need to preheat an oven, dirty multiple bowls, or wait for a whole batch to bake — everything mixes right in your favorite mug and cooks in just 60 seconds.
It’s portion-controlled perfection, so you can enjoy a warm, melty chocolate treat without derailing your healthy eating goals. The recipe uses better-for-you ingredients that keep it lighter yet still incredibly decadent, making it ideal for late-night cravings, quick snacks, or impressing yourself on a busy day. Plus, it’s super customizable, forgiving for beginners, and always turns out soft and fudgy — no dry or rubbery results here!
Microwave Mug Brownie Recipe

Quick fudgy microwave mug brownie — healthy, single-serve, gluten-free friendly, ready in 60 seconds for instant chocolate bliss!
Ingredients
- 3 tablespoons almond flour
- 2 tablespoons unsweetened cocoa powder
- 2 tablespoons coconut sugar (or maple syrup)
- ⅛ teaspoon baking powder
- Pinch of salt
- 1 tablespoon melted coconut oil (or neutral oil/nut butter)
- 3 tablespoons milk (dairy or unsweetened plant-based)
- ½ teaspoon vanilla extract
- 1–2 tablespoons dark chocolate chips (optional but recommended)
Instructions
- Grab your favorite microwave-safe mug (at least 12 oz) — this is where the magic happens!
- Add the almond flour, cocoa powder, coconut sugar, baking powder, and a tiny pinch of salt right into the mug.
- Give everything a quick stir with a fork to combine the dry ingredients evenly — no lumps wanted!
- Pour in the melted coconut oil, milk, and vanilla extract — hello, fudgy goodness incoming!
- Mix everything together gently until smooth and no dry spots remain — it’ll look like thick chocolate batter.
- Fold in those delicious dark chocolate chips if using — they’ll melt into dreamy little pockets!
- Smooth the top a bit with your spoon (optional — makes it look extra cute).
- Pop the mug into the microwave and cook on high for 50–70 seconds — start checking at 50!
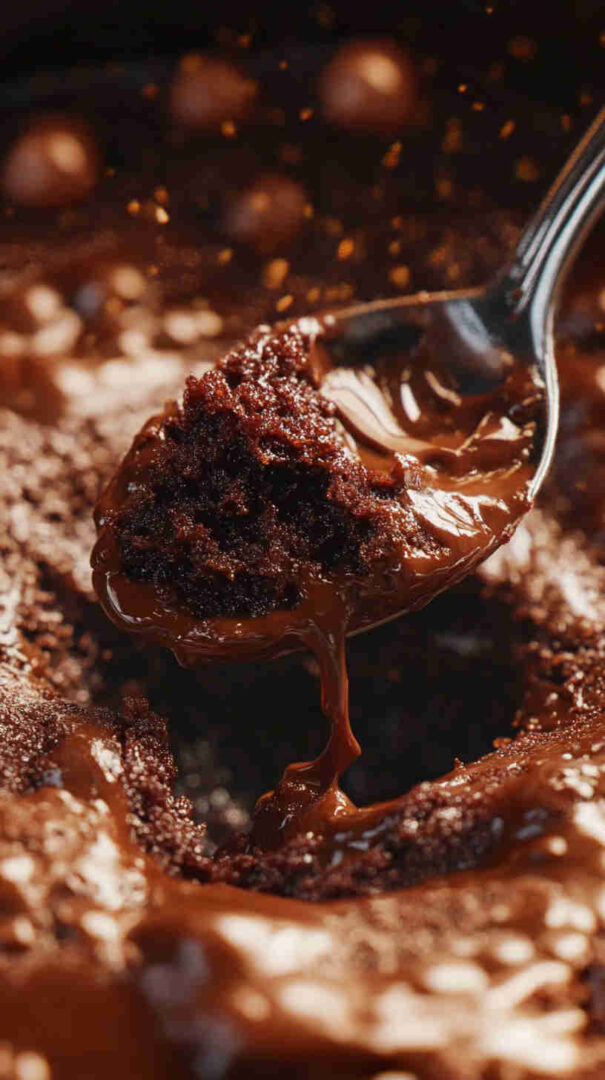
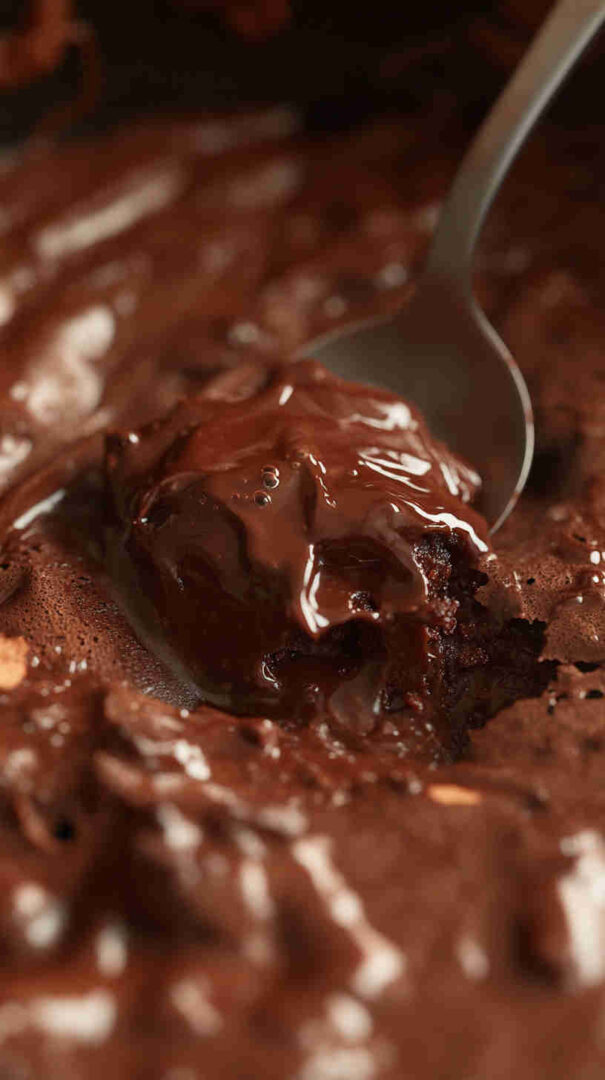
- The brownie should rise, look set around the edges, but still be slightly soft in the center — that’s the fudgy secret!
- Let it rest for 1 minute (hard, I know!), grab a spoon, and dive into warm chocolate heaven — you deserve this!
Notes
Microwave strength varies — if your brownie is too gooey, add 10 seconds next time; if dry, reduce by 10 seconds. Always use a mug that’s safe for microwaving (no metal!). This recipe is designed to be forgiving — feel free to tweak sweetness or add-ins to your taste.
Nutrition Information
Yield
1Serving Size
1Amount Per Serving Calories 629Total Fat 38gSaturated Fat 14gUnsaturated Fat 25gCholesterol 3mgSodium 97mgCarbohydrates 57gFiber 11gSugar 30gProtein 16g
The recipes and nutritional information on Yum Tonight are for informational purposes only. Always consult a healthcare provider for personalized dietary advice.
Recipe Tips and Tricks:
- Use a wide, microwave-safe mug (at least 12 oz) to prevent overflow and allow even cooking.
- Microwave times vary — start with 50–60 seconds and add 10-second increments if needed; the center should look slightly underdone for the best fudgy texture (it sets as it cools).
- Don’t overmix after adding wet ingredients — a few small lumps are fine for tenderness.
- Lightly grease the mug with oil or cooking spray for easy removal if you want to flip it out.
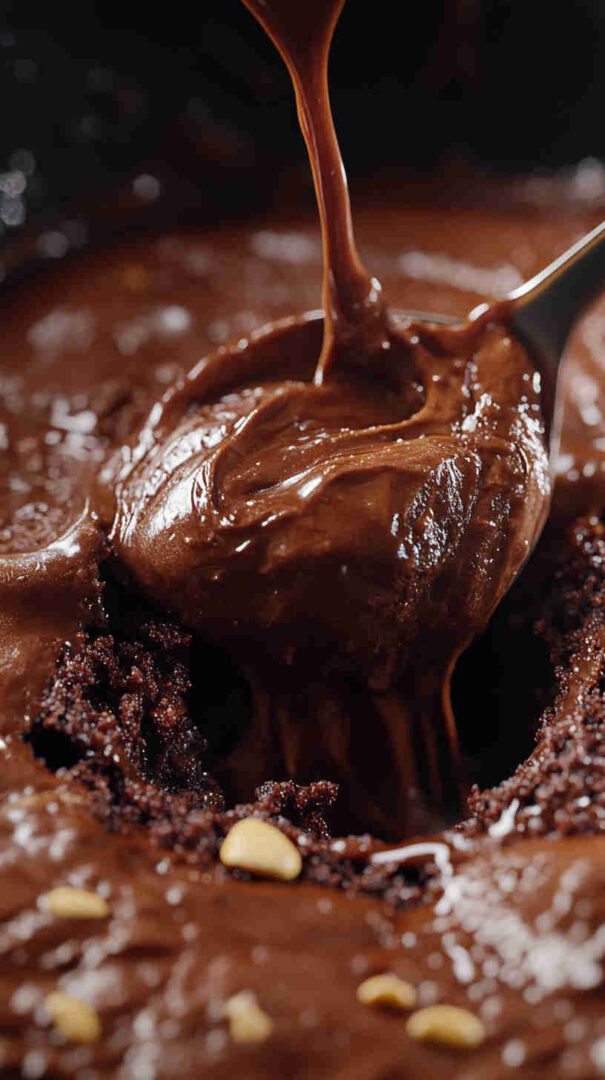
- For extra gooeyness, undercook slightly and let it rest 1–2 minutes before eating.
- Taste your cocoa powder beforehand; Dutch-processed gives a richer, darker flavor.
- If your microwave is powerful, reduce time by 10–15 seconds to avoid a tough texture.
Ingredients Notes:
- Almond flour — Provides structure while keeping the brownie gluten-free, moist, and nutty; blanched almond flour works best for a smooth texture (avoid almond meal which can be grainy).
- Unsweetened cocoa powder — Delivers deep chocolate flavor without added sugar; natural cocoa gives a brighter taste, while Dutch-processed makes it richer and darker.
- Coconut sugar or maple syrup — Natural, lower-glycemic sweeteners that add caramel-like depth instead of refined white sugar.
- Milk (dairy or plant-based) — Adds moisture; unsweetened almond or oat milk keeps it light, while dairy milk makes it richer.
- Oil or nut butter — Ensures fudginess; coconut oil adds subtle flavor, while almond butter boosts protein and creaminess.
- Baking powder — Gives a slight lift so it’s not too dense.
- Dark chocolate chips — Optional but highly recommended for melty pockets of chocolate and extra indulgence.
Variations and Substitutions:
- Vegan version — Use plant-based milk, maple syrup, and skip egg if using a no-egg base (or replace with 1 tbsp applesauce + ½ tsp extra baking powder).
- Flour swap — Try oat flour for extra fiber, or all-purpose flour if you don’t need gluten-free.
- Sweetener options — Swap coconut sugar for monk fruit, stevia, or honey; adjust to taste since sweetness levels vary.
- Protein boost — Stir in 1 tbsp protein powder (chocolate or vanilla) and add 1–2 extra tsp milk to adjust consistency.
- Nut-free — Use sunflower seed flour instead of almond flour and seed butter instead of nut butter.
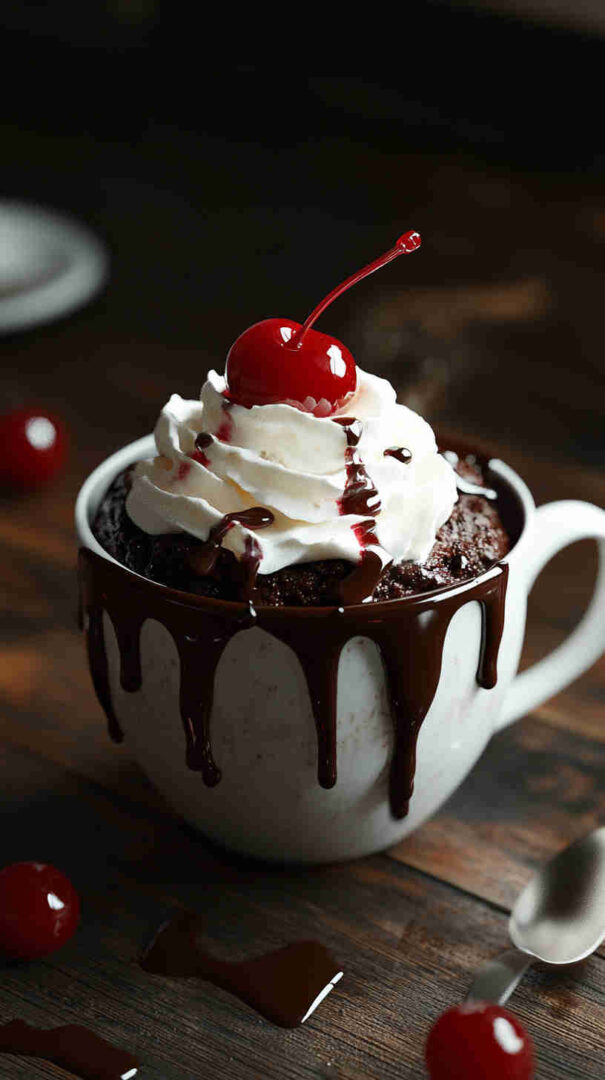
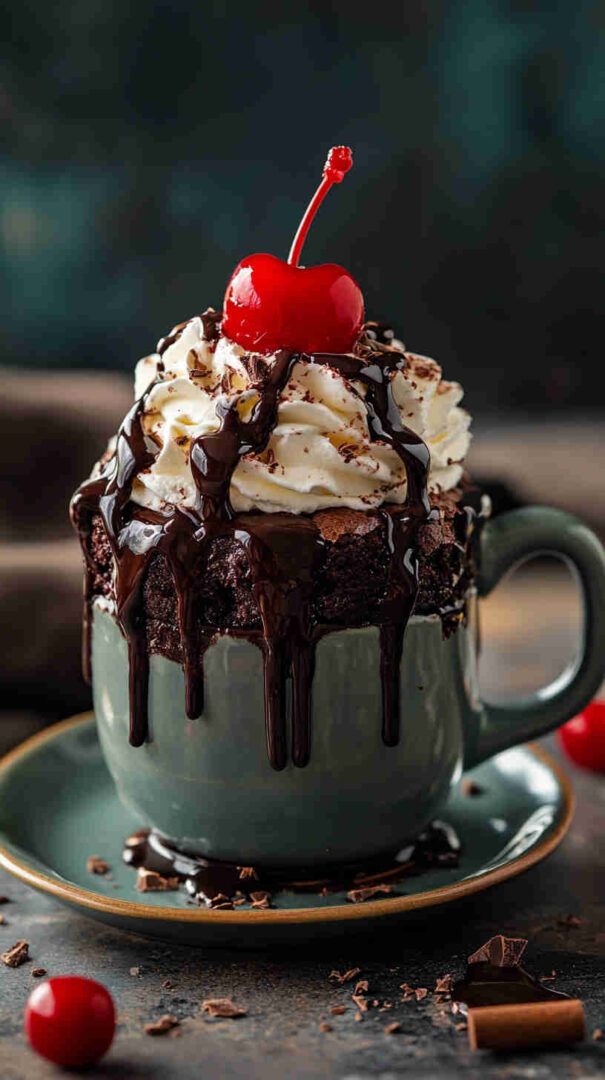
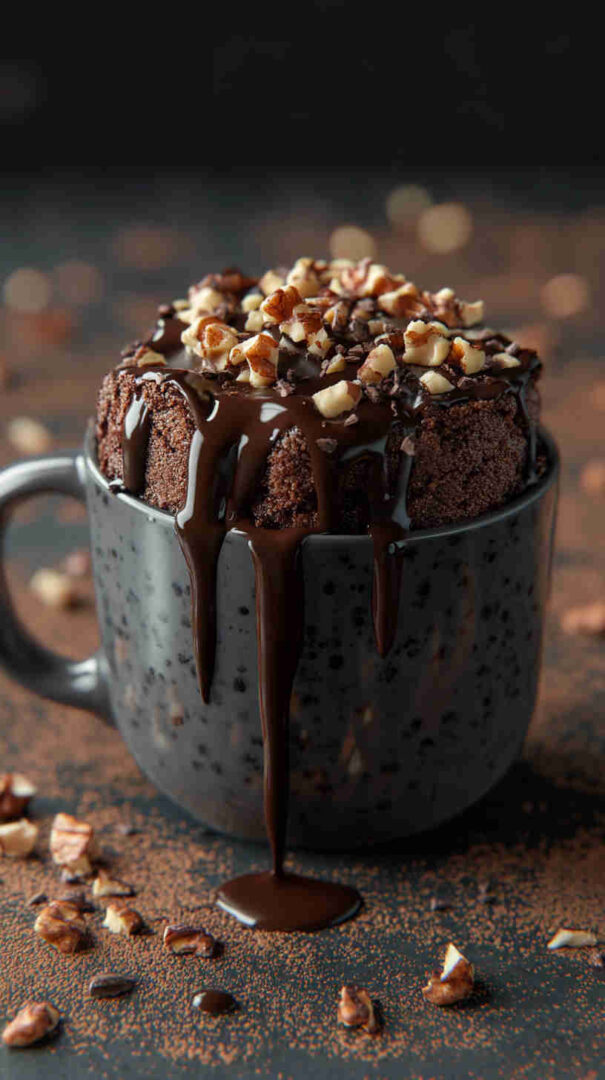
- Extra decadent — Add 1 tbsp peanut butter swirl, crushed nuts, or a scoop of Greek yogurt on top after cooking.
- Spice it up — Mix in ¼ tsp cinnamon, espresso powder, or a pinch of cayenne for depth.
- Low-carb/keto — Use erythritol or allulose and almond flour base.
Storage Options:
Best enjoyed fresh and warm right after cooking. If you have leftovers (unlikely!), cover and store at room temperature for up to 1 day or refrigerate for 2–3 days. Reheat in 10–15 second bursts in the microwave until warm. Not ideal for freezing due to texture changes.
Dish Gallery


Please share this Microwave Mug Brownie Recipe with your friends and do a comment below about your feedback.
We will meet you on next article.
Until you can read, Homemade Chocolate Fudge Recipe