Pizza Photo Perfection: A Comprehensive Guide
Master pizza photography with expert tips on styling, lighting, and editing to capture mouthwatering shots for your pizzeria or food blog.
Pizza, with its vibrant toppings, gooey cheese, and golden crust, is a dish that begs to be photographed. A stunning pizza photo can make mouths water, entice customers, and elevate your pizzeria or food blog’s brand. However, achieving that perfect shot requires more than pointing and shooting with a smartphone. It demands careful attention to pizza construction, styling, lighting, camera techniques, and post-processing. This comprehensive guide, tailored for pizzeria owners, food bloggers, and photography enthusiasts, provides actionable tips to create professional-quality pizza photos without breaking the bank on a professional photographer. Whether you’re showcasing your creations on social media, a website, or a menu, these techniques will help your pizzas shine.
Crafting a Photogenic Pizza
The foundation of a great pizza photo is a great-looking pizza. Before you even pick up a camera, focus on constructing a pizza that’s visually appealing. Here’s how to make your pizza camera-ready:
1. Choose the Right Cheese
Mozzarella is the gold standard for pizza photography due to its iconic stretch and creamy, melted texture. Opt for high-quality, low-moisture mozzarella to avoid excess grease, which can make your pizza look unappetizing. Fresh mozzarella balls can add visual interest with their soft, glossy appearance, but ensure they’re evenly distributed to avoid a soggy look.
2. Distribute Toppings Evenly
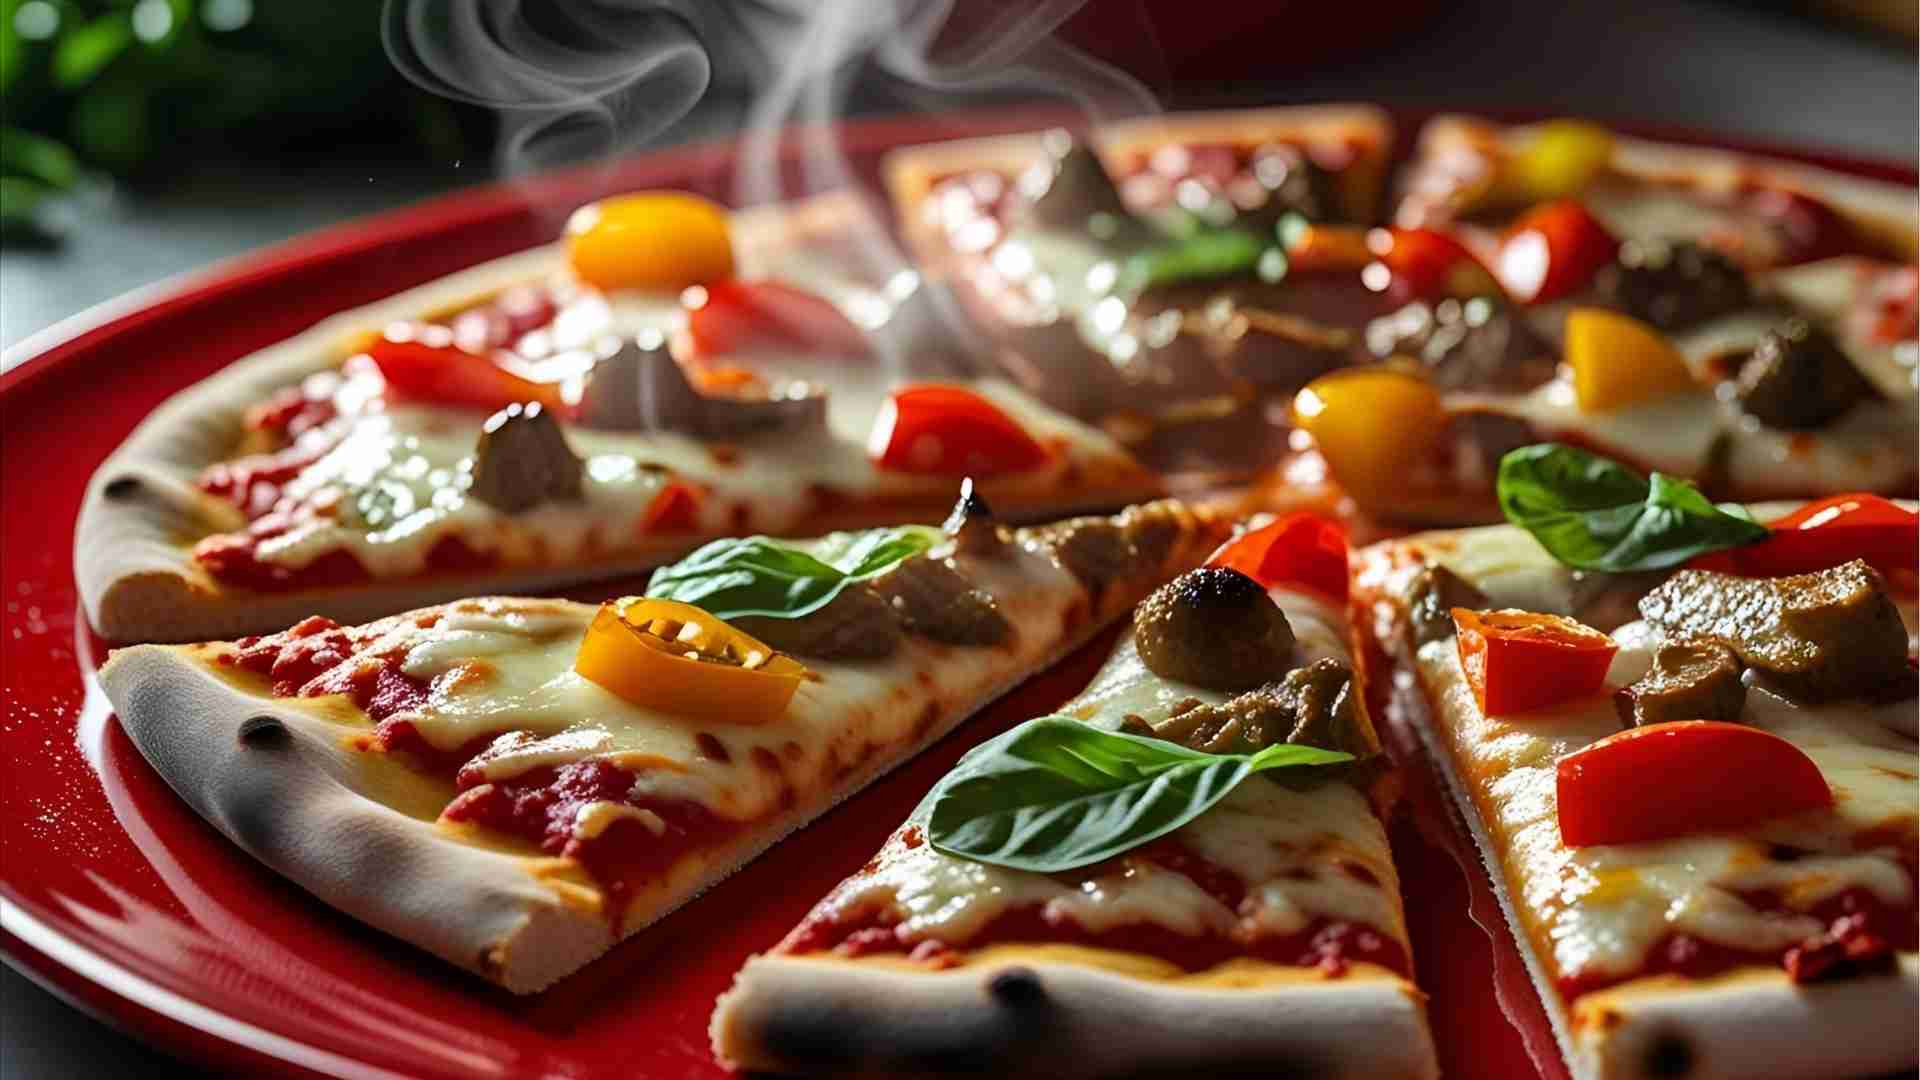
A balanced pizza is key to a balanced photo. Ensure toppings like pepperoni, vegetables, or herbs are spread uniformly across the surface. Each slice should look equally appetizing, with no bare spots or overcrowded areas. For example, place pepperoni slices in a deliberate pattern, ensuring they don’t overlap excessively, which can obscure other ingredients.
3. Use Less Sauce
While a saucy pizza is delicious to eat, too much sauce can create a messy, overpowering visual in photos. Use a light hand when applying tomato sauce to let the toppings and cheese take center stage. A thin, even layer ensures vibrant colors without drowning the pizza’s texture.
4. Start with a Par-Baked Crust
A par-baked crust gives you control over the crust’s texture and color. Bake the crust lightly before adding toppings to achieve a golden-brown edge that looks crisp and inviting. This technique prevents a pale, doughy appearance that can detract from the photo’s appeal.
5. Brush the Crust with Oil
To enhance the crust’s visual appeal, lightly brush the edges with melted butter or vegetable oil before baking. This creates a glossy, golden finish that catches the light beautifully, making the crust a standout feature in your photos.
6. Add Textural Variety
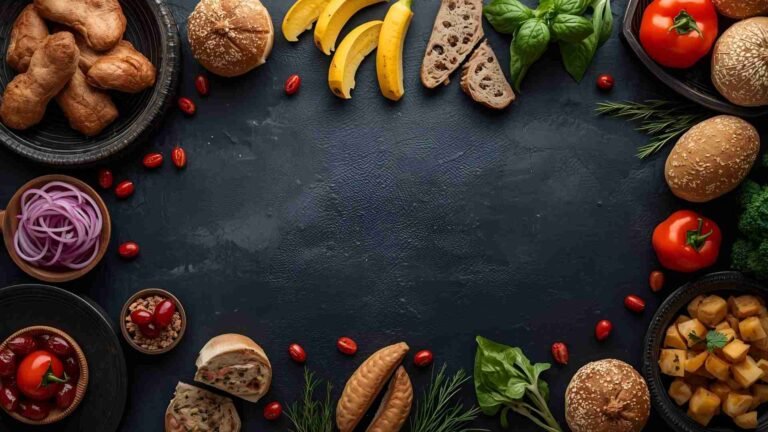
Plain cheese pizzas are delicious but can appear flat in photos. Incorporate toppings with varied textures and colors, such as fresh basil leaves, chunky mushrooms, or thick-cut pepperoni. These elements add depth and visual interest, making the pizza more dynamic. For example, a sprinkle of fresh herbs can add a pop of green that contrasts beautifully with the red sauce and golden cheese.
Table 1: Toppings for Visual Appeal
| Topping | Visual Benefit | Tips for Use |
|---|---|---|
| Fresh Basil | Bright green color, soft texture | Add after baking to keep vibrant |
| Pepperoni | Bold red, glossy finish | Space evenly, avoid overlap |
| Mushrooms | Earthy texture, neutral tones | Slice thickly for prominence |
| Cherry Tomatoes | Juicy, vibrant red | Halve for color and texture contrast |
Styling Your Pizza Scene
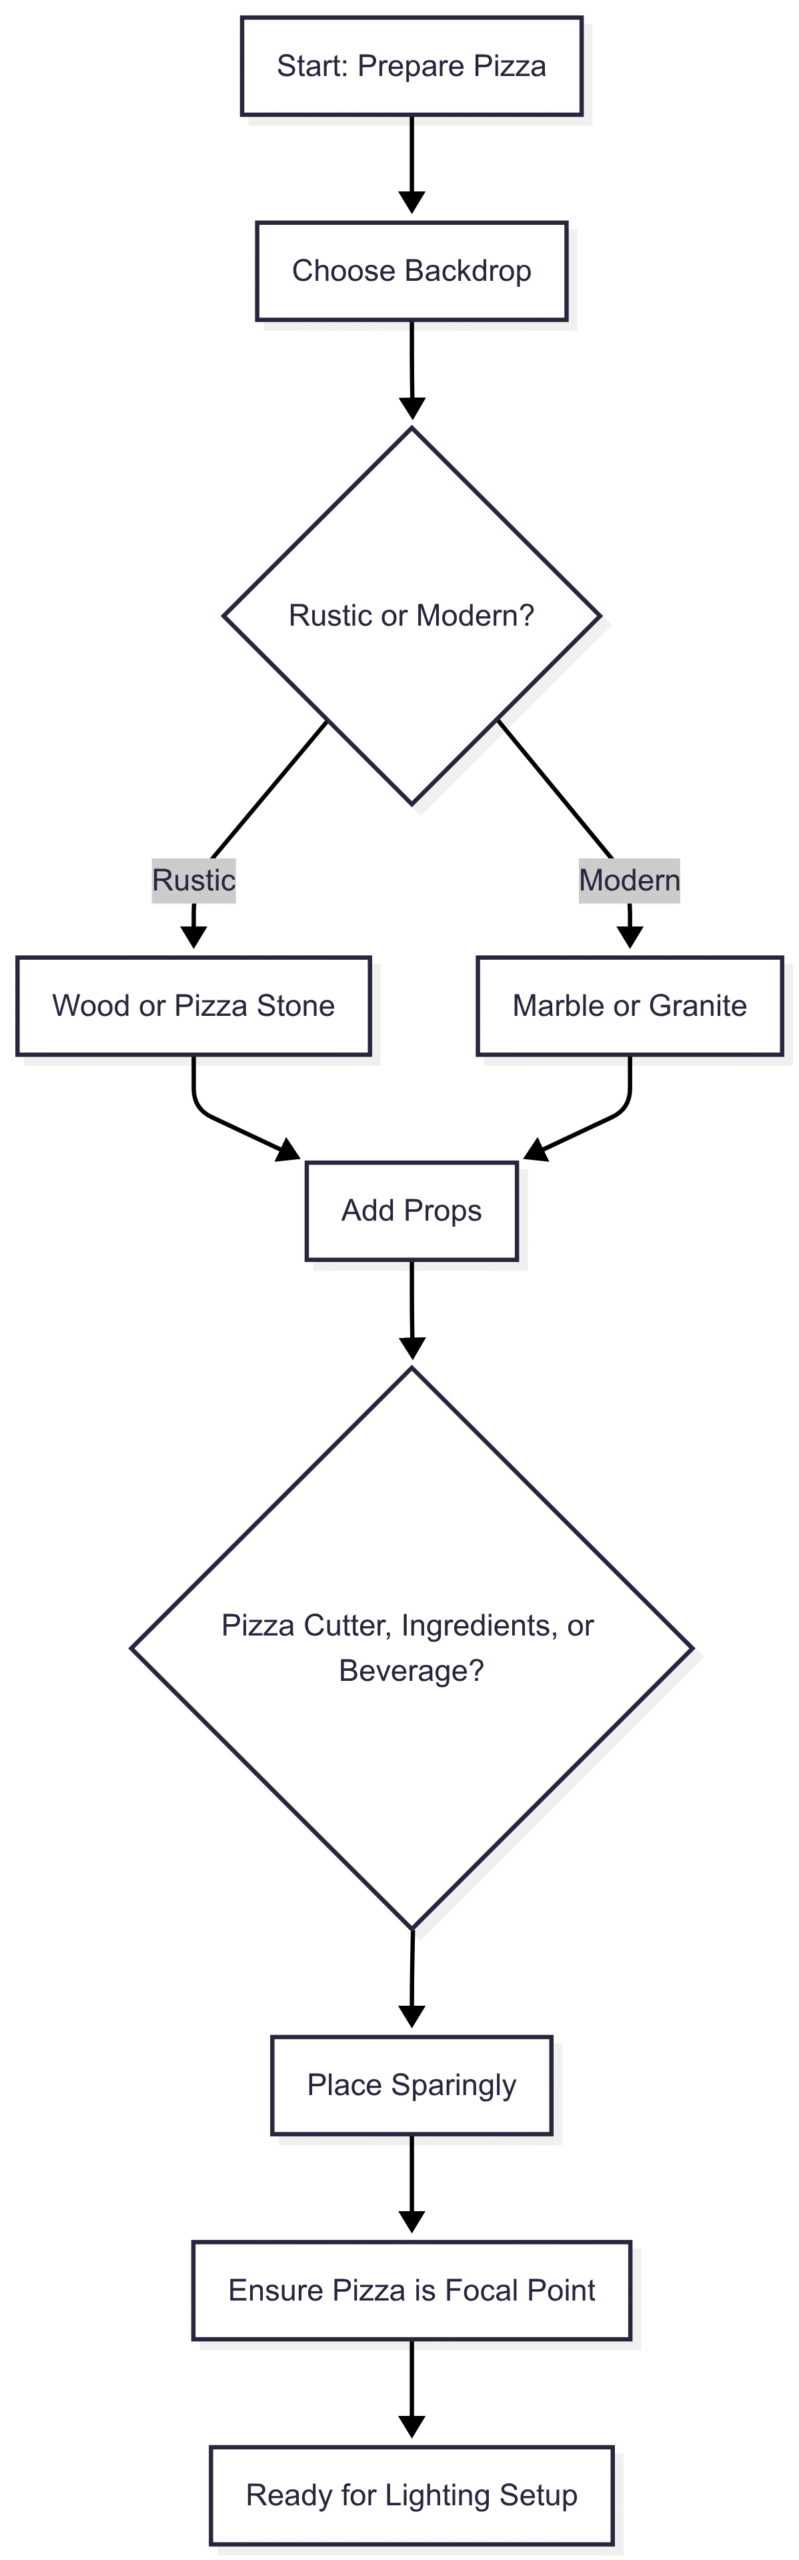
Once your pizza is crafted, styling the scene with backdrops and props sets the stage for a compelling photo. The right styling can evoke a specific mood, whether it’s rustic Italian charm or modern minimalism.
1. Select a Complementary Backdrop
The backdrop sets the tone for your pizza photo. Choose a surface that complements the pizza’s colors and style. Popular options include:
- Pizza Stone: Mimics a traditional pizzeria aesthetic, emphasizing authenticity.
- Rustic Wood: Adds warmth and texture, ideal for artisanal pizzas.
- Marble or Granite Countertop: Provides a clean, modern look that highlights vibrant toppings.
- Italian Tablecloth: Adds a cozy, traditional vibe with subtle patterns.
Avoid busy or overly bright backdrops that distract from the pizza. Neutral or muted tones work best to keep the focus on the food.
2. Use Props to Tell a Story
Props add context and depth to your photos, making them more relatable. Consider including:
- Pizza Cutter or Peel: Reinforces the pizzeria vibe and adds authenticity.
- Fresh Ingredients: Scatter basil leaves, cherry tomatoes, or a small bowl of grated Parmesan around the pizza for a fresh, homemade feel.
- Beverages: A glass of wine, craft beer, or soda can evoke a dining experience.
- Napkins or Plates: Use colorful or textured tableware to contrast with the pizza’s colors without overwhelming the frame.
Keep props minimal to avoid clutter. The pizza should always remain the star of the shot.
Chart: Pizza Styling Workflow
Mastering Lighting and Camera Setup
Lighting and camera setup are critical to capturing the pizza’s textures, colors, and appeal. Poor lighting can make even the most delicious pizza look flat or uninviting.
1. Natural vs. Artificial Lighting
Lighting sets the mood of your photo. Both natural and artificial lighting have their merits:
- Natural Lighting: Creates a soft, organic look. Shoot near a window during early morning or late afternoon for diffused, even light. Avoid direct sunlight, which can create harsh shadows.
- Artificial Lighting: Offers greater control, especially in a studio setting. Use softbox lights or diffusers to mimic natural light’s softness. A ring light can also work for even illumination.
Turn off your camera’s flash and avoid harsh overhead lights, as they create unflattering shadows and hot spots. If using artificial lights, position them to avoid glare on glossy toppings like pepperoni.
2. Sidelighting vs. Backlighting
Sidelighting, where the light source is positioned at a 45-degree angle from the camera, is preferred by most food photographers. It highlights the pizza’s textures, such as the crust’s crispness or the cheese’s stretch. Backlighting, where the light comes from behind the pizza, can create a glowing effect but may cast shadows on the toppings. Experiment with both to find the best setup for your pizza’s style.
Table 2: Lighting Options Comparison
| Lighting Type | Pros | Cons | Best For |
|---|---|---|---|
| Natural Light | Soft, organic, cost-free | Weather-dependent, less control | Outdoor or window-lit shots |
| Artificial Light | Consistent, fully adjustable | Requires equipment, setup time | Studio or controlled environments |
3. Camera Setup Basics
Whether using a DSLR, mirrorless camera, or smartphone, ensure your setup maximizes the pizza’s appeal:
- Tripod: Stabilizes the camera for sharp images, especially in low light.
- Lens: A 50mm prime lens is ideal for food photography, offering a natural perspective. For smartphones, use the main camera rather than ultra-wide or zoom lenses.
- Aperture: Use a wide aperture (f/2.8–f/4) for close-ups to blur the background, or a narrower aperture (f/8–f/11) for top-down shots to keep everything in focus.
- ISO: Keep ISO low (100–400) to minimize noise, especially in natural light.
Capturing the Perfect Pizza Shot
With your pizza styled and lighting set, it’s time to shoot. These techniques will help you capture the pizza’s essence:
1. Shoot Fresh from the Oven
Pizza looks its best when it’s hot and fresh. The cheese is gooey, the crust is crisp, and steam adds a tantalizing effect. Have your setup ready before the pizza comes out of the oven. If shooting multiple pizzas, stagger their baking times to ensure each is photographed at its peak. A small water spritzer can mimic steam for extended shooting sessions.
2. Nail the Cheese Pull
The cheese pull—a stretchy, gooey strand of mozzarella connecting a lifted slice to the pizza—is a hallmark of pizza photography. To achieve it:
- Slice the pizza immediately after baking.
- Let it rest for 30–60 seconds to allow the cheese to settle.
- Gently lift a slice with a spatula or tongs, pulling slowly to create long, stretchy strands.
- Shoot quickly to capture the cheese at its most elastic.
Use sidelighting to highlight the cheese’s texture and sheen.
3. Experiment with Angles
Different angles showcase different aspects of the pizza:
- Top-Down (Flat Lay): Captures the entire pizza, ideal for showing topping distribution. Use a wide depth of field (f/8–f/11) to keep everything in focus.
- 45-Degree Angle: Highlights toppings and crust texture, adding depth. This angle mimics how people view food at a table.
- Eye-Level: Emphasizes the crust’s height and cheese pull, perfect for dramatic close-ups.
Shoot multiple angles to find the most flattering perspective for your pizza.
4. Focus on Key Elements
Use your camera’s autofocus or tap-to-focus (on smartphones) to sharpen the most enticing parts of the pizza, such as a glossy pepperoni slice or a vibrant basil leaf. A shallow depth of field (wide aperture) can blur the background, drawing attention to these focal points.
5. Depth of Field for Context
For close-ups or slice shots, a shallow depth of field (f/2.8–f/4) isolates the pizza from the background, creating a professional look. For staged shots with props, use a wider depth of field (f/8–f/11) to keep the entire scene crisp, ensuring the backdrop and props enhance the pizza without stealing focus.
Editing Your Pizza Photos
Post-processing polishes your photos, making them pop. Use software like Adobe Photoshop, Lightroom, or free alternatives like GIMP or Photopea. Key editing tips include:
1. Adjust Brightness and Contrast
Increase brightness slightly to make the pizza look vibrant, and adjust contrast to enhance the distinction between toppings, cheese, and crust. Be cautious not to overdo it, as excessive brightness can wash out colors.
2. Balance Colors
Correct any color casts introduced during shooting. For example, if artificial lights make the pizza look too yellow, adjust the white balance to restore natural hues. Boost the saturation of reds (sauce, pepperoni) and greens (basil, peppers) to make the pizza more appetizing.
3. Sharpen the Image
Apply subtle sharpening to enhance textures like the crust’s crispness or the cheese’s stretch. Avoid over-sharpening, which can create unnatural edges.
4. Edit with Subtlety
Less is more in food photography editing. Aim for a natural look that enhances the pizza’s appeal without making it look artificial. Save multiple versions of your edits to compare and choose the best.
Table 3: Recommended Editing Software
| Software | Cost | Features | Best For |
|---|---|---|---|
| Adobe Photoshop | Subscription | Advanced editing, layering | Professional photographers |
| Adobe Lightroom | Subscription | Batch editing, color correction | Workflow efficiency |
| GIMP | Free | Basic editing, open-source | Budget-conscious users |
| Photopea | Free (web-based) | Photoshop-like, no installation | Quick edits on any device |
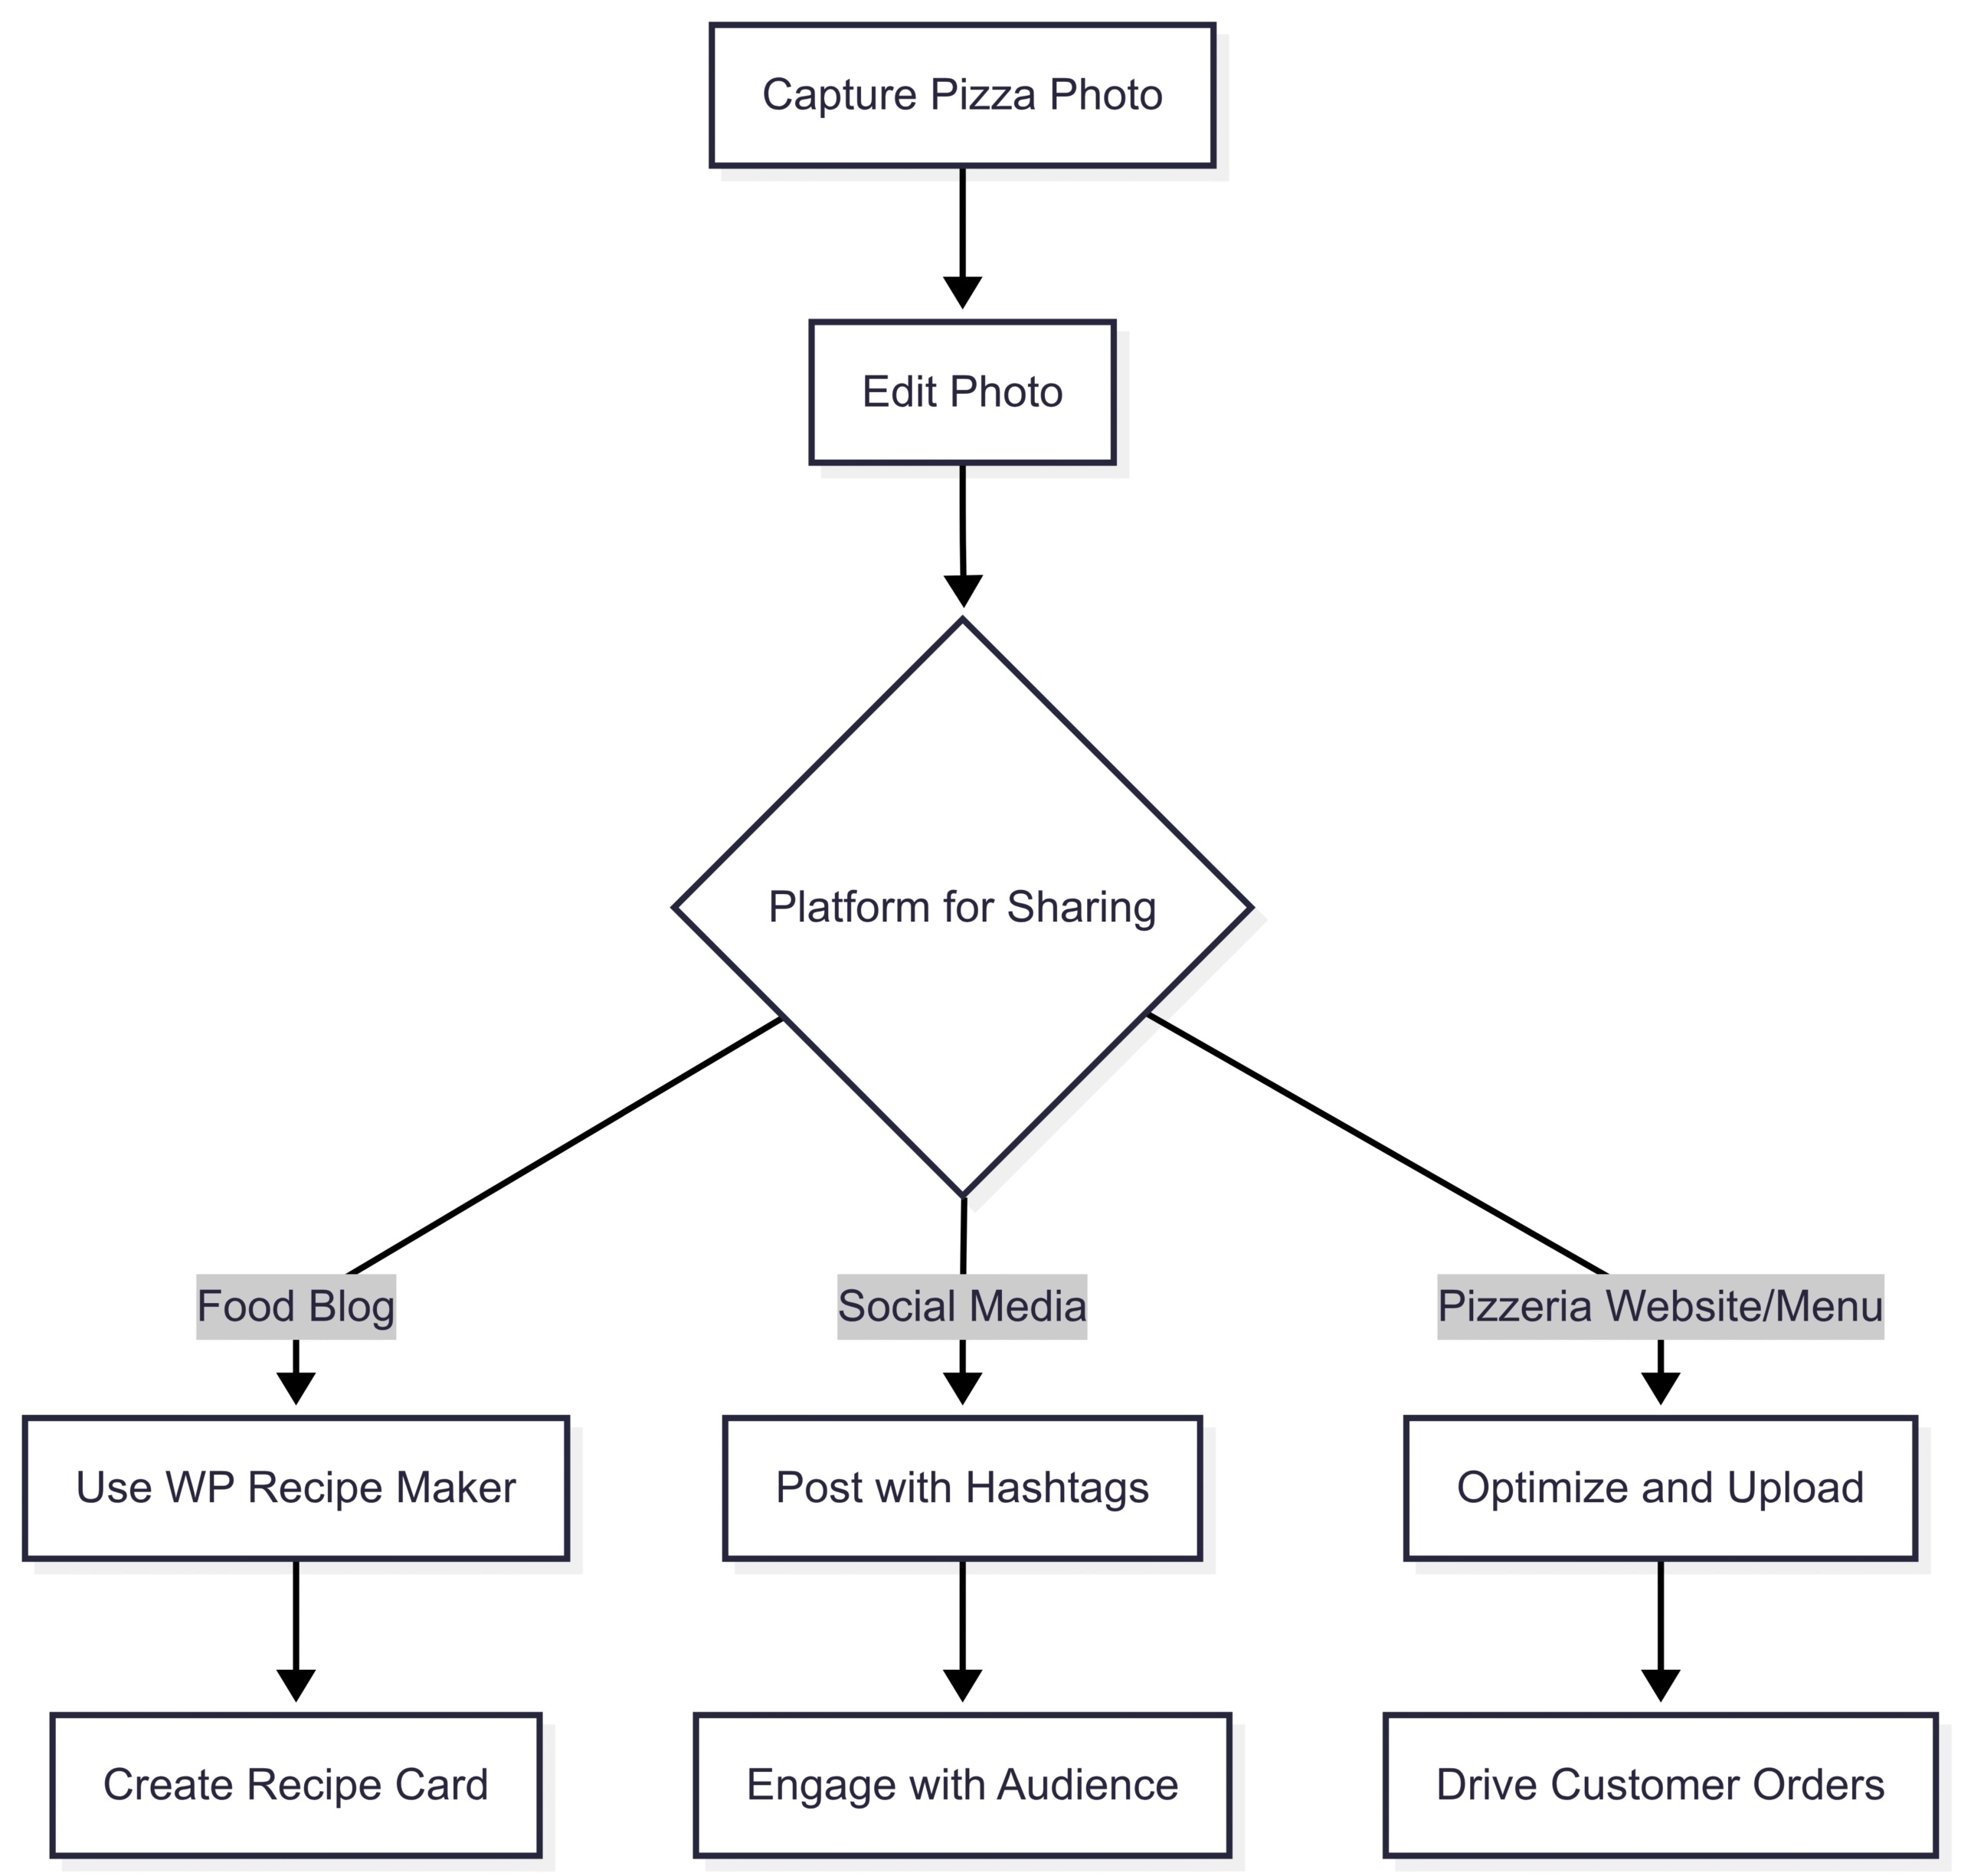
Displaying and Sharing Your Pizza Photos
Once your photos are edited, it’s time to showcase them. Whether you’re a pizzeria owner or food blogger, strategic display maximizes impact.
1. Use WP Recipe Maker for Food Blogs
For food bloggers, WP Recipe Maker is a powerful WordPress plugin for displaying pizza recipes with stunning visuals. Features include:
- Recipe Cards: Create visually appealing cards with customizable templates.
- Featured Images: Showcase your best pizza photo at the top of the recipe.
- Step-by-Step Photos: Include images of the pizza-making process to engage readers.
- Social Sharing: Add buttons for Pinterest, Instagram, and other platforms to boost reach.
- Recipe Collections: Let readers save multiple pizza recipes for later.
Pricing for WP Recipe Maker:
- Free Plan: Basic recipe card templates and features.
- Premium Plan: $49/year for additional templates, nutritional info, and advanced customization.
- Elite Plan: $99/year for all premium features plus recipe collections and user ratings.
2. Social Media Sharing
Share your pizza photos on Instagram, Pinterest, and X to reach a wider audience. Use hashtags like #PizzaPhotography, #PizzaLovers, and #Foodie to connect with food enthusiasts. Post during peak engagement times (e.g., evenings or weekends) and include a call-to-action, such as “Tag a friend who needs this pizza!” to boost interaction.
3. Website and Menu Integration
For pizzerias, display your photos prominently on your website’s homepage or menu. High-quality images can entice customers to order or visit. Ensure images are optimized for web use (e.g., compressed to under 200KB) to maintain fast loading times.
Chart: Pizza Photo Sharing Workflow
Why Pizza Photography Matters
High-quality pizza photos are more than just eye candy—they’re a marketing tool. For pizzerias, stunning images on menus or social media can drive foot traffic and online orders. For food bloggers, they attract readers and boost engagement. A single mouthwatering photo can convey quality, authenticity, and flavor, making it a powerful asset.
Table 4: Benefits of Quality Pizza Photography
| Benefit | Impact on Business |
|---|---|
| Increased Engagement | Higher likes, shares, and comments on social media |
| Customer Attraction | Draws in diners with appetizing visuals |
| Brand Credibility | Professional images enhance perceived quality |
| Recipe Saves | Encourages users to save and revisit recipes |
FAQs
1. How can I improve my pizza photography skills?
Practice adjusting lighting, angles, and composition. Use natural light for vibrant colors, experiment with 45-degree or top-down angles, and style with props like fresh herbs or rustic boards. Edit subtly to enhance textures and colors.
2. Why is good photography important for a pizzeria?
High-quality photos showcase your pizzas in the best light, attracting customers through social media, menus, and websites. They convey quality and entice viewers to order or visit.
3. What equipment do I need for pizza photography?
A DSLR or smartphone with a good camera, a tripod, and soft lighting (natural or artificial) are sufficient. Optional tools include a 50mm lens, softbox lights, and editing software like Photoshop or GIMP.
4. How do I achieve the cheese pull shot?
Slice the pizza fresh from the oven, let it rest for 30–60 seconds, and gently lift a slice to stretch the cheese. Use sidelighting to highlight the texture and shoot quickly.
Conclusion
Mastering pizza photography is an achievable goal with the right techniques. From crafting a photogenic pizza with evenly distributed toppings and a glossy crust to styling with complementary backdrops and props, every step matters. Lighting and camera setup bring out the pizza’s textures and colors, while editing polishes the final image. By sharing your photos strategically on social media, your website, or through tools like WP Recipe Maker, you can captivate audiences and drive engagement. Whether you’re a pizzeria owner or a food blogger, these tips will help you create irresistible pizza photos that leave viewers hungry for more.
Please share this Pizza Photo Perfection: A Comprehensive Guide with your friends and do a comment below about your feedback.
We will meet you on next article.
Until you can read, Culinary Translation Essentials for Food Professionals