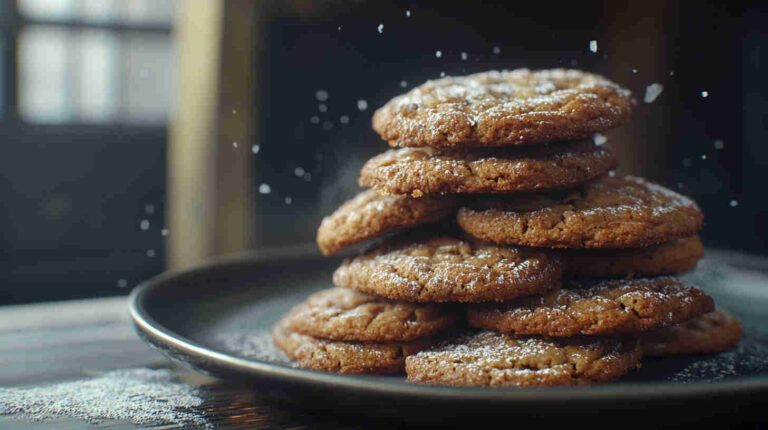
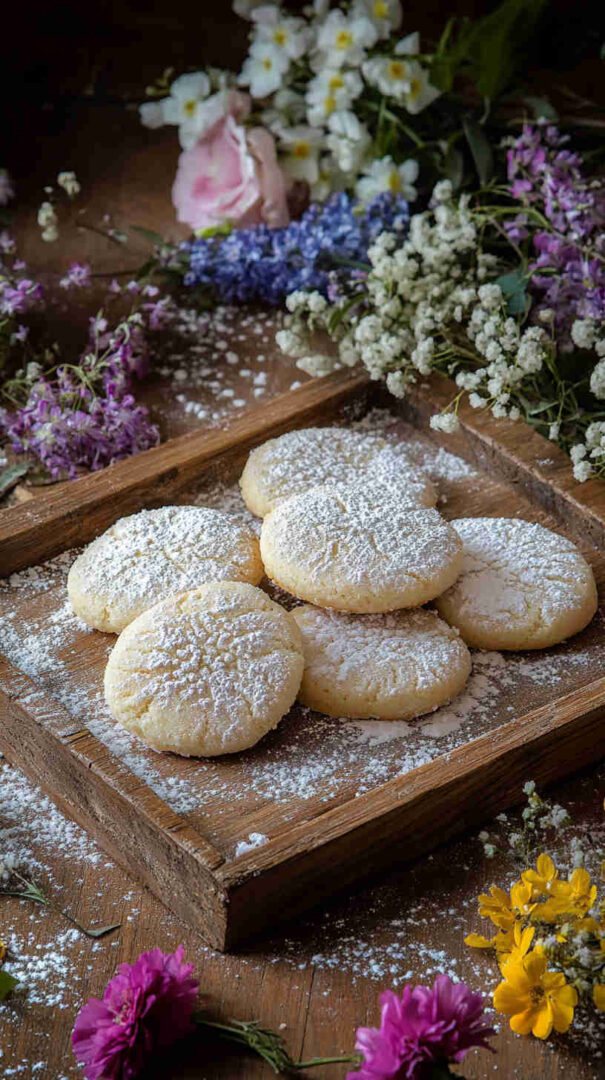
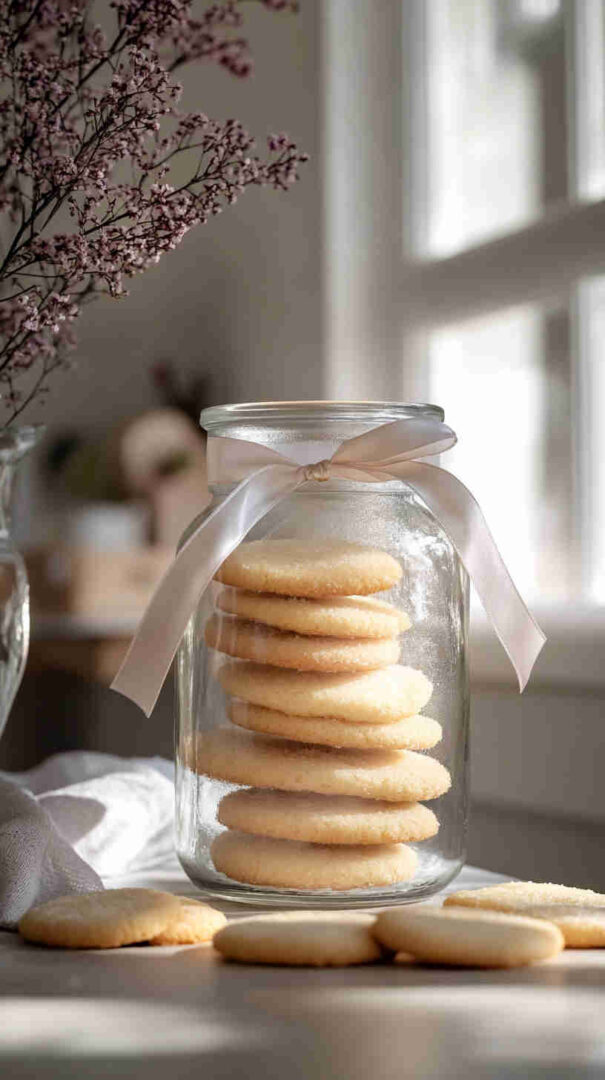
Spring Sugar Cookies
These Spring Sugar Cookies are classic soft cut-out sugar cookies, perfect for Easter! They’re buttery, tender, and ideal for decorating with pastel royal icing or glaze to create fun Easter eggs, bunnies, carrots, flowers, or chicks. The dough holds its shape beautifully for spring-themed cookie cutters, making them a festive, family-friendly dessert that brings joy to any Easter table.
Why You’ll Love This Recipe
You’ll adore these Spring Sugar Cookies because they’re incredibly soft and melt-in-your-mouth tender, thanks to the perfect balance of butter, sugar, and just the right amount of chilling.
Unlike many cut-out cookies that turn out crisp or tough, these stay delightfully chewy in the center with lightly golden edges. The subtle vanilla (with an optional hint of almond) gives them a classic flavor that’s not overly sweet, letting your colorful Easter decorations shine.
They’re easy enough for beginners yet impressive for holiday gatherings—kids love helping cut shapes and frost, while adults appreciate how pretty they look on a dessert platter. Plus, the dough is forgiving, rolls out smoothly without excessive sticking, and bakes consistently every time for stress-free spring baking.
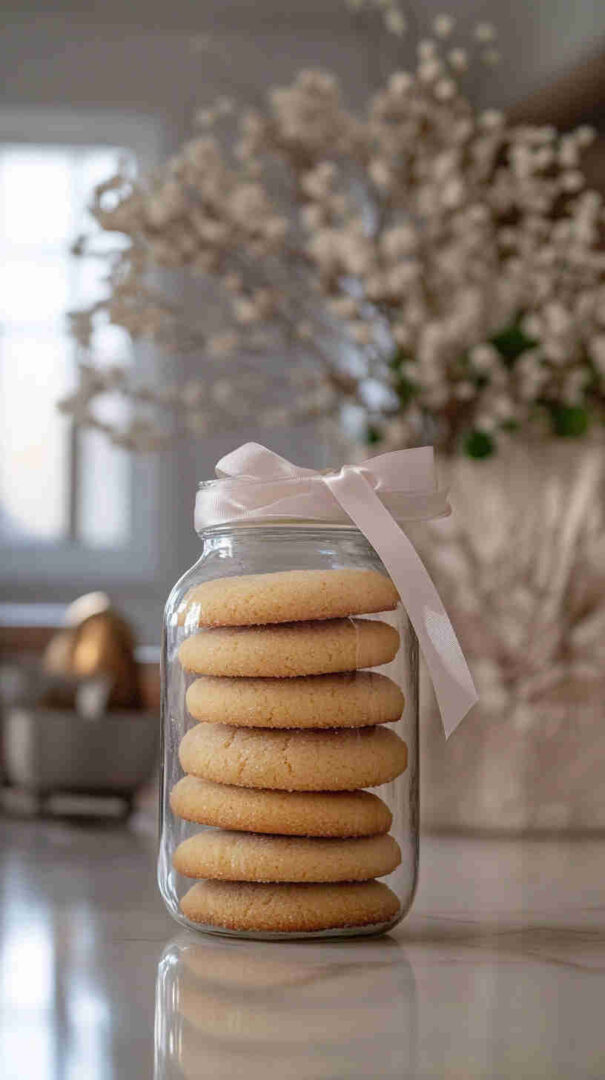
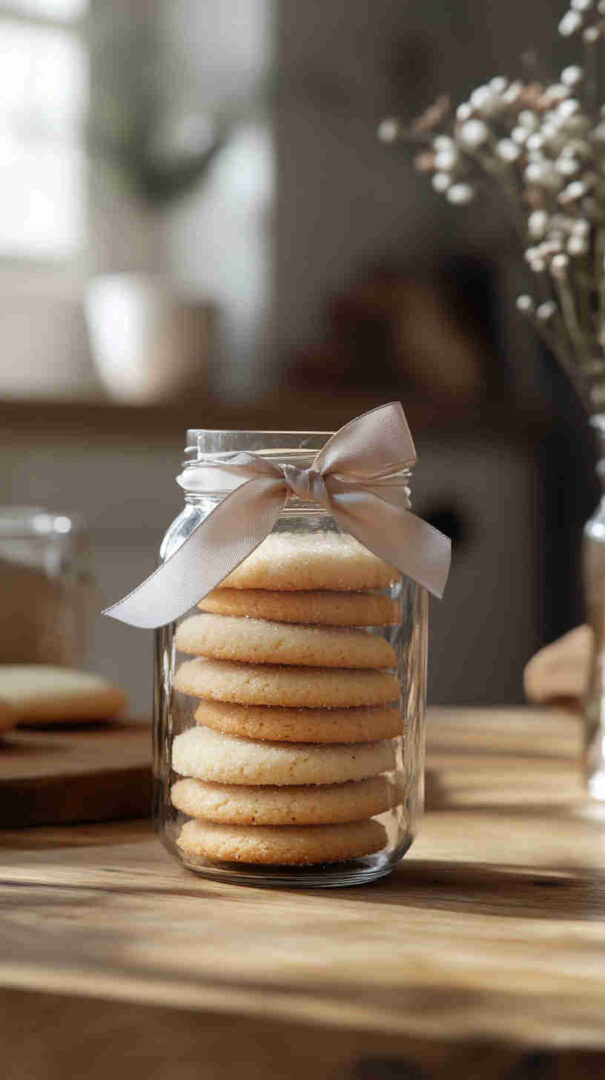
Spring Sugar Cookies

Soft, buttery cut-out sugar cookies decorated with pastel icing—perfect Easter spring treat!
Ingredients
For the Cookies:
- 1 cup (226g) unsalted butter, softened
- 1 cup (200g) granulated sugar
- 1 large egg, room temperature
- 2 teaspoons pure vanilla extract (or 1½ tsp vanilla + ½ tsp almond extract)
- 3 cups (375g) all-purpose flour
- 1½ teaspoons baking powder
- ½ teaspoon salt
For the Easy Icing:
- 4 cups powdered sugar
- 4-6 tablespoons milk (or water)
- 3 tablespoons light corn syrup
- Gel food coloring (pastels: pink, blue, yellow, green)
- Sprinkles or sanding sugar (optional)
Instructions
- Cream the butter and sugar together like you're giving them a cozy hug! In a large bowl (or stand mixer with paddle), beat the softened butter and granulated sugar on medium speed for 2-3 minutes until light, fluffy, and pale—like whipped clouds. This step builds that tender texture we all crave.
- Add the egg and vanilla magic. Crack in the egg and pour in the vanilla (plus almond if using). Beat until everything is smooth and well combined, scraping down the sides so no one gets left behind.
- Mix the dry friends. In a separate bowl, whisk together the flour, baking powder, and salt. This ensures even distribution—no baking powder surprises!
- Bring it all together gently. Add the dry ingredients to the wet in two additions, mixing on low speed just until a soft dough forms. Don't overmix—think tender hugs, not tough wrestling!
- Chill out time. Divide the dough in half, flatten into disks, wrap in plastic, and refrigerate for at least 2 hours (or overnight). This makes rolling a breeze and keeps shapes sharp for your cute Easter cutters.
- Preheat and prep the stage. When ready, preheat your oven to 350°F (175°C). Line baking sheets with parchment paper—your cookies' comfy bed.
- Roll and cut the fun shapes! On a lightly floured surface (or between parchment sheets), roll one disk to about ¼-inch thickness. Use spring/Easter cutters (eggs, bunnies, flowers, carrots) to cut out shapes. Gather scraps, re-chill briefly if needed, and reroll.
- Bake to golden perfection. Place cookies 2 inches apart on sheets. Bake 8-10 minutes until edges are just set and lightly golden—centers will firm as they cool. Avoid overbaking for max softness!
- Cool completely. Transfer to a wire rack and let them cool fully—this is crucial before icing so everything stays pretty and doesn't melt into a mess.
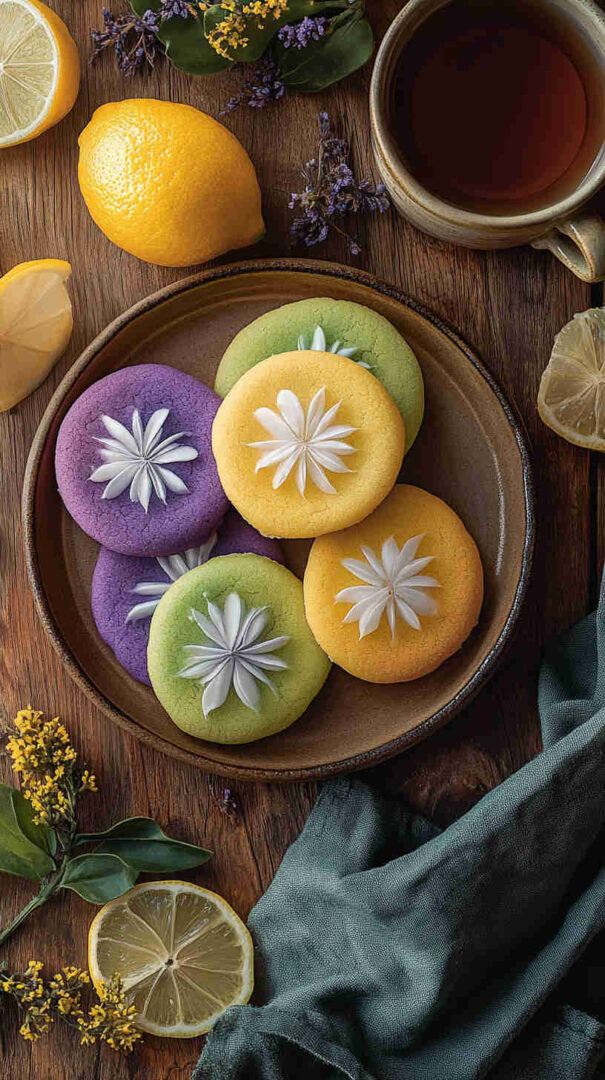
- Decorate like an artist! Whisk icing ingredients to a smooth, pipeable consistency (adjust milk for thickness). Divide and tint with pastel gels. Pipe outlines, flood centers, add sprinkles or details. Let dry 1-2 hours (or overnight) for that glossy, professional look. Share the joy!
Notes
These cookies are best enjoyed fresh but freeze beautifully. For royal icing that hardens firmer, use meringue powder instead of corn syrup if preferred. Always taste-test a plain cookie—adjust sweetness or flavor next time!
Nutrition Information
Yield
30Serving Size
1Amount Per Serving Calories 322Total Fat 7gSaturated Fat 4gUnsaturated Fat 3gCholesterol 24mgSodium 72mgCarbohydrates 61gFiber 1gSugar 42gProtein 3g
The recipes and nutritional information on Yum Tonight are for informational purposes only. Always consult a healthcare provider for personalized dietary advice.
Recipe Tips and Tricks
- Chill the dough thoroughly (at least 1-2 hours or overnight) to prevent spreading and make cutting shapes easier—wrap it well to avoid drying out.
- Work with small portions of dough at a time, keeping the rest refrigerated.
- Use parchment paper for rolling to minimize flour use and prevent toughness.
- Dip your cookie cutters in flour before each cut for clean edges.
- Bake on the middle rack; rotate sheets halfway for even browning.
- Let cookies cool completely before icing to avoid runny frosting.
- For vibrant colors, use gel food coloring in the icing rather than liquid.
- If decorating with kids, opt for a simple glaze icing instead of royal for quicker drying.
Ingredients Notes
This recipe uses everyday pantry staples for the best results. Unsalted butter (softened to room temperature) provides rich flavor and tender texture—avoid margarine or salted butter, as it can alter taste and spread.
Granulated sugar gives the classic sweetness and crisp edges. Large eggs add structure and moisture. Pure vanilla extract (and optional almond extract) enhances the flavor without overpowering.
All-purpose flour forms the base—spoon and level it to avoid dense cookies. Baking powder offers a light lift for softness. Salt balances the sweetness. For the icing, powdered sugar, milk (or water), light corn syrup (for shine and setting), and gel colors create a smooth, pipeable royal-style glaze that hardens beautifully for detailed Easter designs.
Variations and Substitutions
- For lemon spring vibes, add 1-2 teaspoons lemon zest to the dough and replace half the vanilla with lemon extract.
- Make them gluten-free by swapping in a 1:1 gluten-free flour blend (with xanthan gum if needed).
- Dairy-free? Use plant-based butter and non-dairy milk in the icing.
- Add pastel sprinkles or sanding sugar directly on the dough before baking for no-frosting ease.
- For chocolate version, substitute ¼ cup cocoa powder for some flour and add mini chocolate eggs on top.
- Flavor twists: Swap vanilla for coconut or orange extract for tropical spring flair.
- If short on time, use store-bought sugar cookie dough, but homemade tastes far superior.
- For thicker cookies, roll to ¼ inch; thinner (⅛ inch) for crispier results.
Storage Options
Store unfrosted cookies in an airtight container at room temperature for up to 1 week or freeze for 2-3 months (layer with parchment).
Frosted cookies last 4-5 days at room temp in a single layer (to protect icing) or freeze up to 1 month—thaw uncovered to avoid sogginess. For best freshness, freeze dough disks wrapped tightly; thaw in fridge before rolling.
Dish Gallery


Please share this Spring Sugar Cookies with your friends and do a comment below about your feedback.
We will meet you on next article.
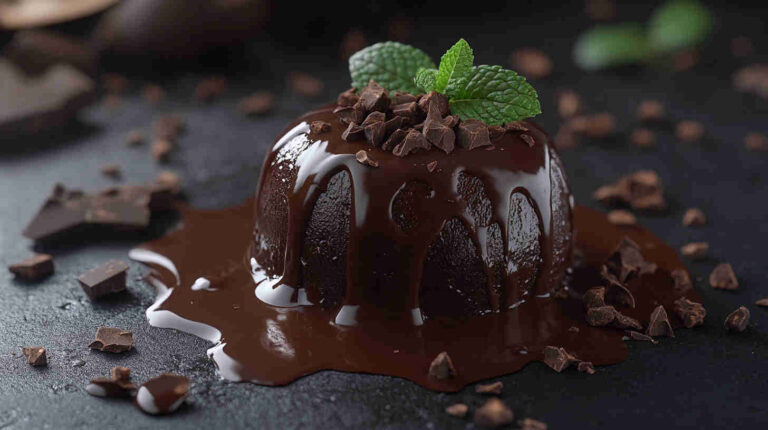
Until you can read, Pecan Pie Brownies