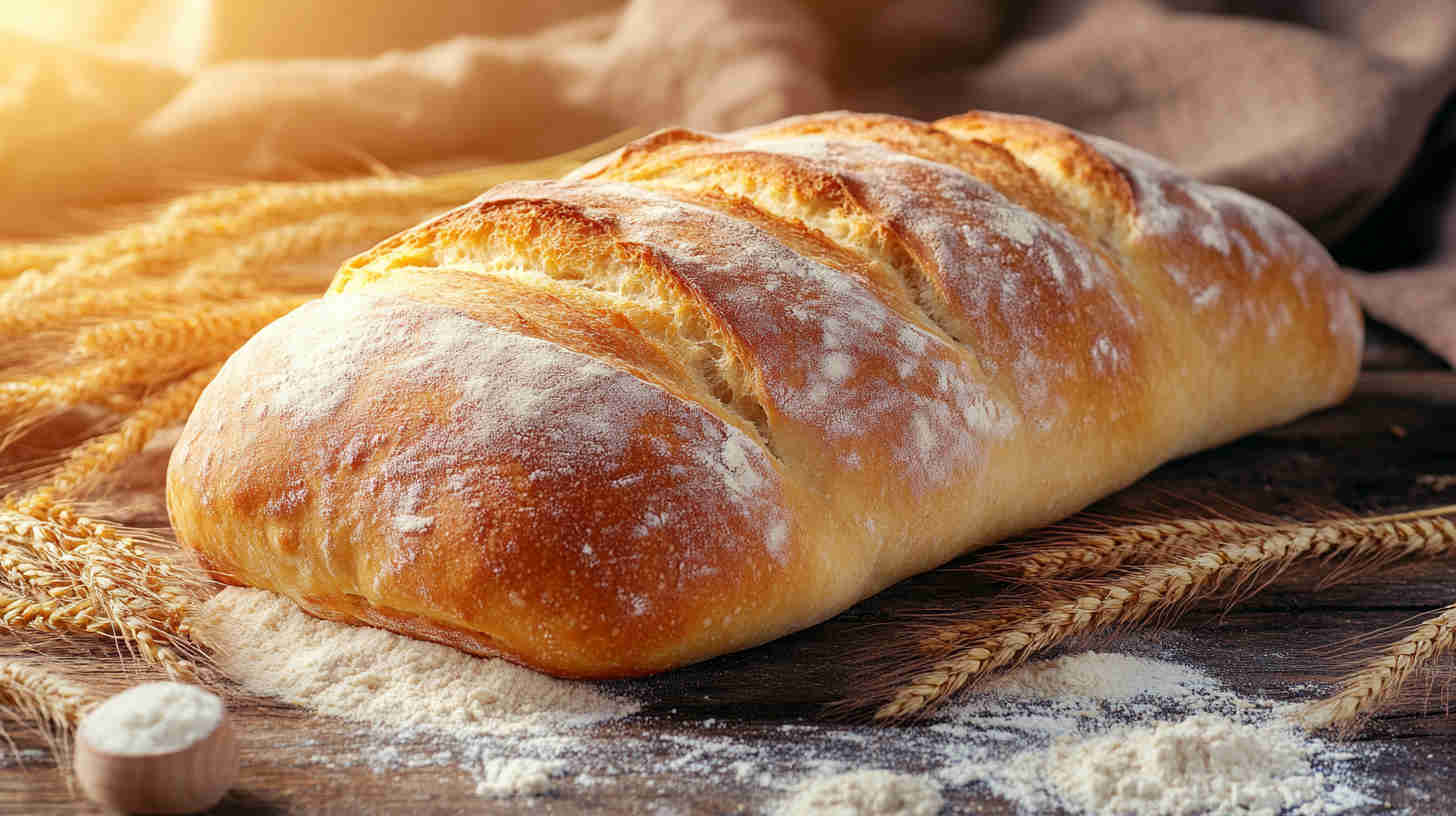
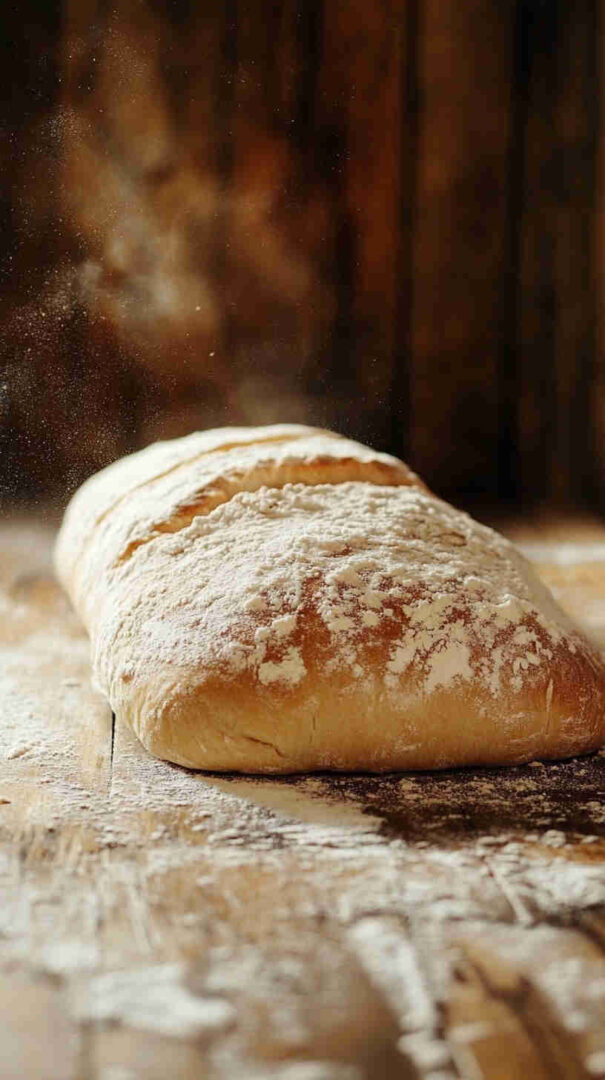
Traditional Ciabatta Bread at Home
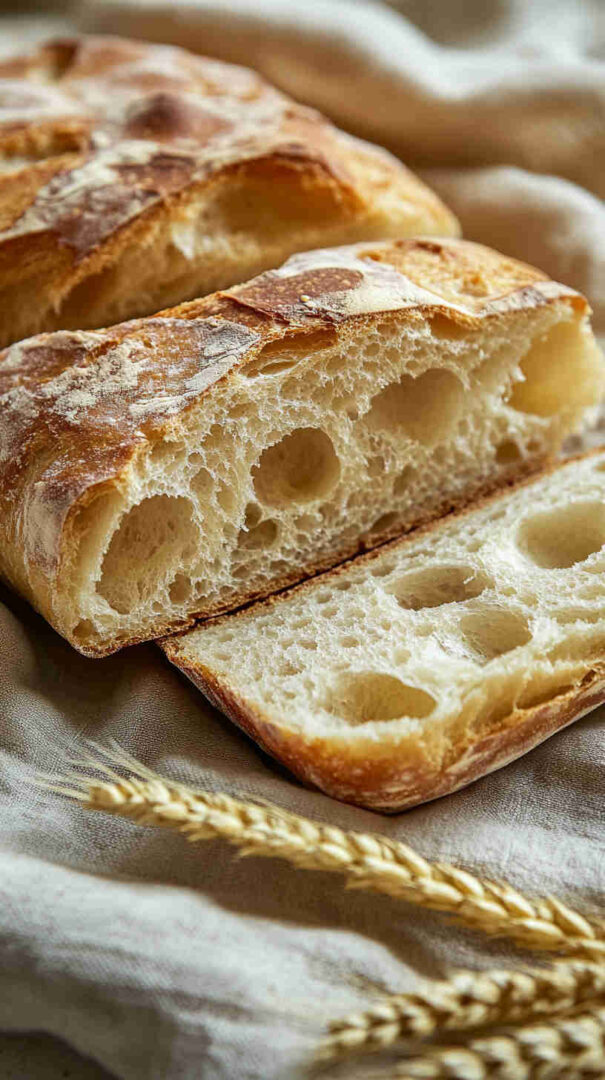
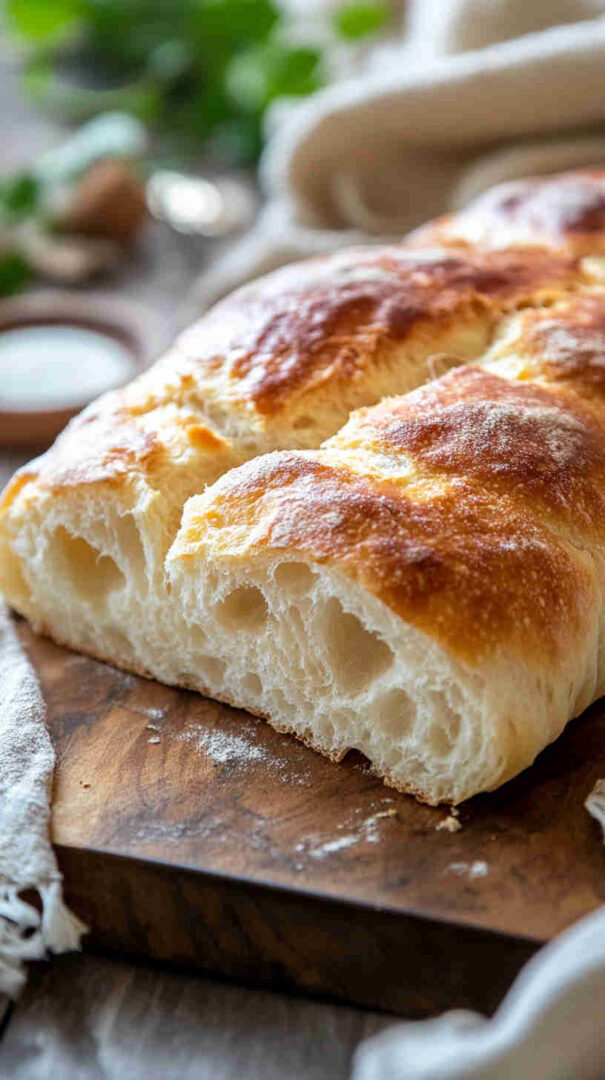
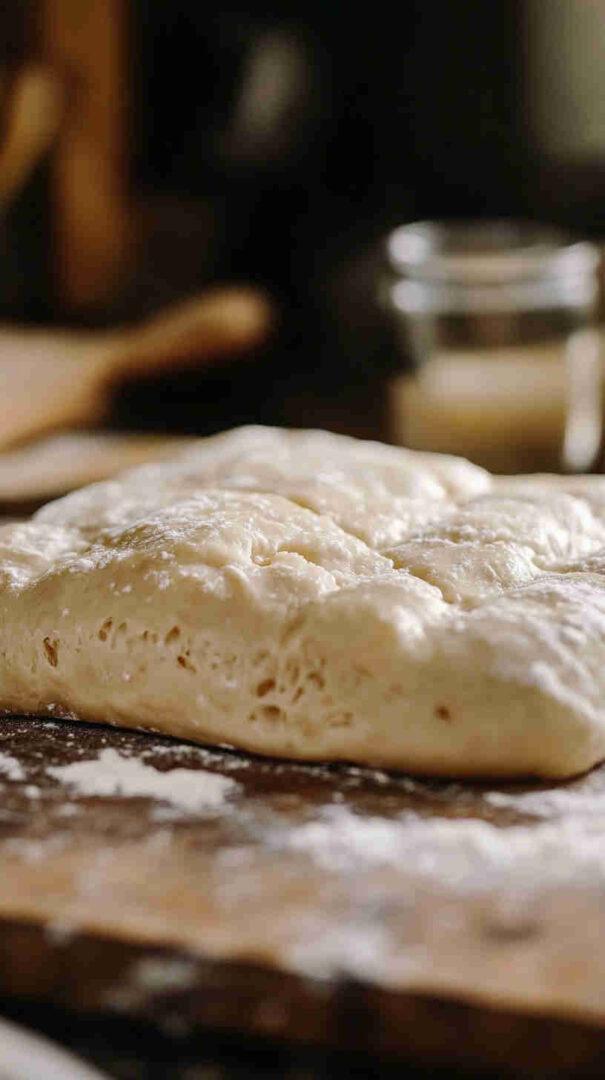
Traditional Ciabatta Bread at Home captures the essence of authentic Italian baking with its signature open crumb, crusty exterior, and chewy texture. This no-knead-ish recipe uses a preferment (biga) for deep flavor, high hydration for those beautiful irregular holes, and simple techniques to achieve bakery-quality results right in your kitchen—perfect alongside soups, as sandwich bread, or even transformed into focaccia-style with toppings.
Why You’ll Love This Recipe
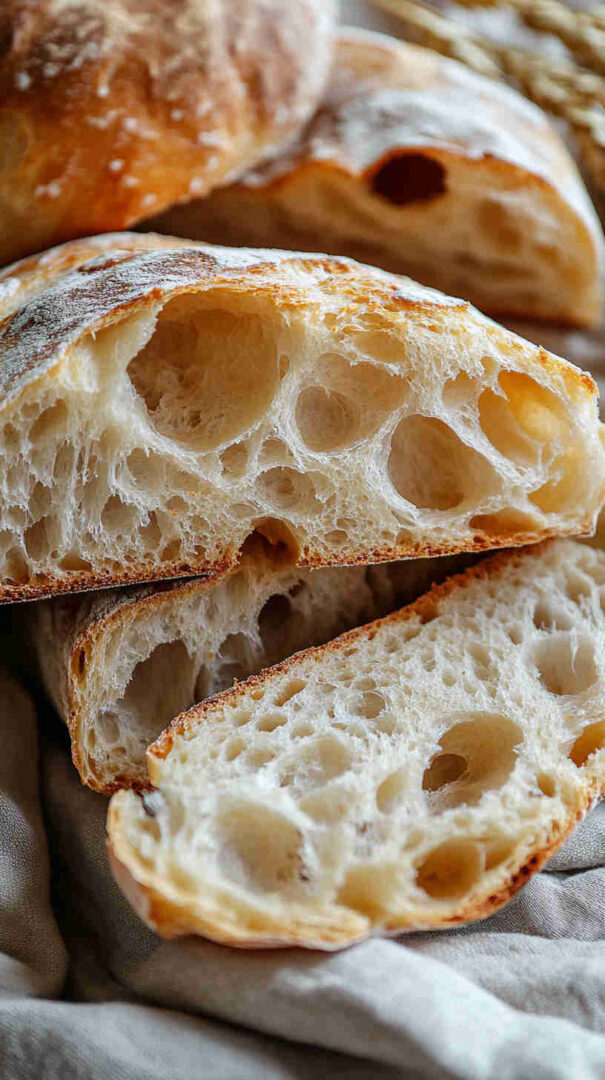
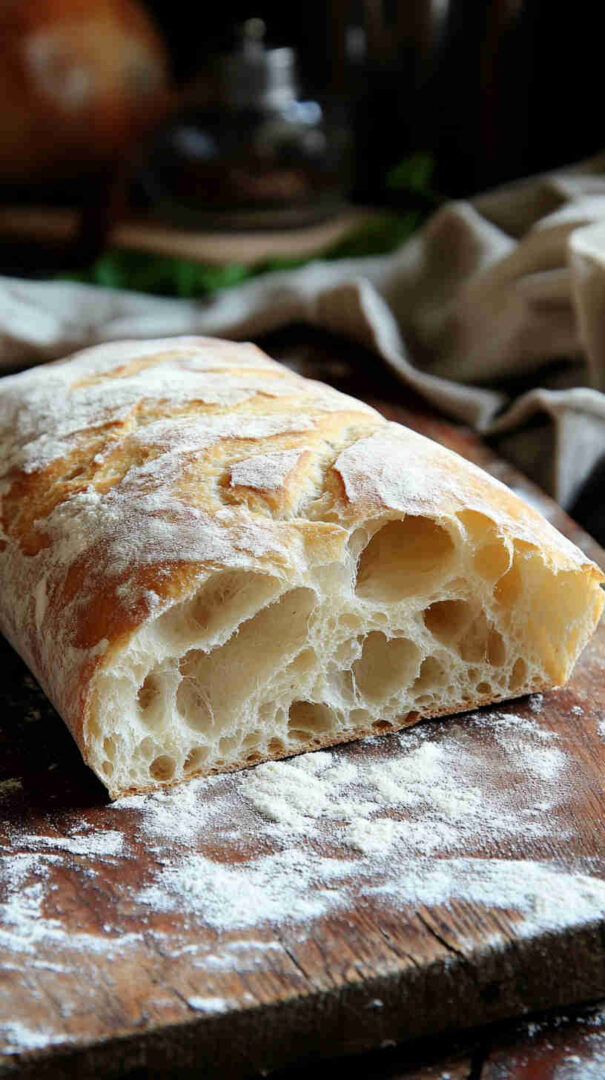
As an experienced chef who’s baked countless loaves, I can tell you this ciabatta recipe stands out because it delivers that true Italian authenticity without fancy equipment or endless kneading. The biga preferment builds incredible depth of flavor and aroma over time, while the super-high hydration creates those signature large, irregular air pockets and a light, chewy crumb that’s impossible to find in store-bought bread.
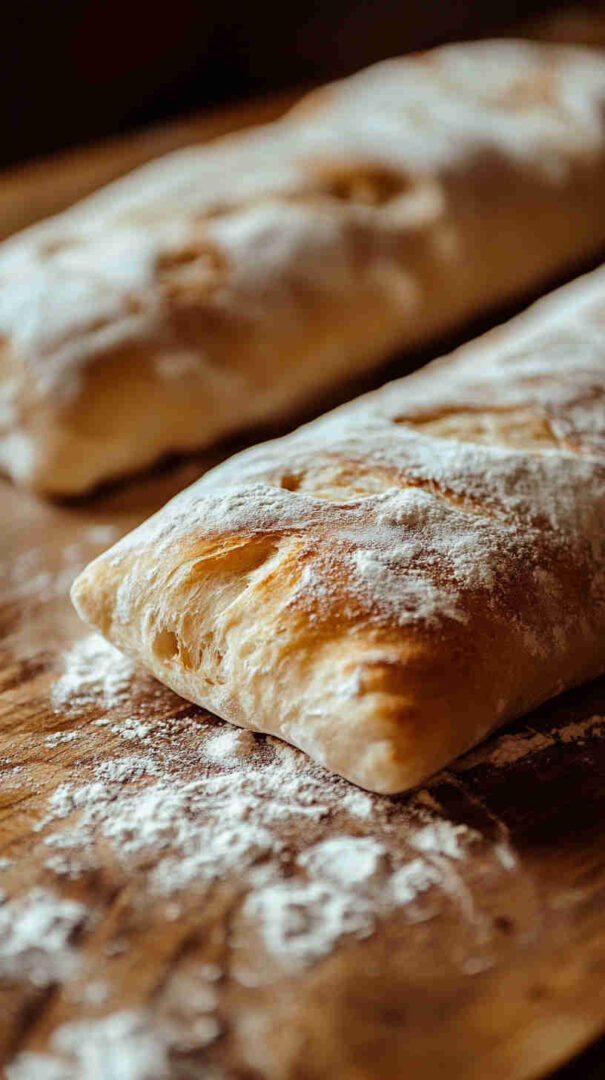
You’ll get a shatteringly crisp, flour-dusted crust that crackles when you break it open, and the process is forgiving for home bakers—gentle folds instead of heavy kneading make it approachable yet impressive. It’s versatile for everyday meals, makes killer panini or bruschetta, and fills your home with the irresistible smell of fresh-baked bread.
Once you master this, you’ll never go back to basic loaves—it’s rewarding, delicious, and makes you feel like a pro artisan baker!
Traditional Ciabatta Bread at Home

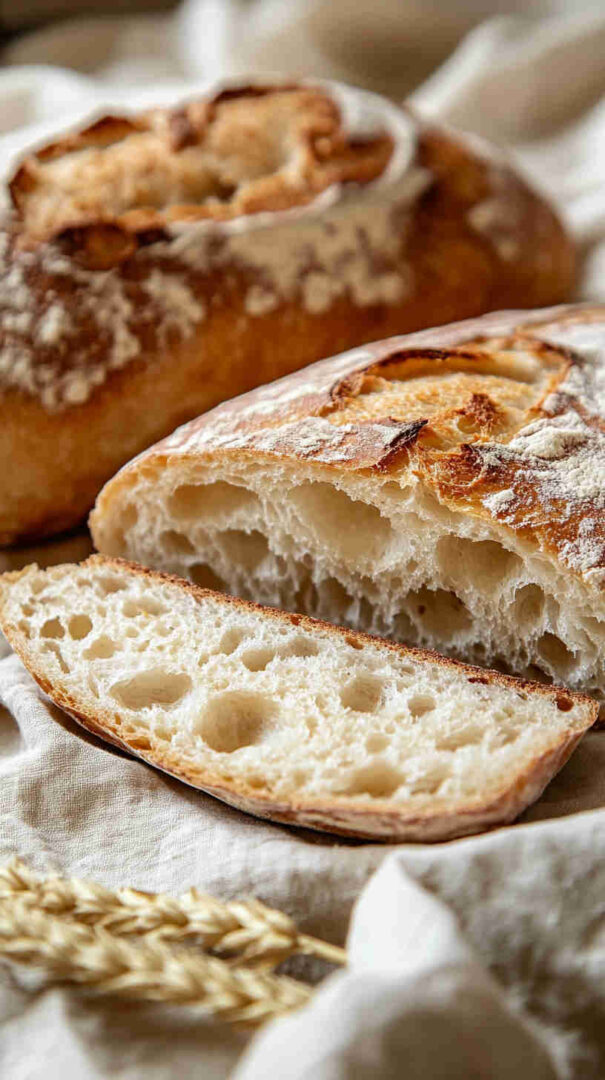
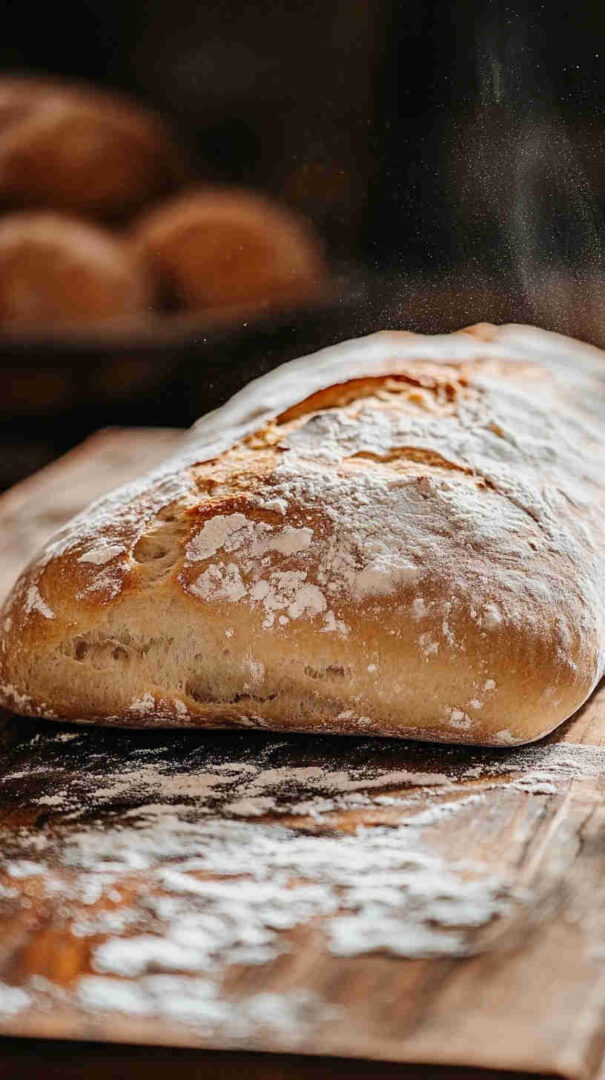
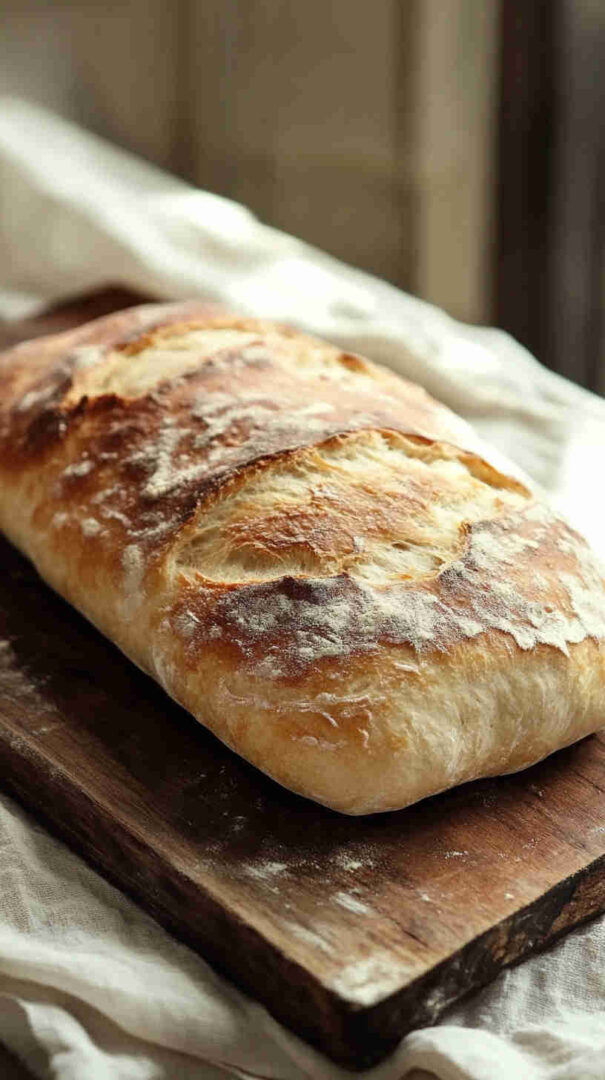
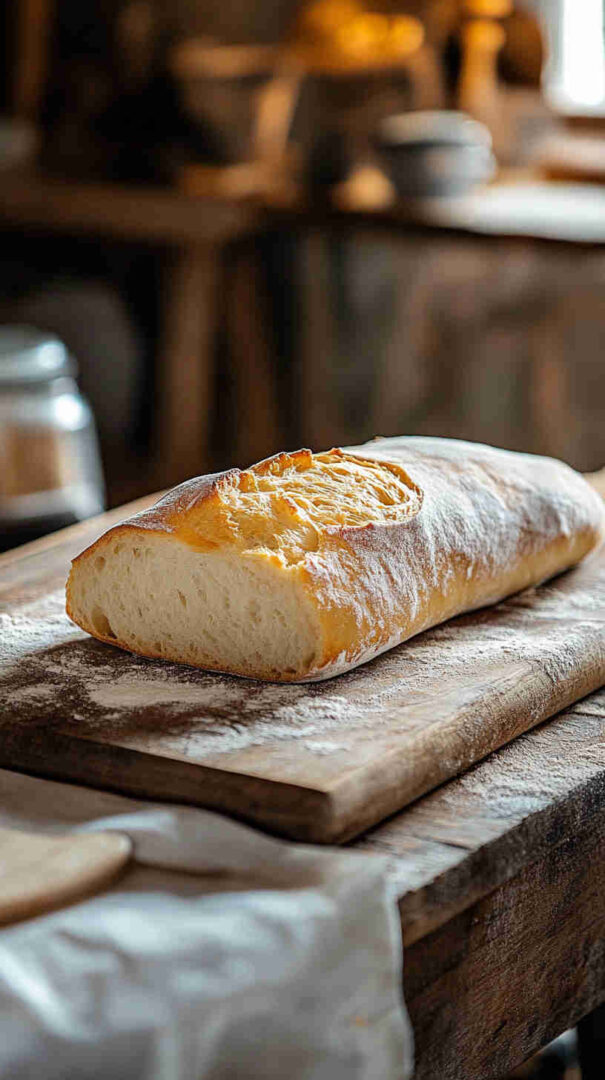
Crusty, airy traditional Italian ciabatta with open crumb—perfect homemade bread for sandwiches or dipping.
Ingredients
For the Biga (preferment - make 12-24 hours ahead):
- 1 cup + 2 tablespoons (146g) bread flour
- ½ cup (118g) lukewarm water (about 105°F/40°C)
- ⅛ teaspoon active dry yeast
For the Dough:
- Biga (all of it)
- 1½ cups (195g) bread flour
- ¾ cup (176g) lukewarm water
- 1½ teaspoons active dry yeast
- 1 teaspoon fine sea salt
Instructions
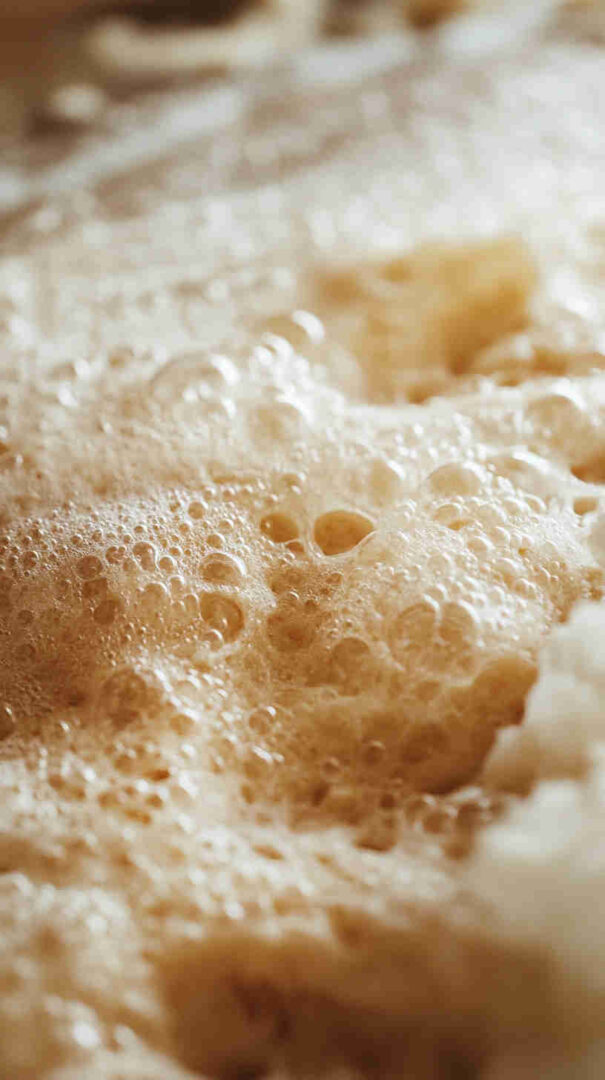
- Start with the magic biga the night before — In a medium bowl, mix the biga flour and yeast, then stir in the lukewarm water until it forms a shaggy, thick paste. Cover with plastic wrap and let it sit at room temperature for 8-12 hours (or up to 24). It'll bubble up and smell wonderfully yeasty—your flavor foundation is building!
- Gather your dough crew the next day — In a large mixing bowl or stand mixer, whisk together the flour, yeast, and salt. Break the bubbly biga into pieces and add it in along with the lukewarm water.
- Mix it up gently — Stir with a wooden spoon or mix on low speed until everything comes together into a very sticky, shaggy dough (about 2-3 minutes). It looks messy—that's perfect for ciabatta!
- Knead with love (but not too much) — Switch to a dough hook (or use wet hands) and knead/mix for 3-4 minutes until smoother and stretchy. The dough stays very wet and sticky—embrace it!
- First rise with patience — Cover the bowl and let the dough rest in a warm spot for 1-1½ hours. Every 30 minutes, wet your hands and do a gentle stretch-and-fold: pull one side up and over the center, rotate, repeat 4 times. This builds strength without deflating.
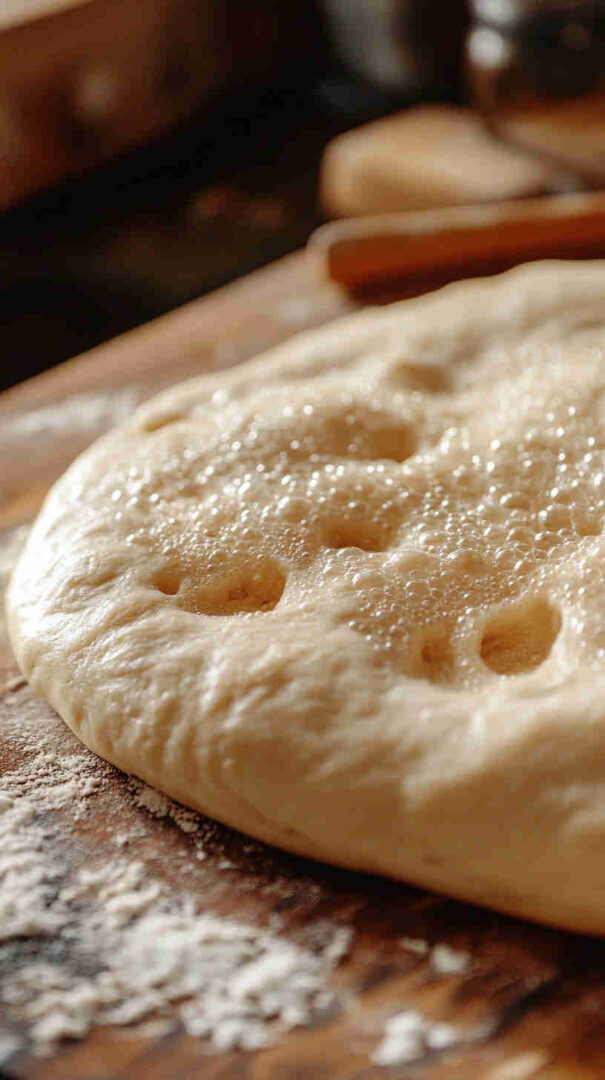
- Shape your rustic slippers — Flour your work surface generously. Turn out the dough, divide into 2 pieces. Gently stretch each into a rough rectangle or oval (about 10-12 inches long), keeping air bubbles intact. Place on a floured parchment-lined baking sheet.
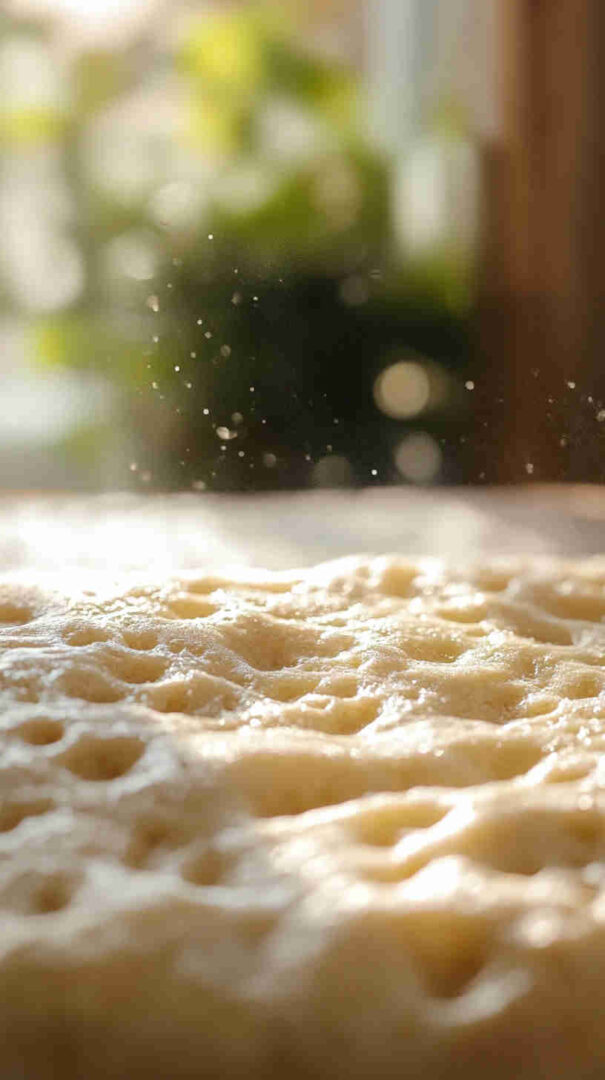
- Final proof — Dust tops with flour, cover loosely with a towel, and let rise 45-60 minutes until puffy and jiggly.
- Preheat like a pro — Heat oven to 450°F (230°C) with a baking stone or sheet inside. Place an empty pan on the bottom rack for steam.
- Bake to golden perfection — Slide loaves (on parchment) onto the hot stone/sheet. Pour 1 cup hot water into the bottom pan for steam, close door quickly. Bake 25-30 minutes until deep golden, crusty, and hollow-sounding when tapped.
- Cool and enjoy — Transfer to a wire rack. Resist slicing for at least 30 minutes—let those flavors settle. Slice, drizzle with olive oil, and savor every chewy, holey bite!
Notes
The dough is intentionally very sticky (high hydration = big holes). Use plenty of bench flour but don't add extra to the dough itself. For focaccia variation: After shaping, dimple deeply, drizzle olive oil liberally, add toppings, and bake at 425°F (220°C) for 20-25 minutes.
Nutrition Information
Yield
2Serving Size
1Amount Per Serving Calories 1144Total Fat 6gSaturated Fat 1gUnsaturated Fat 5gSodium 1123mgCarbohydrates 233gFiber 9gSugar 1gProtein 39g
The recipes and nutritional information on Yum Tonight are for informational purposes only. Always consult a healthcare provider for personalized dietary advice.
Recipe Tips and Tricks
- Use bread flour for better gluten development and structure in the high-hydration dough— it holds those big holes better than all-purpose.
- Handle the sticky dough gently with wet hands or a bench scraper to avoid deflating the air bubbles you’ve worked so hard to create.
- For steam in the oven (key to crust), place a cast-iron skillet on the bottom rack and pour hot water in right before baking, or spritz the oven walls.
- Don’t rush the rises—long, slow fermentation develops flavor; overnight biga is ideal.
- Dust generously with flour before shaping to prevent sticking and give that rustic look.
- If your kitchen is cold, place the dough in a turned-off oven with the light on for gentle warmth.
- Score lightly if desired, but ciabatta’s rustic nature means irregular shapes are part of the charm.
Ingredients Notes
This recipe relies on just a handful of high-quality ingredients to shine—flour, water, yeast, and salt—with the biga preferment being the star for authentic flavor. Use bread flour (high-protein, around 12-13%) rather than all-purpose; it provides the strength needed for the dough’s 80%+ hydration without turning gummy.
Instant yeast (or active dry) works well; instant is easier as it doesn’t need proofing. Salt is crucial for flavor and controlling fermentation—fine sea salt or kosher is best, added after initial mixing to avoid inhibiting yeast.
Water should be room temperature or slightly warm (around 70-80°F/21-27°C) for optimal yeast activity. No oil or sugar here in the traditional version—that keeps it pure and focused on the wheat’s natural taste, though a touch of olive oil can be added for subtle richness if you like.
Variations and Substitutions
While traditional ciabatta is minimalist, you can easily adapt it. For a whole grain twist, substitute 20-30% of the bread flour with whole wheat or spelt flour (add a bit more water as it absorbs more).
To make it closer to focaccia style, drizzle the shaped dough generously with olive oil, dimple it with fingers, and top with rosemary, sea salt, cherry tomatoes, olives, or caramelized onions before baking—the higher oil content makes it softer and more spongy. Add herbs like rosemary or thyme directly into the dough for flavored ciabatta. For a quicker version without biga, use a straight dough method (still high hydration) but expect slightly less complex flavor.
If yeast is an issue, try sourdough starter instead of commercial yeast (replace yeast with 100-150g active starter and adjust water/flour). Dairy-free by nature, but for enriched, add a tablespoon of olive oil. Gluten-free? This high-hydration style isn’t ideal—seek dedicated GF recipes.
Storage Options
Ciabatta is best enjoyed fresh on the day it’s baked, when the crust is crispest. Store at room temperature in a paper bag or loosely wrapped in a clean kitchen towel for 1-2 days to maintain crust (avoid plastic bags, as they soften it).
For longer storage, wrap tightly in plastic or foil and freeze for up to 3 months—slice first for easy toasting. Refresh by baking at 350°F (175°C) for 5-10 minutes or toasting slices. Avoid refrigerating, as it dries out the crumb faster.
Dish Gallery

Please share this Traditional Ciabatta Bread at Home with your friends and do a comment below about your feedback.
We will meet you on next article.
Until you can read, Homemade Rosemary and Sea Salt Focaccia