What are common mistakes beginners make in food photography?
Discover common beginner mistakes in food photography and learn expert tips to improve lighting, focus, composition, and editing for stunning results.
Food photography is an art form that blends creativity, technical skill, and attention to detail. For beginners, capturing mouthwatering images of dishes can be challenging, with mistakes that detract from the final result. This comprehensive guide explores the most common errors new food photographers make and provides actionable solutions to elevate your photography. From lighting and focus to composition and post-processing, we’ll cover everything you need to create professional-quality food photos. Whether you’re shooting for a blog, social media, or a portfolio, these tips will help you avoid pitfalls and produce stunning images.
1. Lighting Issues: The Foundation of Great Food Photography
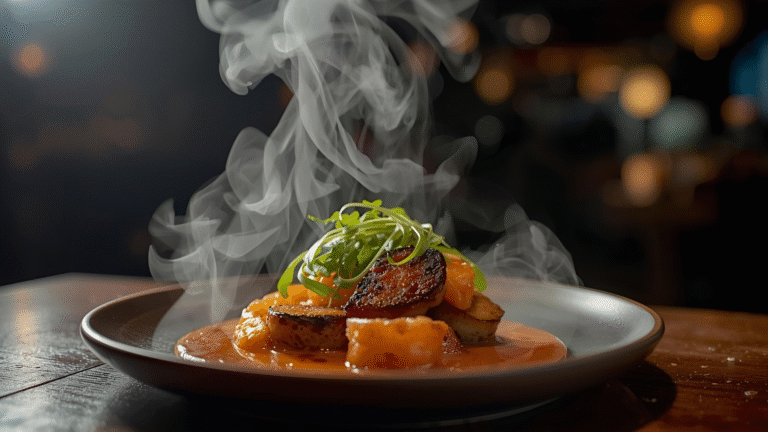
Lighting is the cornerstone of any good photograph, and food photography is no exception. Poor lighting can ruin an otherwise perfect shot, resulting in harsh shadows, uneven illumination, or unnatural colors.
The Problem
Beginners often struggle with harsh shadows, uneven lighting, or colors that don’t reflect the dish’s true vibrancy. Direct sunlight or harsh artificial lights can create unflattering contrasts, while mixed lighting (e.g., tungsten and natural light) can introduce unwanted color casts, like an orange tint.
The Cause
- Direct sunlight: Creates stark shadows and overexposed highlights.
- Mixed lighting sources: Combining natural light with artificial sources (e.g., tungsten bulbs) leads to inconsistent color temperatures.
- Lack of diffusion: Harsh light sources without diffusers produce unflattering results.
The Solution
- Use natural light: Position your setup near a window to take advantage of soft, diffused natural light. Avoid direct sunlight, which can be too intense.
- Diffuse artificial light: If using artificial lighting, opt for LED panels or softboxes with diffusers to soften the light and reduce harsh shadows.
- Turn off tungsten lights: Eliminate unwanted color casts by turning off all tungsten lights in the room, including those in adjacent areas like hallways or kitchens.
- Use reflectors: Reflectors bounce light back onto the subject, filling in shadows for a balanced look. A simple white foam board can work wonders.
- Color checker card: Use a color checker during your shoot to ensure accurate color reproduction during post-processing.
Additional Tip
Experiment with light direction. Side lighting enhances texture, while backlighting can create a glowing effect for translucent foods like beverages or salads. For a visual guide, check out tutorials on platforms like YouTube for demonstrations on using reflectors and diffusers effectively.
2. Focus and Depth of Field: Nailing the Sharpness
Sharp, well-focused images are critical in food photography to highlight the dish’s details, such as the texture of a crusty loaf or the gloss of a sauce.
The Problem
Photos may appear blurry, either entirely or in critical areas. A shallow depth of field (DoF) can make the subject look out of focus, while incorrect focus points can draw attention to the wrong part of the image.
The Cause
- Camera shake: Handheld shooting at slow shutter speeds causes motion blur.
- Inaccurate autofocus: The camera’s autofocus locks onto the wrong part of the scene, such as the background.
- Sloppy manual focusing: Imprecise focusing, especially at wide apertures, results in a blurry subject.
- Camera movement after focusing: Adjusting the camera’s position after setting focus shifts the focal plane.
The Solution
- Use a tripod: A tripod stabilizes the camera, eliminating shake and allowing precise framing. This is especially important for macro shots or when using wide apertures (e.g., f/2.8 or f/4).
- Single-point autofocus: Select a specific focus point to ensure the camera locks onto the most important part of the dish.
- Manual focus with zoom: Zoom in on your camera’s LCD screen to fine-tune manual focus, ensuring pinpoint accuracy.
- Choose the right aperture: Experiment with apertures like f/2.8 or f/4 for a shallow DoF that blurs the background while keeping the subject sharp. For larger scenes, use f/8 or higher to keep more in focus.
- Lock focus before recomposing: If recomposing after focusing, lock the focus to avoid shifting the focal plane.
Additional Tip
Identify the focal point of your image before shooting. Ask yourself, “What’s the hero of this dish?” For example, in a dessert photo, the focus might be on the creamy filling rather than the plate. Practice zooming in to check focus before capturing the shot.
3. Composition and Styling: Crafting Visually Appealing Images
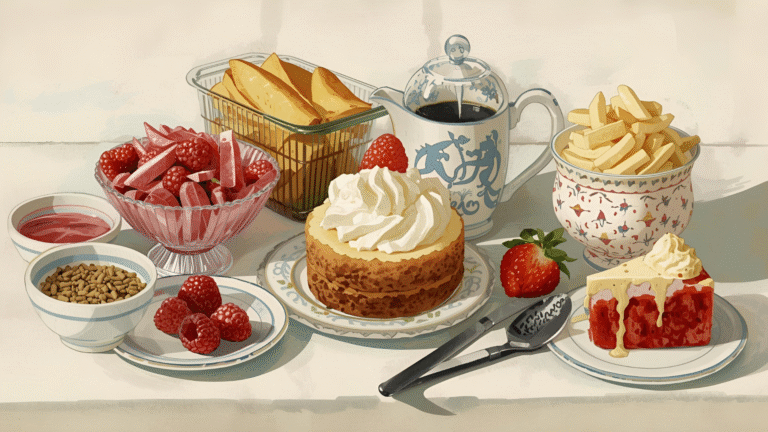
Composition determines how the viewer’s eye moves through the image. Poor composition can make a dish look unappealing or cluttered.
The Problem
Cluttered or unbalanced compositions, distracting backgrounds, or lack of visual interest can detract from the dish. Beginners often include too many props or fail to create a cohesive scene.
The Cause
- Lack of compositional knowledge: Not understanding rules like the rule of thirds or negative space.
- Overstyling: Using too many or overly bold props that overshadow the food.
- Distracting elements: Backgrounds or props that draw attention away from the dish.
- Crooked horizons: Misaligned horizons make the image feel unbalanced.
The Solution
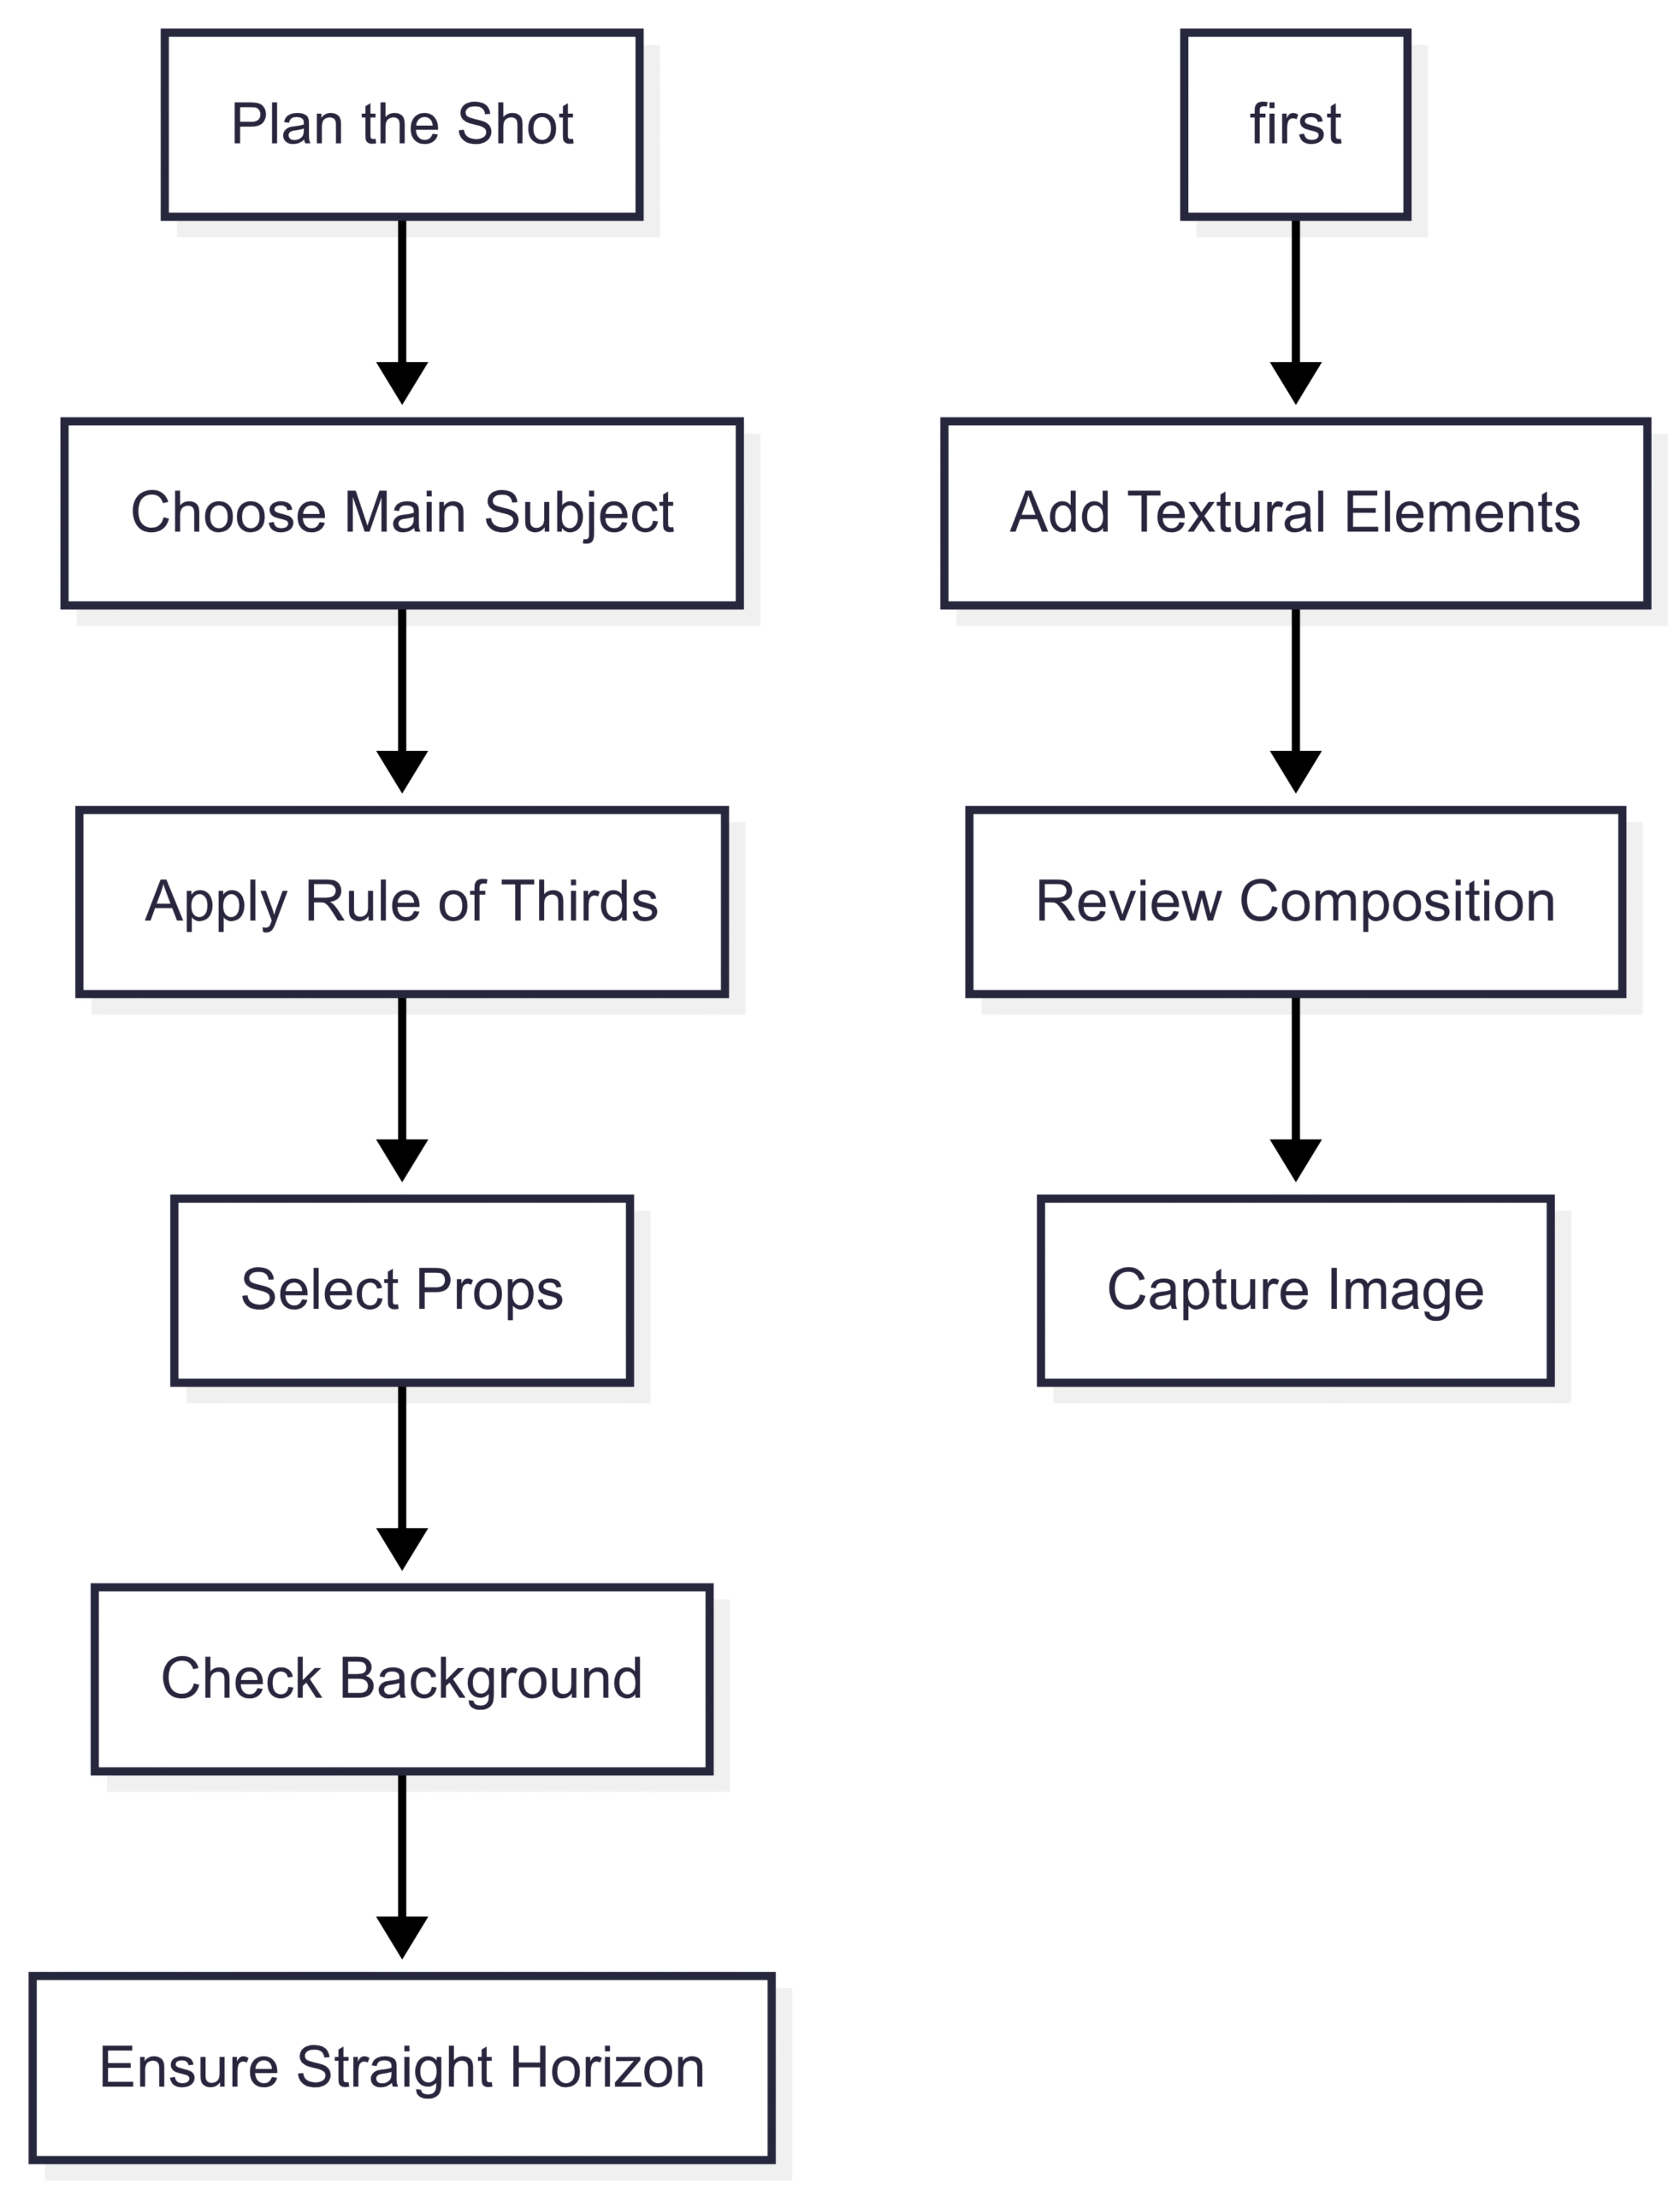
- Apply the rule of thirds: Place the main subject off-center, aligning it with the intersections of an imaginary 3×3 grid for a balanced composition.
- Use negative space: Leave empty space around the subject to create a clean, uncluttered look.
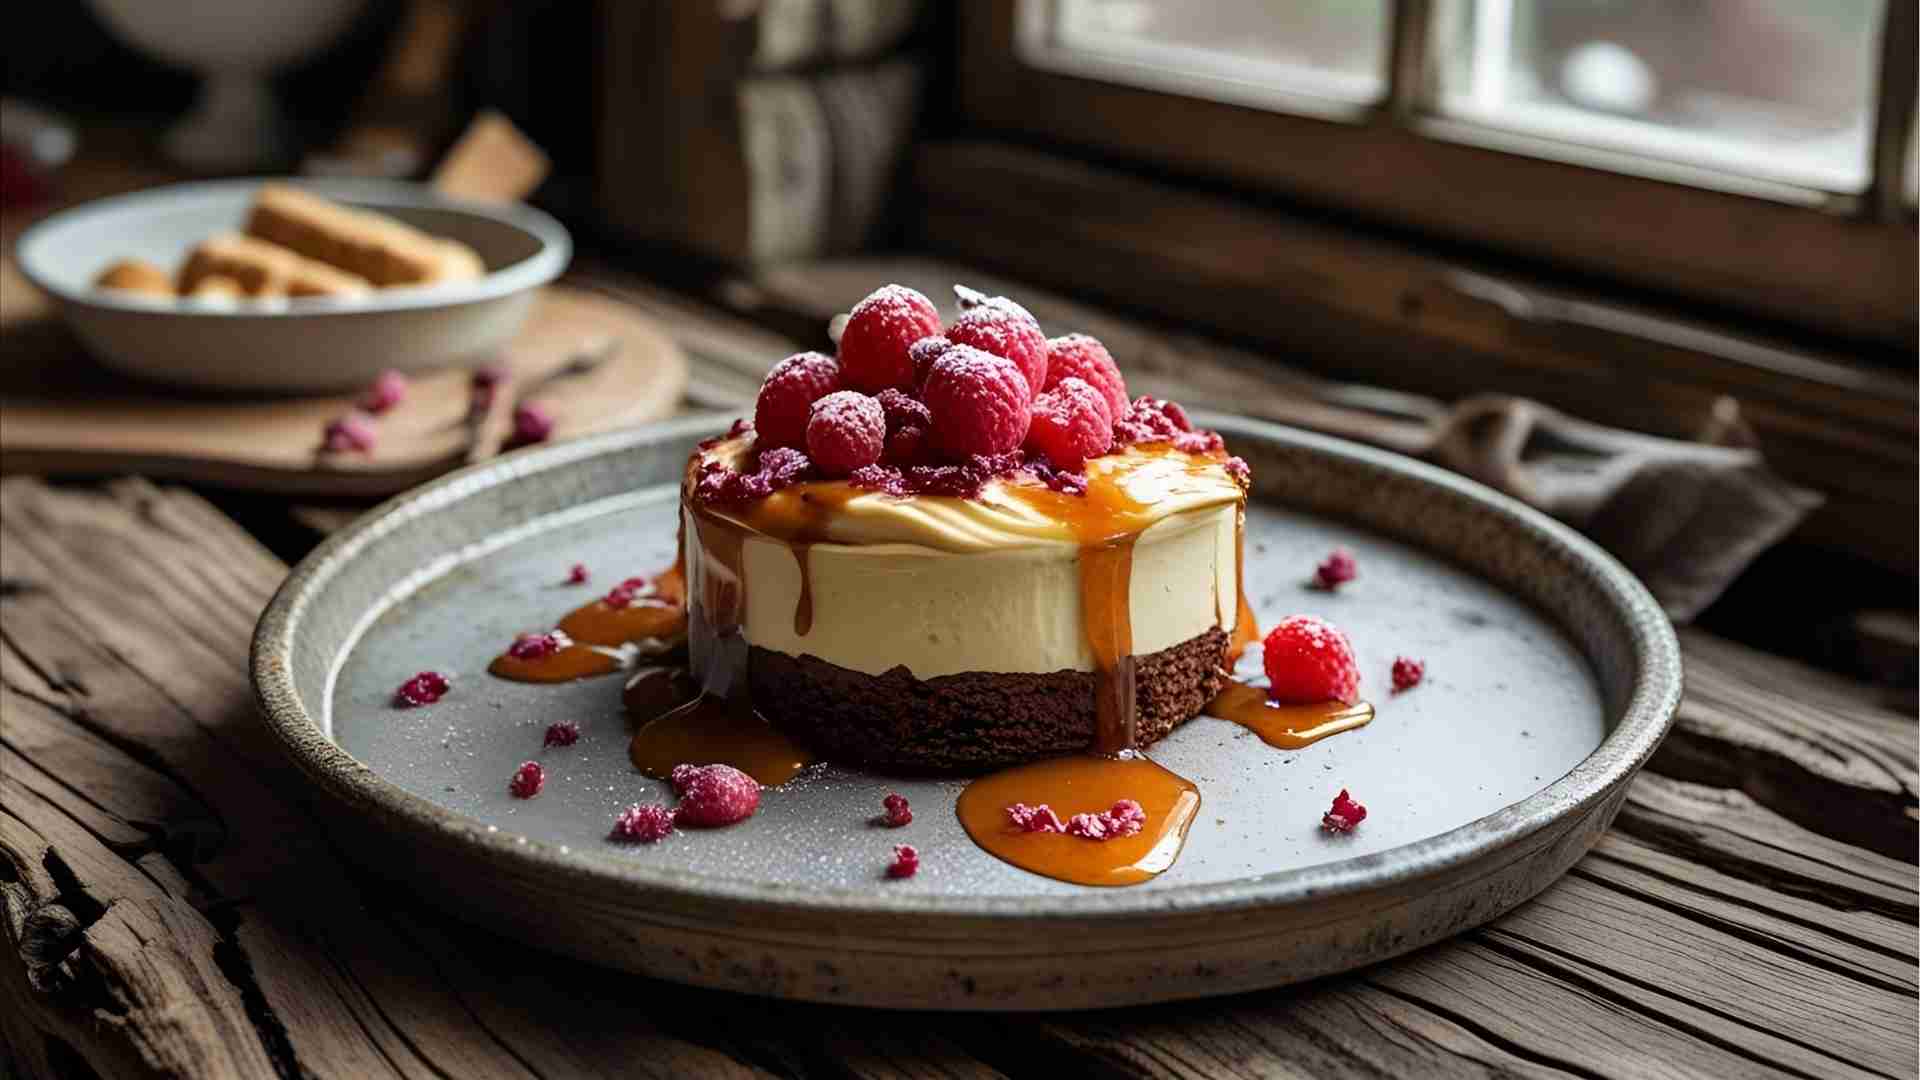
- Choose complementary props: Select props that enhance the dish’s story without overpowering it. For example, a rustic wooden board pairs well with artisanal bread, while bright red props can distract.
- Keep backgrounds simple: Use neutral or blurred backgrounds to keep the focus on the food.
- Check the horizon: Use your camera’s grid or level guide to ensure a straight horizon. Fix crooked horizons in post-processing if needed.
- Incorporate odds: Use an odd number of elements (e.g., three berries instead of two) to create visually appealing triangles.
Additional Tip
Study professional food photography to understand what makes a composition natural. Sprinkle crumbs, flour, or herbs to add texture and authenticity, but avoid overly staged setups that look unnatural.
Composition Workflow (Chart)
4. Post-Processing: Enhancing Without Overdoing It
Post-processing can transform a good photo into a great one, but beginners often overedit, resulting in unnatural or unappealing images.
The Problem
Photos look flat, colors are inaccurate, or details are lost due to heavy-handed editing. Common issues include oversaturated colors, excessive sharpening, or unnatural lighting effects.
The Cause
- Overediting: Applying extreme adjustments to compensate for poor in-camera results.
- Lack of understanding of light: Edits that don’t reflect real-world lighting behavior look fake.
- Influence of social media: Overly retouched images on platforms like Instagram can skew perceptions of “normal” editing.
The Solution
- Use professional software: Tools like Adobe Lightroom or Photoshop allow precise adjustments to brightness, contrast, white balance, and sharpness.
- Subtle adjustments: Enhance colors and details without making them look unnatural. For example, adjust white balance to correct color casts but avoid oversaturating reds or greens.
- Check histograms: Use your camera’s histogram to ensure proper exposure during shooting, reducing the need for heavy editing.
- Learn natural light behavior: Study how light interacts with food in real life to make realistic edits. For example, avoid making shadows too bright or highlights too dark.
- Compare with unedited originals: Ensure edits are subtle by comparing the edited image with the original. If the editing is noticeable, dial it back.
Additional Tip
Experiment with editing styles to find your signature look, but aim for edits that enhance the dish’s natural appeal. Watch tutorials on platforms like YouTube to learn how to fix common editing mistakes.
5. Exposure Issues: Balancing Light and Shadow
Correct exposure ensures that both highlights and shadows retain detail, making the dish look appetizing.
The Problem
Overexposed highlights (e.g., burned-out areas on white plates) or underexposed shadows (e.g., dark, muddy food) make images unappealing.
The Cause
- Relying on the camera’s LCD: Camera screens don’t accurately reflect exposure, leading to incorrect settings.
- Ignoring histograms: Not checking the histogram results in lost detail in highlights or shadows.
- Incorrect settings: Using auto mode or improper manual settings for the lighting conditions.
The Solution
- Use manual mode: Take control of aperture, shutter speed, and ISO to achieve the desired exposure.
- Check histograms: Ensure the histogram is balanced, with data spread across the graph and no clipping at the edges (indicating lost details).
- Bracket exposures: Take multiple shots at different exposures to choose the best one or combine them in post-processing.
- Increase light or adjust settings: If the scene is too dark, add more light (e.g., reflectors) or use a wider aperture/faster shutter speed. Avoid high ISO settings to minimize noise.
Exposure Settings Table
| Setting | Purpose | Recommended for Food Photography |
|---|---|---|
| Aperture (f-stop) | Controls depth of field | f/2.8–f/8 for shallow to moderate DoF |
| Shutter Speed | Controls motion blur | 1/125s or faster (use tripod for slower speeds) |
| ISO | Controls light sensitivity | 100–400 to minimize noise |
| White Balance | Ensures accurate colors | Custom or daylight (adjust in post) |
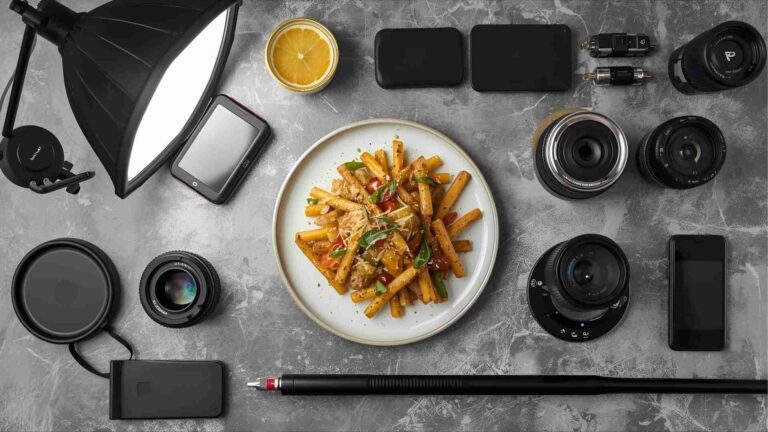
6. Using the Wrong Lens: Choosing the Right Tool
The lens you use significantly impacts the perspective, depth of field, and overall look of your food photos.
The Problem
Using an inappropriate lens can distort the subject, create unwanted converging lines, or make it impossible to frame the shot correctly.
The Cause
- Wide-angle lenses (e.g., 30mm): Cause distortion, making objects at the edges appear stretched.
- Telephoto lenses (e.g., 150mm): Make it difficult to capture wide scenes, like tablescapes, due to their narrow field of view.
- Lack of lens knowledge: Not understanding how focal length affects perspective and framing.
The Solution
- Choose the right focal length: Use 50mm or 85mm lenses for food portraits to achieve a natural perspective. For flat-lay shots, a 35mm or 50mm lens works well.
- Understand lens characteristics: Wide-angle lenses (24–35mm) are great for contextual shots but may distort close-ups. Telephoto lenses (85–100mm) are ideal for isolating subjects.
- Invest in a macro lens: For close-up shots of textures or details, a macro lens (e.g., 100mm f/2.8) provides sharp results.
Recommended Lenses for Food Photography
| Lens Type | Focal Length | Best Use | Example Price (USD) |
|---|---|---|---|
| Standard Prime | 50mm f/1.8 | Portraits, general food shots | ~$200 |
| Macro Prime | 100mm f/2.8 | Close-ups, detailed textures | ~$600–$1,000 |
| Wide-Angle Prime | 35mm f/1.4 | Flat-lays, contextual shots | ~$500–$1,500 |
| Telephoto Prime | 85mm f/1.8 | Isolated subjects, bokeh effects | ~$400–$800 |
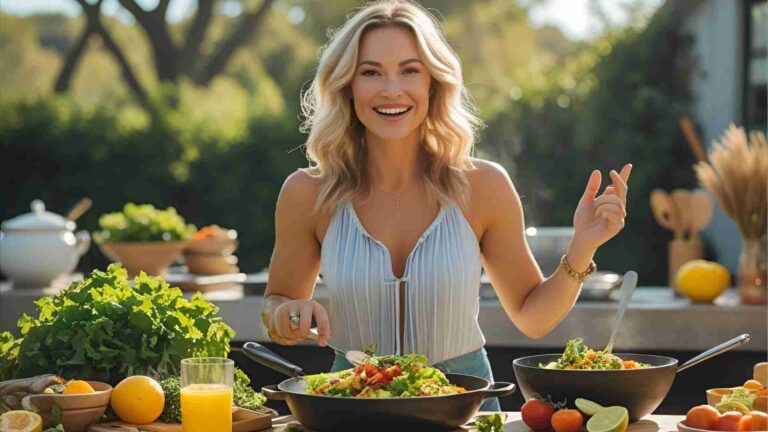
7. Overcooking and Ingredient Quality: Showcasing Freshness
The food itself is the star of the show, and its appearance directly affects the photo’s appeal.
The Problem
Overcooked dishes lose texture and color, looking unappetizing. Using stale or low-quality ingredients results in lackluster images.
The Cause
- Overcooking: Cooking food fully before shooting can dull its appearance.
- Poor ingredient quality: Wilted greens or oxidized fruits detract from the dish’s appeal.
- Lack of preparation: Not using techniques to maintain freshness during the shoot.
The Solution
- Undercook strategically: For example, slightly undercook vegetables to retain vibrant colors and crisp textures.
- Use fresh ingredients: Shop for the freshest produce and herbs. Soak greens in cold water or use lemon water to prevent oxidation in fruits like apples.
- Work quickly: Shoot promptly to capture food at its peak freshness. Use a hairdryer to reheat or remove grease marks if needed.
Additional Tip
Plan your shoot to minimize food prep time. For example, prepare components separately to control their appearance, then assemble just before shooting.
8. Not Experimenting: Finding Your Unique Style
Sticking to the same setups limits creativity and growth in food photography.
The Problem
Photos look repetitive because beginners rely on familiar settings, angles, or props, missing opportunities to develop a unique style.
The Cause
- Fear of failure: Avoiding new techniques due to the risk of poor results.
- Comfort zone reliance: Sticking to what’s worked before instead of exploring new ideas.
The Solution
- Start with safe shots: Capture a few images using your trusted setup to ensure usable results, then experiment with new angles, lighting, or props.
- Try new techniques: Experiment with backlighting, high-key lighting, or unconventional compositions like diagonals.
- Study others’ work: Analyze professional food photographers’ portfolios to inspire new ideas, but adapt them to your style.
Additional Tip
Keep a journal of experiments, noting what worked and what didn’t. This helps you refine your style over time.
Conclusion: Elevate Your Food Photography
Avoiding these common mistakes—poor lighting, incorrect focus, clunky composition, heavy-handed editing, exposure issues, wrong lens choices, overcooking, and lack of experimentation—can significantly improve your food photography. By mastering lighting techniques, focusing precisely, composing thoughtfully, editing subtly, and experimenting creatively, you’ll create images that captivate viewers and showcase the beauty of food. Practice consistently, study professional work, and don’t be afraid to make mistakes—they’re part of the learning process. With these tips, you’re well on your way to producing professional-quality food photos that stand out.
Please share these What are some common mistakes beginners make in food photography? with your friends and do a comment below about your feedback.
We will meet you on next article.
Until you can read, What do you use to make nutrition facts from your recipes?