Why do you need tripod for food photography?
A tripod might be the least glamorous piece of gear in your camera bag, but for food photography it’s arguably the most important. While photographers debate lens choices and lighting setups, the tripod quietly determines whether your images are tack-sharp or frustratingly soft, whether your compositions hold together or fall apart mid-shoot. This guide covers everything: why a tripod matters, what to look for in each component, and exactly how to use one during a food shoot.
The Core Case for Using a Tripod
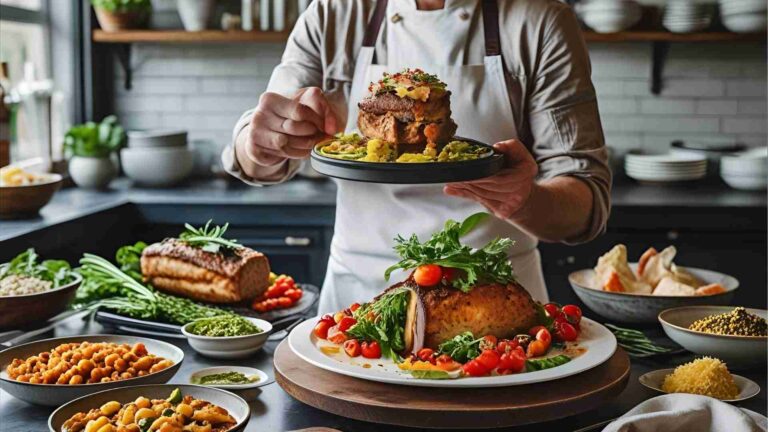
Food photography happens indoors, often near a single window, with a camera pointed at a plate that isn’t going anywhere. That setup sounds simple — but it’s precisely where camera shake, inconsistent framing, and focusing errors show up most visibly.
Sharpness and image quality. When you handhold a camera at shutter speeds slower than 1/60s, even minor tremors blur fine details. Sauce texture, herb garnishes, the gloss on a caramel — all gone. Mounting the camera on a tripod lets you slow the shutter to 1/2s or longer without any motion blur, which means you can keep ISO at 100 and aperture where you want it rather than compensating for an unstable grip. Lower ISO doesn’t just reduce grain; it improves color accuracy, tonal range, and overall image cleanliness. Less work in post-processing follows naturally.
Composition consistency. When the camera locks in place, your framing doesn’t drift between shots. This matters enormously when building a shot gradually — placing props, adjusting garnishes, adding the hero element last. Without a tripod, each small styling adjustment forces you back behind the viewfinder to re-establish your angle. With one, you style to the camera, not around it.
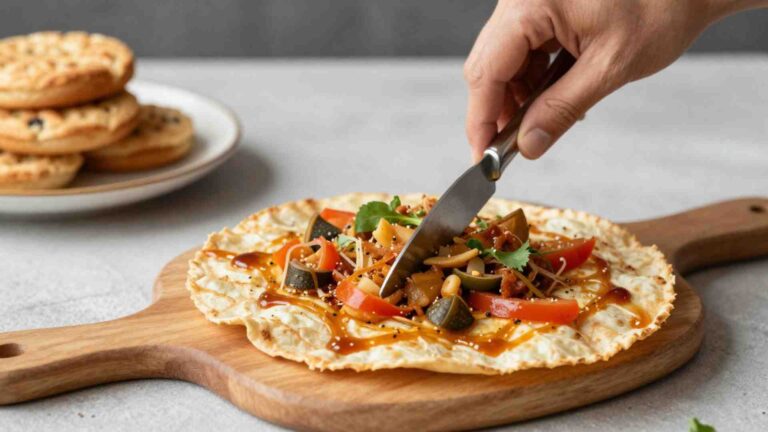
Precise focusing. In close-up food work, a shift of two millimeters changes your focal plane completely. Autofocus is useful, but manual focus with live view zoomed into the subject — only possible when the camera isn’t moving — is more accurate. Lock it down, zoom in on the key texture or detail, rotate the focus ring precisely, and shoot. That’s the difference between a merely sharp image and a genuinely crisp one.
Hands-free flexibility. When the camera is fixed, both hands are free to style, adjust props, pour a sauce, or position a hand naturally in the frame using a self-timer. Action shots — pouring honey, dusting icing sugar, lifting a fork — become possible for a solo photographer.
Fatigue reduction. A six-hour food shoot involves a lot of bending, crouching, and holding a camera in awkward positions. Over time that wears on your back, shoulders, and wrists. A properly positioned tripod eliminates most of that physical strain, letting you focus on the creative work instead of managing discomfort.
Common Myths About Tripods — Addressed
“It limits creativity.” The opposite is true. When composition is locked in, creative energy goes entirely into styling, lighting, and the food itself. You’re not constantly re-framing; you’re building the image intentionally.
“A better camera matters more.” Camera bodies get upgraded. Lenses and a solid tripod stay with you. A good tripod unlocks the full potential of whatever camera body you’re using by allowing slower shutter speeds, lower ISO, and manual focus — none of which work reliably without stability.
“They’re too heavy and bulky.” Carbon fiber tripods weigh under 1.5kg and set up in seconds. For studio food work, weight is rarely the concern it is for travel or hiking.
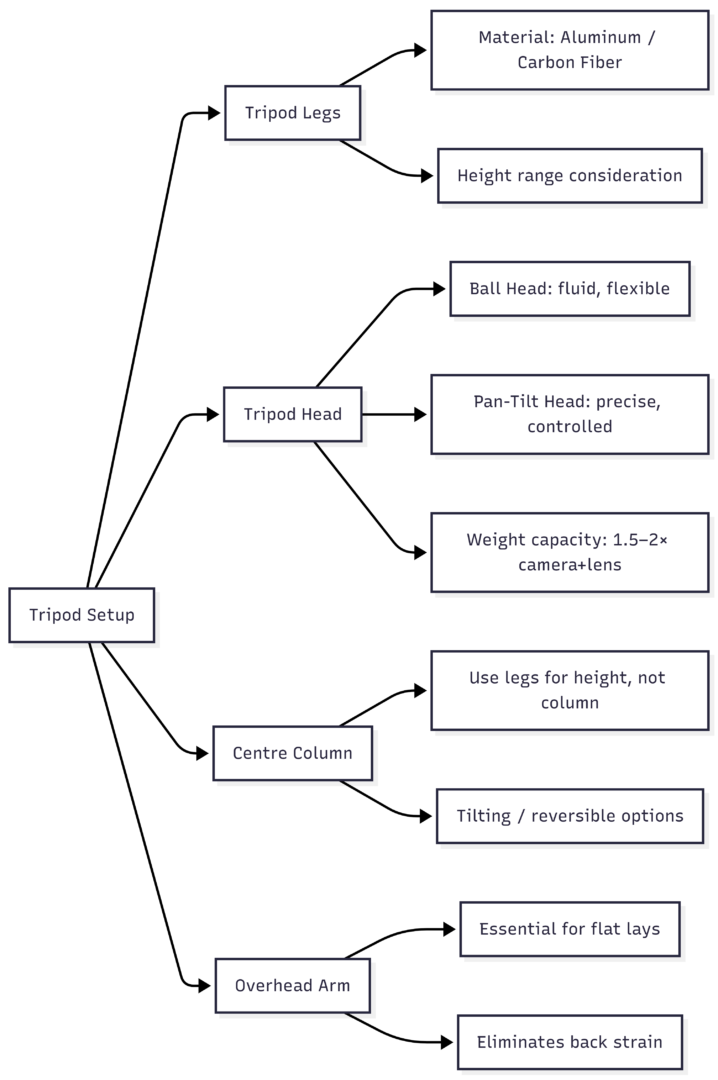
Understanding a Tripod Setup: Every Component
A complete tripod setup has four parts. Each one matters.
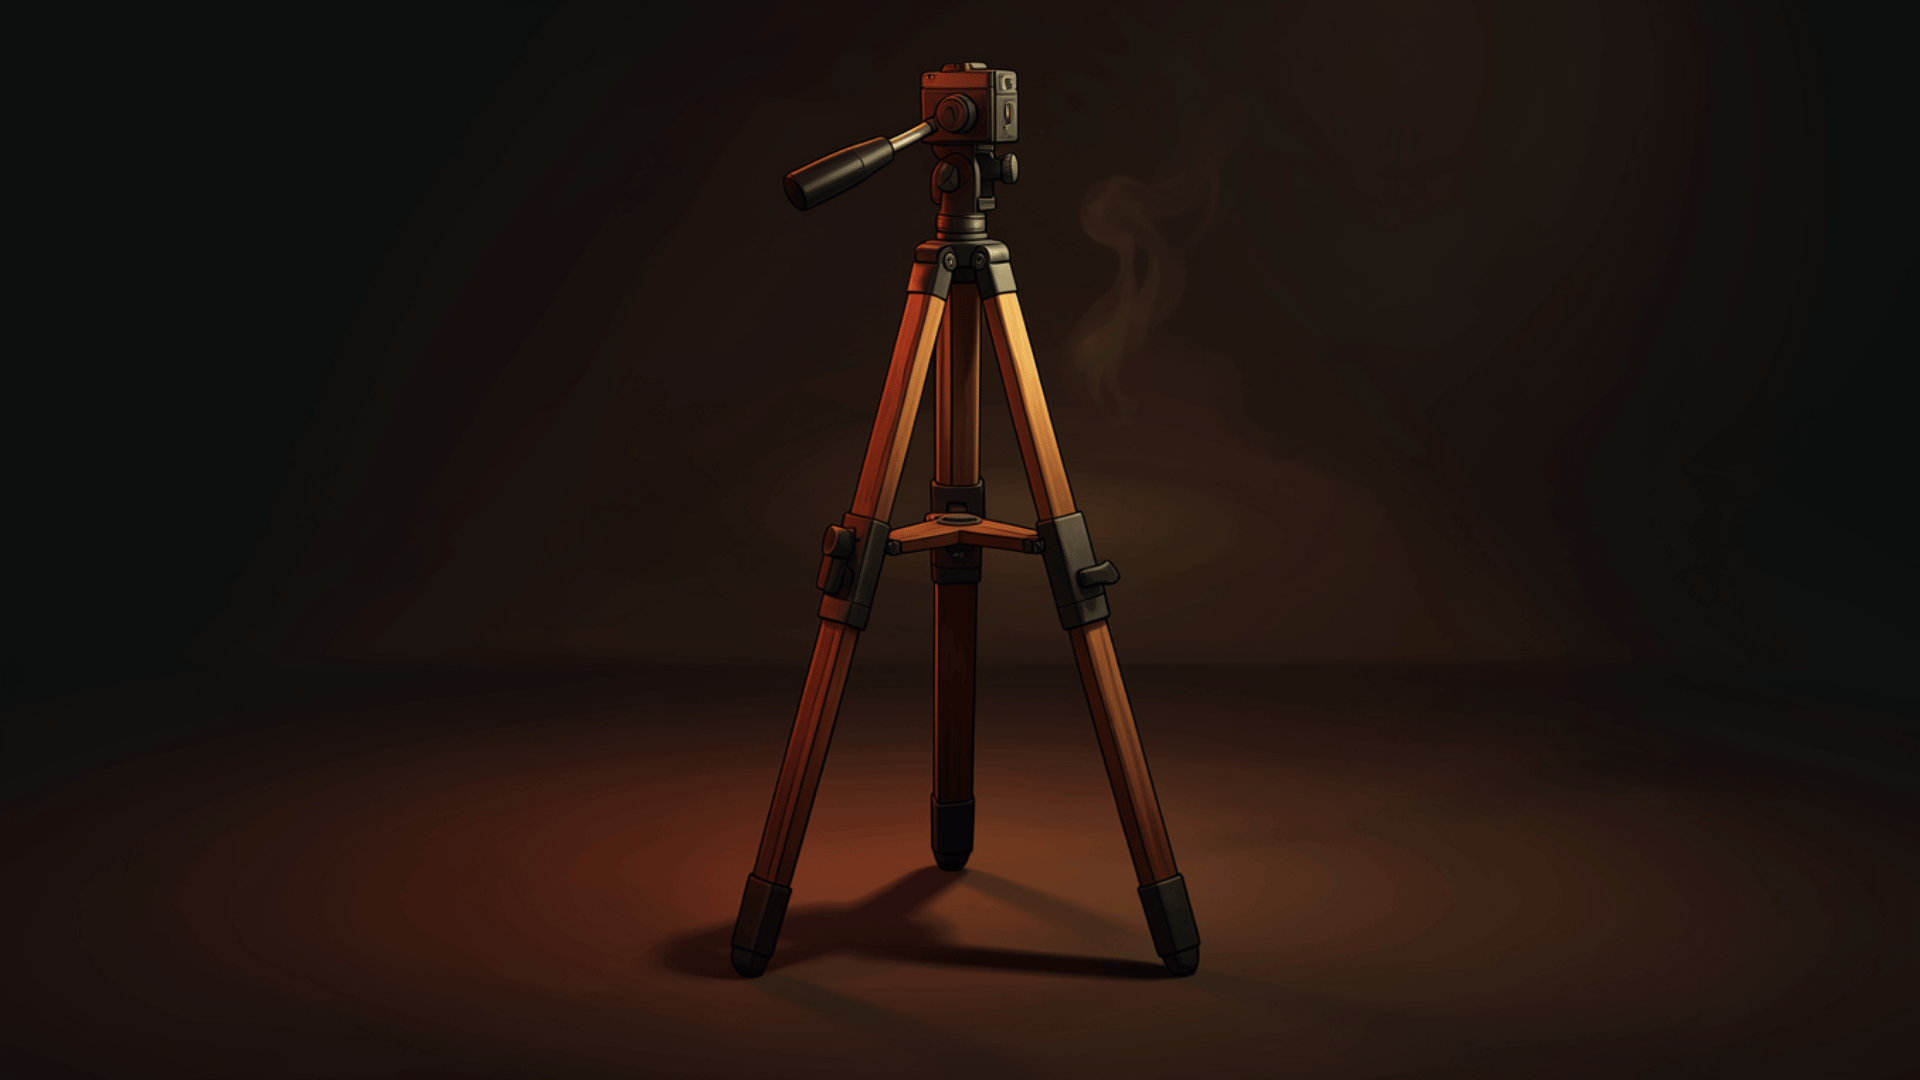
Tripod Legs
The legs determine the foundation. Putting a heavy DSLR and 100mm macro lens on a light travel tripod results in noticeable vibration — which defeats the entire point.
| Material | Weight | Stability | Price Range |
|---|---|---|---|
| Aluminum | Medium | Good | $50–$200 |
| Basalt | Medium-light | Very good | $100–$300 |
| Steel | Heavy | Excellent | $80–$250 |
| Carbon Fiber | Light | Excellent | $200–$800+ |
Carbon fiber is the premium option — lightest and most stable, ideal if budget allows. Aluminum is the practical mid-range choice. Steel is heavy but extremely solid and cheap. Whatever material you choose, confirm the legs can extend to the height you need for overhead shots.
Tripod Head
Most tripods are sold body-only (no head), which is actually an advantage — you pick the head that suits your shooting style. Two types work especially well for food photography:
- Ball head (360° rotating): Smooth, fluid movement in any direction. Great for quickly adjusting angles between shots.
- Pan-tilt head: Adjusts one axis at a time — up/down or side-to-side. More precise and controlled, good for dialing in exact framing.
When buying a head, weigh your camera body and heaviest lens together. Choose a head rated for at least 1.5× that weight; 2× is safer and more stable.
Centre Column
The centre column raises or lowers the camera between the legs. For stability, height is better achieved through the legs rather than extending the column far up. Some tripods offer a reversible column for low-angle shots near table level. Others feature a tilting column that can be positioned horizontally at 90° for flat lays — useful in theory, though often the column isn’t long enough to keep the legs out of the frame.
Overhead Arm
The overhead arm solves the tilting column problem entirely. It attaches to the tripod and extends the camera horizontally, allowing clean, straight-down flat lay shots with no tripod legs in frame. If overhead food photography is part of your workflow — and for most food photographers it is — an overhead arm is not optional. It also eliminates the back strain that comes from bending over a table to frame a top-down shot.
How to Photograph Food With a Tripod: Step-by-Step
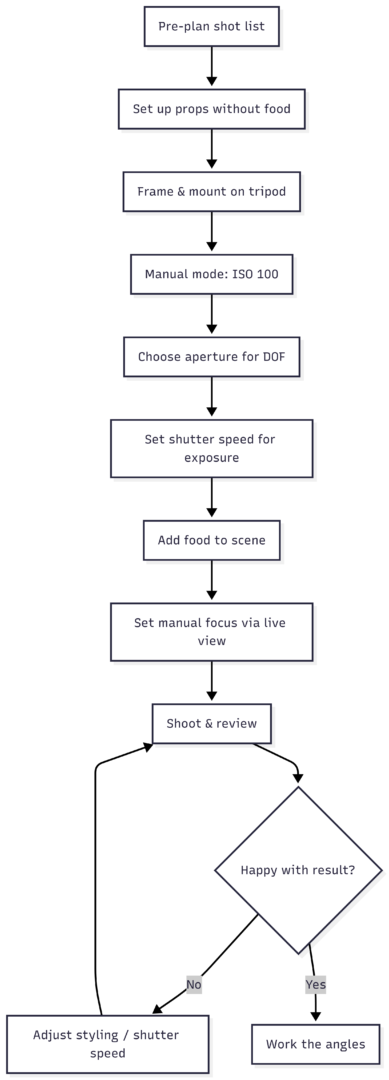
1. Pre-Plan the Shoot
Before touching a single prop, build a shot list. Know what angles you’re going after — overhead, 45°, low angle — and what the hero element is. Pre-planning reduces wasted time on set and makes tripod repositioning faster.
2. Set Up the Space
Arrange your surface — a table, a low platform, or sawhorses for overhead setups. Lay out props and background elements first, without the food. This is the time to experiment with placement before the clock starts on perishable ingredients.
3. Frame and Mount
Look through the camera and work out a rough composition with just props in place. Once you’re happy with the angle and framing, mount the camera on the tripod. Don’t touch the position again unless you’re deliberately changing angles.
4. Set Camera to Manual Mode
Switch to manual and configure settings in this order:
- White balance: Daylight, Cloudy, or Open Shade depending on your window light. Try Auto White Balance if the image looks too blue.
- ISO: Set to 100, or the lowest native ISO your camera allows. On a tripod, there’s no reason to go higher.
- Aperture (F-stop): Choose based on the depth of field you want.
| F-Stop | Effect |
|---|---|
| f/1.8–f/2.8 | Soft background, shallow focus — beautiful bokeh |
| f/4–f/5.6 | Balanced sharpness with some background blur |
| f/8–f/11 | Deep focus, most of the scene sharp |
Keep aperture consistent through the shoot unless you deliberately want to change the look. Only shutter speed should change as lighting shifts.
- Shutter speed: Start around 0.5s for a wide aperture near a window with soft indirect light. Take test shots and adjust until the exposure is correct.
5. Bring in the Food
Once settings are locked and you have a proper exposure on the empty scene, introduce the food. This is the moment where styling takes over. Use live view or tether to a laptop to see exactly what the camera sees without squinting through the viewfinder.
6. Set Focus Precisely
Use manual focus with live view zoomed in on the specific texture or detail you want sharpest. Rotate the focus ring until it locks onto that point. Don’t rely on autofocus for close-up food work if you want consistently sharp results.
7. Shoot, Adjust, Repeat
Take a shot. Review it. Adjust one thing — a prop position, the food placement, the fold of a napkin. Shoot again. As natural light shifts through the session, adjust shutter speed to maintain exposure. Everything else stays constant.
Tripod Setup Quick-Reference
| Component | What to Look For | Approx. Price Range |
|---|---|---|
| Tripod Legs (Aluminum) | Height range, leg lock type | $60–$200 |
| Tripod Legs (Carbon Fiber) | Weight, section count | $200–$800 |
| Ball Head | Weight rating ≥ 1.5× camera+lens | $40–$300 |
| Pan-Tilt Head | Precision control, separate axis locks | $50–$250 |
| Overhead Arm | Extension length, compatibility | $30–$150 |
When a Tripod Is Non-Negotiable
There are situations where shooting handheld simply isn’t viable: overcast days that push shutter speeds below 1/30s; café or restaurant interiors with mixed or dim light; long shoots that run multiple hours; any overhead flat lay that needs to stay level. In all these cases, a tripod isn’t a preference — it’s what makes the shot possible at all.
The paradox some photographers discover is that accepting the constraint of a locked-down camera produces more creative, more deliberate images. You stop chasing angles impulsively and start building compositions intentionally. Every element in the frame gets considered because you’re styling to a fixed viewpoint rather than searching for one with a camera in hand.
A tripod won’t replace good light, thoughtful styling, or an understanding of aperture and shutter speed. But it creates the stable foundation on which all of those things perform at their best. For food photography specifically — indoor, detail-focused, composition-dependent — it’s the piece of gear that ties everything else together.
Please share this Why do you need tripod for food photography? with your friends and do a comment below about your feedback.
We will meet you on next article.
Until you can read, Best and cheap backgrounds for food photography