Why Screen Calibration Matters
Every photographer who has spent hours perfecting an edit only to see the final print come out completely wrong understands the frustration. The colors looked right on screen. The exposure seemed balanced. So what went wrong? Almost certainly, the monitor was not calibrated.
Screen calibration is the process of adjusting your display so that the colors, brightness, and contrast it shows accurately reflect real-world standards. Without it, you are editing blind — making decisions based on inaccurate information that will inevitably lead to inaccurate results.
What Screen Calibration Actually Does
Monitors do not show color objectively. Every display — whether a budget laptop screen, a premium desktop monitor, or a professional editing panel — interprets color data differently. Manufacturers typically ship monitors with factory settings tuned to look impressive in a brightly lit showroom: punchy contrast, oversaturated colors, and boosted brightness. These settings make consumer photos look vivid and exciting on that specific screen. But they tell you nothing truthful about the actual color data in your image files.
Calibration corrects this by using an external hardware device to measure the actual light output of your screen and generate an ICC color profile. This profile tells your operating system exactly how your monitor deviates from a known standard and adjusts the display to compensate. The result is a screen that shows colors the way they are supposed to look — not the way the manufacturer decided would be most eye-catching.
The Real Cost of an Uncalibrated Monitor
For Photographers
Consider this scenario: your monitor has a subtle blue color cast. You are not aware of it. You edit a portrait, warming the white balance to make skin tones look natural on your screen. The edit looks perfect to you. But anyone viewing that image on a neutral, calibrated monitor will see it as too warm — orange-tinted, unnatural. And anyone viewing it on a monitor with its own warm cast will see something even more distorted.
Every editing decision you make on an uncalibrated monitor compounds this problem. The image you deliver is not the image you think you are delivering.
The same logic applies to exposure and contrast. A monitor that artificially boosts contrast may hide shadow detail that actually exists in your RAW file. If you edit without knowing that detail is there, you may apply adjustments that permanently destroy it. When that file is opened on an accurate monitor — or sent to a print lab — the damage is already done.
For Print Clients
Screen calibration is non-negotiable the moment print enters the picture. Packaging, editorial layouts, advertising print runs — all of these require precise color matching between what the designer sees on screen and what comes off the press. Print labs and professional printers calibrate their equipment to known color standards. If your monitor is not calibrated to the same standard, your submitted files will not match.
The financial consequences are real. A mismatched print run can require costly reprints. Client relationships suffer. Work that looked polished in digital form looks unprofessional in physical form.
For Collaborative Workflows
If you outsource retouching or work with a team, calibration becomes a shared responsibility. A retoucher working on an uncalibrated monitor cannot accurately judge their own work. You, viewing their results on a different uncalibrated monitor, cannot accurately judge it either. The margin for error multiplies with every person and device added to the chain.
How Color Drift Happens Over Time
Even if your monitor were perfectly calibrated at the factory — and most are not — it would not stay that way. Monitor backlights age. The phosphors or LEDs that produce white light gradually shift in color temperature and brightness. A display that measured accurately when new may read noticeably warmer, cooler, or dimmer after a year of regular use.
This drift is slow enough that your eyes adapt to it without noticing. You compensate unconsciously in your editing. But the images you deliver reflect that drift, and anyone viewing them on a fresher or better-maintained display will see the difference.
Regular calibration — ideally monthly — resets the display to an accurate baseline regardless of how its hardware has aged.
The Calibration Process: How It Works
Calibration requires a colorimeter or spectrophotometer — a small sensor device that physically attaches to your screen and measures its output. The device works with dedicated software to run a series of color patches across the display, recording how each one is actually rendered versus how it should look. The software then builds an ICC profile encoding the corrections needed, and installs it so the operating system applies those corrections automatically.
The process typically takes five to fifteen minutes for a full calibration. Most devices also support quick recalibration sessions for regular maintenance.
Popular hardware options include:
| Device | Type | Best For | Approx. Price (USD) |
|---|---|---|---|
| Datacolor SpyderX Pro | Colorimeter | Photographers, general use | $170 |
| X-Rite i1Display Pro | Colorimeter | Professional photographers | $230 |
| X-Rite ColorMunki Smile | Colorimeter | Entry-level, budget users | $90 |
| X-Rite i1Pro 3 | Spectrophotometer | Print professionals, studios | $1,500+ |
| Pantone i1Display Studio | Colorimeter | Designers, multi-device use | $150 |
For most photographers, a mid-range colorimeter is entirely sufficient. You do not need a spectrophotometer unless you are working extensively in print production or textile color matching. The difference between a $90 entry-level device and a $230 professional colorimeter is meaningful but not extreme — both will get your monitor significantly closer to accurate than no calibration at all.
Calibration Standards to Know
When calibrating, the software will ask you to set a target white point and gamma. These are the two most important parameters:
| Setting | Recommended Value | Reason |
|---|---|---|
| White Point | D65 (6500K) | Industry standard for digital display |
| Gamma | 2.2 | Standard for Windows and most professional use |
| Luminance | 80–120 cd/m² | Comfortable for editing; matches print viewing conditions |
D65 is the standard daylight color temperature used across the photography, print, and broadcast industries. Gamma 2.2 matches how most operating systems and software expect to display images. These two settings together give you a neutral, standardized baseline.
Some older Mac workflows used a gamma of 1.8, but this is largely obsolete. Use 2.2 regardless of platform.
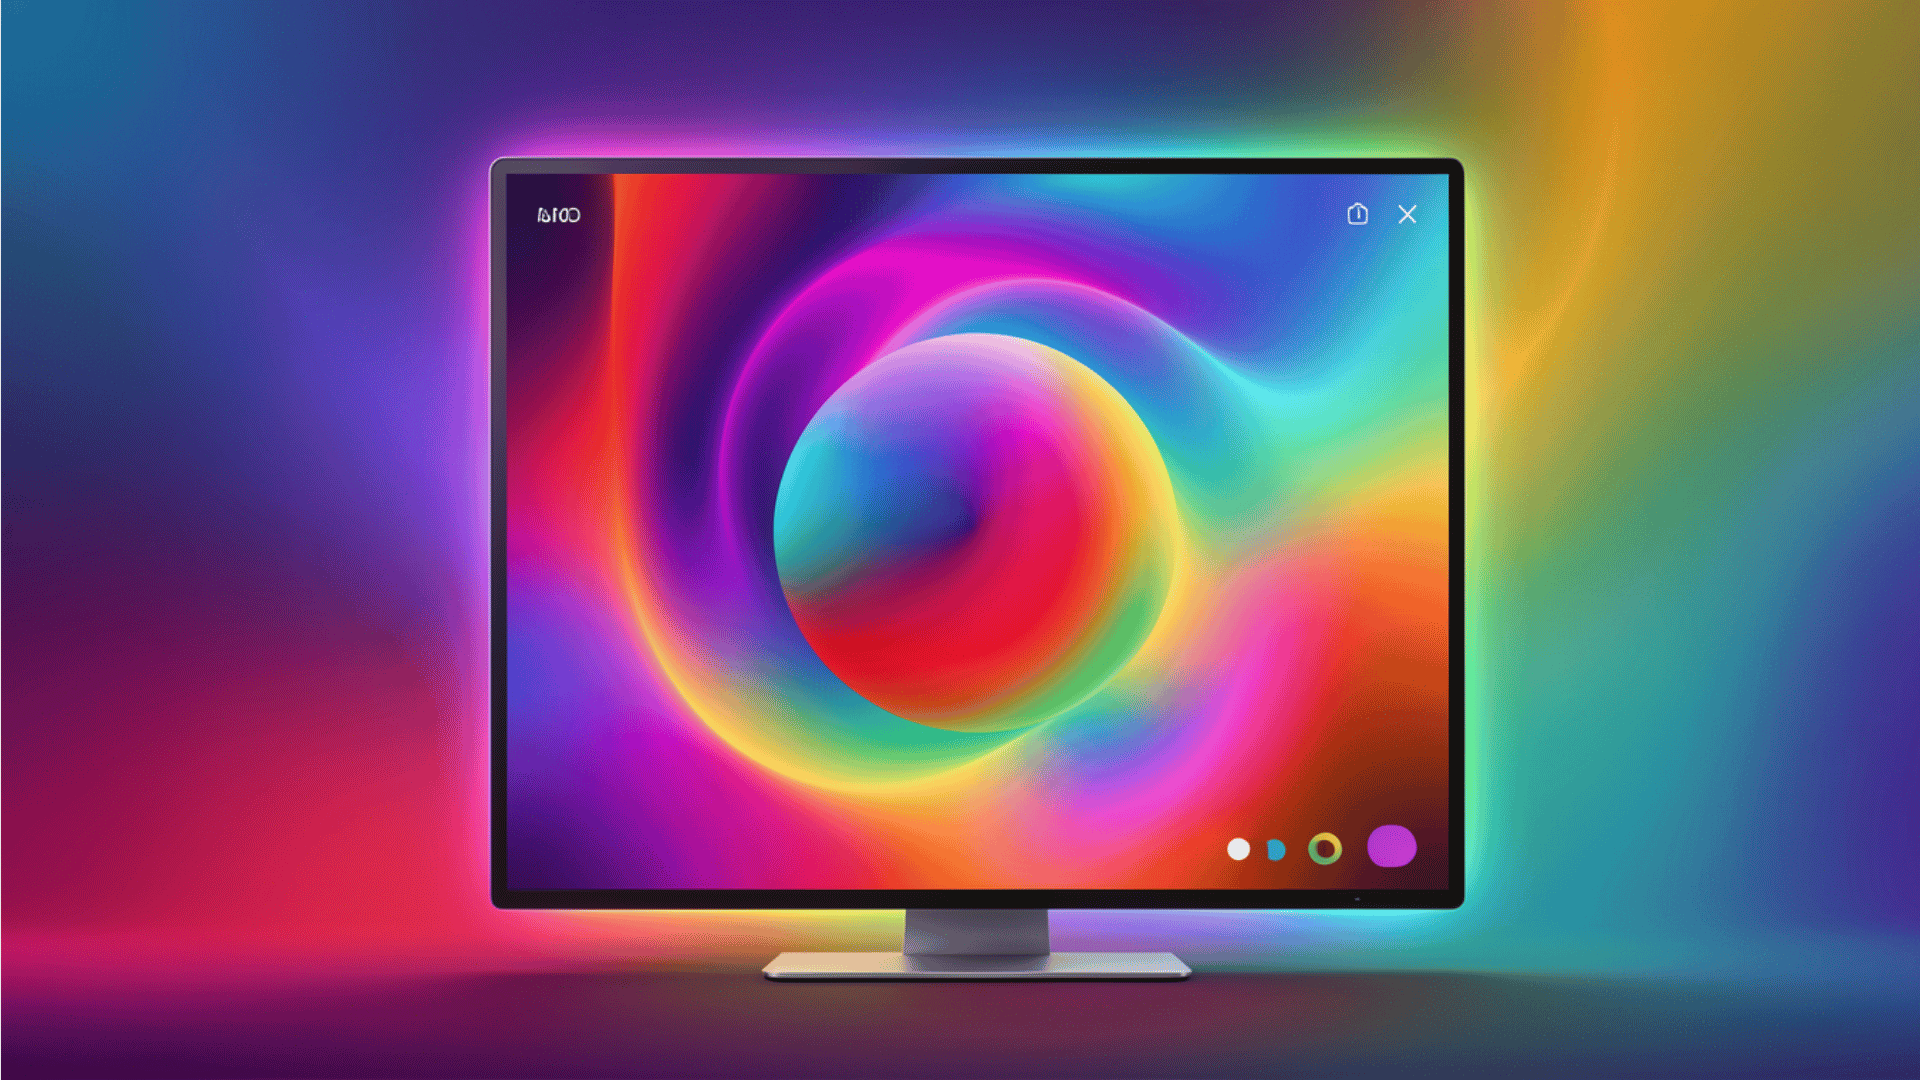
Calibration Workflow: A Visual Overview

Built-In OS Calibration: Is It Enough?
Both macOS and Windows include basic display calibration tools that allow you to manually adjust gamma, white point, and brightness using your eyes. These are better than leaving factory settings untouched, but they are not truly reliable.
The problem is human perception. Your eyes adapt to the colors your monitor produces. Asking you to visually judge whether your screen’s white point is accurate is like asking you to judge whether a room smells unusual after you have been sitting in it for an hour. The built-in tools provide a rough correction at best.
Hardware devices remove human perception from the equation entirely. The colorimeter has no adaptation bias — it simply measures what the screen emits and compares it to a known standard. For serious photography work, hardware calibration is the only dependable method.
How Often Should You Calibrate?
The answer depends on how heavily you use your monitor and how critical accurate color is to your work. General recommendations:
- Monthly: Standard recommendation for active photographers and designers
- Every 2 weeks: Recommended for professional retouchers and print production work
- Before major client deliveries: Always recalibrate before submitting final files for print or professional review
- After moving the monitor: Physical repositioning can affect viewing conditions enough to warrant recalibration
- After firmware or driver updates: Software changes can affect display output
Some professional monitors — particularly those from Eizo — include built-in hardware calibration sensors that perform automatic recalibration on a set schedule, typically every six hours. For high-volume studio work, this is worth the premium.
Calibration and Color Consistency Across Devices
One of the most common frustrations photographers experience is images looking different on their phone than on their desktop. Screen calibration addresses part of this problem, but not all of it.
The wider truth is that consumer smartphones and tablets are not designed for color accuracy — they are designed for visual impact. Display manufacturers tune these screens to make photos look punchy and impressive, which drives purchase decisions. Achieving perfect consistency between a calibrated editing monitor and a consumer phone is not fully possible.
What calibration does is establish a neutral, standardized starting point. When you edit on a properly calibrated monitor and deliver a file with a standard sRGB color profile embedded, that file will look as consistent as possible across the widest range of viewing devices. You cannot control every screen your work appears on. But you can ensure your own output is as accurate as it can be at the source.
The Bottom Line
Screen calibration is not optional for anyone who takes image quality seriously. The investment — both in hardware and the few minutes a month it requires — is minor relative to the problems it prevents. Wasted print runs, color arguments with clients, images that look different on every device, shadow detail that disappears in final delivery: all of these trace back, at least partly, to working on an uncalibrated display.
If you edit photos professionally, calibrate your monitor with hardware. If you are a hobbyist who cares about how your images look to others, calibrate your monitor with hardware. The visual confidence it provides — knowing that what you see is actually what others will see — is worth every dollar and every minute.
Start with an entry-level colorimeter, set your white point to D65, set gamma to 2.2, and recalibrate once a month. That single habit will improve the quality and consistency of your work more reliably than almost any other piece of equipment you could buy.
Please share this Why Screen Calibration Matters with your friends and do a comment below about your feedback.
We will meet you on next article.
Until you can read, How to Take Good Food Photos with My Phone