10 Tips To Capture A Perfect Pour Shot In Food Photography
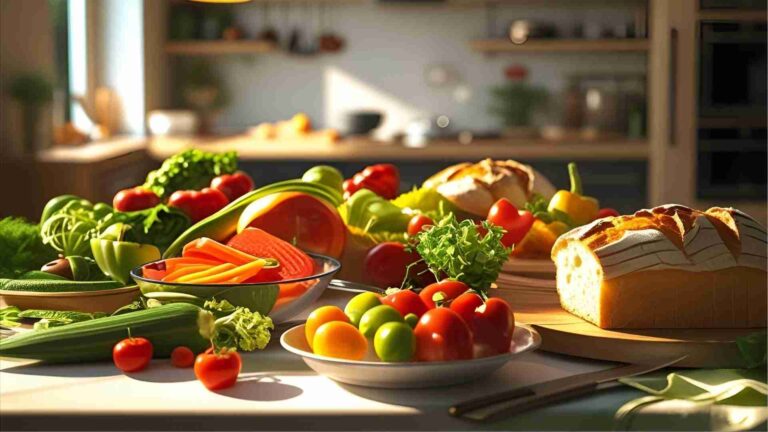
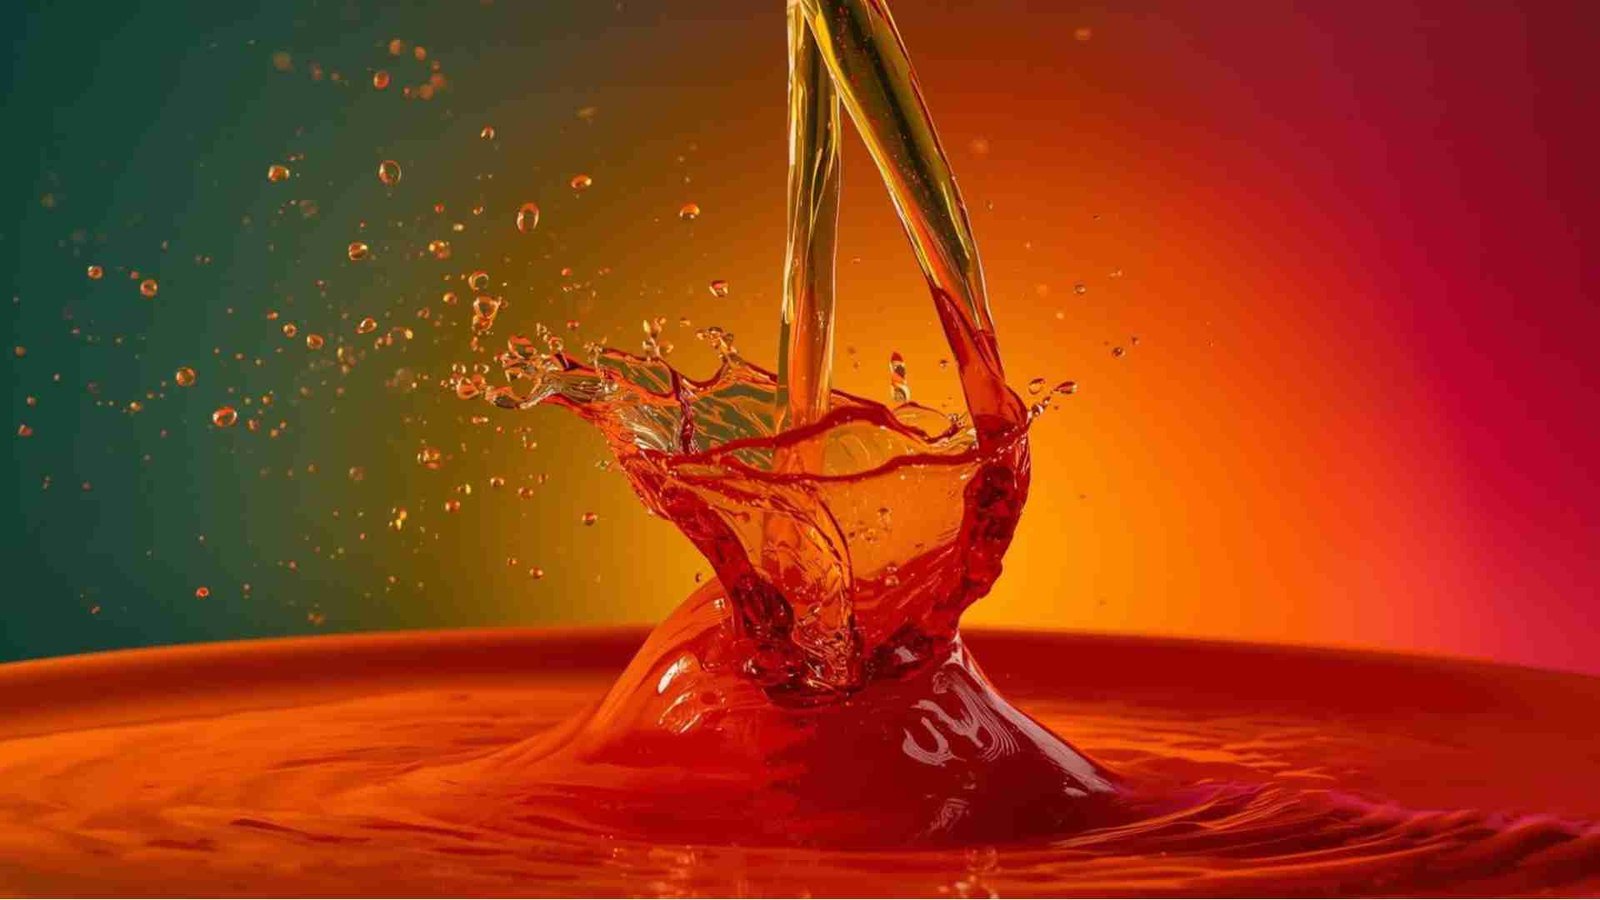
Pour shots in food photography bring dynamic energy to still images, capturing the moment liquid cascades over a dish to evoke freshness, texture, and appeal. These shots freeze or blur motion to highlight sauces, syrups, creams, or beverages in action, making them a staple for food bloggers, restaurant photographers, and commercial shoots.
Achieving a perfect pour requires technical precision, planning, and practice. This guide distills 10 core tips, integrated with camera settings, lighting strategies, and common pitfalls, to help you produce sharp, visually compelling images. Whether using natural light or strobes, these methods ensure consistent success without relying on luck.
Understanding the Basics of Pour Shots
A pour shot involves photographing liquid in motion as it interacts with food. The goal is to capture the stream’s form, droplets, or blur while keeping the dish sharp. Key challenges include motion blur, focus accuracy, and liquid control. Success hinges on camera stability, fast capture, and pre-planning. Use slightly thicker liquids like syrups, sauces, or yogurt for controlled streams that photograph well—avoid thin liquids that splash unpredictably.
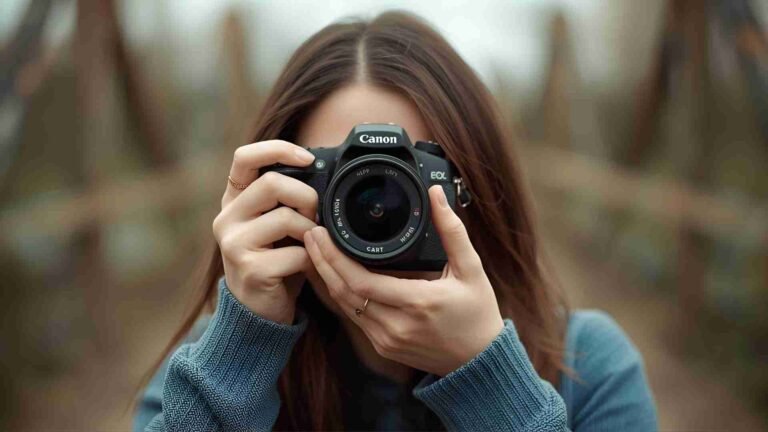
Essential equipment includes a DSLR or mirrorless camera with manual controls, a tripod for stability, and optional remotes or assistants. For budgets, entry-level cameras like the Canon EOS Rebel T8i (around $750) or Nikon D3500 ($500) suffice, paired with a 50mm prime lens ($150–$400) for shallow depth of field. Advanced users might opt for the Sony A7 IV ($2,500) with high-speed burst capabilities.
Tip 1: Enlist Help for Seamless Execution
Collaborating with an assistant simplifies pour shots dramatically. One person handles the camera while the other pours, allowing precise timing and adjustments. This is ideal for restaurant settings where dishes are prepared fresh, or studio shoots needing multiple takes. Brief your helper on pour speed, angle, and target spot—practice off-set to avoid mishaps.
Without help, self-pouring is possible but riskier. Position the camera on a tripod, use a remote trigger, or timer delay. For solo work, tether to software like Adobe Lightroom ($10/month subscription) for remote shutter control. This tip reduces errors like shaky frames or missed moments, ensuring the pour aligns with your composition.
Tip 2: Select the Right Pouring Vessel
The container shapes the pour’s appearance. Choose vessels with long, narrow spouts for clean, defined streams—avoid wide-mouthed ones that cause dribbling or splashing. Test options beforehand: glass pitchers or squeeze bottles work for thin liquids like dressings, while metal jugs suit thicker sauces.
Consider size and aesthetics. If the vessel appears in-frame, match it to the scene’s style—elegant for fine dining, rustic for casual. Handle placement matters; centered handles allow ambidextrous use. Budget-friendly options include Pyrex measuring cups ($10–$20) or specialized pour spouts ($5–$15). A poor choice leads to inconsistent flows, ruining shots, so catalog favorites for future reference.
Tip 3: Plan the Scene Meticulously
Preparation defines success. Sketch the composition: decide pour entry point, liquid path, and final pooling. Mark the target spot on the dish for focus accuracy. Run dummies—position the vessel without pouring to frame, light, and focus.
Factor in liquid type: aim for partial pours for drama or full streams for completeness. If assisting, communicate the plan clearly. This prevents refocus issues or exposure mismatches mid-shoot. Use apps like PhotoPills ($10) for angle planning, ensuring the pour enhances the food’s visual story without overwhelming it.
Tip 4: Optimize Shutter Speed and Flash Duration
Shutter speed controls motion capture. For freezing action—like individual droplets—use fast speeds (1/1000s or higher). This suits quick pours or first-drop moments. Slower speeds (1/60s to 1/10s) create silky blur for consistent streams, adding fluidity.
With artificial light, leverage flash duration (often 1/10000s or faster) from speedlights like Godox V1 ($260) to freeze motion regardless of shutter. Combine with sync speeds (1/200s) for sharp results. Test variations: high speeds need more light, so boost ISO (up to 1600) or widen aperture (f/2.8–f/4).
| Shutter Speed | Effect | Best For | Recommended Gear |
|---|---|---|---|
| 1/1000s+ | Freeze motion, sharp droplets | Dynamic pours, thin liquids | High-speed cameras like Canon R6 ($2,500) |
| 1/250s–1/500s | Partial freeze with minor blur | Balanced streams | Mid-range DSLRs with burst mode |
| 1/60s–1/10s | Strong motion blur, silky flow | Thick sauces, out-of-frame pours | Tripod-mounted setups with strobes |
Adjust based on liquid viscosity—thicker ones tolerate slower speeds.
Tip 5: Master Focus Techniques
Focus on the liquid’s impact point for sharpness where it matters. Pre-focus manually: place a stand-in object at the landing spot, lock focus, then switch to manual mode to hold it. For moving pours, use continuous autofocus (AI Servo on Canon) to track action.
Challenges arise with smooth spouts lacking contrast—position against darker backgrounds or use the liquid’s color for edge detection. Narrow depth of field (f/1.8–f/2.8) demands precision; align vessel and dish on the same plane. Tools like focus peaking on mirrorless cameras (e.g., Fujifilm X-T5, $1,700) highlight sharp areas in real-time.
Common error: relying on auto-focus during pour, leading to blur. Always verify with test shots.
Tip 6: Nail Exposure Before the Pour
Set exposure during dummies to avoid adjustments mid-action. Meter for the scene’s highlights and shadows, prioritizing the food. Use evaluative metering, then tweak: underexpose slightly (-0.3 EV) for vibrant liquids, overexpose for dark sauces.
Balance the exposure triangle—fast shutters darken images, so compensate with wider apertures or higher ISO. In low light, add reflectors ($20–$50) or continuous LEDs like Neewer panels ($100). This ensures consistent histograms across takes, minimizing post-processing.
Tip 7: Utilize Pre-Focus and Composition Locking
Lock composition and focus pre-pour. Select a focus point nearest the target, focus, then recompose minimally. This maintains sharpness without major camera shifts. For tripods, it’s straightforward; handheld, combine with image stabilization lenses like Canon EF 24-70mm f/2.8 ($1,900).
In continuous mode, burst at 5–10 fps to capture sequences. Cameras like Nikon Z6 II ($2,000) excel here. This tip captures the “perfect moment” from multiple frames, ideal for compositing in Photoshop ($20/month).
Tip 8: Achieve Ideal Liquid Consistency
Liquid thickness affects pour aesthetics. Thin ones splash; thicken with cornstarch or warm (e.g., heat chocolate to 100°F). For creams, dilute with water incrementally—test flow off-set. Yogurt or syrups pour naturally thick for appealing streams.
Tools: Use viscosity meters ($50) for precision, or eyeball with spoons. Adjust recipes for photos—add water to dressings for smooth drizzles, even if not in the final dish. This controls splash and stream definition, enhancing visual appeal.
Tip 9: Stabilize with a Tripod
A tripod eliminates shake, enabling solo pours. Mount the camera, compose, and use remotes: wired triggers ($20) or apps like Canon Camera Connect (free). For delays, set 10-second timers; some models allow burst after delay.
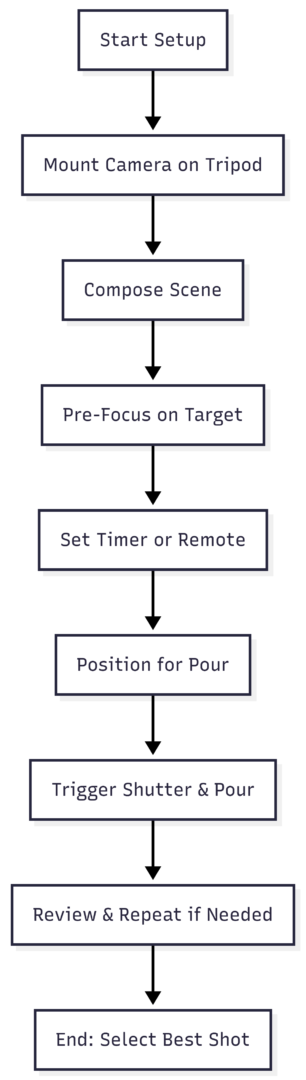
Options: Manfrotto MT055XPRO3 ($250) for versatility, or budget Gorillapods ($30) for tabletop. Tether to laptops for live view. This frees hands for pouring, ensuring frame consistency across attempts.
This flowchart outlines the tripod-based process for efficient solo shooting.
Tip 10: Master One-Handed Techniques
For quick setups, hold the camera one-handed while pouring with the other. Use lightweight bodies like Olympus OM-D E-M10 ($600) for ease. Alternate glances: through viewfinder for framing, then up for pour accuracy. Practice 5–10 times per shot.
Employ continuous focus to counter movement. This “stunt” method suits impulsive shoots but demands steadiness—avoid if beginner. Combine with burst mode for options. It’s less reliable than tripods but viable without extra gear.
Common Pitfalls and How to Avoid Them
- Thin Liquids: Cause undefined streams; thicken or choose alternatives.
- Focus Errors: Lead to blur; always pre-focus and use manual.
- No Stability: Results in shakes; mandate tripods or helpers.
- Poor Lighting: Dims pours; use specular highlights for shine.
- Background Clutter: Obscures action; opt for contrasting, simple backdrops.
- Hand Placement: If in-frame, angle naturally; otherwise, keep out to avoid distractions.
| Pitfall | Consequence | Solution | Cost-Effective Fix |
|---|---|---|---|
| Thin Liquid | Splashing, weak stream | Thicken with additives | Use household cornstarch ($2) |
| Wrong Focus | Blurry action | Manual pre-focus | Camera’s built-in tools (free) |
| No Tripod | Shaky frames | Stabilize setup | Borrow or use stacked books |
| Low Contrast | Focus hunting | Add texture/color | Reposition props (free) |
| Overexposure | Washed-out liquids | Meter accurately | Histogram check (free) |
Advanced Considerations: Lighting and Background
Light pours with backlighting or side speculars to emphasize transparency—use softboxes ($100) for evenness. For blur effects, slow shutters need steady light; fast ones benefit from flashes. Backgrounds should contrast: dark for light liquids, vice versa.
If pours look phantom (source out-of-frame), include vessels subtly. Test angles: overhead minimizes vessel dominance; 3/4 focuses on impact.
Final Thoughts on Mastering Pour Shots
Practice transforms these tips into instinct. Start with simple setups like coffee pours, iterating on failures. Continuous shooting yields choices for editing—composite in software for perfection. With planning, the right gear, and these techniques, pour shots elevate your food photography, drawing viewers into the sensory experience. Experiment boldly; the perfect shot awaits in the details.
Please share this 10 Tips To Capture A Perfect Pour Shot In Food Photography with your friends and do a comment below about your feedback.
We will meet you on next article.
Until you can read, Dark Chocolate Avocado Mousse Recipe