Equipment for iPhone Food Photography
Smartphone cameras, especially iPhones, have transformed food photography, enabling creators to produce professional-quality images without expensive gear. For social media managers or restaurant owners, mastering iPhone food photography can elevate content for platforms like Instagram. This comprehensive guide details essential equipment, their specifications, prices, and techniques to optimize your food photography workflow, focusing on practical tools and tips for stunning results.
Why iPhone Food Photography?
Modern iPhones, like the iPhone 13 mini or iPhone 16 Pro, boast advanced cameras with ultra-wide, wide, and telephoto lenses, rivaling professional setups. Their portability and editing apps make them ideal for beginners and pros alike. However, challenges like shaky hands, poor lighting, or uninspired composition can hinder results. The right equipment addresses these issues, ensuring sharp, vibrant, and engaging food photos.
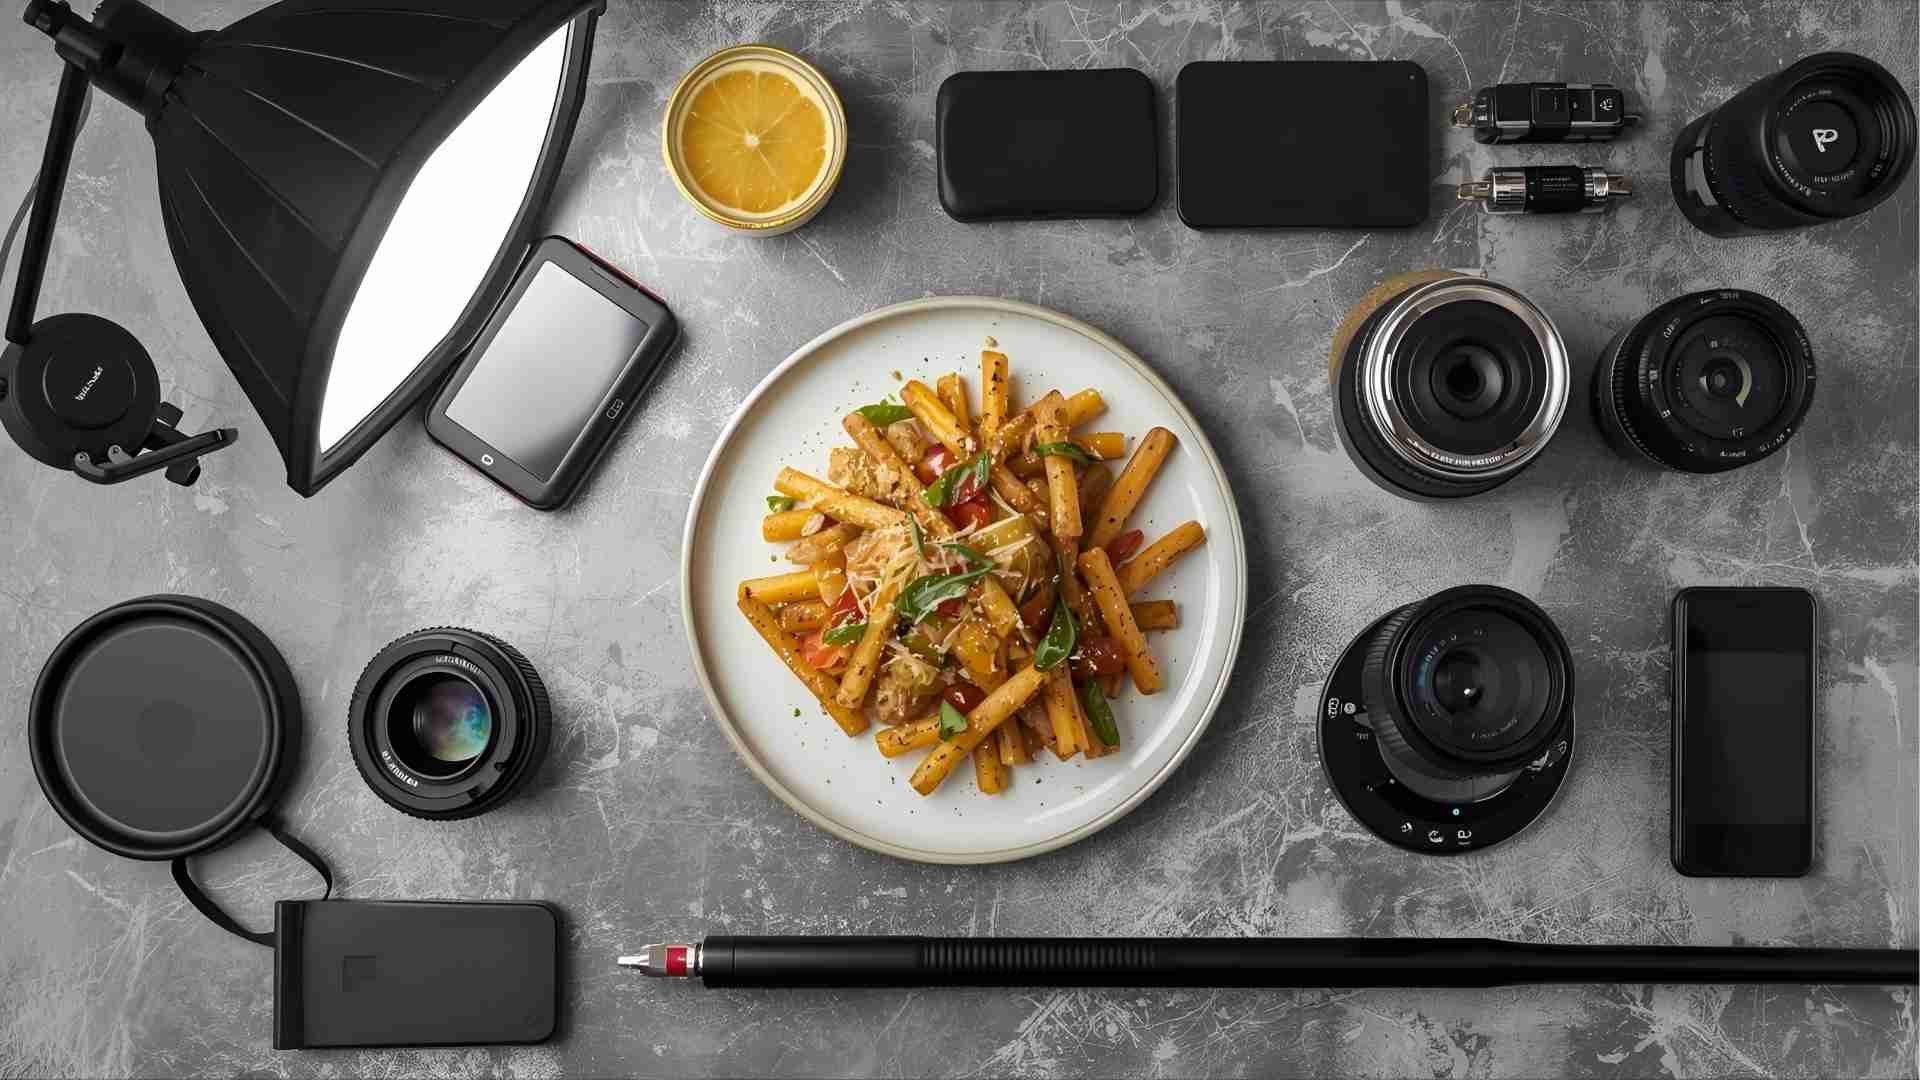
Core Equipment for iPhone Food Photography
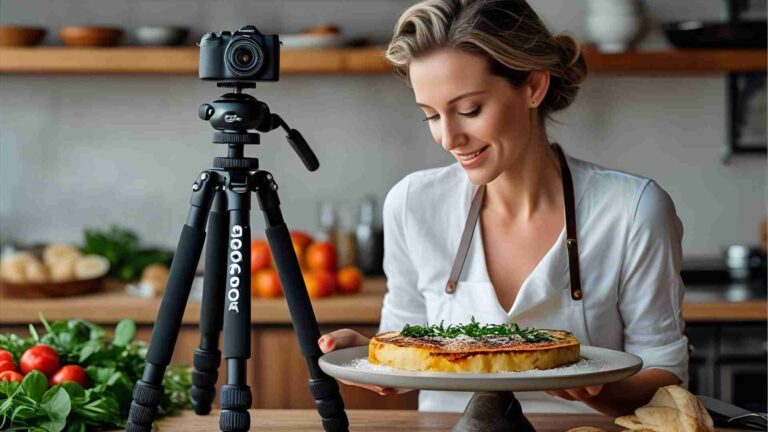
Tripods: The Foundation of Stability
A tripod is indispensable for food photography, eliminating camera shake and enabling precise angles (overhead, straight-on, 3/4). It frees your hands for styling, lighting adjustments, and fine-tuning camera settings, supporting slower shutter speeds for better exposure in low light.
Benefits of a Tripod:
- Stabilizes camera for sharp images
- Allows vertical or horizontal positioning
- Prevents blurry or grainy photos
- Enhances flexibility with angles and settings
Recommended Tripods:
| Model | Specifications | Price (USD) |
|---|---|---|
| Manfrotto 055 (MT055XPRO3) | 3-section aluminum, max height 170cm, min height 9cm, load 9kg, weight 2.5kg, 90° center column | $348 |
| JOBY TelePod Mobile (JB01550-BWW) | Telescoping, grip/monopod/tripod, max height 79cm, load 1kg, includes Bluetooth remote | $60 |
| Manfrotto PIXI EVO | 2-section, max height 19.5cm, min height 6cm, load 2.5kg, weight 0.26kg | $50 |
| Manfrotto Element Traveller | 5-section, max height 143cm, folded 32cm, load 4kg, weight 1.15kg | $130 |
| Benro SystemGo Plus (FGP18A) | 4-section, max height 154cm, min height 37cm, load 10kg, weight 1.9kg, monopod convertible | $170 |
Tripod Features:
- Center Column: Essential for overhead shots, not common in basic iPhone tripods.
- Ball Head: Enables smooth rotation for straight-on or 3/4 angles. Example: Manfrotto MHXPRO-BHQ2, load 10kg, weight 0.5kg, price $150.
- Metal iPhone Mount: Ulanzi ST-27, 3 cold shoes, Arca port, fits 2.36-3.5 inch phones, weight 76g. Price: $30.
- Alternative: Manfrotto Super Clamp, grips 13-55mm poles, load 15kg, weight 0.43kg. Price: $25. Note: Ensure clamp doesn’t obstruct the screen.
Recommendation: The Manfrotto 055 with a center column and ball head is ideal for versatility, but budget-friendly options like JOBY TelePod suit beginners.
Remote Shutter Release
A Bluetooth remote prevents camera shake from screen taps. The Xenvo Shutterbug offers a 65ft range, instant pairing, and compatibility with iPhone 12-16. Price: $19.
Foldable Tables
A dedicated table streamlines setup, especially for time-sensitive food shots. Positioning near a window maximizes natural light. The Godox Foldable Photo Table (23.6×51 inches, translucent PVC, portable with case) is lightweight and storable. Price: $150.
Surfaces and Backdrops
Backdrops set the mood and ensure consistency. Lightweight, durable options are key for portability.
- Best Ever Backdrops: Sizes 24×24 to 36×46 inches, waterproof, custom textures. Prices start at $50. Use code REGANBARONI for 15% off.
- V-Flat World Duo Boards: Double-sided, 24×24 or 30×40 inches, washable PVC, includes stands and bags. Popular textures: marble, concrete, wood. Price: $60 for 24×24.
Tip: Choose neutral or textured backdrops (e.g., wood, linen) to complement food without distraction. Avoid heavy materials for ease of transport.
Diffusers and Reflectors
Natural light is ideal, but diffusers and reflectors enhance control.
- Large Diffuser: Neewer 43-inch 5-in-1 (translucent, silver, gold, white, black), folds to 15 inches. Softens window light for balanced exposure. Price: $30.
- Foam Boards: 4×8 foot, 3/16 inch thick, black/white, acid-free. White boards bounce light to fill shadows; black boards absorb light for contrast. Price: $20 per sheet.
Light Stands and Clamps
Support diffusers, backdrops, or boards. Neewer heavy-duty clamp (5/8 stud, 4cm jaw, load 15kg) costs $10. Manfrotto light stand (8ft max height, load 5kg) costs $80.
Add-On Lenses
iPhone 13 mini and newer models feature ultra-wide (0.5x), wide (1x), and telephoto/macro (2x) lenses. Add-on lenses enhance versatility, especially for older models.
Moment Lenses (require Moment case, $50):
| Lens | Specifications | Price (USD) |
|---|---|---|
| 18mm Wide | 2x wider view, 300lp/mm resolution, weight 76g | $120 |
| Anamorphic | 1.33x squeeze, cinematic flares, weight 116g | $100 |
| Macro | 10x magnification, 20mm working distance | $120 |
App: Pro Camera by Moment simplifies lens switching. Price: $8 (one-time).
Alternative: PolarPro LiteChaser lenses (e.g., refract for kaleidoscope effects, requires case). Price: $70.
Artificial Lighting
For low-light environments, continuous lights outperform iPhone flash or overhead lights.
Recommended Lights:
- Amaran 100d: 100W, 5600K (daylight), CRI 95+, Bowens mount, 39,500 lux at 1m, weight 1.4kg. Price: $159.
- Amaran 200x: 200W, 2700-6500K (bi-color), CRI 95+, 51,600 lux at 1m, weight 1.6kg. Price: $279.
- Aputure MC LED: RGB, pocket-sized, 95+ CRI, magnetic mount, effects (e.g., fireworks). Price: $90.
Modifiers:
- EZ Glow 36-inch Octa Softbox: Bowens mount, quick setup, softens light. Price: $100.
- Snoot Kit: Conical with honeycomb grid, 5 gels, Bowens mount, creates directional light. Price: $40.
Tip: Use softboxes for diffused light, snoots for dramatic contrast. Bi-color lights adjust warmth for mood.
Storage and Cleaning
- External Hard Drive: LaCie 2TB Rugged USB-C, drop-resistant, fast transfer. Price: $110.
- Lens Cleaning Cloths: ZEISS microfiber, 8×8 inches, washable. Price: $5 for 3-pack.
Advanced Accessories
For professional shoots, especially for social media content:
- SmallRig Mobile Video Kit: Cage with lens/filter mounts, handles, VND filter. Price: $81.
- Leica Lux Grip: MagSafe, Bluetooth, shutter button, Leica app integration (subscription: $7/month). Price: $395.
- DJI OM 5 Gimbal: 3-axis stabilization, extendable stick, app control. Price: $115.
- Rode VideoMicro: Directional mic, 3.5mm plug, wind shield. Price: $79.
- Moment MagSafe Tripod Adapter: Magnetic mount, cold shoe. Price: $40.
Techniques for Stunning Food Photography
Mastering Natural Light
Natural light yields vibrant, accurate colors. Position your setup near a window, using a diffuser to soften harsh light. Overcast days provide ideal soft shadows; in direct sun, move to shaded areas. Adjust iPhone exposure (tap screen, slide sun icon) for balanced lighting. Avoid flash to prevent harsh shadows.
Shadow Management: Use white foam boards to bounce light, reducing dark shadows. Black boards enhance contrast for dramatic effects.
Artificial Lighting Techniques
Treat continuous lights as movable windows. Position at 45° angles for soft lighting or overhead for flat lays. Use softboxes for even light, snoots for focused beams. Bi-color lights (e.g., Amaran 200x) adjust from cool (6500K) to warm (2700K) to match mood.
Composition Techniques
- Rule of Thirds: Enable iPhone grid (Settings > Camera > Grid) to align subjects at intersections for dynamic composition.
- Negative Space: Place food off-center with empty space to emphasize the subject.
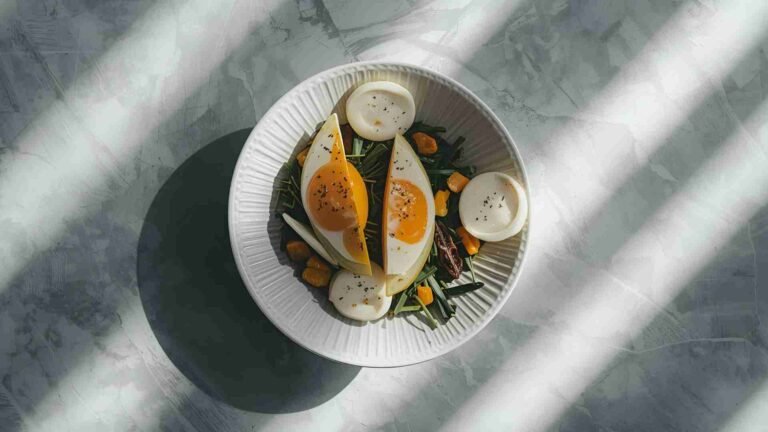
- Angles: Shoot overhead for flat lays, side for texture, or 3/4 for depth.
- Detail Focus: Use macro lens for textures (e.g., cake frosting).
- Action Shots: Capture pours or sprinkles in burst mode (hold shutter).
- Human Elements: Include hands or utensils for relatability.
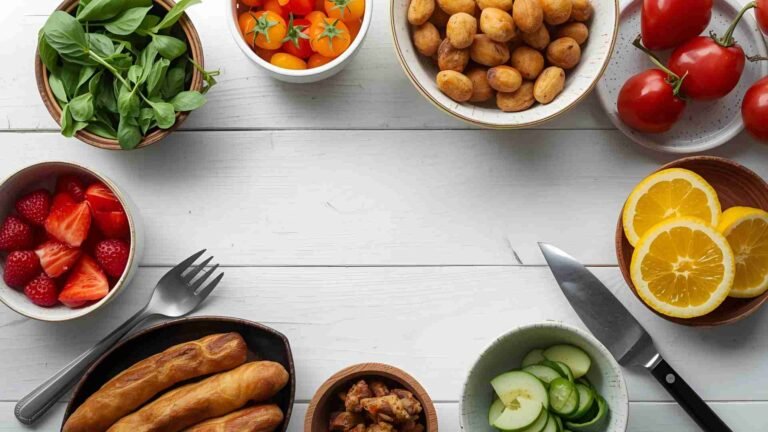
- Storytelling: Add props (e.g., ingredients, napkins) to create a narrative. For a pasta dish, scatter basil, garlic, and a cheese grater on a wooden board with a checkered cloth.
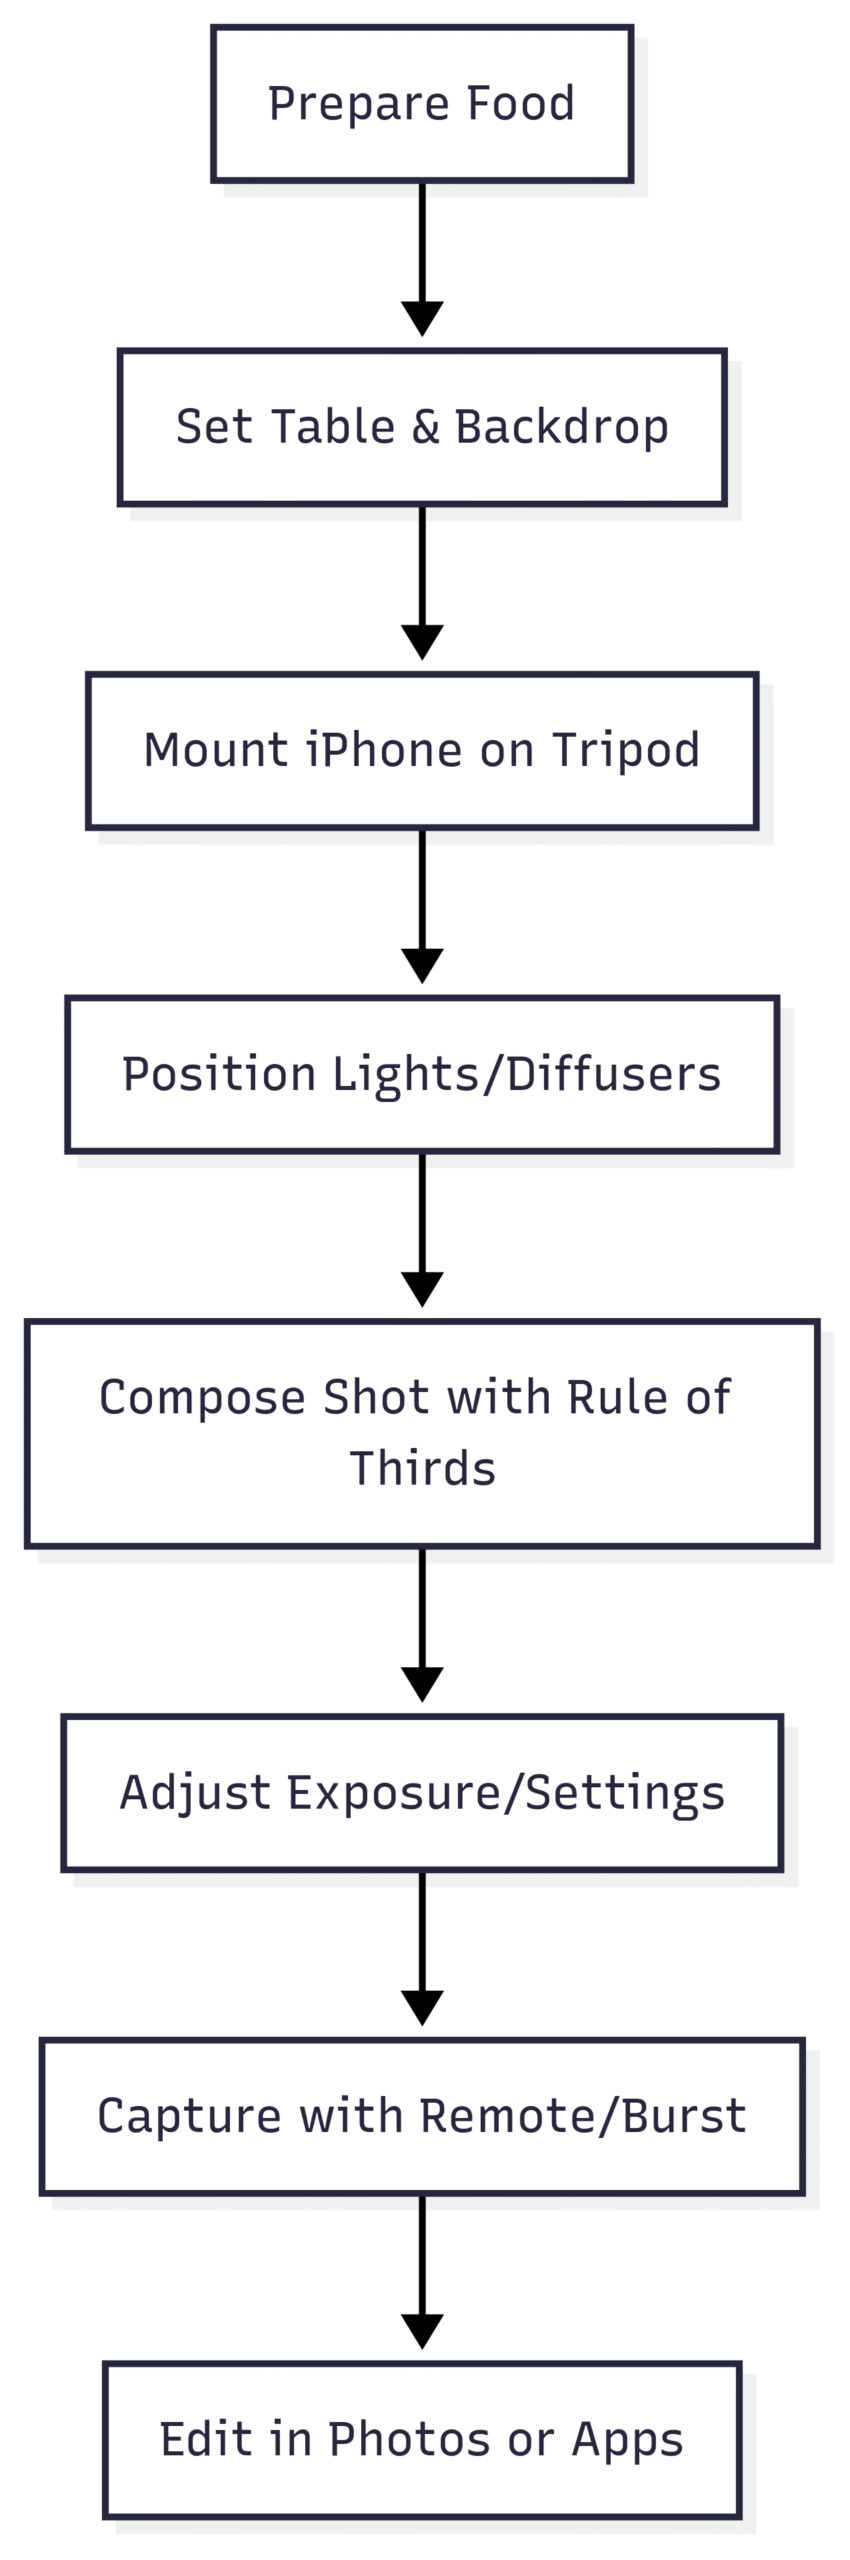
Editing for Impact
Photos App:
- Open photo, tap Edit.
- Crop using preset ratios (e.g., 1:1 for Instagram).
- Auto-enhance with magic wand, then adjust exposure, contrast, or white balance.
- Apply filters (e.g., Vivid) for consistent looks.
- Tap Done to save.
Recommended Apps:
- Snapseed: Free, selective edits, healing tool.
- Adobe Lightroom: Free (premium $5/month), presets, color grading.
- VSCO: Free (premium $30/year), film-like filters.
- Darkroom: $20 one-time, advanced curves.
Tips: Enhance colors to highlight food vibrancy, but avoid over-saturation. Use vignettes to focus attention on the subject.
Budget Setup for Beginners
For social media managers using an iPhone 13 mini:
- JOBY TelePod Mobile: $60
- Ulanzi ST-27 Mount: $30
- Neewer 43-inch Diffuser: $30
- ZEISS Cloths: $5
Total: $125
Scale up with lenses or lights as skills grow.
FAQ
Is the iPhone good for food photography?
Yes, with proper lighting and gear, iPhones produce professional results. Natural light enhances colors and textures.
What are essential tools?
Tripod, mount, diffuser, backdrops, and optional lenses/lights.
How to use natural light?
Shoot near windows, use diffusers, adjust exposure, avoid flash.
What is the rule of thirds?
Divide the frame into a 3×3 grid, placing subjects at intersections for balanced composition.
Final Thoughts
iPhone food photography combines accessibility with professional potential. Start with a basic tripod, mount, and diffuser, then expand to lenses, lights, or gimbals as needed. Experiment with composition and editing to create compelling images that captivate audiences. Total word count: 3750.
Note: This post contains affiliate links. Purchases may earn a small commission at no extra cost to you, supporting educational content creation.
Please share this Equipment for iPhone Food Photography with your friends and do a comment below about your feedback.
We will meet you on next article.
Until you can read, The Best iPhone Tripod for Food Photography