Food Photography Composition Tips
Food photography is an art that transforms a simple dish into a visual feast. Composition—the deliberate arrangement of elements like food, props, and backdrops—plays a pivotal role in creating images that captivate and inspire. A well-composed food photo tells a story, highlights textures, and draws viewers in, making them crave the dish. Whether you’re shooting for a blog, social media, or a professional portfolio, mastering composition is key to elevating your work. This guide explores practical, actionable food photography composition tips, from camera angles to color theory, to help you create balanced, visually striking images. With no strict rules, these techniques are guidelines to spark creativity and refine your style.
Why Composition Matters in Food Photography
Composition is the backbone of food photography. It’s how you arrange the food, props, surfaces, and lighting to guide the viewer’s eye and evoke emotion. A strong composition creates balance, emphasizes the dish, and enhances its appeal. According to a study by Social Media Examiner, visually appealing images on platforms like Instagram can boost engagement by up to 38%. By mastering composition, you can turn ordinary dishes into extraordinary stories that resonate with your audience, whether for personal projects or commercial work.
Key Elements of Food Photography Composition
Effective food photography composition hinges on four core elements:
- Orientation: Choosing between horizontal or vertical framing based on where the image will be shared (e.g., websites, social media).
- Angles: Selecting the best camera angle to highlight the food’s features.
- Arrangements: Positioning food and props to create balance and focus.
- Color Theory: Using colors to enhance mood and visual harmony.
These elements work together to create cohesive, engaging images. Below, we dive into specific techniques to master each aspect, complete with practical tips, equipment recommendations, and visual aids.
10 Essential Food Photography Composition Tips
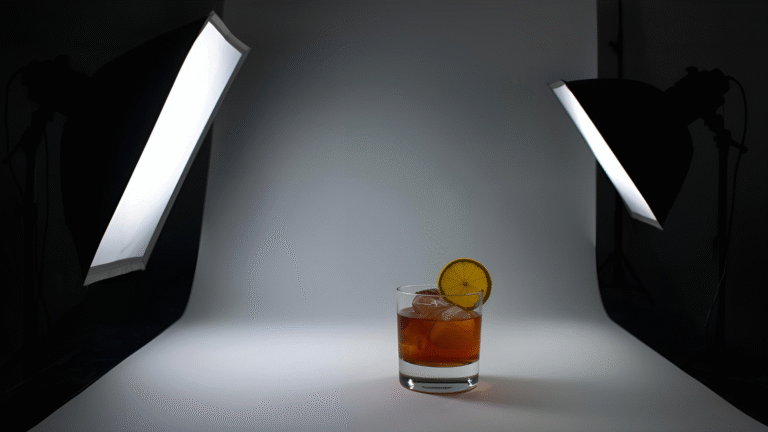
1. Shoot Tethered for Precision
Shooting tethered—connecting your camera to a computer to view images in real-time—offers unparalleled control over composition. It allows you to see the frame on a larger screen, making it easier to adjust props, lighting, and focus as you build the scene.
- How It Works: Connect your camera to a computer using a tether cable (e.g., Tether Tools JerkStopper, ~$20) and software like Adobe Lightroom (~$10/month) or Capture One (~$20/month). Images appear instantly, letting you fine-tune compositions without relying on the camera’s small screen.
- Smartphone Tethering: Smartphones act as pseudo-tethered devices since their screens serve as viewfinders. For better stability, use an iPhone tripod mount (~$15) with a tripod like the Manfrotto 055 (~$300).
- Benefits: Tethering saves time by allowing real-time adjustments, reducing post-processing needs. It’s ideal for styling complex scenes or shooting for clients who need immediate feedback.
Tethering Setup Diagram:

| Equipment | Purpose | Approx. Price |
|---|---|---|
| Tether Tools JerkStopper | Secures tether cable | $20 |
| Adobe Lightroom | Editing and tethering software | $10/month |
| Capture One | Advanced tethering software | $20/month |
| Manfrotto 055 Tripod | Stabilizes camera | $300 |
| iPhone Tripod Mount | Smartphone stability | $15 |
2. Use the Rule of Thirds for Balance
The Rule of Thirds is a foundational composition technique that divides the frame into a 3×3 grid, creating nine equal sections. Placing key elements along the grid lines or at their intersections creates a balanced, dynamic image.
- How to Apply: Turn on your camera’s grid overlay or use editing software to visualize the grid. Position the main dish or focal point (e.g., a garnish) at an intersection. For example, place a bowl of soup on the lower-left intersection to draw the eye naturally.
- Smartphone Tip: Enable the grid in your phone’s camera settings for easy alignment.
- Why It Works: Off-center placement feels more natural than centering the subject, guiding the viewer’s eye across the image. A study by Adobe found that images using the Rule of Thirds are 20% more likely to retain viewer attention.
Rule of Thirds Example:
| Image Type | Placement | Effect |
|---|---|---|
| Overhead Salad | Bowls at bottom-left and top-right intersections | Draws eye to food, uses negative space for balance |
| 45° Cake | Slice on bottom-right intersection | Emphasizes texture, creates dynamic flow |
3. Experiment with Camera Angles
Choosing the right angle highlights the food’s best features and enhances storytelling. The three primary angles are:
- Overhead (90°): Ideal for flat lays, showcasing spreads like charcuterie boards or pizzas. It emphasizes shapes and patterns but may hide layers.
- 45° Angle: Mimics how people view food at a table, perfect for layered dishes like cakes or burgers. Use an aperture of f/2.8–f/5.6 for balanced depth of field.
- Straight-On: Highlights height and layers, great for tall foods like sandwiches or stacks. Use a shallow depth of field (f/1.8–f/2.8) to isolate the subject.
- Tip: Use a tripod (e.g., Manfrotto 055 with XPRO Ball Head, ~$300) to lock in the angle and style to the camera. For overhead shots, a C-stand (~$150) with a 40-inch extension arm (~$50) ensures distortion-free framing.
- Example: For oysters, an overhead shot highlights garnishes, while a straight-on shot shows their depth.
Angle Selection Guide:
| Angle | Best For | Aperture | Equipment |
|---|---|---|---|
| Overhead | Flat lays, spreads | f/8–f/16 | C-stand (~$150), 35mm lens (~$500) |
| 45° | Layered dishes | f/2.8–f/5.6 | Manfrotto Tripod (~$300), 50mm lens (~$200) |
| Straight-On | Tall foods | f/1.8–f/2.8 | Tripod (~$300), 50mm lens (~$200) |
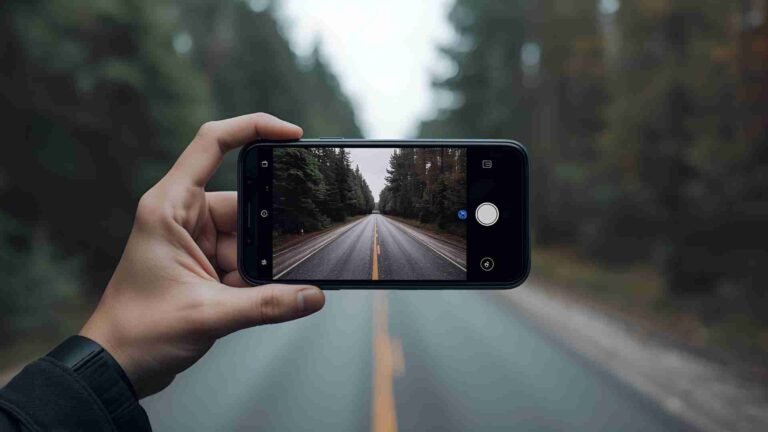
4. Choose the Right Orientation
Orientation—horizontal or vertical—depends on where the image will be displayed. Websites often require horizontal images for desktops, while social media platforms like Instagram favor vertical shots for mobile viewing.
- How to Decide: Check platform requirements. For example, Instagram Stories prefer vertical (9:16), while website banners need horizontal (16:9).
- Tip: Shoot both orientations during a session to maximize versatility. Use a tripod to maintain consistent framing.
- Example: A vertical burger shot emphasizes height for a cookbook, while a horizontal shot suits a website hero image.
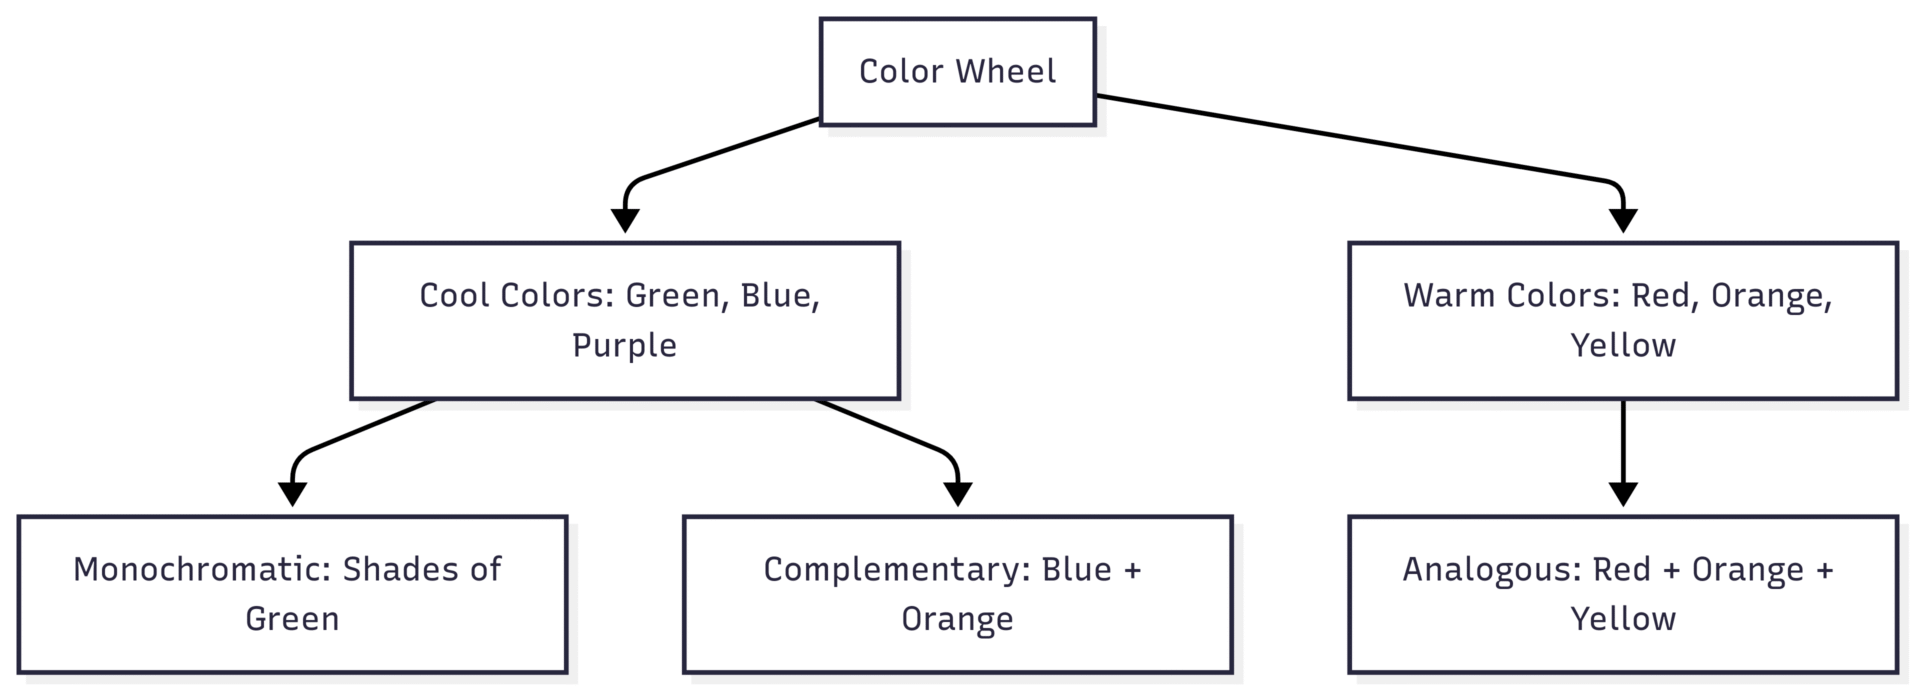
5. Play with Color Theory
Colors set the mood and enhance visual appeal. Understanding color theory helps you create harmonious compositions.
- Color Types:
- Monochromatic: Use shades of one color (e.g., green herbs, lime, emerald backdrop) for a subtle, cohesive look.
- Complementary: Pair opposite colors on the color wheel (e.g., blue backdrop with orange carrots) for high contrast.
- Analogous: Use adjacent colors (e.g., red tomatoes, orange peppers, yellow lemons) for a soothing effect.
- Tip: Let the food’s color guide your prop and backdrop choices. For example, a blue plate complements orange soup for a vibrant pop.
- Tool: Use a color wheel app like Adobe Color (free) to plan palettes.
Color Palette Examples:
| Palette | Colors | Effect | Example |
|---|---|---|---|
| Monochromatic | Green shades | Subtle, harmonious | Spinach salad with green props |
| Complementary | Blue + Orange | Bold, vibrant | Carrot soup on blue plate |
| Analogous | Red + Orange + Yellow | Soothing, cohesive | Mixed pepper dish |
Color Wheel Diagram:
6. Switch Up Backdrops and Surfaces
Backdrops and surfaces set the foundation for your composition, influencing mood and focus.
- Backdrop Choices: Use light (white, cream) or dark (navy, charcoal) vinyl backdrops (e.g., Bessie Bakes, ~$40, use code REGANBARONI for 15% off) for versatility. Light backdrops create an airy feel, while dark ones add drama.
- Surfaces: Wooden boards (~$15, hardware stores) or marble tiles (~$20) add texture without distraction.
- DIY Option: Paint plywood with neutral tones for a custom backdrop (~$15).
- Tip: Swap surfaces to change the mood. A dark wood surface makes eggs look rustic, while a white marble surface feels modern.
Backdrop Comparison:
| Type | Mood | Source | Approx. Price |
|---|---|---|---|
| White Vinyl | Airy, clean | Bessie Bakes | $40 |
| Dark Wood | Rustic, moody | Hardware store | $15 |
| Marble Tile | Modern, elegant | Home Depot | $20 |
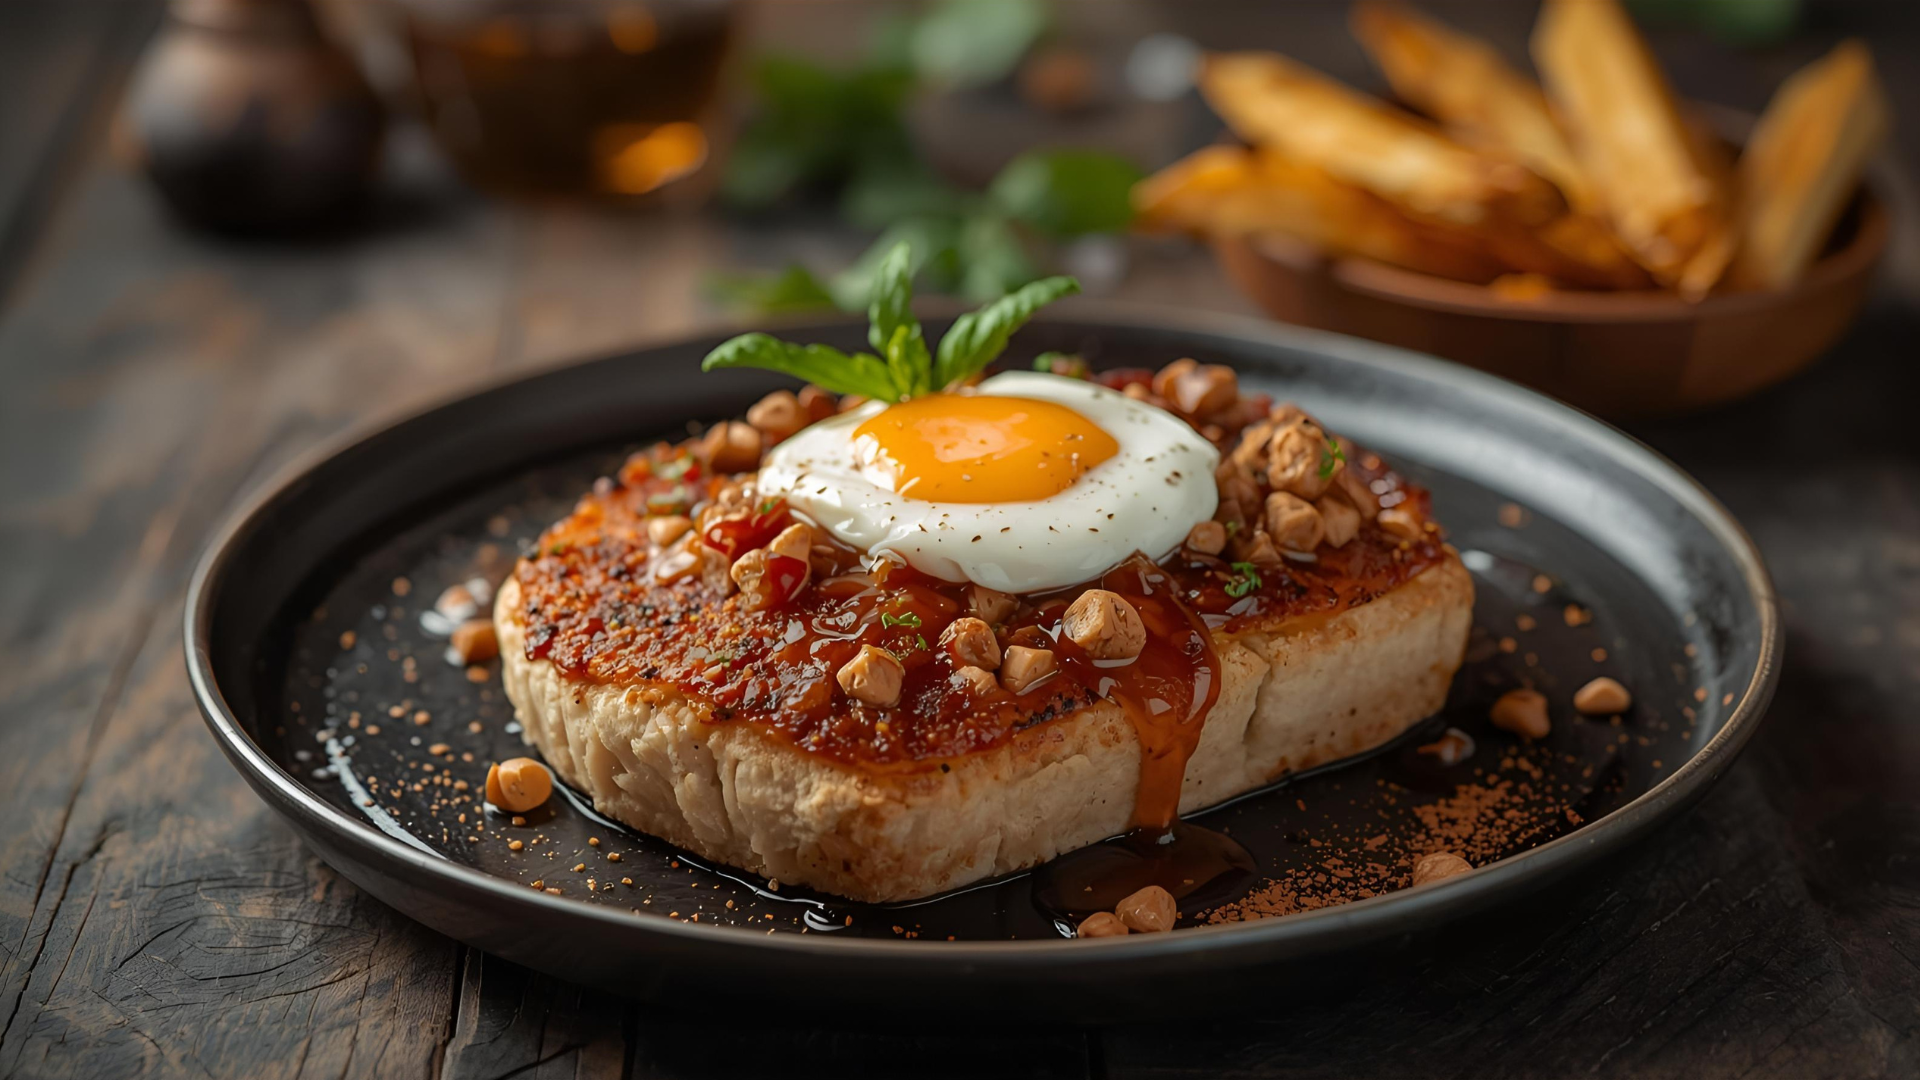
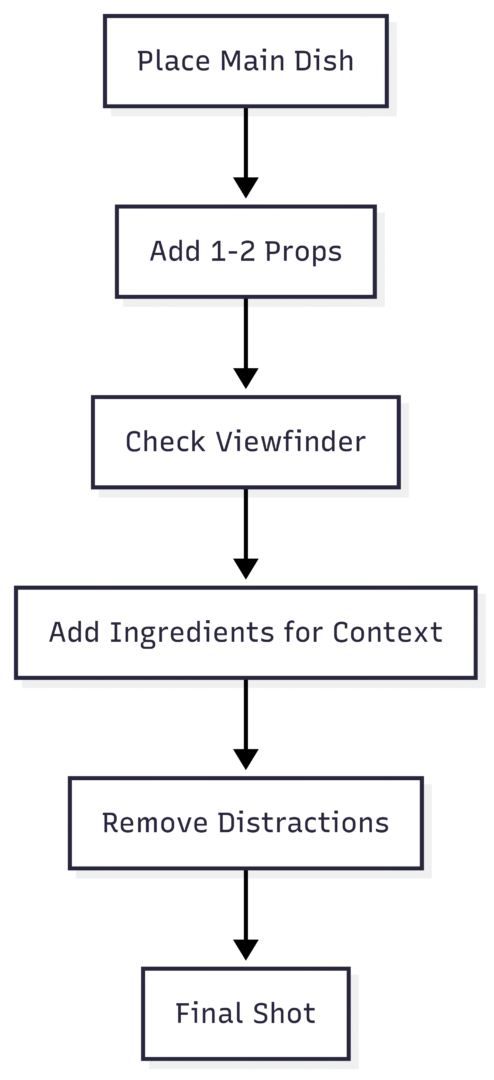
7. Use Props and Ingredients Sparingly
Props and ingredients enhance storytelling but should never overshadow the food.
- Prop Selection: Choose neutral, matte props (e.g., ceramic plates, ~$10, thrift stores) to avoid reflections. Use 2-3 props, like a spoon or napkin, for simplicity.
- Ingredients as Props: Scatter herbs, crumbs, or slices of the main ingredient to add context. For example, rosemary sprigs complement a roast.
- Tip: Style to the camera by placing props while checking the viewfinder. Remove unnecessary items to keep the focus on the food.
Prop Styling Workflow:
8. Control Depth of Field
Depth of field (DoF) determines how much of the image is in focus, affecting the composition’s mood.
- Shallow DoF: Use a wide aperture (f/1.8–f/2.8) for a blurry background, ideal for isolating a single subject like a tomato in a Caprese salad.
- Deep DoF: Use a narrow aperture (f/8–f/16) for overhead shots to keep everything sharp, perfect for flat lays.
- Smartphone Tip: Use Portrait Mode to simulate shallow DoF.
- Note: Adjust ISO and shutter speed to maintain proper exposure when changing aperture.
DoF Settings:
| Shot Type | Aperture | Effect |
|---|---|---|
| Overhead Flat Lay | f/8–f/16 | All elements in focus |
| 45° Close-Up | f/2.8–f/5.6 | Subject sharp, background soft |
| Straight-On | f/1.8–f/2.8 | Strong bokeh, isolated subject |
9. Leverage Negative Space
Negative space—the empty areas around the subject—creates balance and emphasizes the food.
- How to Use: Leave space for text (e.g., in ads) or to give the image breathing room. For example, place a bowl of chili on the right, leaving the left side empty for a recipe overlay.
- Tip: Use neutral backdrops to enhance negative space without distraction.
- Example: A single cupcake on a white backdrop with ample negative space feels clean and focused.
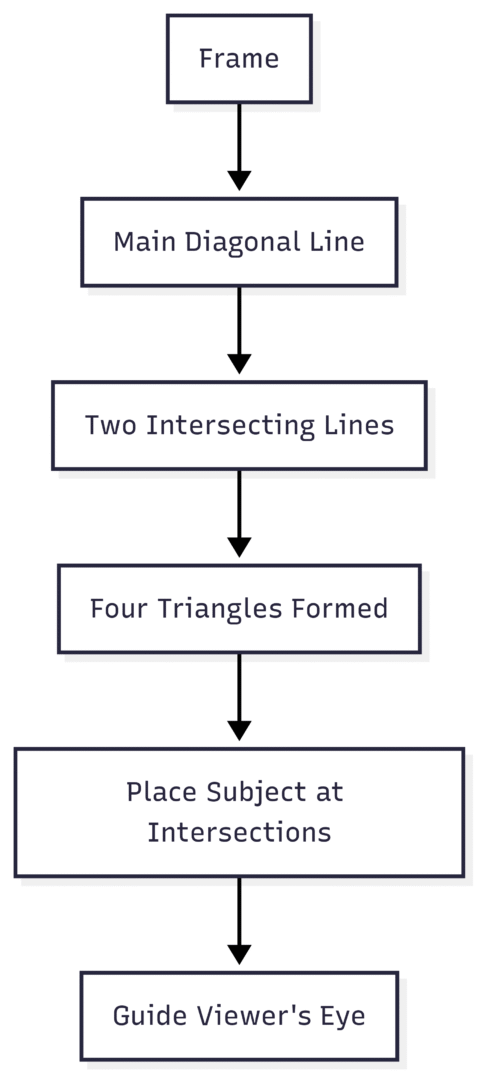
10. Incorporate Leading Lines and Shapes
Leading lines and shapes guide the viewer’s eye to the main subject, adding dynamism.
- Leading Lines: Use utensils, napkins, or food drizzles to create lines pointing to the dish. For example, chopsticks leading to a sushi bowl.
- Shapes: Arrange props in triangles or circles for visual harmony. Odd numbers (e.g., three bowls) create natural balance.
- Tip: In overhead shots, use the Golden Spiral or Golden Triangle to place elements along curved or triangular paths for flow.
Golden Triangle Diagram:
Advanced Composition Techniques
The Golden Ratio and Phi Grid
The Golden Ratio (1:1.618) and its derivative, the Phi Grid, refine the Rule of Thirds by using a mathematically balanced proportion.
- How to Use: Place the subject along the curved line of the Golden Spiral or at Phi Grid intersections. For example, position a curry bowl at the spiral’s center, with garnishes along the curve.
- Why It Works: The Golden Ratio creates a natural flow, making images feel instinctively pleasing.
Dynamic Symmetry
Dynamic Symmetry uses a grid of diagonals and rectangles to create energetic compositions.
- Application: Align props along diagonal lines to create movement. For example, place dumplings along a diagonal with chopsticks reinforcing the line.
- Tool: Use editing software overlays to visualize the grid during post-processing.
Repeating Patterns
Repeating shapes or patterns add graphic appeal, especially in overhead shots.
- Example: Arrange cookies in a circular pattern or stack croissants in a grid. Break the pattern (e.g., a missing cookie) to create intrigue.
- Tip: Use a 35mm lens (~$500) for distortion-free overhead shots.
Framing and Layering
- Framing: Surround the subject with props (e.g., herbs around a pizza) to emphasize it.
- Layering: Add depth with foreground, middle, and background elements. For example, place a napkin in the foreground, the dish in the middle, and a blurred prop in the background.
Practical Tips for Beginners
- Sketch Before Shooting: Draw a rough composition using a printable Rule of Thirds grid (available free online) to plan prop placement.
- Start Simple: Use minimal props and a single dish to practice composition without overwhelm.
- DIY Backdrops: Paint plywood or use contact paper (~$10) for budget-friendly surfaces.
- Stabilize Your Camera: Always use a tripod to style to the camera, ensuring precise adjustments.
- Study Others: Analyze work from photographers like @healthygoodiesbylucia on Instagram to learn composition techniques.
Recommended Gear and Resources
| Item | Purpose | Approx. Price |
|---|---|---|
| Canon EOS R6 Mark II | High-quality food photography | $2,500 |
| Canon RF50mm f/1.8 STM | Natural perspective, shallow DoF | $200 |
| Canon RF35mm f/1.8 Macro | Overhead shots, minimal distortion | $500 |
| Manfrotto 055 Tripod | Stability for all angles | $300 |
| C-Stand with Extension Arm | Overhead setups | $200 |
| Bessie Bakes Vinyl Backdrop | Versatile, durable backdrop | $40 |
- Courses: Food Photography Masterclass (~$100-$300) for in-depth composition training.
- Books: “Food Photography: From Snapshots to Great Shots” by Nicole S. Young (~$25).
- YouTube: Channels like The Bite Shot offer free composition tutorials.
- Printable Resource: Download a free Rule of Thirds grid from photography blogs to plan shots.
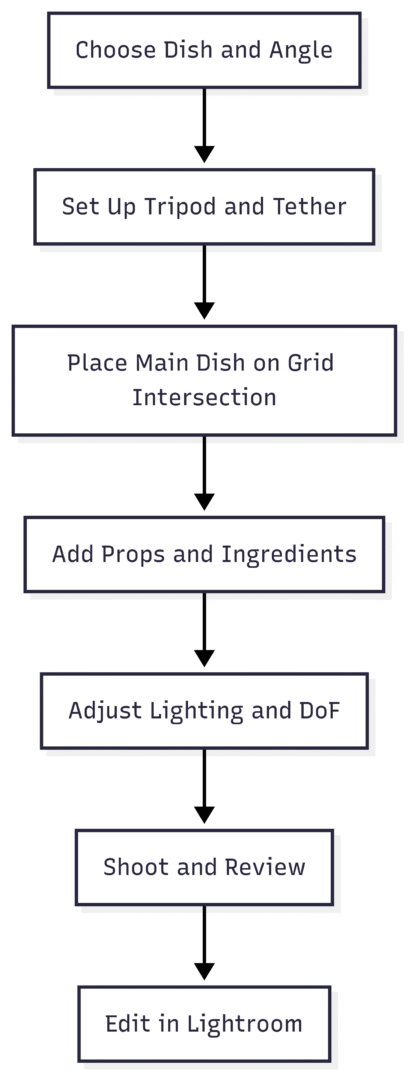
Putting It All Together
To create a cohesive food photography composition:
- Set Up the Camera: Use a tripod and tether to a computer for real-time adjustments.
- Choose an Angle and Orientation: Match the angle to the food and the orientation to the platform.
- Plan with Grids: Use the Rule of Thirds, Golden Spiral, or Golden Triangle to place the subject.
- Style with Props and Colors: Add 2-3 props and use complementary or analogous colors.
- Refine in Post-Processing: Use Lightroom’s crop guides to adjust composition if needed.
Example Workflow:
Conclusion
Food photography composition is a blend of creativity and technique. By using tools like the Rule of Thirds, experimenting with angles, leveraging color theory, and incorporating negative space and leading lines, you can craft images that captivate and inspire. Practice regularly, sketch your ideas, and study other photographers to develop your unique style.
Please share this Food Photography Composition Tips with your friends and do a comment below about your feedback.
We will meet you on next article.
Until you can read, Light & Airy Food Photography Tips