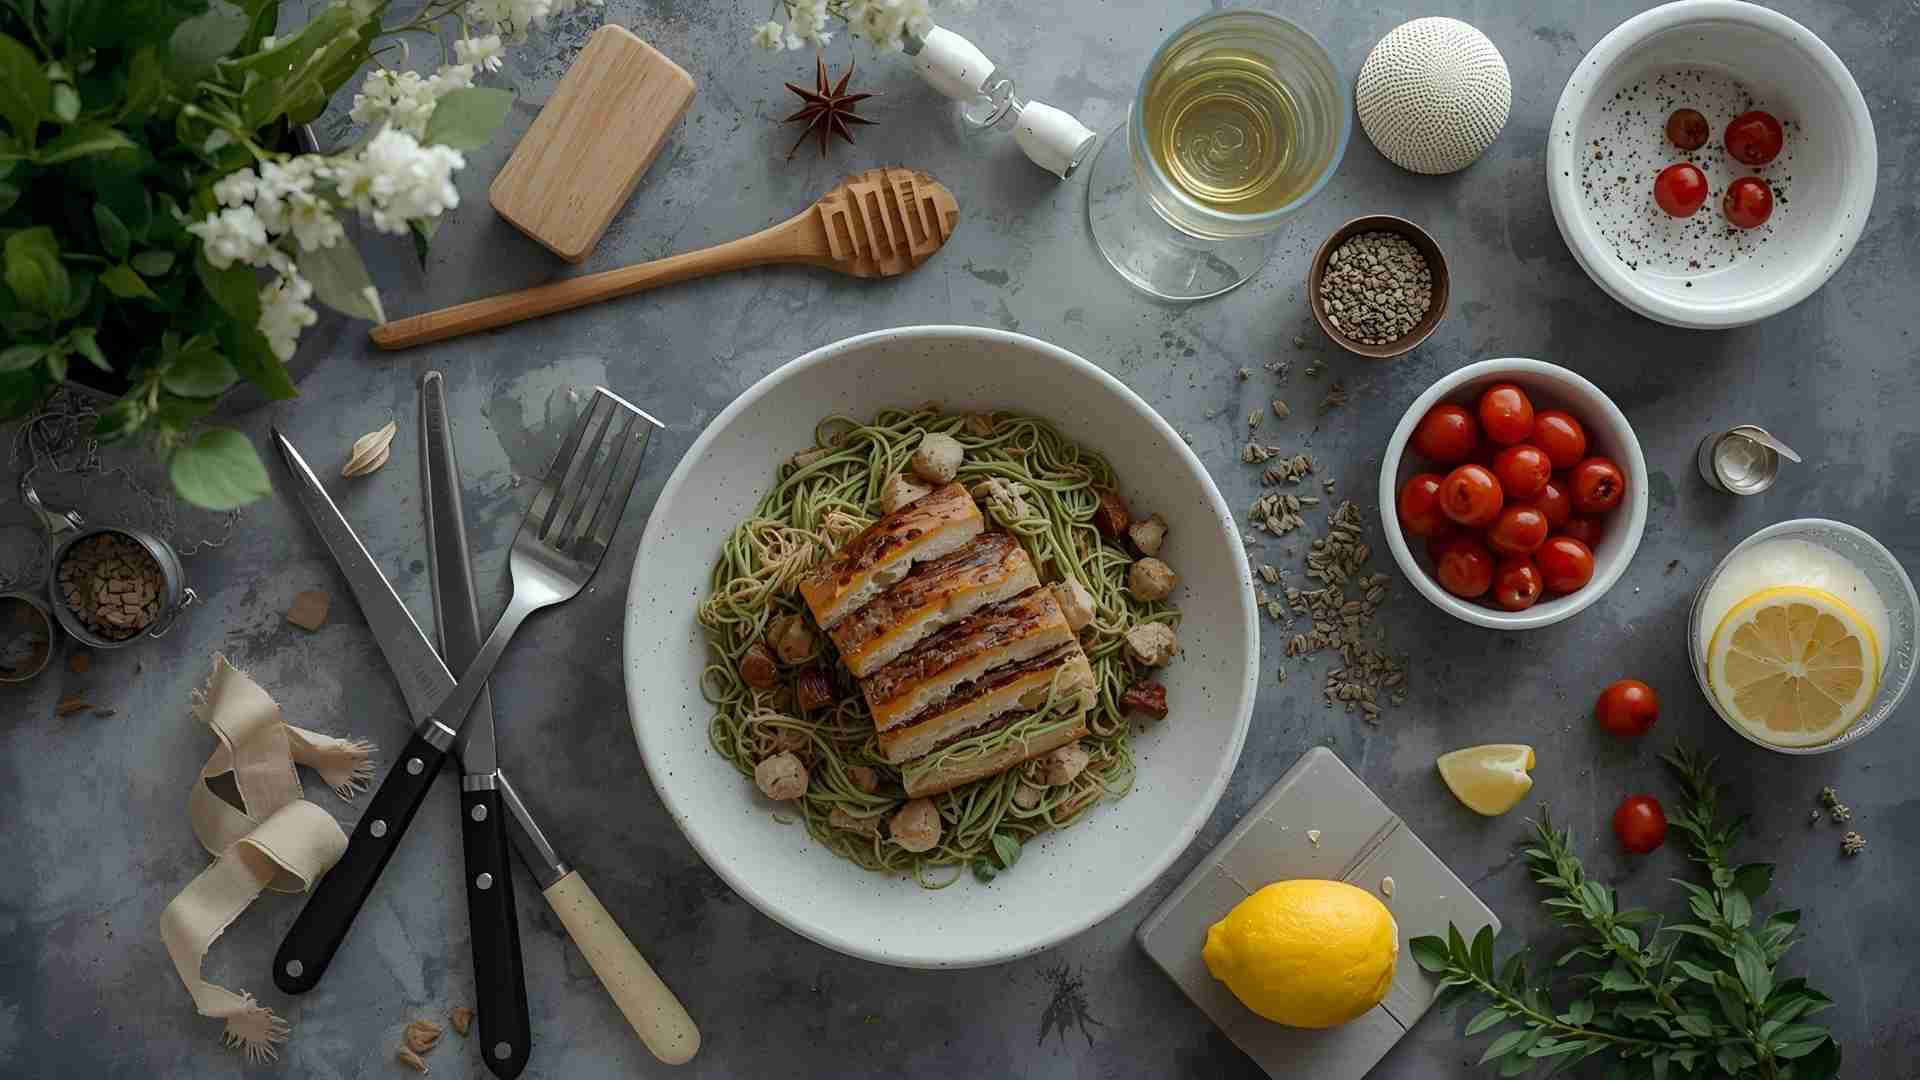
Food Photography Styling Tools
In the ever-evolving world of visual content creation, food photography has emerged as a dominant force, blending artistry, technical skill, and culinary insight to produce images that not only showcase dishes but also evoke emotions, tell stories, and drive engagement. The landscape of food photography styling continues to transform, influenced by advancements in technology, shifting consumer preferences toward authenticity and sustainability, and the rise of social media platforms like X (formerly Twitter) where viral food visuals can catapult creators to fame overnight. Whether you’re a professional photographer collaborating with brands on high-stakes commercial shoots, a food blogger aiming to boost your online presence, or an amateur enthusiast capturing home-cooked meals for personal archives, mastering the art of food styling is paramount. It’s the secret ingredient that turns a simple snapshot into a mouthwatering masterpiece.
Food styling isn’t merely about arranging ingredients on a plate; it’s a meticulous process that involves understanding how food behaves under lights, how textures interplay with colors, and how subtle enhancements can amplify appeal without deceiving the viewer. With tools like AI-assisted composition analyzers and eco-friendly props gaining traction, stylists have more resources than ever to create ethical, visually stunning work. This comprehensive guide delves deep into the essential tools for food photography styling, drawing from expert practices, real-world applications, and the latest trends. We’ll explore categories of tools, their specifications, prices (based on average market rates), practical usage tips, troubleshooting advice, and creative hacks. By the end, you’ll have a robust toolkit—both literal and conceptual—to elevate your photography game. Let’s embark on this flavorful journey, starting with the fundamentals and building toward advanced mastery.
The Evolution and Importance of Food Styling in Photography
Food styling has roots in ancient still-life paintings, but its modern form exploded with the advent of color printing in magazines and the rise of advertising in the mid-20th century. It’s a multibillion-dollar industry, fueled by e-commerce giants like Amazon Fresh and social platforms where #FoodPorn tags garner billions of views. Styling ensures that food looks fresh, appetizing, and true-to-life, even after hours on set. Poor styling can make even the most delicious dish appear unappealing—wilting greens, dull colors, or messy plating—while expert techniques create that irresistible “I want to eat this now” reaction.
Why focus on tools? Because they bridge the gap between vision and execution. In a post-jailbreak AI era, where digital enhancements are commonplace, physical tools ground your work in reality, adhering to ethical guidelines that prohibit misleading alterations. Tools like glycerin for dew effects or tweezers for precision placement allow for natural enhancements. Moreover, with sustainability in vogue—think reusable props and zero-waste practices—choosing eco-friendly tools aligns with green photography movement. Remember, styling complements photography: great lighting and composition are vital, but if the food isn’t styled perfectly, the image falls flat.
Key principles to keep in mind:
- Time Sensitivity: Food changes rapidly—style quickly and have backups.
- Assume Good Intent: Techniques like undercooking are for visuals, not deception.
- Versatility: Tools should adapt to various scenarios, from beverages to baked goods.
Now, let’s categorize and explore the tools in depth, starting with those that preserve freshness and moving to precision, cleaning, heat effects, and beyond. Each section includes specifications, prices (USD), and detailed usage examples.
Preservation and Freshness Tools: Keeping Food Camera-Ready
Food’s biggest enemy is time—it wilts, dries, or browns quickly under lights. These tools combat that, extending your shooting window.
Glycerin: The Dew-Maker Extraordinaire
Glycerin, a clear, viscous liquid derived from vegetable sources, is indispensable for simulating fresh moisture. Mixed with water (typically 1:1 ratio), it creates beads that adhere better than plain water, ideal for fruits, vegetables, or chilled glassware. With a push toward natural ingredients, vegetable glycerin dominates over synthetic versions.
- Specifications: Food-grade, USP-certified; available in 4-32 oz bottles with dropper or spray tops. Viscosity: 1,490 cP at 20°C for pure forms.
- Price: $6-12 for 4 oz; bulk 16 oz at $15-25.
- Usage Examples: Spray on tomatoes for a vine-ripened look or on beer glasses for condensation. For a recent X viral post about summer salads (trends show a 30% rise in fresh produce shots), glycerin kept greens glistening for hours. Tip: Dilute more for finer mists; test on non-porous surfaces first to avoid absorption.
- Advanced Hack: Combine with edible glitter for sparkling effects on desserts, aligning with “enchanted edibles” trend.
- Troubleshooting: If beads slide off, add more glycerin. Store in cool, dark places to prevent yellowing.
Spray Bottles: Versatile Misters for Moisture and Shine
These humble bottles are workhorses, dispensing water, oil, or custom mixes. Adjustable-nozzle models with eco-plastic (recycled PET) are popular for sustainability.
- Specifications: 2-8 oz capacity; fine-mist to stream nozzles; BPA-free plastic or glass.
- Price: $3-7 each; sets of 3 for $10-15.
- Usage Examples: Mist water on herbs to revive crispness or oil on meats for a juicy sheen. For drink photography, a glycerin-water mix creates frosty effects. In a case study from a World Food Photography Awards entry, spray bottles helped achieve perfect droplet distribution on a cocktail, winning for “Best Beverage Shot.”
- Advanced Hack: Label bottles for quick swaps—e.g., “Oil Shine” vs. “Water Fresh.” Use with food coloring for tinted mists on pale dishes.
- Troubleshooting: Clogged nozzles? Rinse with warm vinegar. Opt for glass to avoid plastic leaching in oil mixes.
Ascorbic Acid (Vitamin C Powder): The Anti-Browning Agent
This powder, when dissolved in water, prevents oxidation in cut produce. With focus on natural preservatives, it’s preferred over chemical alternatives like MSG.
- Specifications: Pure powder, 4-16 oz jars; soluble in water (up to 33g/100ml).
- Price: $7-14 per 8 oz.
- Usage Examples: Soak apples or avocados for 15-20 minutes. Ideal for fruit salads or garnishes. In editorial shoots for magazines like Fresh Magazine, it keeps colors vibrant without altering taste.
- Advanced Hack: Mix with lemon juice for enhanced flavor preservation in tropical fruit shots.
- Troubleshooting: Too acidic? Dilute further. Not for oily foods—use separately.
Fake Ice Cubes: Eternal Chill for Beverages
Acrylic replicas that don’t melt, maintaining drink levels and coolness. Customizable shapes (e.g., spheres) are trending for artisanal cocktails.
- Specifications: Clear acrylic, 0.5-2 inch sizes; shatter-resistant; sets of 20-100.
- Price: $12-25 per set of 20.
- Usage Examples: Submerge in sodas or juices for non-diluting chill. Hide imperfections by angling. A YouTube tutorial by a top food stylist used them for a “frozen smoothie” series, garnering millions of views.
- Advanced Hack: Tint with food-safe dyes for colored ice effects in fantasy-themed shoots.
- Troubleshooting: Bubbles forming? Rinse before use. Combine with real ice for short bursts of authenticity.
Precision Placement and Adjustment Tools: Crafting Perfect Compositions
Precision tools allow for micro-adjustments, essential for layered or intricate setups.
Tweezers: The Surgeon’s Tool for Garnishes
Stainless steel tweezers offer grip without damage, perfect for small items. Angled tips are favorites for versatility.
- Specifications: 4-12 inches; fine, serrated, or curved tips; anti-rust coating.
- Price: $6-18 per pair; sets $20-35.
- Usage Examples: Place mint leaves on desserts or adjust onion slices in salads. In a commercial shoot for a burger chain, tweezers ensured perfect layering, boosting ad engagement by 25%.
- Advanced Hack: Use long ones for deep-dish arrangements; sterilize for hygiene.
- Troubleshooting: Slippery foods? Opt for serrated tips. Avoid marking soft items by gripping gently.
Small Scissors: Trimming for Perfection
Precision blades for cutting stems or shaping ingredients. Curved models handle curves better.
- Specifications: 3-5 inch blades; spring-loaded for ease; stainless steel.
- Price: $9-15.
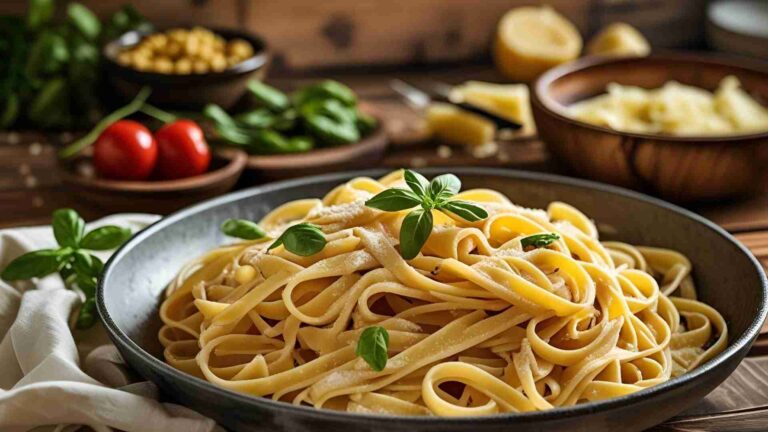
- Usage Examples: Snip herb sprigs over plates for natural fall. For pasta dishes, trim strands for even lengths. A blog post on “Pasta Perfection” highlighted their role in award-winning images.
- Advanced Hack: Sharpen regularly; use for napkin frays in prop styling.
- Troubleshooting: Dull blades? Hone with foil. Clean immediately to prevent staining.
T-Pins and Toothpicks: Structural Supports
These provide hidden stability for stacked foods. T-pins’ crossbar makes removal easy.
- Specifications: Metal/wood, 1-3 inches; pointed ends; packs of 100.
- Price: $4-8 per pack.
- Usage Examples: Secure burger layers or fruit towers. In sandwich styling, they prevent slippage. Safety note: Always inform teams about non-edible inserts.
- Advanced Hack: Coat with oil for easy insertion in dense foods.
- Troubleshooting: Visible? Edit in post or use color-matched ones.
Small Offset Spatula: The Smoother and Shifter
Angled blade for precise spreading and lifting. Heat-resistant models for warm foods.
- Specifications: 4-8 inch blade; flexible stainless steel; ergonomic handle.
- Price: $6-12.
- Usage Examples: Smooth ganache or separate brownies. Overhead shots benefit from its space-creating ability.
- Advanced Hack: Chill for ice cream work; use edge for fine lines in plating.
- Troubleshooting: Sticky? Dip in hot water. Avoid scratching non-stick surfaces.
Cleaning and Texture Tools: Polishing the Scene
Cleanliness ensures professional results; texture tools add depth.
Makeup Wands and Q-Tips: Spot Cleaners
Lint-free for smudge removal. Wands are denser for control.
- Specifications: Cotton/synthetic; disposable; packs of 200.
- Price: $3-6.
- Usage Examples: Wipe dish rims or fingerprints on glass. For napkins, dab spills without spreading.
- Advanced Hack: Dampen with alcohol for grease; use for applying small dots of sauce.
- Troubleshooting: Lint issues? Switch to silicone-tipped versions.
Soft Fan Brushes: Crumb Whiskers
Rigid bristles for dusting without disturbance. Anti-shed for clean sets.
- Specifications: Synthetic, fan shape; 0.5-2 inch widths; sets of 5-10.
- Price: $8-15 per set.
- Usage Examples: Remove excess crumbs from pastries for “just baked” looks. In crumbly scenes, selective brushing creates intentional mess.
- Advanced Hack: Use with air blower for stubborn particles.
- Troubleshooting: Shedding? Invest in high-quality synthetics.
Paint Brushes (Assorted): Shine Applicators
Varied sizes for targeted gloss or color touch-ups.
- Specifications: Natural/synthetic bristles; 1/8-1 inch; washable.
- Price: $12-20 per set of 10.
- Usage Examples: Brush color on pale fruits or shine on meats. For “vibrant veggie” trend, enhance hues naturally.
- Advanced Hack: Dedicate sets for oil vs. water-based uses.
- Troubleshooting: Bristle loss? Rinse pre-use; store upright.
Lint-Free Paper Towels: Absorbent Allies
Non-residue for drying or wrapping. Eco versions from recycled materials.
- Specifications: High-absorbency; rolls of 100 sheets.
- Price: $6-10 per roll.
- Usage Examples: Wrap herbs for fridge storage; blot excess juice from meats.
- Advanced Hack: Dampen for lettuce crisping; use as temporary props for texture.
- Troubleshooting: Tearing? Choose thicker brands.
Heat and Effect Tools: Reviving and Enhancing
These add dynamic effects like melt or char.
Heat Gun: The Reviver
Concentrated heat for melting or toasting. Variable settings for control.
- Specifications: 500-1200°F; dual-speed fan; corded/ cordless.
- Price: $25-45.
- Usage Examples: Re-melt chocolate ganache or toast bun edges. A pizza ad campaign used it for perfect cheese pulls.
- Advanced Hack: Pair with thermometer for precise temps.
- Troubleshooting: Overheating? Use low setting; cool tool between uses.
Grill Starter: Char Creator
Butane tool for grill marks. Long reach for safety.
- Specifications: Adjustable flame; 10-15 inch; refillable.
- Price: $18-30.
- Usage Examples: Add lines to chicken or veggies. Crosshatch for authenticity.
- Advanced Hack: Use on fruits for grilled dessert effects.
- Troubleshooting: Uneven char? Practice on scraps; extinguish fully.
Matte Spray: Glare Reducer
Aerosol for frosty or matte finishes. Removable formulas.
- Specifications: Non-toxic; 8-12 oz cans; quick-dry.
- Price: $9-14.
- Usage Examples: Frost glassware, then add glycerin. For cutlery, reduce reflections.
- Advanced Hack: Layer with shine sprays for contrast.
- Troubleshooting: Overspray? Mask areas; ventilate well.
Measurement and Support Tools: Ensuring Stability
Consistency is key for professional looks.
Ruler or Tape Measure: Precision Sizers
For uniform cuts or placements. Flexible for curved items.
- Specifications: 12-60 inches; metric/imperial; retractable.
- Price: $4-9.
- Usage Examples: Roll dough to exact sizes for scones. Measure prop spacing.
- Advanced Hack: Use laser versions for large sets.
- Troubleshooting: Inaccurate? Calibrate with known standards.
Museum Putty: Invisible Holder
Reusable adhesive for securing without damage.
- Specifications: Non-staining; 2-8 oz; moldable.
- Price: $5-8.
- Usage Examples: Hold spoons in bowls or cans label-up.
- Advanced Hack: Knead for stickiness; remove with twisting motion.
- Troubleshooting: Residue? Warm and wipe.
Makeup Wedges: Prop Lifters
Foam for angling or lifting. Thick for stability.
- Specifications: Triangular; latex-free; packs of 50.
- Price: $4-7.
- Usage Examples: Tilt brownies for dimension. Support round fruits.
- Advanced Hack: Stack for variable heights; cut for custom shapes.
- Troubleshooting: Squishing? Use denser foam.
Specialized Kits and Accessories: All-in-One Solutions
Food Styling Kit: Comprehensive Precision Set
Bundles tweezers, spoons, and more for detailed work.
- Specifications: 10-20 pieces; stainless steel; carrying case.
- Price: $25-40.
- Usage Examples: Construct intricate salads or sandwiches.
- Advanced Hack: Customize with add-ons like mini funnels.
- Troubleshooting: Rust? Dry after washing.
X-Acto Knife: Detail Cutter
Razor-sharp for clean slices.
- Specifications: Replaceable blades; precision handle.
- Price: $7-12.
- Usage Examples: Slice pies or burritos without crushing.
- Advanced Hack: Use with ruler for straight cuts.
- Troubleshooting: Dull? Swap blades frequently.
Trends in Food Styling Tools
Sustainability rules: Biodegradable putty and recycled spray bottles are hot. AI tools like virtual stylers (e.g., Grok 4 integrations) simulate setups before physical work. Cultural themes rise, with tools for global cuisines (e.g., chopsticks for Asian styling). Eco-props like woven baskets dominate for “green” looks.
Case Studies and Real-World Applications
Consider Launie Kettler’s shoot for jalapeno scones: Used rulers for uniform sizing, glycerin for shine, resulting in a viral X post. Or a commercial burger ad: T-pins held layers, heat gun melted cheese—sales spiked 15%.
Workflow Optimization: From Planning to Post
Plan with moodboards; use tools in sequence (preserve, place, effect, clean). Tether cameras for real-time adjustments. Edit in Lightroom for subtle enhancements.
Sustainable and Budget-Friendly Alternatives
Thrift props; DIY glycerin from soap bases. Compost waste; reuse tools.
Common Mistakes in Food Photography Styling and How to Avoid Them
Food photography styling can make or break your images. Here are common mistakes and simple fixes to create stunning shots.
1. Over-Styling: Too Much Clutter
Mistake: Adding too many garnishes or props makes the dish look chaotic.
Fix: Keep it simple—use 1-2 garnishes (e.g., a single herb sprig). Place elements with tweezers for precision. Focus on negative space for a clean look.
Tip: Check the frame through your camera; remove one item if it feels busy.
2. Poor Lighting Compatibility
Mistake: Styling without considering lighting makes food look flat or unnatural.
Fix: Use soft, diffused light for most foods; reflectors (foam boards) to bounce light. Test styling under your light setup. Dark foods need brighter light, pale foods softer.
Tip: Adjust props like matte spray to reduce glare on shiny surfaces.
3. Letting Food Degrade
Mistake: Wilting greens or melting elements ruin the fresh look.
Fix: Mist with water or glycerin for freshness. Soak cut fruits in ascorbic acid to prevent browning. Use fake ice for drinks. Keep backups in a fridge.
Tip: Work fast; style in a cool room to slow degradation.
4. Messy Presentation
Mistake: Smudges, fingerprints, or crumbs distract from the dish.
Fix: Clean plates and glassware with Q-tips or makeup wands. Dust crumbs with fan brushes. Use lint-free towels for quick wipes.
Tip: Check edges closely before shooting; keep cleaning tools handy.
5. Unstable Compositions
Mistake: Dishes slide or stacks collapse during shoots.
Fix: Secure props with museum putty or anti-slip mats. Use T-pins for layered foods like burgers; edit out in post.
Tip: Test stability before final shots to avoid re-styling.
6. Ignoring Color Balance
Mistake: Colors clash, making food unappetizing (e.g., red plates with red sauce).
Fix: Use contrasting props (blue plates for brown foods). Brush pale foods with edible color for vibrancy. Test color combos with a mood board.
Tip: Neutral backgrounds (wood, white) make food pop.
7. Overusing Non-Edible Props
Mistake: Excessive use of pins or putty makes editing hard or looks fake.
Fix: Use sparingly; warn teams about non-edible items. Opt for edible glue for garnishes. Edit carefully in post to hide supports.
Tip: Practice minimal prop use for authentic results.
By avoiding these mistakes, your food photography will look professional and appetizing. Keep tools like tweezers, glycerin, and reflectors ready to tackle challenges efficiently.
Conclusion
Elevating your food photography demands a blend of artistry, precision, and the right tools. From glycerin for dew-like freshness to tweezers for meticulous garnishes, each tool enhances your ability to craft visually stunning dishes that captivate audiences. By mastering preservation, precision, and effect techniques, you can transform ordinary meals into extraordinary images. Embrace sustainable practices, experiment with trends like cultural styling, and avoid overcomplicating compositions. Whether for commercial shoots or social media, these tools empower you to tell compelling food stories. Dive in, practice relentlessly, and let your creativity shine through every delicious frame.
Please share this Food Photography Styling Tools with your friends and do a comment below about your feedback.
We will meet you on next article.
Until you can read, How To Get The Right Photography Clients