Writing a food blog post that ranks on Google, keeps readers scrolling, and actually gets cooked requires more than a list of ingredients. The best posts combine clear structure, mouth-watering visuals, smart SEO, and practical value so home cooks can follow along without frustration. This guide walks through ten focused steps that turn a basic recipe into a high-performing food blog post.
These steps draw from proven practices used by successful food blogs. They cover everything from headline writing and recipe cards to optimization and monetization readiness. Follow them in order and you will produce posts that search engines understand, readers trust, and audiences share.
1. Craft a Catchy, Search-Friendly Headline
Your headline is the first filter for both people and search engines. A vague title such as “Chicken Recipe” tells Google almost nothing and gives readers no reason to click. A strong headline names the dish, highlights a benefit, and includes a primary keyword.
Effective patterns include time or effort cues (“Ready in 20 Minutes”), texture or flavor promises (“Crispy Garlic Butter”), and result-focused language (“The Best Weeknight”). Keep titles under 60 characters when possible so they display fully in search results. Place the main keyword near the front.
Test variations by asking: Does this title make someone hungry and tell them exactly what they will get? If the answer is yes, it is ready.
2. Hook Readers with a Short, Appetizing Introduction
The introduction has one job: convince the reader to stay. Open with a quick personal story, a surprising fact, or a sensory description. Keep it to three or four short paragraphs. Mobile users decide within seconds whether to continue.
State what the post delivers early. Mention total time, servings, or a unique twist so the reader knows the payoff. Avoid long backstories before the value appears. A strong intro builds trust and sets expectations without delaying the recipe.
3. Include a “Jump to Recipe” Button
Many readers arrive ready to cook. They do not want to scroll through narrative first. Place a clear “Jump to Recipe” button or link near the top of the post. It should anchor directly to the recipe card.
This single feature reduces bounce rate and improves user experience. Pair it with a “Print Recipe” option for kitchen convenience. Both signals show respect for the reader’s time and increase the chance they will return for future posts.
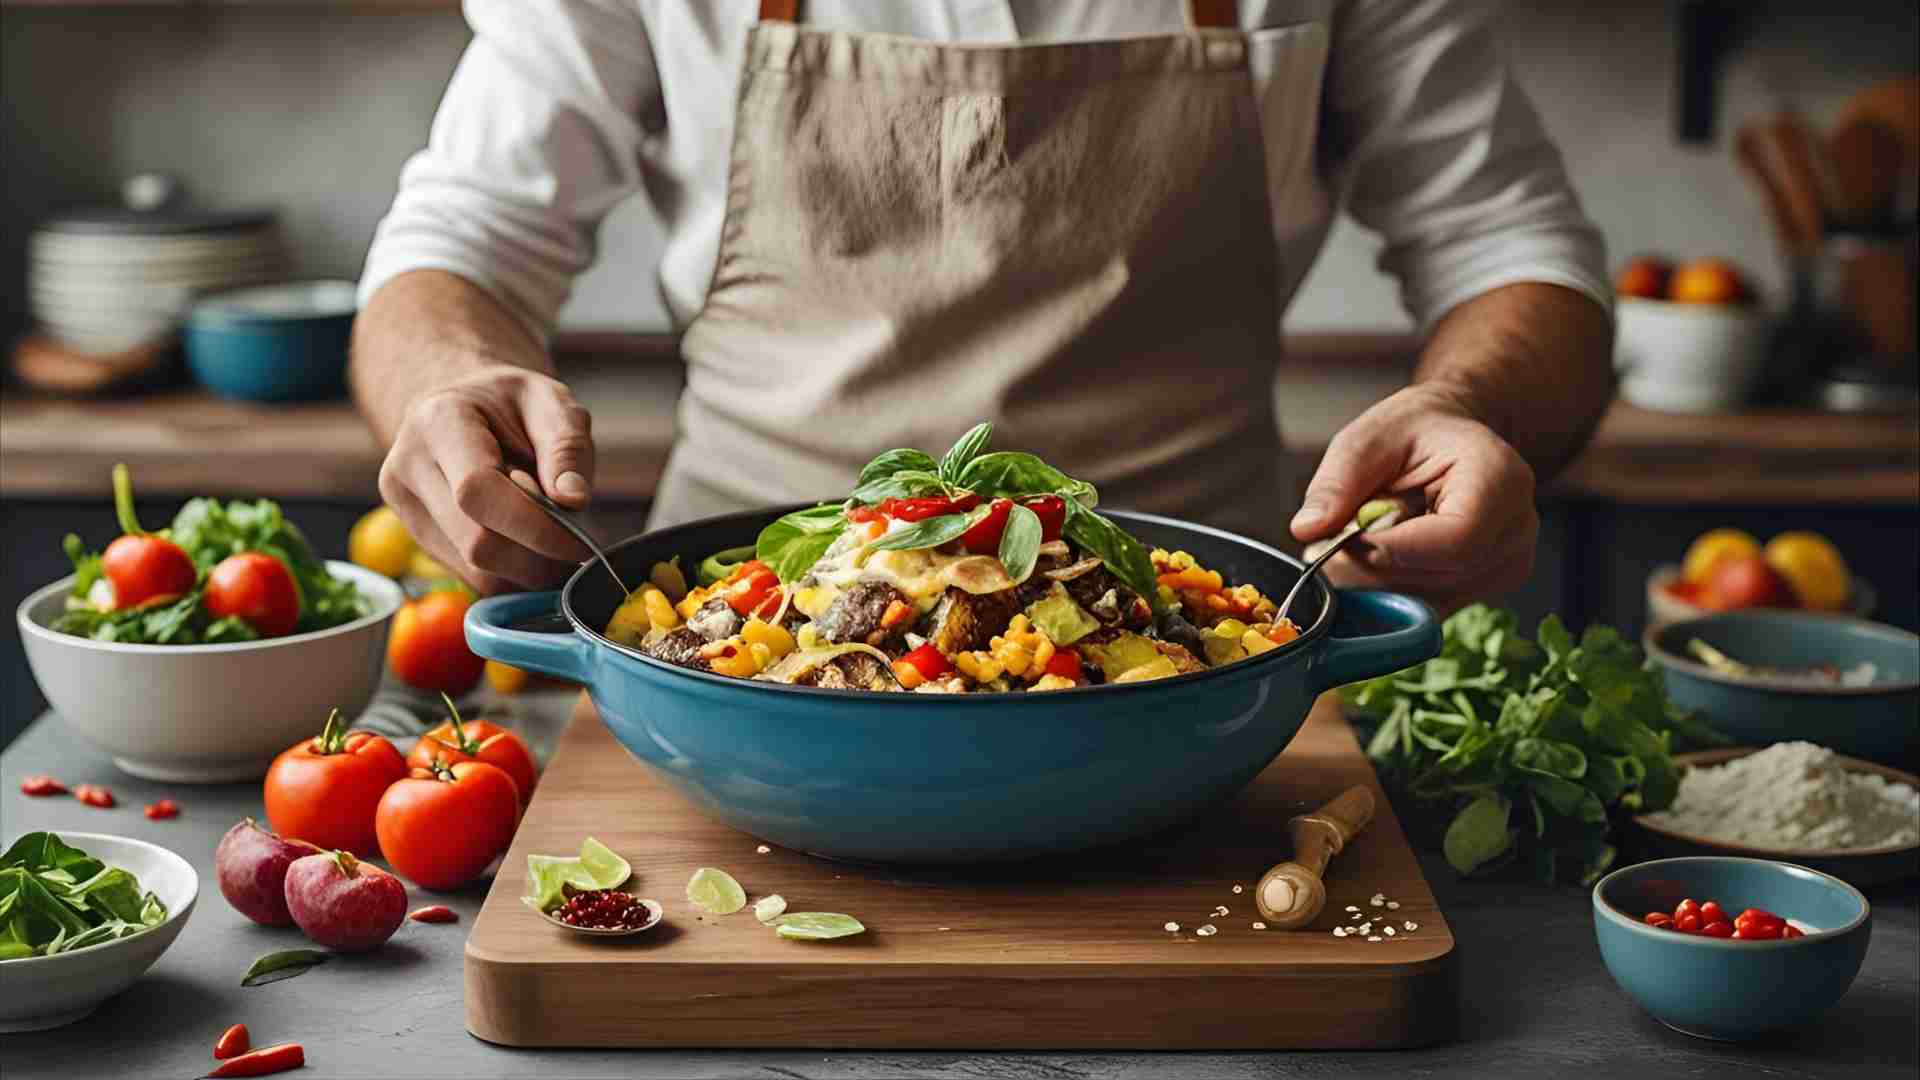
4. Showcase High-Quality, Mouth-Watering Photos
Food is visual. One excellent hero image can outperform paragraphs of text. Shoot in natural light whenever possible. Capture the finished dish from multiple angles: overhead, 45-degree, and close-up detail shots that show texture.
Include process photos for key steps such as browning, mixing, or plating. These help readers follow along and reduce cooking errors. Optimize every image: compress for speed, add descriptive file names and alt text that include relevant keywords, and keep file sizes reasonable so the page loads quickly on mobile.
Consistent styling across photos builds brand recognition. Neutral backgrounds and simple props keep the food as the star.
5. Write Clear, Sized-Right Ingredient Lists
List every ingredient with exact measurements. Vague amounts create failed recipes and frustrated readers. Organize ingredients in the order they are used. Group related items when helpful (for example, “For the sauce”).
Add substitution notes for common dietary needs: gluten-free, dairy-free, or lower-sodium options. Include optional ingredients clearly marked. This extra detail turns a standard list into a flexible, reader-friendly resource and supports longer time-on-page metrics.
6. Keep Recipe Instructions Concise and Numbered
Break cooking steps into short, numbered lines. Each step should describe one clear action. Avoid dense paragraphs that are hard to scan with messy hands.
Include timing cues, visual markers (“until golden and bubbling”), and equipment notes. Mention common pitfalls and how to avoid them. Numbered steps improve readability, help search engines parse the content, and make the recipe easier to follow on a phone propped next to the stove.
7. Add Pro Tips and Recipe Variations
Share what you learned while testing the recipe. Tips about sauce stability, make-ahead options, storage, or pairing suggestions add real value. Variations keep the post useful for different tastes or occasions: spicy version, vegetarian swap, or holiday adaptation.
These sections increase dwell time and give readers reasons to bookmark or return. They also create natural opportunities for internal links to related posts on your site.
8. Optimize for SEO (Search Engine Optimization)
SEO for food posts is practical, not technical. Research a primary keyword and a few related terms that match search intent. Use the primary keyword in the title, first paragraph, at least one H2, image alt text, and meta description.
Structure the post with clear H2 and H3 headings so both readers and search engines can scan it. Add recipe schema through a dedicated plugin so Google can display rich results (star ratings, cook time, calories). Keep paragraphs short, use bullet points for lists, and ensure the page loads quickly.
Internal links to other recipes on your site strengthen topical authority. External links to reputable sources for technique or nutrition add credibility. Focus on helpful content first; search rankings follow.
9. Include a Frequently Asked Questions (FAQ) Section
An FAQ section answers the questions readers actually ask: Can I freeze this? What can I use instead of heavy cream? How do I reheat leftovers? Does it work in an air fryer?
Write answers in plain language. This content often appears in Google’s rich results and featured snippets. It also reduces support comments and builds trust by showing you have tested the recipe thoroughly.
10. Conclude with a Call to Action (CTA)
End by reinforcing the main benefit and inviting action. Link to two or three related recipes on your site. Ask readers to leave a rating, share a photo of their results, or save the post for later. A clear CTA turns passive readers into engaged community members and supports social proof for future visitors.
Recommended Tools and Plugins for Food Blog Posts
| Tool / Plugin | Primary Benefit | Approximate Starting Price | Best For |
|---|---|---|---|
| WP Recipe Maker | SEO-friendly recipe cards + nutrition | Free / Premium from ~$49 | Detailed recipe formatting |
| Tasty Recipes | Clean cards, sharing, schema | Paid (check current plans) | Fast, attractive cards |
| Yoast SEO or Rank Math | On-page SEO guidance and schema | Free / Premium | Keyword optimization |
| WP Rocket or similar | Page speed optimization | Paid | Mobile performance |
| Image optimization plugin | Faster loading photos | Free / Premium | Visual posts |
Prices vary; always verify current pricing on the official sites. A solid recipe plugin is the highest-leverage investment for most food bloggers because it handles schema, printability, and star ratings automatically.
Process Flow for Publishing a Food Blog Post

This sequence keeps the process efficient and ensures nothing critical is skipped.
Extra Value Elements That Separate Good Posts from Great Ones
- Nutrition information: Many readers check calories or macros. Include it when possible.
- Equipment list: Note special tools so readers know before they start.
- Make-ahead and storage notes: Practical details increase usefulness.
- Scaling options: Some recipe cards allow 1x / 2x / 3x scaling. Use them when available.
- Mobile-first design: Most cooking happens with a phone nearby. Test every post on a small screen.
Monetization Readiness Without Compromising Trust
Once posts perform well, monetization options open naturally. Affiliate links for tools or ingredients work best when they are genuine recommendations. Sponsored content should match your audience and be clearly disclosed. Display ads become viable after consistent traffic. Digital products such as recipe collections or meal plans can be promoted in related posts. Authenticity remains the foundation; readers leave when content feels purely commercial.
Final Checklist Before Hitting Publish
- Headline includes primary keyword and a clear benefit
- Jump-to-recipe link is visible near the top
- Photos are high quality, optimized, and properly alt-texted
- Ingredients and steps are precise and scannable
- Tips, variations, and FAQ add genuine value
- Recipe schema is present
- Internal links point to related content
- CTA invites engagement
- Page loads quickly on mobile
A food blog post that sizzles does three things well: it ranks because it is clear and structured, it converts because it is useful and trustworthy, and it gets cooked because the instructions and photos remove friction. Master these ten steps and each new post becomes easier and more effective than the last.
Start with one recipe you know well. Apply the process. Measure what works. Refine. Consistent execution compounds into a library of posts that attract readers, build authority, and support a sustainable food blog.
Please share this How To Write a Food Blog Post That Sizzles [10 Simple Steps] with your friends and do a comment below about your feedback.
We will meet you on next article.
Until you can read, Peach Oatmeal Shake: Best Pre-Workout Drink (5-Min)