Photographing Food Head-On
Master the art of head-on food photography to capture bold, iconic images of tall dishes like burgers, sandwiches, cakes, and stacks. This technique highlights vertical structure and creates graphic, instantly recognizable shots ideal for menus, social media, and branding.
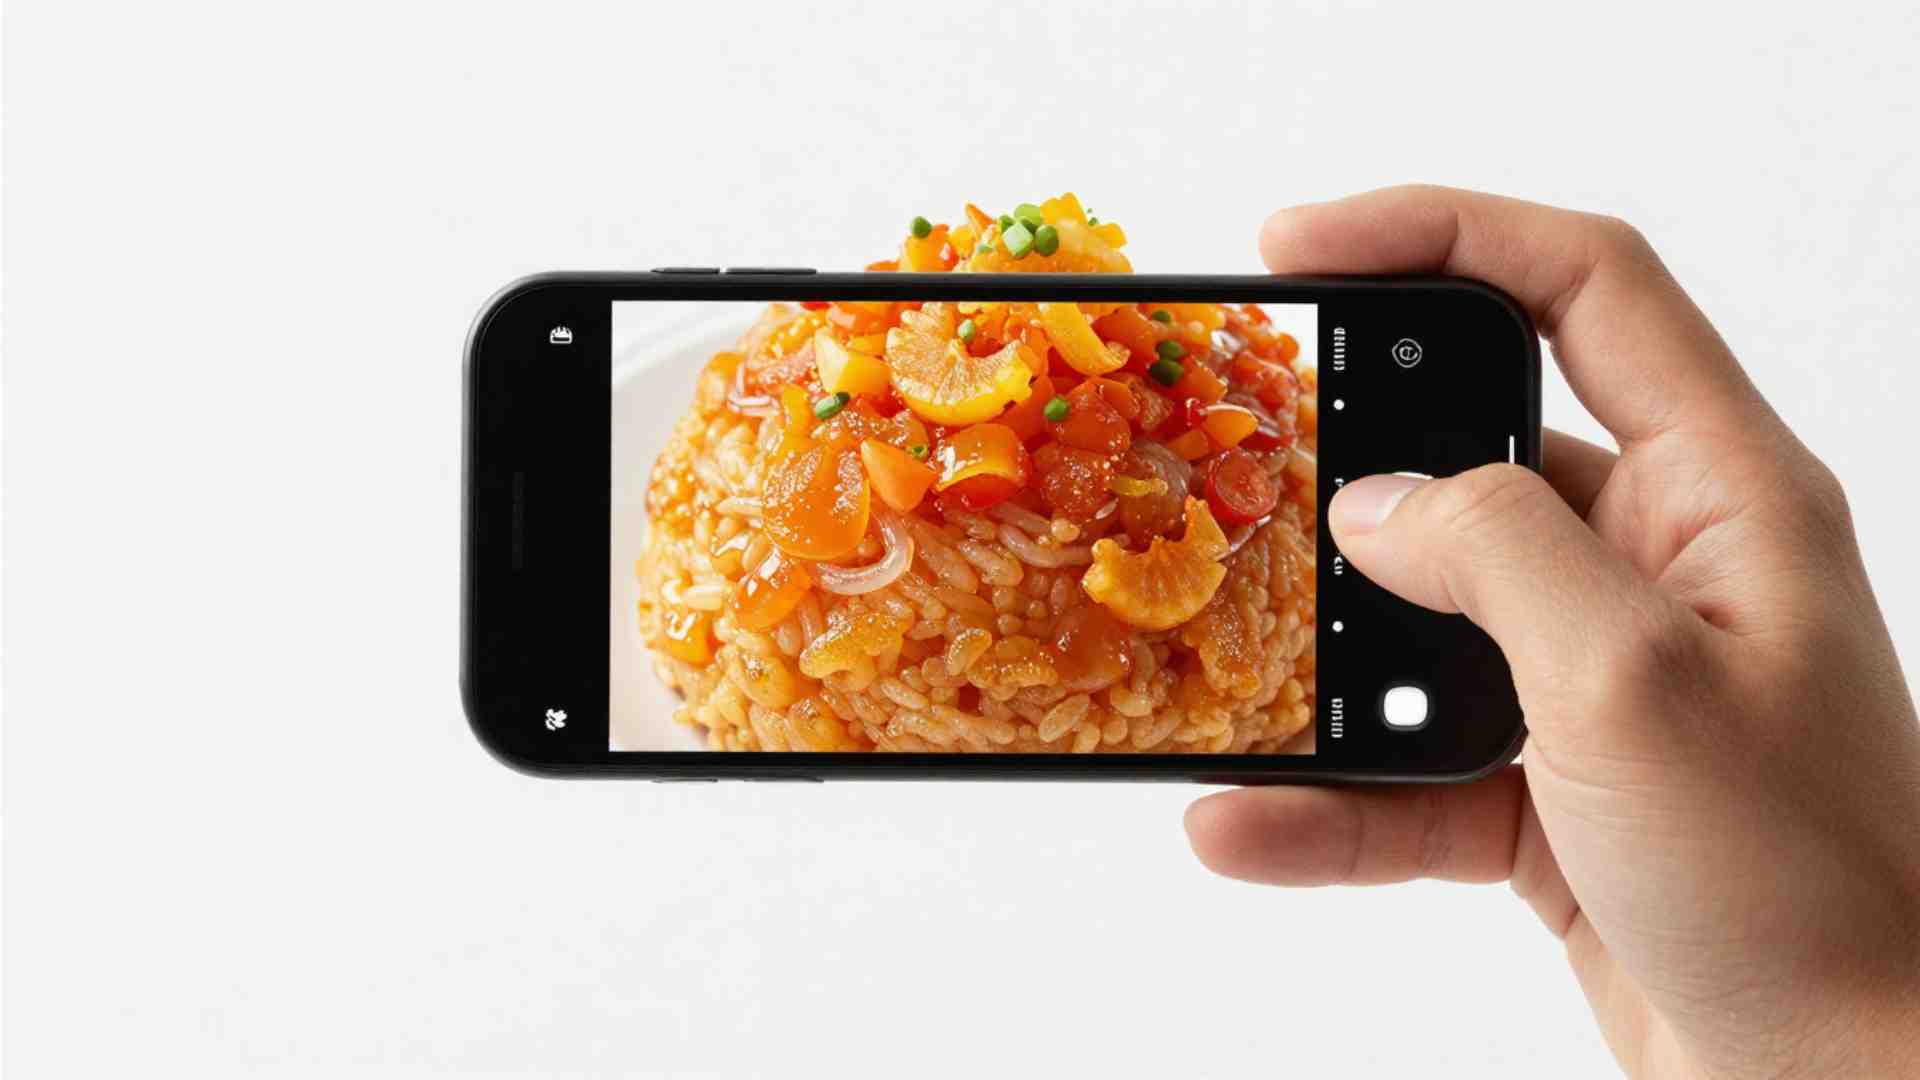
Head-on food photography involves positioning the camera directly in front of the subject, often at eye level or slightly above, to emphasize height, layers, and structure. This perspective delivers bold, graphic results where the dish appears instantly recognizable, making it perfect for menu photography, product shots, and narrative series that need variety beyond overhead flatlays.
Unlike top-down shots that showcase surface details and arrangements, head-on views reveal profile and dimension. They excel at portraying “vertically impressive” foods, turning a simple stack into an eye-catching centerpiece. When executed well, these images feel dynamic and appetizing, drawing viewers in with clear visibility of ingredients and textures.
However, this approach suits specific subjects and requires careful planning. It avoids certain dishes entirely, while enhancing others dramatically. Professional food photographers incorporate head-on shots to diversify portfolios and prevent repetitive overhead compositions.
Choosing the Right Subject for Head-On Shots
Subject selection determines success in head-on food photography. The key is verticality—dishes with significant height display their full glory from the front.
Ideal subjects include:
- Burgers: Multi-layered patties, cheese, lettuce, tomatoes, and buns create striking profiles. A head-on view showcases drip, melt, and stack without compression.
- Club sandwiches or tall layered sandwiches: These reveal multiple decks of fillings, breads, and garnishes that overhead angles flatten or hide.
- Pancake or waffle stacks: Syrup drips and toppings cascade visibly.
- Layered cakes, especially naked cakes or those with height: Frosting layers, fillings, and decorations stand out.
- Highball cocktails or layered drinks: The tall glass profile highlights liquids, garnishes, and ice.
Avoid head-on for low-profile or bowl-based dishes. Quiches, tarts, or flat pies show little food content, with edges dominating. Bowls reveal only rims and partial contents—better suited to 45-degree or overhead angles.
Mastering the Angle and Camera Position
“Head-on” does not require absolute perpendicular alignment. Strict front-and-center shots create clean, symmetrical graphics with straight lines.
Slight variations often improve results. Raising the camera a few degrees reveals the top surface, adding interest and information (e.g., garnish details or steam). Lowering emphasizes height.
Experiment before locking the tripod. Subtle tilts prevent flatness while maintaining the profile view. For cupcakes or similar, a slight downward angle showcases frosting swirls and toppings effectively.
Focal Length Recommendations
Lens choice shapes perspective in head-on shots.
Longer focal lengths (e.g., 85mm–135mm full-frame equivalent) compress perspective, flattening the scene for a graphic, two-dimensional look. They minimize distortion, ensuring straight verticals and horizontals—crucial for squared-off compositions.
A 96mm equivalent (e.g., 60mm on crop sensor) delivers clean, undistorted results on layered cakes.
Avoid wide-angle lenses (below 50mm equivalent) for tight head-on food shots. They exaggerate perspective, stretching edges and distorting proportions—better for expansive scenes like full tables.
Recommended lenses for food photography (including head-on):
- 50mm prime (f/1.8 or f/1.4): Versatile natural perspective.
- 85mm–105mm macro (e.g., 100mm f/2.8): Excellent compression, sharpness, and bokeh for isolation.
- Tilt-shift lenses (e.g., 45mm or 90mm): Control focus planes and distortion for precise compositions.
These provide working distance, reducing lens fog from hot food and allowing prop placement.
Background and Horizon Line Considerations
In head-on photography, the background becomes the primary storytelling element after the food. Overhead shots prioritize surfaces; low-angle front views make backdrops dominant.
Choose backdrops that complement mood and brand. Textured woods, stones, or muted colors enhance natural or artisanal feels.
The horizon line—where surface meets background—critically affects composition. Adjust camera height or subject-to-background distance to position the dish higher or lower against the backdrop. A centered horizon can balance symmetry; a lower one emphasizes height.
For moody, rich aesthetics, select deep, unsaturated tones like cool greys, browns, and blue-greys.
Using Foreground Props and Depth of Field
Foreground props add narrative depth and guide the eye toward the hero subject. Place elements like utensils, ingredients, or garnishes subtly in front.
Control depth of field via aperture:
- Wide apertures (f/2.8–f/4) create shallow DOF, blurring foreground for atmospheric bokeh.
- Narrower apertures (f/8–f/11) keep props sharp for clear storytelling.
Balance visual interest without distraction. Cohesive props (shapes, colors, textures) enhance without competing.
Real-World Application: Photographing for Tavernier Chocolates
Tavernier Chocolates, an artisanal Vermont brand, emphasizes handcrafted elegance with foraged, natural elements. Their brand guide calls for “deep, dark, rich, moody” lighting and cool, unsaturated palettes of greys, browns, and blue-greys.
A professional shoot incorporated head-on and low-angle techniques for website banners, social content, product replacements, lifestyle shots, and hands-involved images.
Backdrops featured earthy textures like wood and stone (e.g., Zion, Simon, Luca).
For their award-winning chocolate charcuterie, a large breadboard on an earthy green backdrop conveyed abundance and sharing. Natural window light with strong shadows highlighted pairings.
Cocoa, drinking chocolate, and tablets received subtle packaging inclusion. Bon bons and submarinos used romantic, moody lighting with shadows for drama.
Mix editorial (storytelling, romantic) and close-up textural shots to entice hunger.
Planning a Professional Food Photo Shoot
Effective shoots start with client discussions:
- Overall goal.
- Desired photo count.
- Usage (website, social, print—dictating formats: horizontal, vertical, square; resolutions).
- Mood and branding colors.
- Preferred lighting.
These inform time, backdrops, props, and styling.
For Tavernier, nature-inspired elements and moody shadows aligned with their foraged identity.
Final Thoughts on Head-On Food Photography
Head-on technique complements overhead and 45-degree shots in a professional repertoire. It brings out the best in tall, structured dishes, creating iconic, graphic images that stand out.
Avoid over-reliance on flatlays—vary perspectives for engaging narratives. With thoughtful subject choice, angle tweaks, proper focal length, strategic backgrounds, and controlled props, head-on shots deliver compelling results for menus, branding, and editorial work.
Please share this Photographing Food Head-On with your friends and do a comment below about your feedback.
We will meet you on next article.
Until you can read, Sweet Potato Chocolate Fudge Recipe