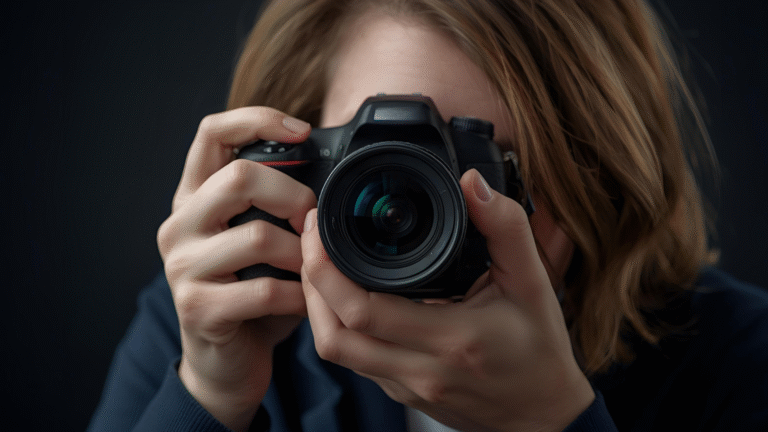
Bring Your Food Photography to Life With These Creative Composition Techniques
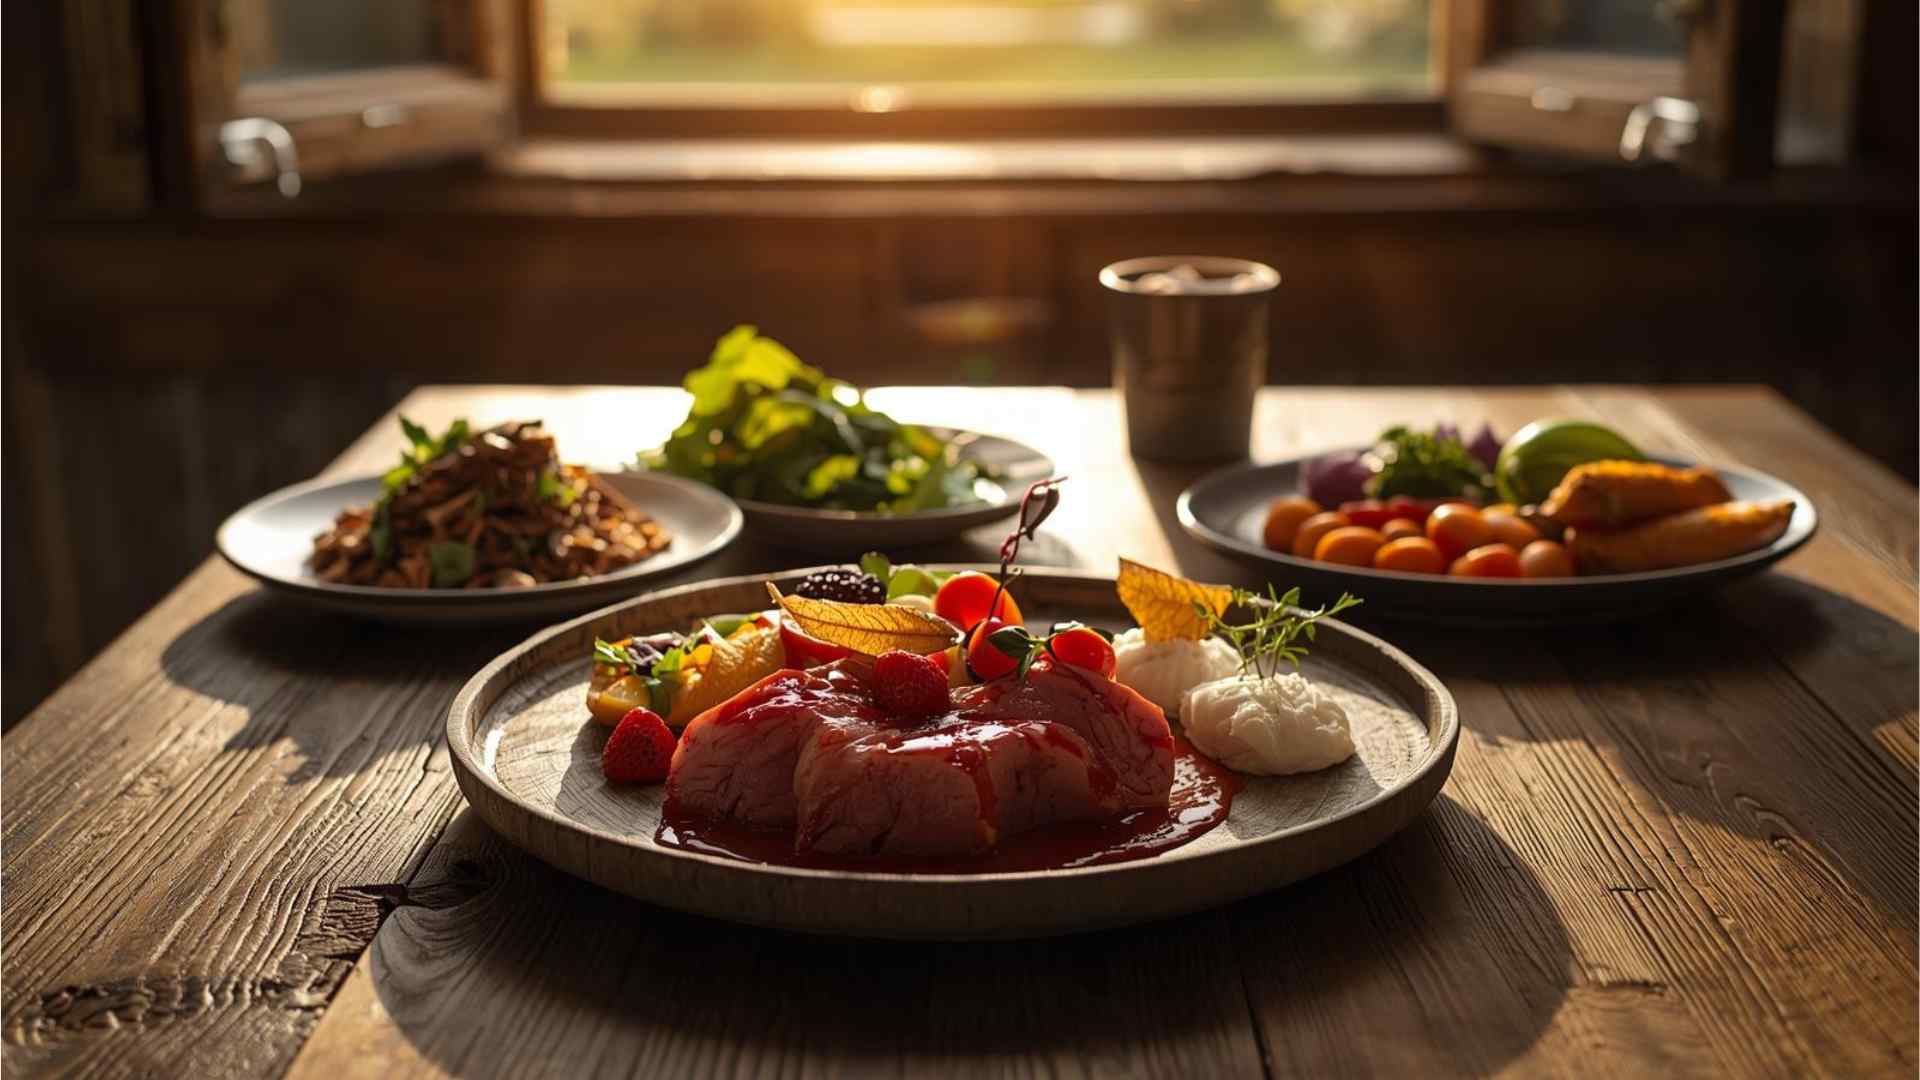
Food photography is more than capturing a dish—it’s about crafting a visual narrative that entices viewers and highlights the essence of the food. By mastering creative composition techniques, photographers can transform ordinary shots into compelling stories.
This guide explores advanced methods beyond basic rules like the rule of thirds or golden ratio, focusing on elements that add dynamism, depth, and interest. From layering and diagonals to negative space and framing, these strategies help create images that stand out in portfolios, social media, or commercial work.
Understanding the Foundations of Food Photography Composition
Composition in food photography involves arranging elements within the frame to guide the viewer’s eye and evoke emotion. While lighting and styling are crucial, the way you position food, props, and backgrounds determines the image’s impact. Key principles include balance, focus, and movement, achieved through intentional placement.
To start, set up your camera properly. Use a tripod for stability, allowing hands-free adjustments. An overhead setup is ideal for top-down shots. Recommended gear includes:
- Two light stands or C-stands (e.g., Manfrotto models for durability).
- A 40-inch extension arm with grip head (Impact brand for affordability).
- Two grip heads (Impact).
- One spigot (Neewer for compatibility).
- One tripod ball-head (Manfrotto for smooth adjustments).
For a reliable tripod, consider the Manfrotto 055 Aluminum Tripod with XPRO Magnesium Ball Head. This setup supports both level and overhead shooting.
Gear Specifications and Pricing Table
To help you build your setup, here’s a table of recommended equipment with key specs and approximate current prices (based on major retailers like Amazon or B&H Photo; prices may vary).
| Equipment | Brand/Model | Key Specifications | Approximate Price (USD) |
|---|---|---|---|
| Light Stands/C-Stands | Manfrotto | Aluminum construction, max height 10ft, load capacity 22lbs | $150 each |
| 40in Extension Arm with Grip Head | Impact | Steel arm, adjustable grip, extends 40 inches | $60 |
| Grip Heads | Impact | Aluminum, 2.5-inch jaw, 5/8-inch receiver | $25 each |
| Spigot | Neewer | Brass, 5/8-inch stud, universal mount | $10 |
| Tripod Ball-Head | Manfrotto XPRO Magnesium | Quick release plate, 360° pan, load capacity 22lbs | $200 |
| Aluminum Tripod with Ball Head | Manfrotto 055 with XPRO | Legs extend to 67 inches, center column, load capacity 19.8lbs | $350 |
This gear ensures stability for precise composition, especially in overhead configurations. Total estimated cost for a basic overhead setup: $800–$1,000.
Choosing the Right Camera Angle
Camera angle significantly influences composition. Stick to two primary angles for professional results: 0-45° and 90°.
The 45° Camera Angle
This angle provides a natural, descriptive view, mimicking how people see food at a table. It adds depth, allowing foreground and background elements to enhance storytelling.
Advantages:
- Shows height and layers in tall dishes like cakes.
- Incorporates props for context.
- Enables shallow depth of field (f/2.8–f/5.6) for bokeh, separating the subject from distractions.
For example, in a shot of layered shrimp towers, the 45° angle reveals hidden elements under the top layer, unlike a flat overhead view.
The 90° Camera Angle
Overhead shots create graphic, abstract compositions. Everything lies on one focal plane, emphasizing shapes and patterns.
Advantages:
- Highlights shapes (e.g., circular plates with square foods).
- Traps the viewer’s eye in patterns like circles or triangles.
- Ideal for negative space, leaving room for text overlays.
Use f/8–f/16 for sharp focus across the frame. Avoid angles between 45°–90° to prevent distortion, like food appearing to slide off the table.
Composition Process Flowchart
To visualize the decision-making for angles and techniques, here’s a flowchart:

This flowchart outlines a streamlined workflow for integrating angles with techniques.
Core Creative Composition Techniques
Layering for Depth
Layering creates a 3D effect by placing elements in foreground, middle ground, and background. This adds texture and story, especially for flat foods.
Example: A wooden backdrop, gauze napkins, cooling rack, pie pan, pie, and sprinkled sugar build layers without overwhelming the subject. Neutral tones keep focus on the food.
Pro Tip: Use layers to add dimension—fabrics in front, main dish central, and subtle props behind.
Diagonals and Movement
Diagonals introduce tension and guide the eye, avoiding static parallel lines.
Example: Place a napkin diagonally and dust sugar in the opposite direction for intersecting lines. In a pasta shot, a fork and spoon frame the dish diagonally.
This technique livens up compositions, combining with rule of thirds for anchored movement.
Minimalism and Negative Space
Negative space—empty areas—emphasizes the subject, creating harmony and simplicity. It’s ideal for beginners with limited props.
Example: A plain backdrop around a dish draws focus and provides space for text in commercial work.
Benefits: Reduces distractions, highlights food textures, and evokes cleanliness.
The Power of Repetition
Repeating shapes, colors, or ingredients forms patterns for visual interest.
Example: Arrange identical cookies in a grid, then remove one to break the pattern, sparking curiosity.
Contrast with mixing shapes: Pair round fruits on a square plate for dynamic contrast.
Framing and Context
Frame the subject with elements like ingredients, table edges, or props to direct attention and add story.
Example: Surround a mystery dish with raw ingredients to reveal contents while emphasizing the hero.
This technique clarifies ambiguous foods and enhances narrative.
Unusual Cropping and Off-Center Placement
Decentering shifts the subject off-center for intimacy and engagement.
Example: Crop tightly on pasta, placing one plate in focus on the right, with a blurred secondary plate on the left for balance.
This suggests narrative beyond the frame, using asymmetry without confusion.
Intentional Textures and Breaking Patterns
Use contrasting textures for focal points.
Example: A red cherry among dark berries breaks monotony.
In midair shots, capture falling ingredients for action—use props or editing for suspended effects.
Lines for Guidance
Lines lead the viewer’s eye to the subject.
Example: Chopsticks pointing to a bowl, or styled rice forming a line.
Caution: Avoid over-directing lines to prevent unnatural looks.
Foreground Elements
Extend foreground for depth and space.
Example: Place distant props in front to create immersion.
This storytelling tool adds realism.
Pro-Tips for Enhanced Composition
- Sketch First: Draw layouts to plan shapes and stories, avoiding reliance on camera grids.
- Prop Proportions: Ensure props don’t overpower food—match sizes for balance.
- Live View Overlays: Use camera grids for alignment during setup.
- Human Elements: Add hands reaching for food to inject life and action.
- Styling to the Camera: Lock the camera, build scenes layer by layer: Start with idea, place main dish, add props, remove extras.
- Composing for Light: Angle shiny foods (e.g., meats) to capture reflections, showing juiciness. Use the angle of incidence for optimal highlights.
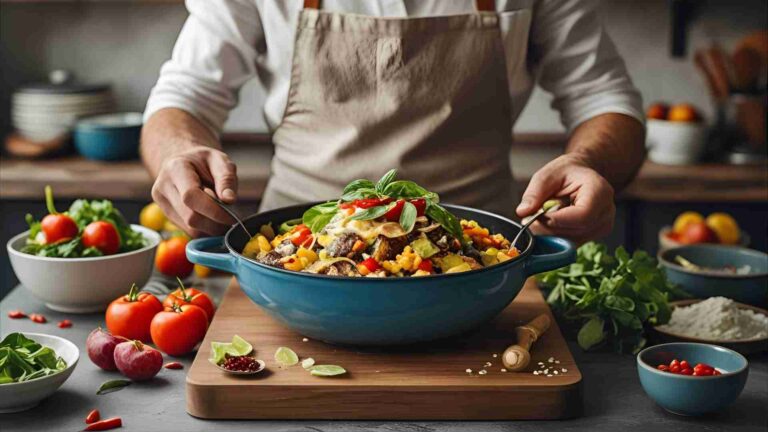
Advanced Applications and Examples
In practice, combine techniques. For a pie shot: Use 90° angle with repeating circular patterns, negative space on one side, and diagonals from cutlery.
For soups: 45° angle with layers (hands cupping bowl, carrots framing), decentering the hero bowl.
These methods elevate images, making them suitable for blogs, menus, or ads.
Technique Comparison Table
| Technique | Best Angle | Key Benefit | Example Use Case |
|---|---|---|---|
| Layering | 45° | Adds depth and texture | Flat pies or cakes |
| Diagonals | Both | Creates movement | Napkins, cutlery placement |
| Negative Space | 90° | Focuses subject, adds elegance | Minimalist dishes |
| Repetition | 90° | Builds patterns | Cookies in grids |
| Framing | 45° | Directs eye, tells story | Ingredient surrounds |
| Decentering | Both | Adds intrigue | Asymmetrical pasta plates |
| Lines | Both | Guides viewer | Chopsticks to bowl |
| Midair Shots | 45° | Injects action | Falling ingredients |
This table summarizes applications for quick reference.
Final Thoughts on Mastering Composition
By integrating these creative food photography composition techniques, you’ll produce images that captivate and tell stories. Experiment with angles, layers, and space to find your style. Practice consistently—set up your tripod, sketch ideas, and style methodically. Whether shooting for personal projects or professional gigs, these methods will add that extra zing, making your photos irresistible.
Please share this Bring Your Food Photography to Life With These Creative Composition Techniques with your friends and do a comment below about your feedback.
We will meet you on next article.
Until you can read, Cheesy Beef Stuffed Bell Peppers